Part 10: Eldin Temple
Eldin Temple
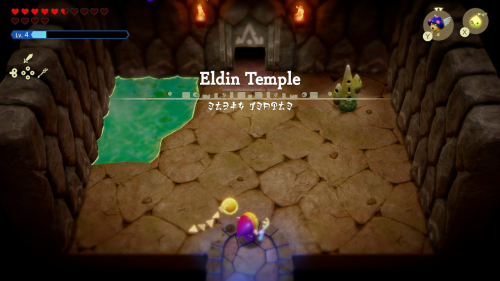
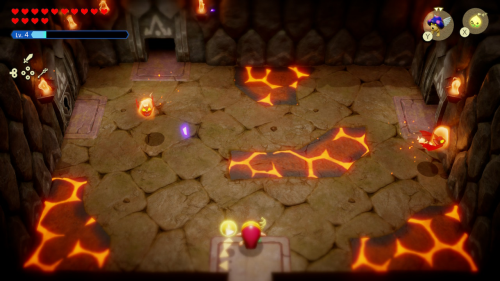
This is Eldin Temple, the fifth dungeon of the game. Make sure to get healed up in the hot springs to the left and activate the waypoint to the right before entering the next room. Take out or ignore the Fire Keese in this room and enter the room to the north.
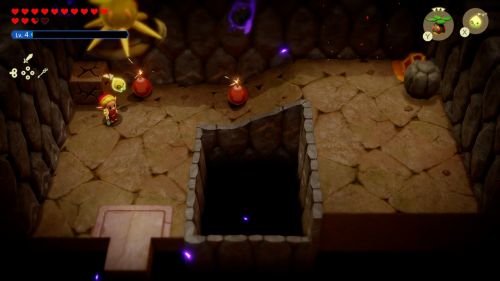
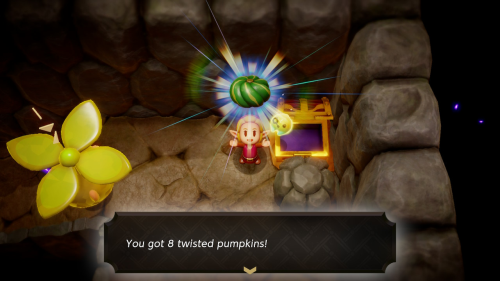
Here you'll need to defeat some shadow Zirros. Afterward you can blow up the cracked rocks if they haven't already been and you'll see a partially buried treasure chest. Bind to it and pull it out to find 8 twisted pumpkins inside. Now return to the previous room and head to the right this time.
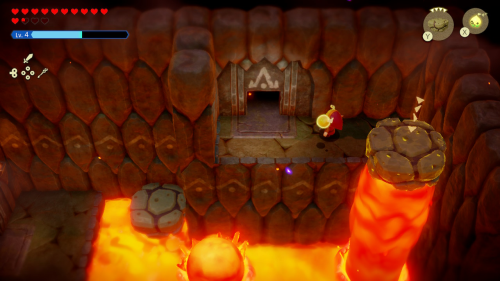
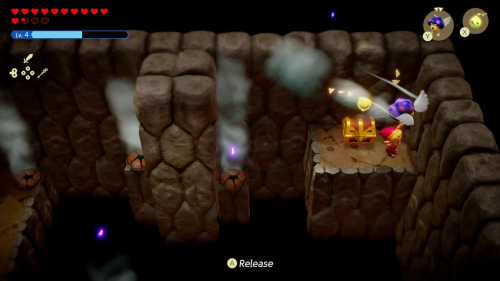
Use a lava rock to get to the platform in the lava and then place another on the taller lava pillar to reach the door above. You can use the air vents in here and a Ghirro echo to fly to the corner platform. There's a chest here that contains a small key. You can now return to the first room and open the locked door.
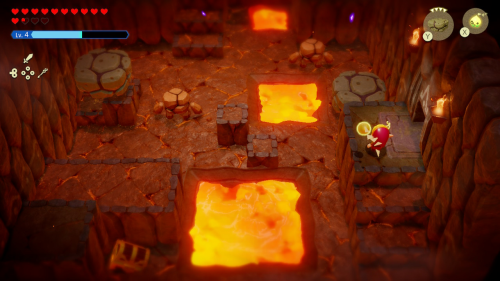
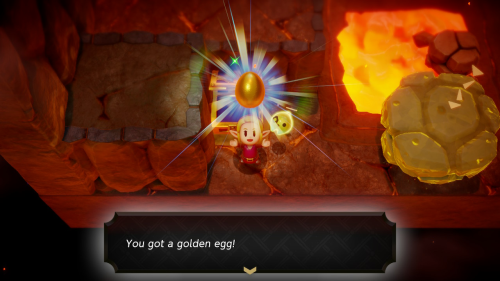
This room has a pool of lava that rises and falls on a cycle. When the lava first falls you'll want to go to the bottom left corner of the room and pull out the treasure chest with bind. You can open it to get a golden egg. You can place a lava rock next to you so that you have an escape route when the lava begins to rise again.
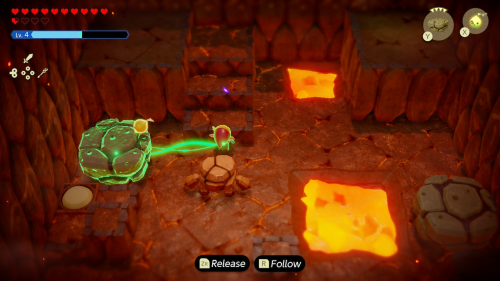
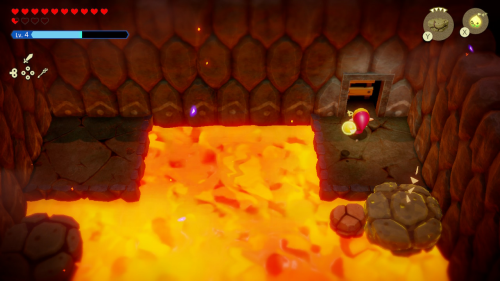
There is a lava rock on the left side of the room that you'll need to move out of the way with bind to reveal a switch beneath it. This opens the door at the top of the room. You need to place a lava rock down to reach the unlocked door.
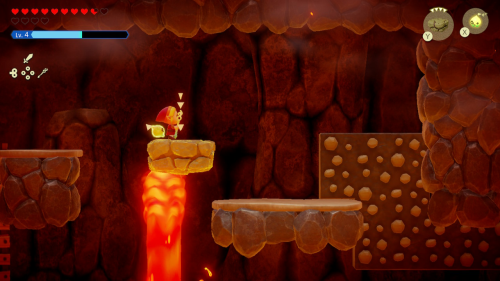
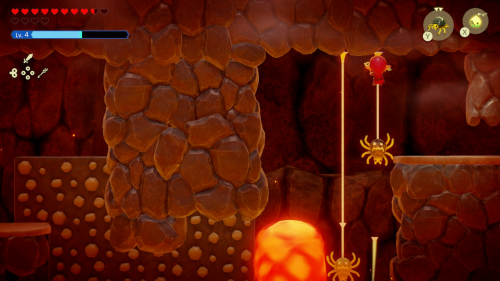
In this sublevel you'll want to place a lava rock on the pillar while you're on the lower level and then climb up to the higher level to jump on it. On the right side of the room there is a rock wall that you can climb and another lava pillar. You don't actually want to use a lava rock here, since it doesn't give you enough height to reach the other platform. Instead use a series of Strandtula echoes to quickly crawl across before the lava pillar takes them out.
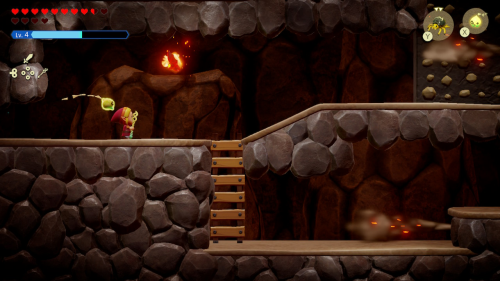
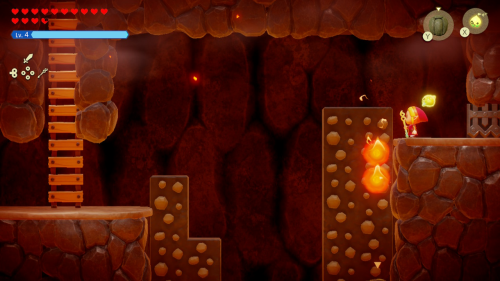
In the next part of the sublevel you'll want to take the ladder down and summon a boulder to block the steam vent. Take another ladder down to a room where the lava rises and falls. Head left first and put a lava rock down in the pool. As it rises you can shoot the switch and torch slug with your bow.
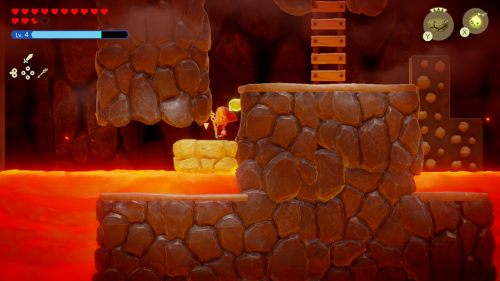
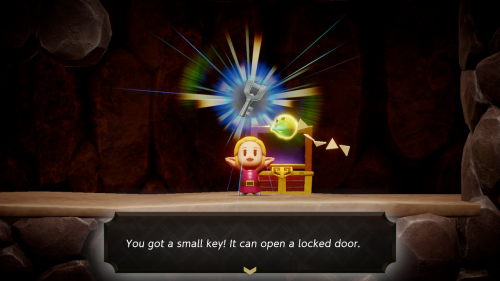
Head back to the right and use the rock wall and a lava rock to get to the right side. Jump over the torch slug here and head through the entrance. You'll find a little alcove with a chest that contains a small key. You can then take the ladder back to the previous room with the steam vents.
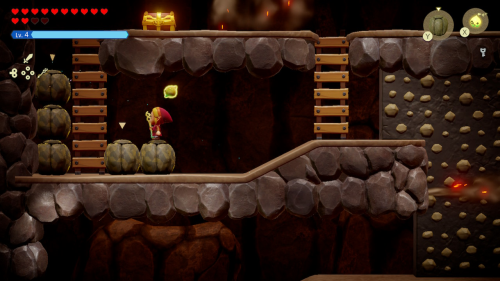
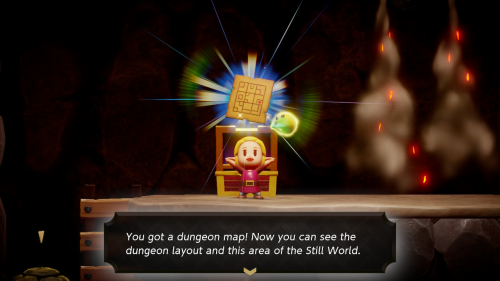
You'll now need to climb up this room while dodging the air in the steam vents, which can be tricky. For the first set on the rock wall you can time it when the vents are off and quickly climb up. For the the three vents on the left side of the room blocking the ladder, you can summon a stack of boulders. You can place two boulders and then place another on the ground next to you so that you can get enough height to summon a third on top. This opens a safe path up to the chest which contains the dungeon map.
Miniboss - Shadow Link (Bombs)
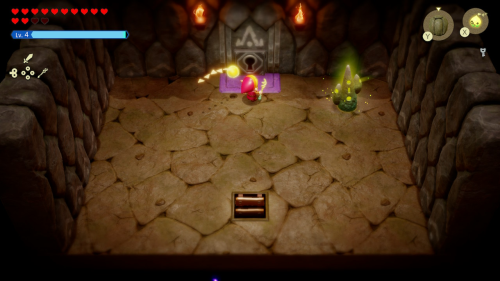
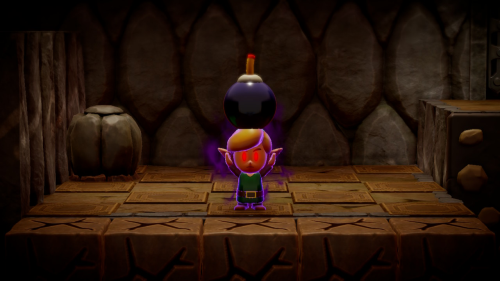
Exit this sublevel to via the ladder to the right and you'll find a room with a locked door and a waypoint you can activate. After going through the locked door, you'll be facing off against Shadow Link in a room full of cracked rocks. This time around his primary attack is tossing bombs at you. He'll pick up and toss normal bombs as well as bombchus, which can climb up walls.
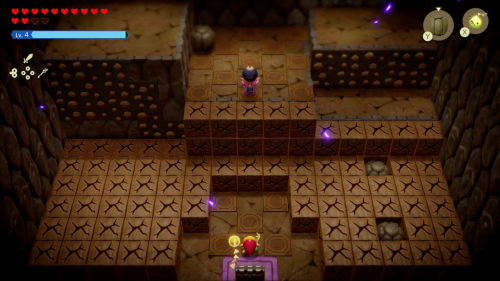
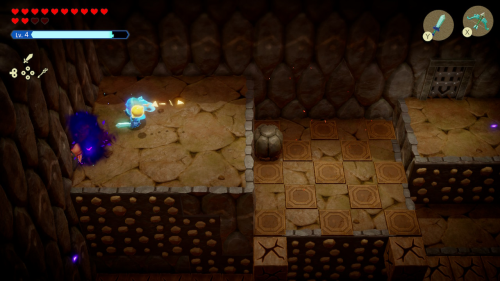
You can summon some echoes to help, but the key to this fight is to just chase him down while he's busy pulling a bomb and then wail on him in swordfighter form. If you've been following along and have a fully upgraded sword, it won't take very many hits. He has a second form where he can throw three bombs at once, but the strategy to attack is the same.
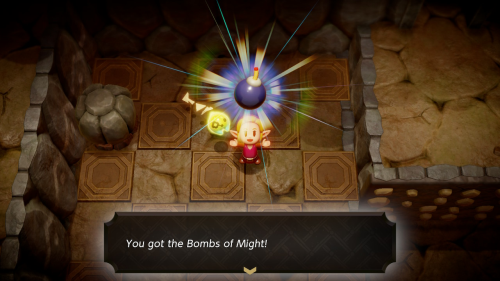
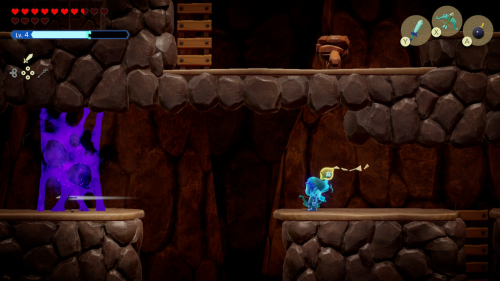
Once Shadow Link is defeated again he'll leave behind the Bombs of Might. You'll now be able to use bombs of your own in swordfighter form. You can then take the ladder to progress to a new sublevel. There are lots of shadow webs and enemies here that you can test out your new bombs on if you'd like.
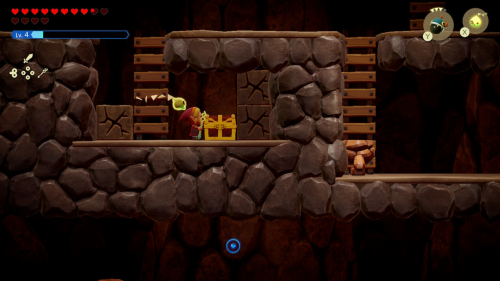
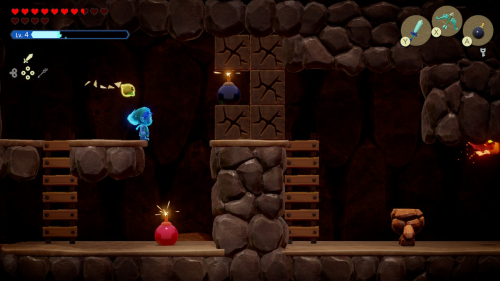
On a higher area in this sublevel you'll see a pit full of cracked blocks that you need to blow up with your new bomb ability. Doing so will reveal a chest behind them that contains a small key. Now head to the right and you'll see a wall of cracked blocks with a convenient spot to throw a bomb into. Blow this up and continue to the right past some enemies and up the ladder.
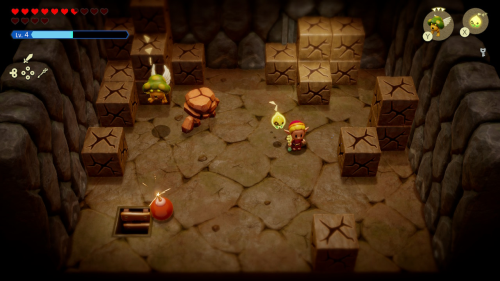
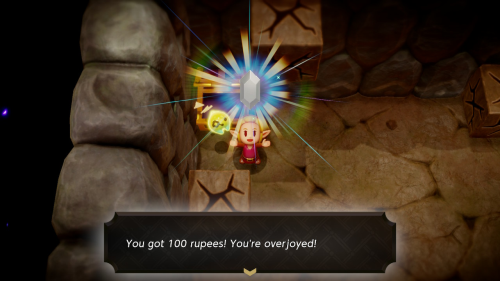
There are many cracked blocks in this room that you'll want to blow up. Remember that you can use some of your echoes to do this as well if you're running low on energy. In the top left corner of the room under the blocks you'll find a chest that contains 100 rupees. In the top right corner you'll find a door behind the cracked blocks.
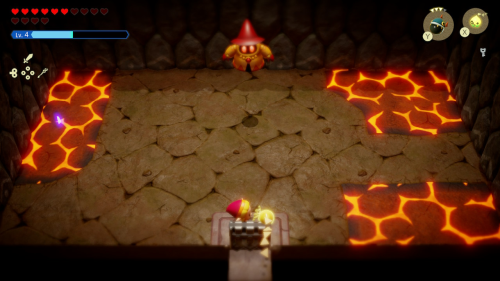
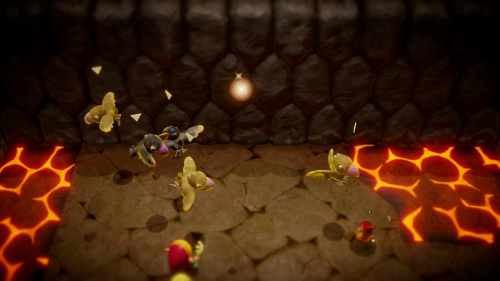
In this room you'll be locked in with a Fire Wizzrobe. This guy will float in the air and shoot fireballs at you, and then teleport to a new location. He can be kind of tricky to deal with, especially with the magma ground. A fireproof potion might be useful here. You can summon ranged attack echoes and use swordfighter form to defeat him.
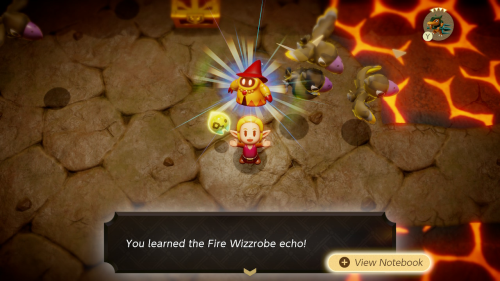
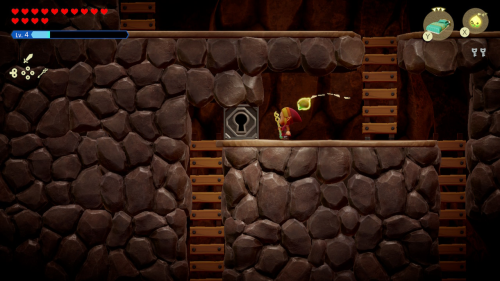
Once defeated you can open the chest that spawns to get another small key. Make sure to learn the Fire Wizzrobe echo before leaving the room. Head back down to the sublevel and take the path all the way to the left and then down passed the locked gate. Take the ladder to exit the sublevel.
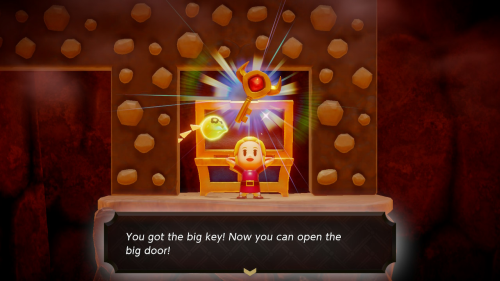
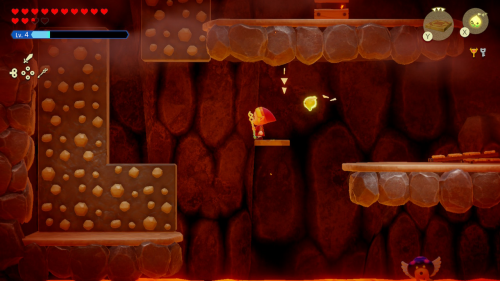
Take the ladder down into another sublevel filled with lava. Defeat all the enemies you can and use the rock walls on the left to climb all the way down to a platform with a large chest. Inside you'll find the big key for this dungeon. Grabbing it will cause the lava in this room to rise. You'll need to quickly get up using the ladders to the right. However, the final one will break so you'll need to use a flying tile to quickly get to the left and take the rock walls up instead.
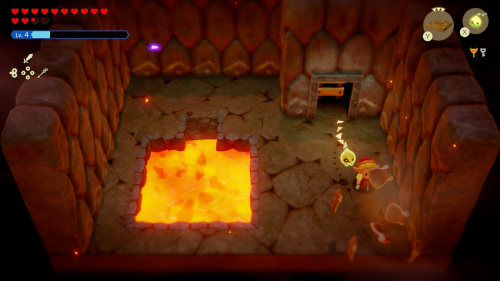
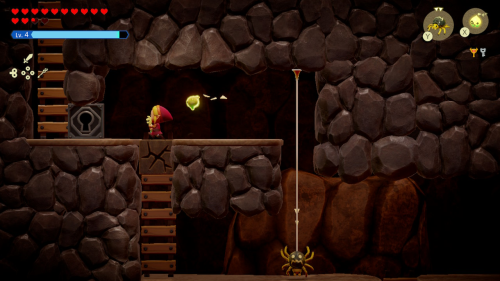
You can now return to the previous sublevel. If you are low on energy, it's a good idea to fill up on the energy that spawns here. Now climb up on the left side of the room. You can use a Strandtula echo instead of blowing up the blocks on the ladder if you'd like. You can then open the locked gate and exit the sublevel.
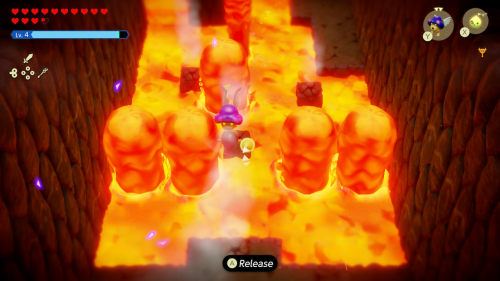
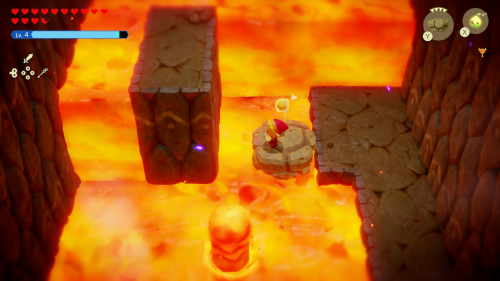
You'll want to summon a Ghirro echo in this room and use it with the air vent to glide to the far side of the room. You can find a fairy in the pot on this platform. You can then place a lava rock on the lava pillar to get up higher. Use another Ghirro on the air vent here and glide all the way to the end of the room.
Boss - Volvagia
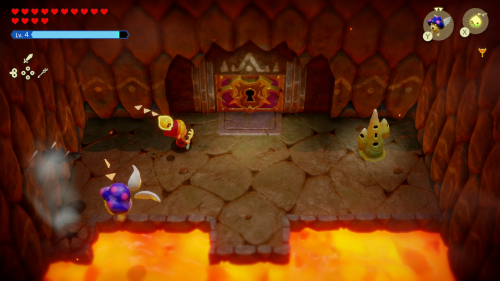
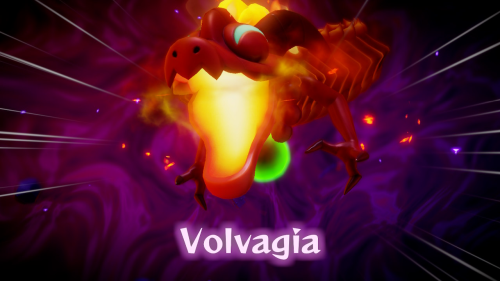
Make sure to heal up and activate the waypoint before entering the boss door. You'll need to drop down the hole to come face to face with this dungeon boss: Volvagia. Ocarina of Time players might find it very familiar. The battle will begin by Volvagia alternating between shooting fire balls at you and a giant green energy orb. You can't reflect either back, so you'll need to jump around the arena and dodge them.
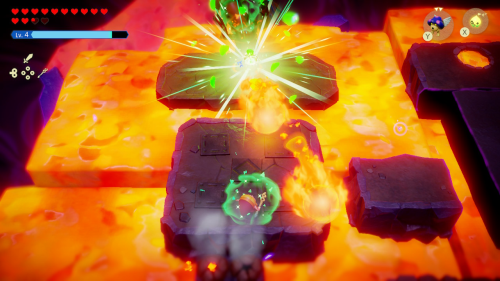
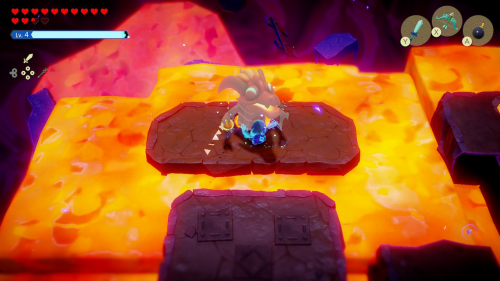
The best way to get an attack in of your own is to bind to the green necklace around Volvagia's neck that it summons orbs from. You can pull back on it to snap it and temporarily stun Volvagia, leaving an opportunity to get a bunch of hits in in swordfighter form.
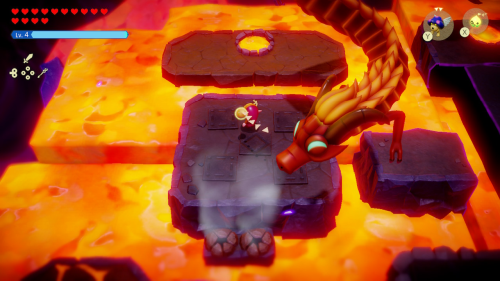
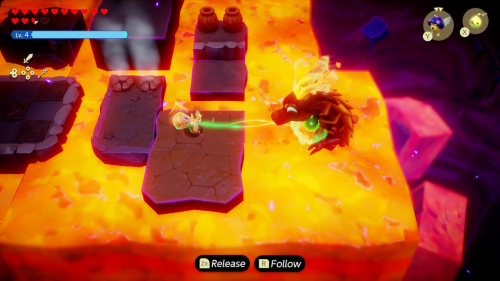
Volvagia can also fly around the room to find a new spot to attack you from. If this spot is out in the open lava, you won't be able to get any sword slashes in after stunning it. However, you can still use your bow to get some good damage in.
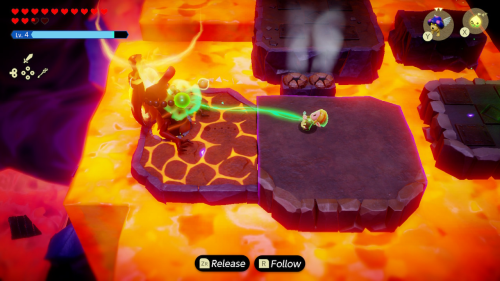
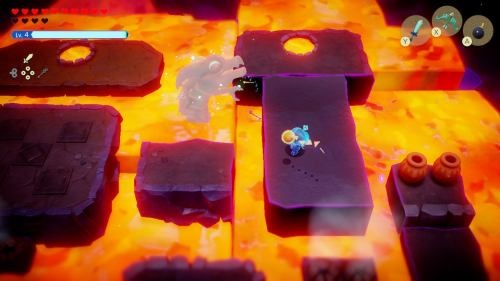
During Volvagia's second phase, it will fly around much faster and mostly stick to areas you can't reach with your sword. It also has a fire breathing attack that can heat up one of the platforms so that you can't stand on it. Besides that it's mostly a rinse and repeat of pulling on the necklace to stun it and dealing damage with your sword or arrows.
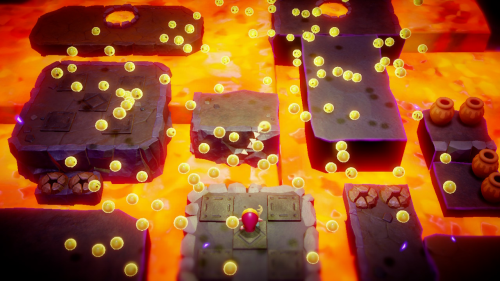
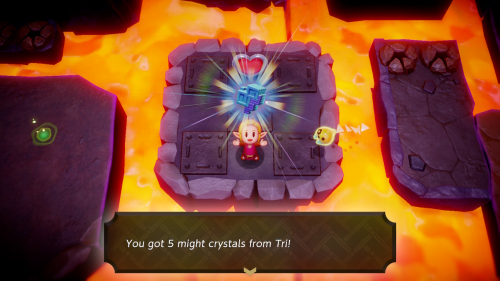
Once Volvagia is defeated Tri's friends will be freed giving Tri a lot of power, enough to get to Lv. 7, which further reduces the summoning cost of various echoes. You'll also get 5 Might Crystals.
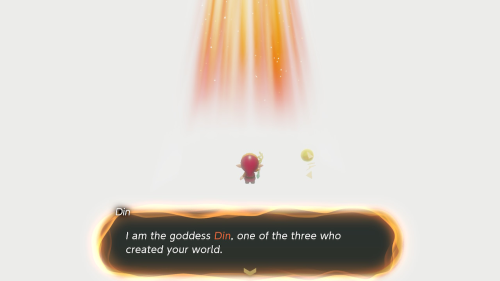
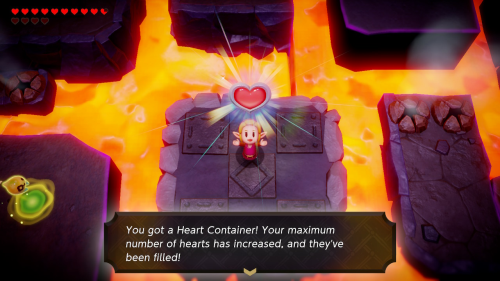
You will also be visited by the goddess Din, who will give you Din's Sanction. This is one piece needed to open the path to the Prime Energy. Make sure to pick up the Heart Container before exiting the still world.
Eldin Volcano Collectibles
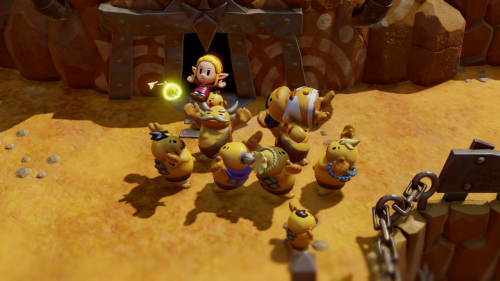
Once you arrive back from the still world, the people of Goron City will be very grateful and throw a little celebration. Now that the rift has been cleared, there are so more optional side quests and collectibles in this area to take care of before moving on. Feel free to skip to the next part of the walkthrough if you aren't interested.
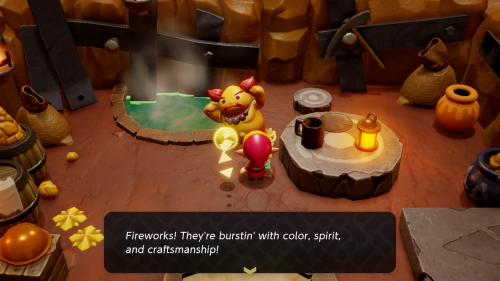
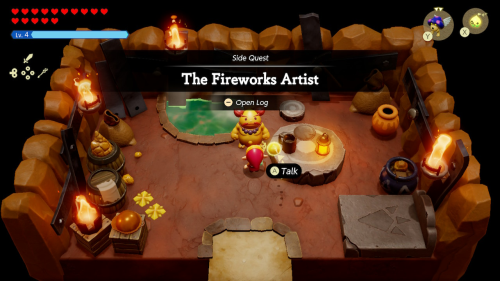
Start by heading into Goron City and entering the room in the top right. Here you'll meet Basa, a fireworks artist. He wants you to collect some blastpowder soil so he can make a new firework. This starts "The Fireworks Artist" side quest. To find some, you'll want to warp over to Rock-Roast Quarry.
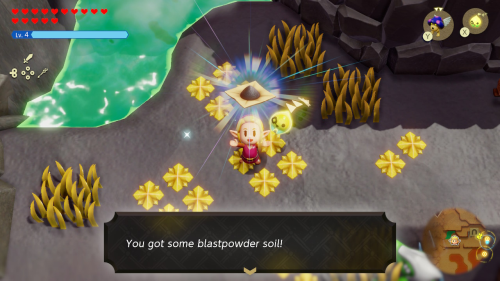
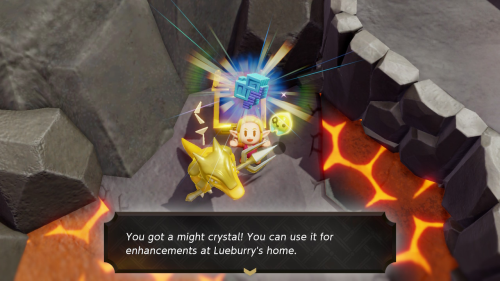
Up by the quarry you'll notice some of the golden flowers that Basa pointed out. There should be some sparkling ground around here that you can check out to find some blastpowder soil. There are a few more things in this area we can pick up before returning however. Use some water block towers to scale the mountain to reach the far northwest corner. Here you'll find a chest that contains 1 Might Crystal.
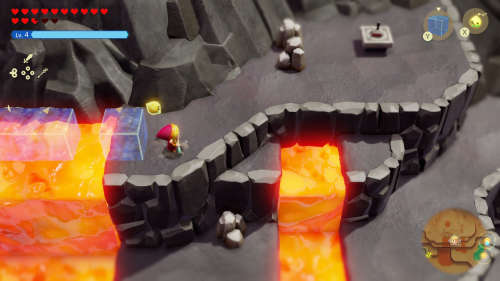
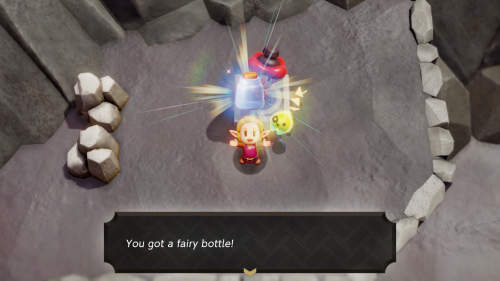
Now use some more water block towers to scale the higher part of the mountain to the east of the chest. You'll have to create a bridge to cross the river of a lava as well. On the other side you will find Stamp Stand #16. If you've been following along, this completes another stamp card. This means you'll get Fairy Bottle #4. You'll also get the exhilarating stamp card to start filling out.
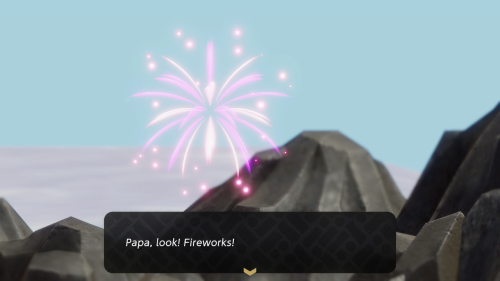
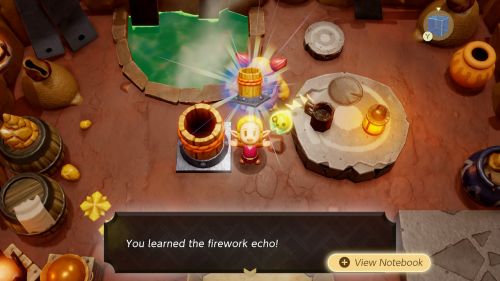
Return to Goron City and visit Basa once again. Hand over the blastpowder soil and he'll use it to make a new firework. This completes "The Fireworks Artist" sidequest and you'll get 50 rupees as a reward. More importantly, you can learn the nearby firework echo, which if you recall is needed for Dampé's next automaton.
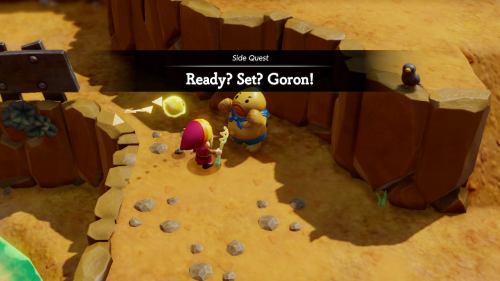
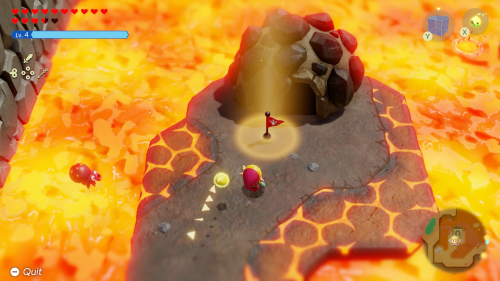
Head to the right of Goron City and you'll find a Goron who wants to challenge you to a Goron Race. This starts the "Ready? Set? Goron!" side quest. The goal is to be the first to reach the flag near the entrance to Lizalfos Burrow. There are arrows on the ground but you don't want to follow them. You'll need to use echoes (like water block towers) to take some shortcuts to win. Once you do, you'll complete the quest and get 50 rupees as a reward.
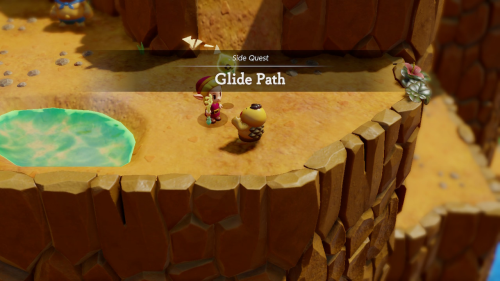
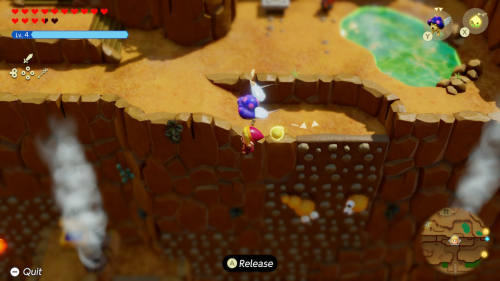
There's a Goron child to the right of the one we just raced who also has a challenge for us. This starts the "Glide Path" side quest. He sets up a course where you'll need to glide all the way to a flag on the west side of the mountain without touching the ground, using a series of air vents. You can do this by summoning a Ghirro echo and following the air vents to the left. You'll get 10 portions of rock salt as a reward.
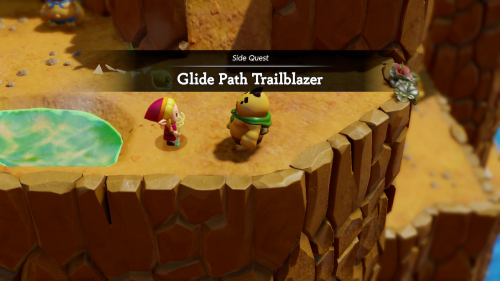
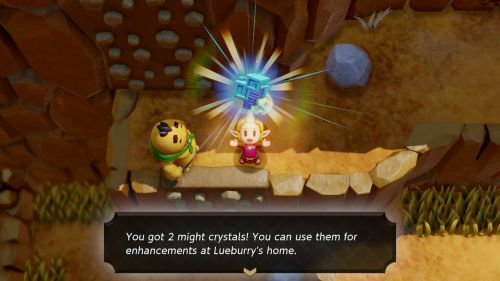
You can now speak to the same Goron child again. This time, he gets his brother who sets up a much more difficult gliding course called the Eldin Death Road of Pain. This starts the "Glide Path Trailblazer" side quest. This time around, you'll get less height from the air vents and there are several object to dodge. The main thing to watch out for is the steam vents near the end, you can simply go out and around them instead of staying too close to the mountain edge. You'll get 2 Might Crystals for completing this course.
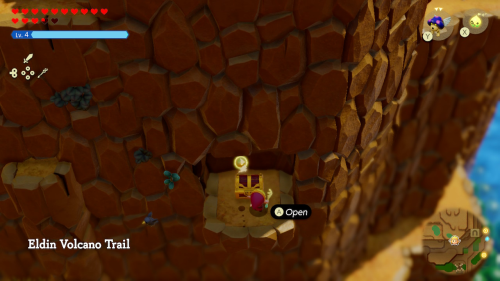
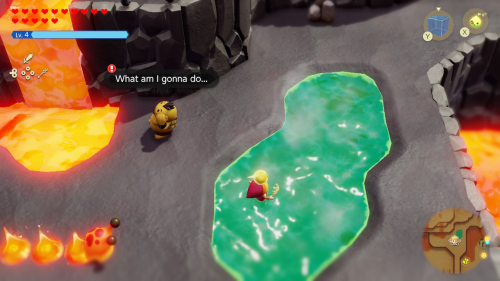
After completing those two quests, take a leap of faith off the cliff next to where the Goron child is standing. You'll land on a platform with a chest that contains 20 rupees. Now warp back to the waypoint near Lizalfos Burrow and get on the cliff to the west. Here you'll find a hot spring and a Goron with another side quest.
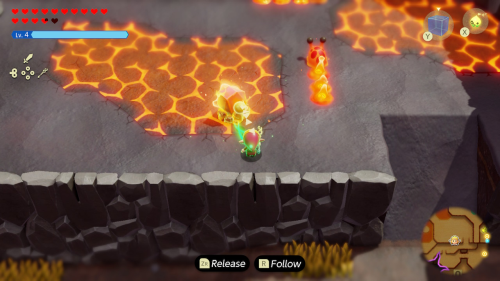
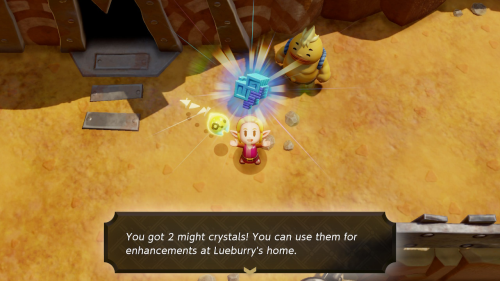
This is Ondes, and he needs help carrying some hot coal back to Goron City. This starts "The Flames of Fortune" side quest. The best path is to the left of this cliff. Once you get down there you can drop the coal onto the hot magma to reignite it and then make a run to the east for the entrance of Goron City. Drop it off right near the entrance and you'll complete the quest and get 2 Might Crystals.
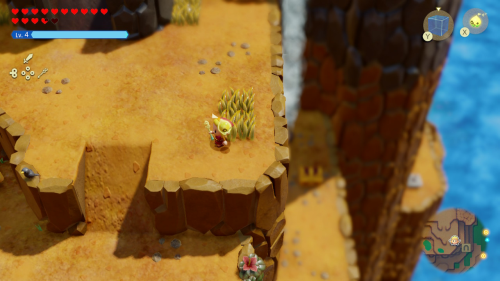
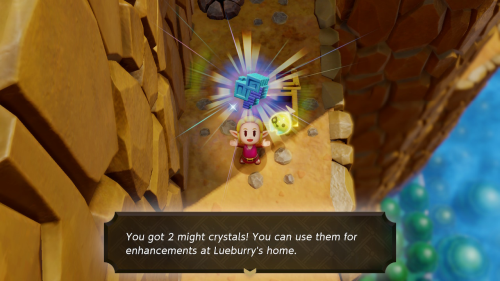
We'll now want to visit the eastern cliffs of Eldin Volcano to pick up some final goodies in this area. Directly to the east of the gliding course you can hop off the cliff to find a chest that contains 2 Might Crystals.
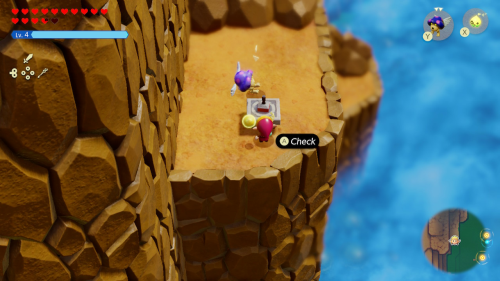
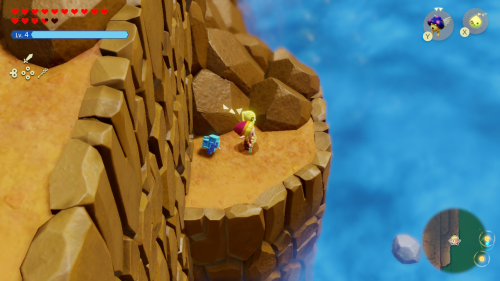
In the distance further north you'll notice a lower cliff. Use a Ghirro to glide over to it where you'll find Stamp Stand #17. After picking this up you'll see yet another smaller cliff to the north that you can glide to with a Ghirro. Here you can pick up the rock to find 1 Might Crystal underneath.
Stilled Western Eldin Volcano
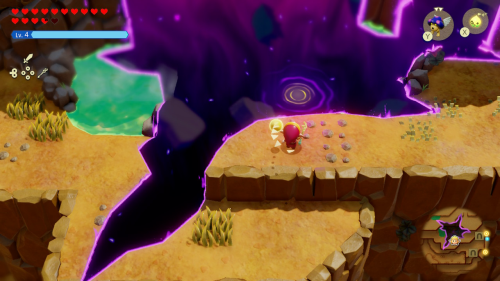
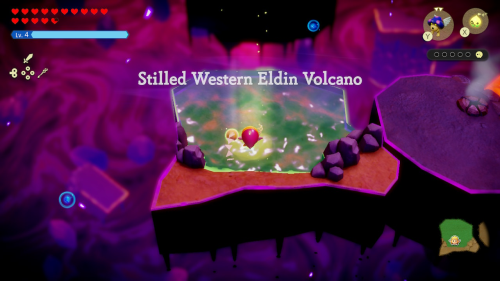
You might notice that there is still a minor rift in this area on your map. Warp over to Lizalfos Burrow and head southwest from there to find the rift. Have Tri create an entrance to the Stilled Western Eldin Volcano rift. You'll need to find five groups of Tri's friends here.
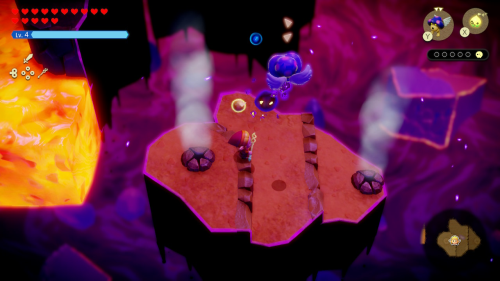
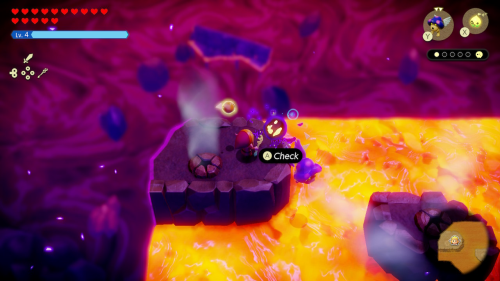
Start by summoning a Ghirro echo and using the air vents to fly to the right and back around to a center platform where you'll find the first group of Tri's friends. The next group can be found by following the air vents to the left to the corner of this lava pool platform.
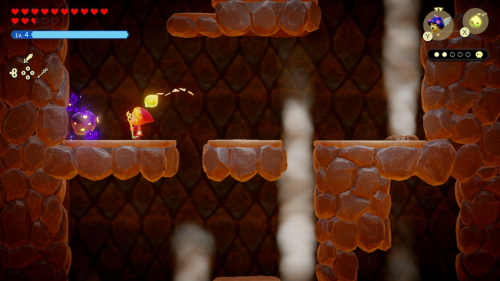
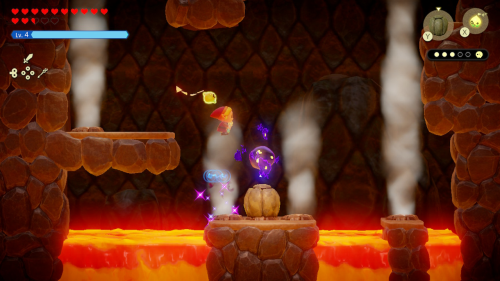
Now glide over to the right and head down the ladder to enter the sublevel. You can find another group of friends by jumping down to the left and defeating the shadow enemy. Then fall all the way down to the left and you'll see the fourth group in center of three vents. Float in the first vent and then place a boulder on the second one to block the airstream. You can then collect this group.
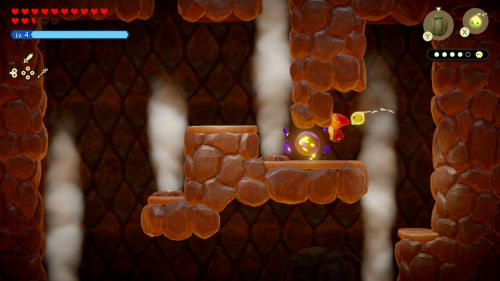
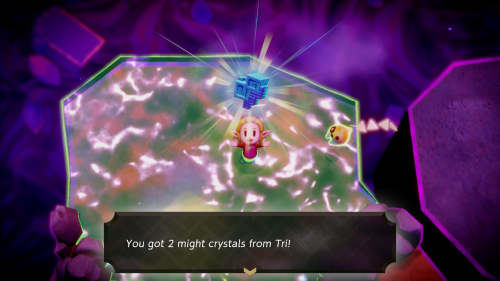
Take the airstream to the right back up to find and collect the fifth and final group of Tri's friends. With their help Tri will then mend this minor rift. He should also gain enough power to reach Lv. 8, further reducing the cost of some echoes. You'll also get 2 Might Crystals as a reward.
Summit Cave
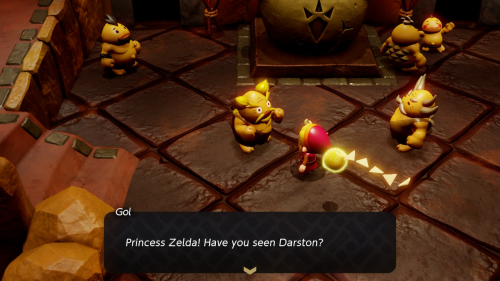
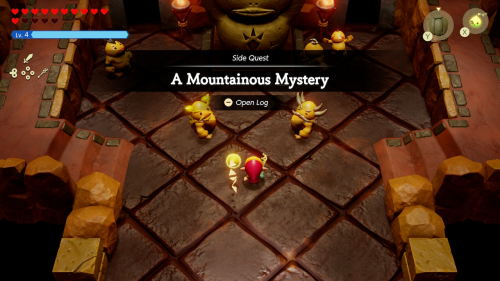
There's one final thing to do in this region, and it's actually a mini-dungeon. Start by warping back to Goron City and speaking to Elder Gol in the center of town. Apparently Darston has gone off to some cave and hasn't come back. This starts the "A Mountainous Mystery" side quest.
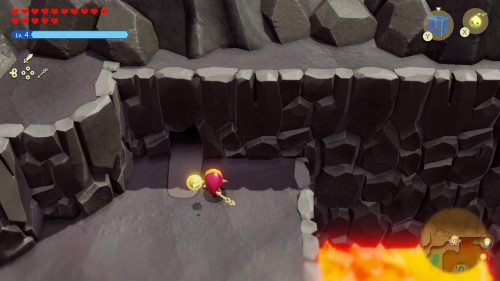
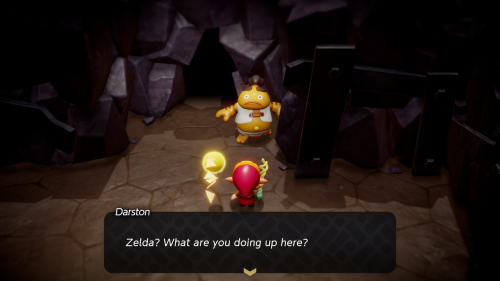
Warp over to Lizalfos Burrow and climb the cliff to the west. Head north on this cliff and you'll find a cave entrance. This is Summit Cave, and you'll see Darston in this first room. He warns of a flame giant that is making a lot of ruckus from inside the volcano.
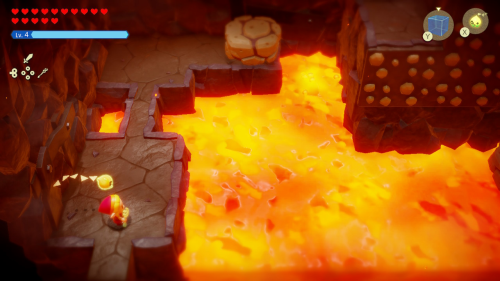
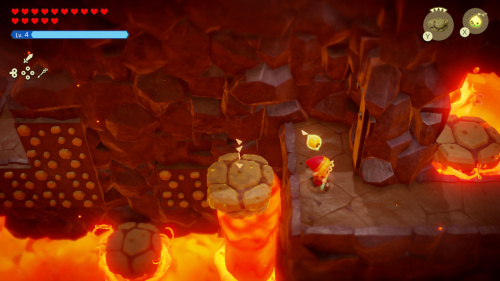
Continue to the next room where you'll need to head to the right using a series of lava rocks and lava pillars. Start by moving the first lava rock to the right and then climb the rock wall. You can then summon another lava rock on the next pillar to reach the higher area.
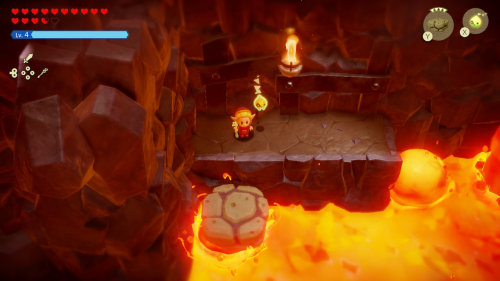
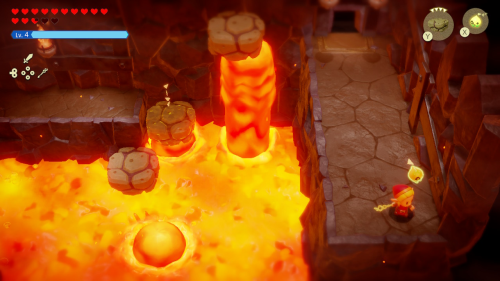
You'll now have to solve a bit of a puzzle, as you'll need more lava rocks in this next section than you can actually summon yourself. Start by standing on the first lava rock and then summoning another on the pillar in front of you. Then stay here and turn to the right and bind to the lava rock to the right. Now jump across to the back ledge while still binding and place this lava rock on one of the pillars. You can then use this plus one more lava rock you can summon to reach the higher area to the right.
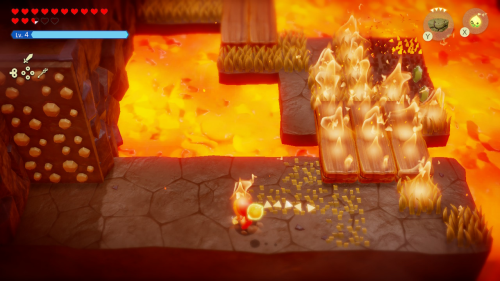
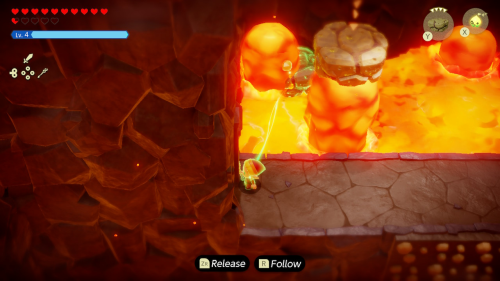
This next room is full of Fire Keese who will light the grass on fire, making it difficult to manuever. Just wait for the grass to burn out and summon a couple Peahats to attack the Keese. At the end of this room is another lava pillar puzzle. Simply bind to the far right lava rock while you are still on solid ground and move it over to the left lava pillar. You can then summon another lava rock on the pillar in front of you and use these two to reach the higher ledge.
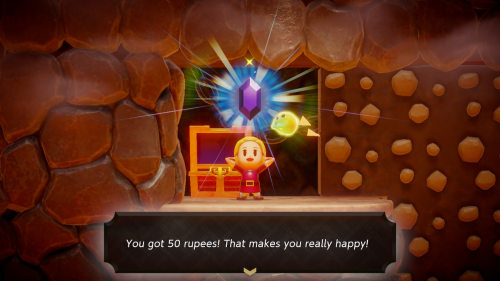
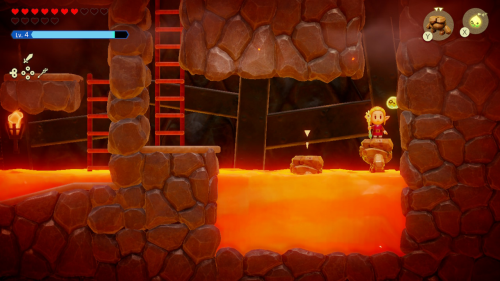
Take the ladder down into the sublevel where you'll find a room with rising and falling lava. When the lava falls quickly run to the right and climb up the rock wall. Take out the torch slug with your bow and then open the chest to the left to get 50 rupees. Wait for the lava to fall again and continue right and take the ladder up to the higher area. In the final section you'll need to summon a couple Tweelus that will rise and fall with the lava to reach the ladder to exit this sublevel.
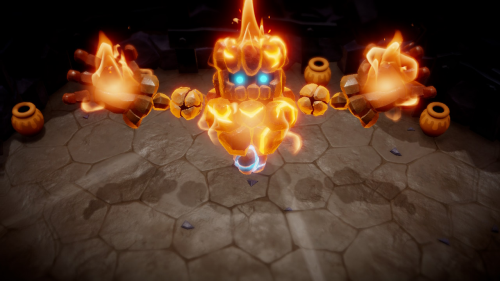
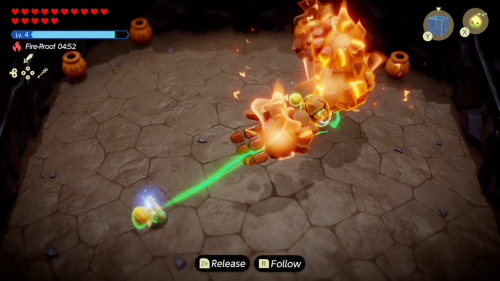
This is the final room before a boss, so make sure to heal up and use a fireproof potion if you have one. Enter the room to face the Flame Giant, who is very similar to the Seismic Talus boss we faced earlier - only he is covered in flames. The same tactic to deal damage still applies: you'll need to bind to the glowing blue orb and pull it from his body and then slash it in swordfighter form (or summon echoes) to deal damage.
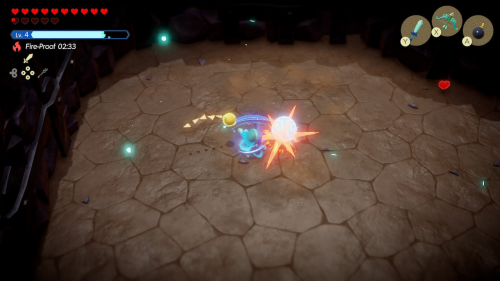
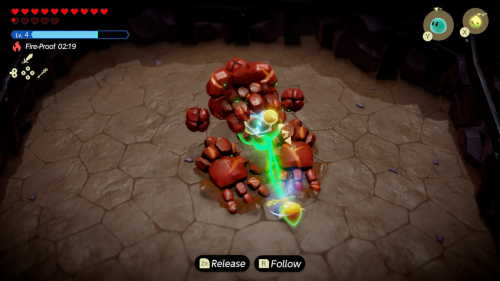
The orb starts below him where you can just bind it. But as you deal more damage the orb will move to above his hands, in his head, and in his back. You'll need to stand on his hands to bind to the orb in some cases. For his back, you can summon a boulder and then bind to the orb.
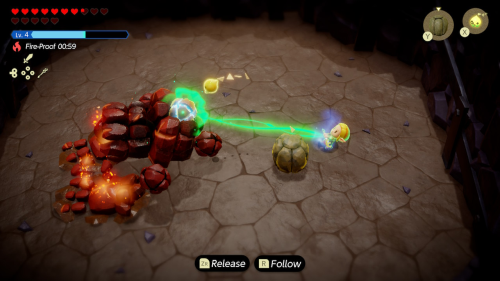
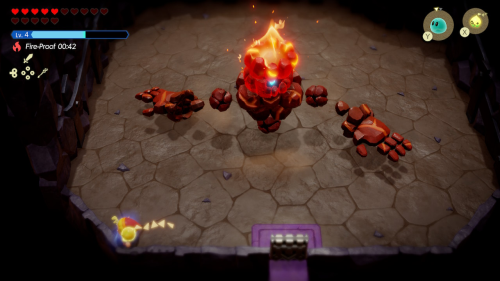
Standing on his hands may be challenging when they are covered in fire. However, you can use water echoes like the Hydrozol to put out the flames on different sections of his body. This will be necessary before you can pull the orb out during the second phase. The Flame Giant is also quicker than the Seismic Talus and has an extra spinning move, so be careful.
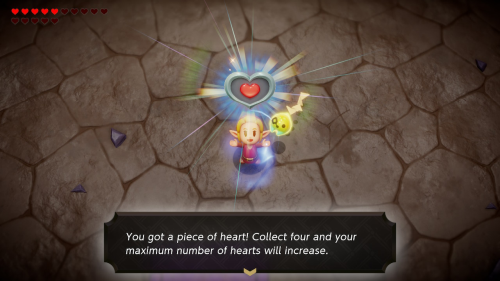
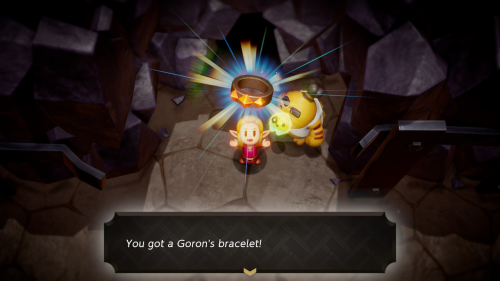
Once you've done enough damage to the orb Flame Giant will be defeated and leave behind many rupees, as well as Piece of Heart #28. You can then teleport back to the beginning of the cave and speak to Darston. As an additional reward for completing this quest, you'll receive the Goron's bracelet equipment.
That's all that there is to do in the Eldin Volcano region, so we'll be heading to the Faron Wetlands in the next part of the walkthrough.
Back to Eldin Volcano Continue to Faron Wetlands