
Part 12: Faron Temple
Faron Temple
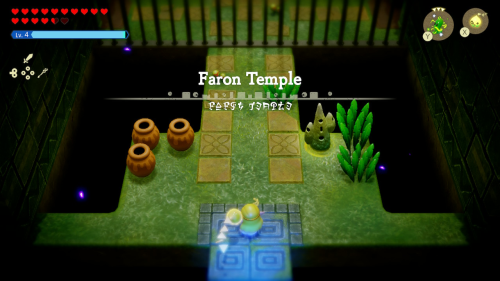
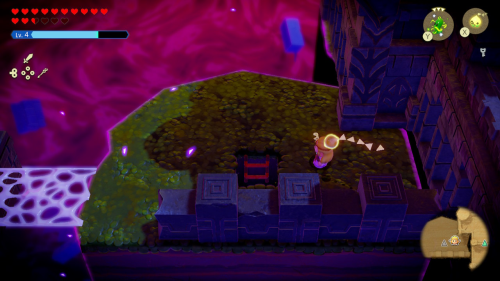
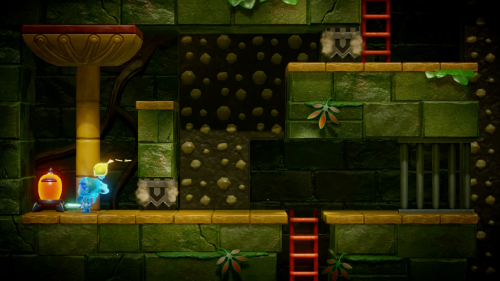
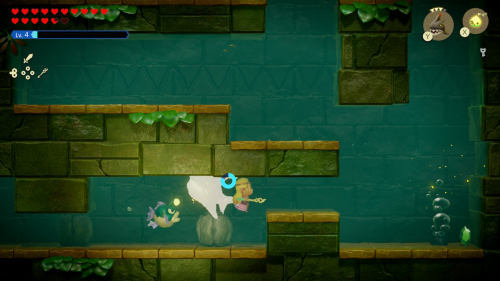
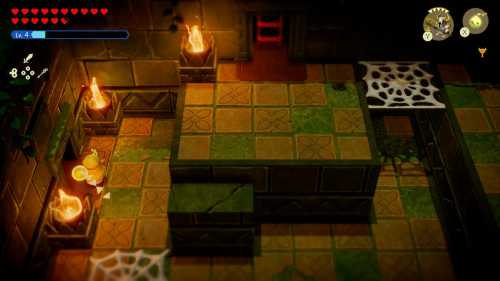
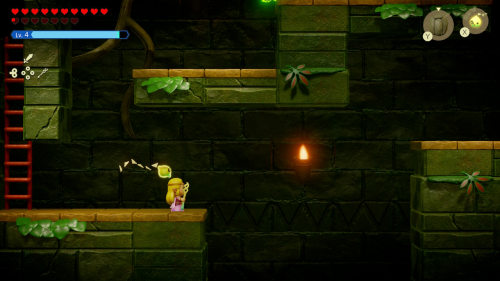
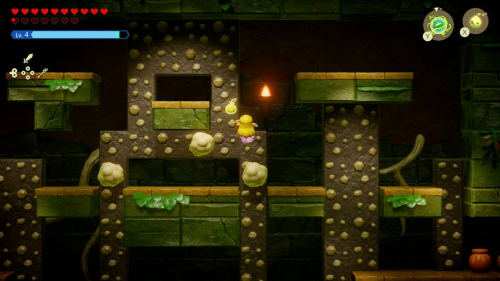
The Faron Temple dungeon is quite unique in that it is not as linear as the other dungeons in the game. There are multiple entrances and exits that you'll need to navigate. Head through the main entrance of the dungeon and activate the waypoint. That's as far as you can get with this entrance, so we'll have to find another. Check out the large past of grass to the east next to the web ramps to find a ladder extending underground.
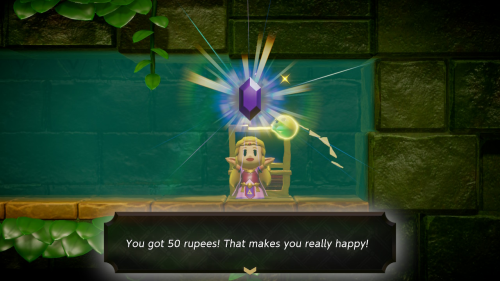
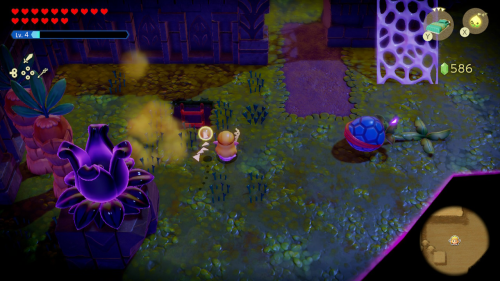
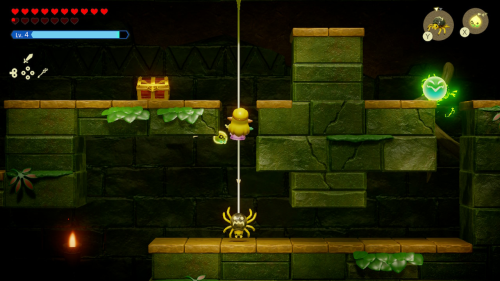
You'll find yourself in a sublevel with an underwater current to the left. Hop on in and then lure the Armos below out of the narrows passage so you can get behind it and reach the chest containing 50 rupees. You can then take the ladder to the left out of the sublevel.
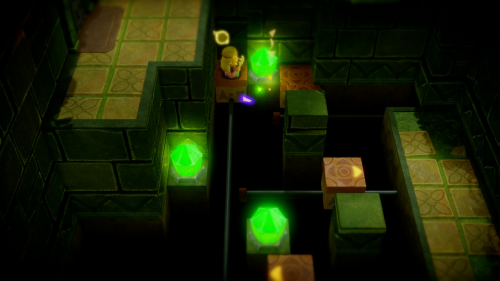
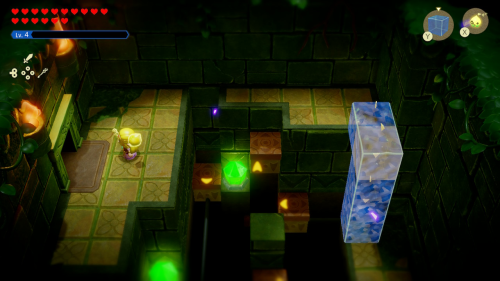
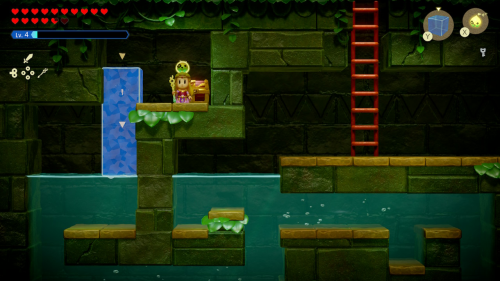
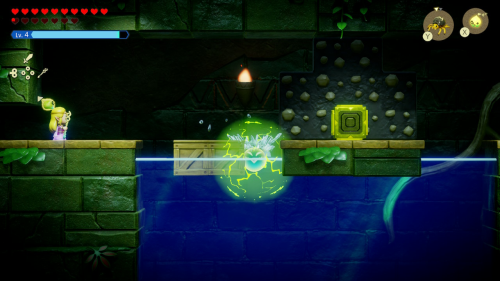
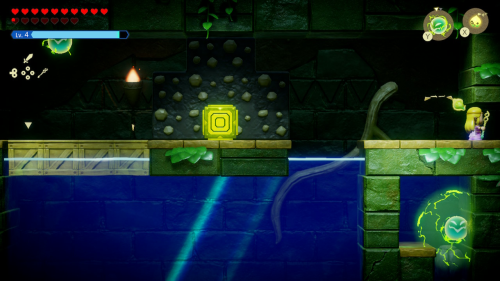
In this room, there are three green switches that need to be activated with electricity. The best way to do this is to reach the left moving platform that moves north and south along the room. It's adjacent to all three switches, so just place a Buzz Blob on each switch as you pass it. This unlocks a door on the higher floor to the left. You can build a water block tower to reach it.
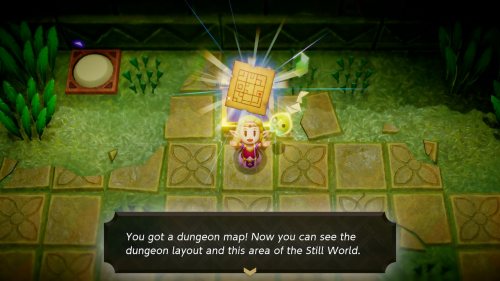
In this little room you can open the chest to find the dungeon map. Then press the switch to open the door to the left. You'll be back in the first room of the dungeon. Press the switch on the lower floor to lower the bars and connect back to the main entrance. Then head through the door on the top left of this room.
Defeat or run past the enemies in this room and take the lower exit that leads back outside. Head east on this level and you'll find an Armos statue blocking another entrance. Move it out of the way and head back inside using this entrance.
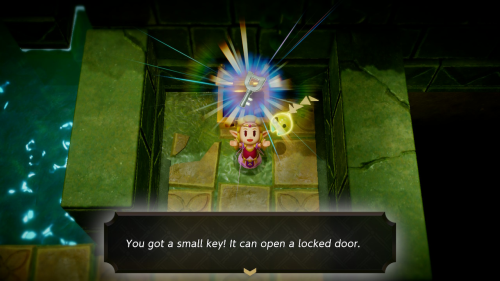
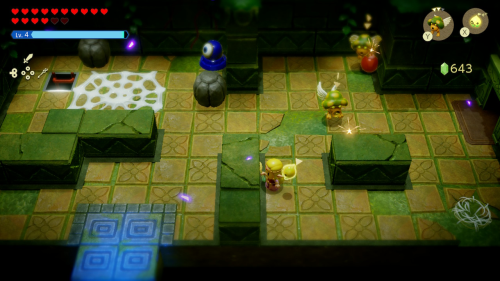
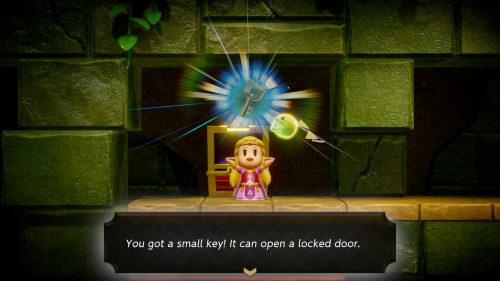
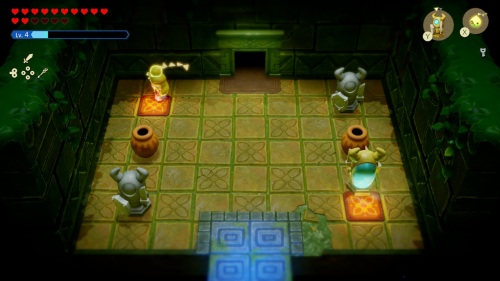
There are three green switches to activate in this room. Summon an Electric Keese from a distance between the two switches on the left and then quickly get on the wooden box to the right. Summon a Buzz Blob in the corner to activate the third switch. This will spawn a chest that contains a small key.
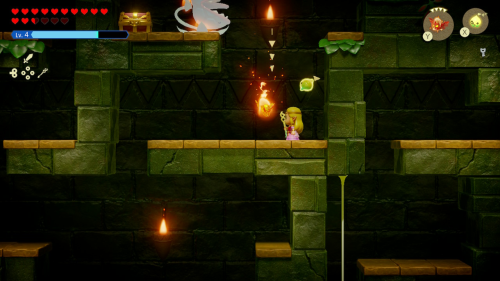
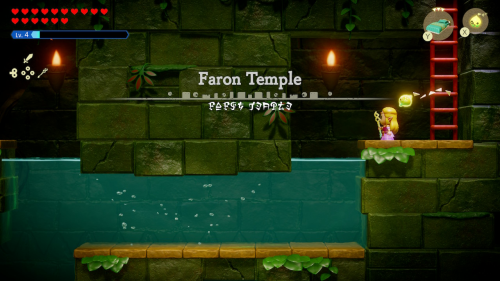
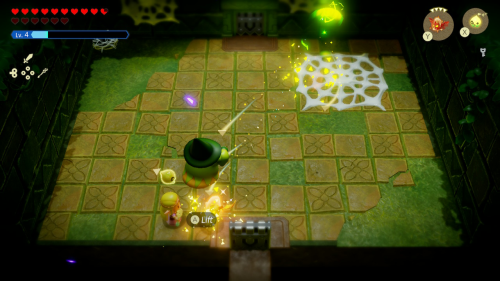
Head back outside and back left on this balcony. Rather than coming back the way we came, drop off to the left and take the ladder down to another sublevel entrance. Drop down to the left and summon a Fire Keese to take out the two Deku Babas. Then summon some Strandtulas to climb across the gap and up to the top area. Use a Fire Keese to take out this Deku Baba and open the chest to get 10 warm peppers.
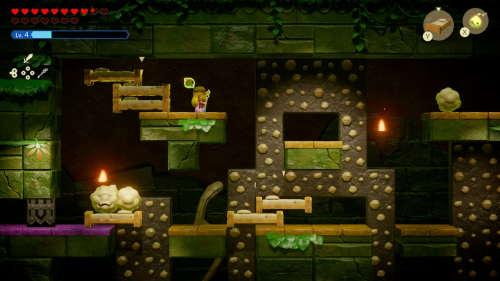
Drop back down and use Strandtulas to get to the right side of this sublevel. In the next room, there are two platforms that act as scales. If you place heavy objects on the left platform, it will sink while the right platform rises. Place two boulders on this left platform and then the right platform will rise enough that you can summon a Strantula below it and climb up and out of this sublevel.
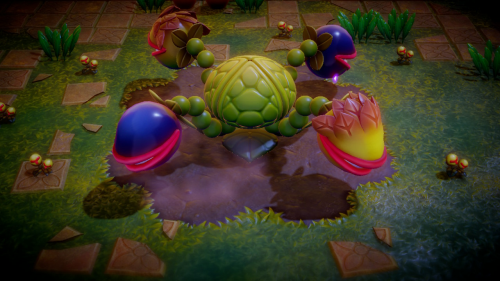
Diababa
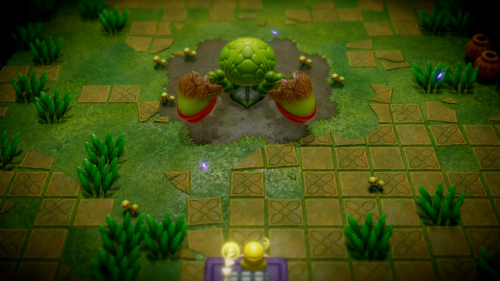
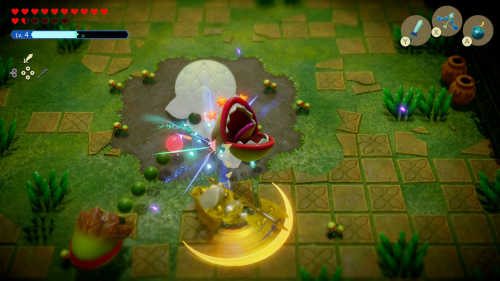
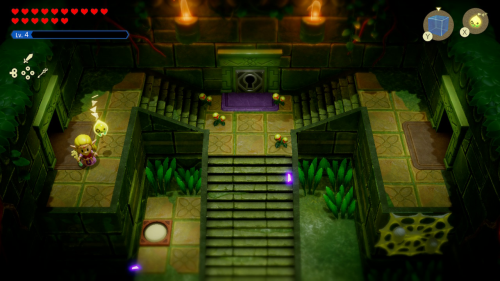
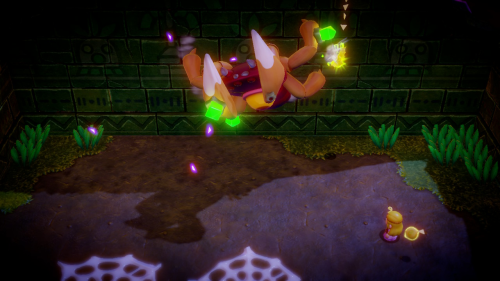
You'll find yourself back in the main entrance room. Open the locked door with the small key to take on the miniboss of this dungeon: Diababa. This is a very straightforward fight: damage the Deku Baba heads a few times to stun them and then slash away at the red weak spot on their neck. Have a Darknut Lv. 3 alongside you to help. Once both heads are defeated the Diababa will leave the room. We'll need to go track it down in a different part of the dungeon.
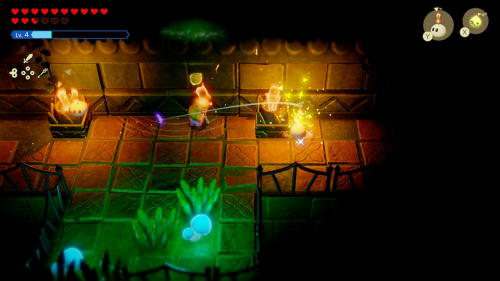
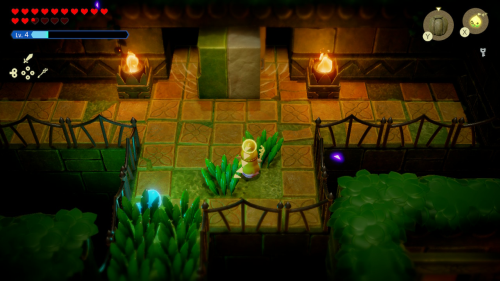
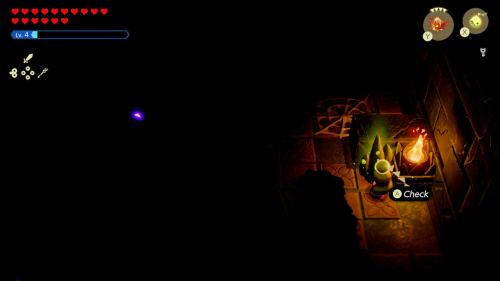
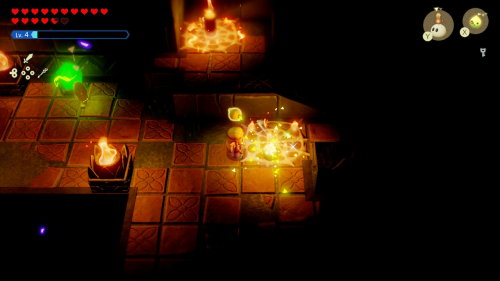
Return to the entrance room and take the door on the left on the lower floor. Knock down the grass to find a staircase leading down to 2F. This room is dark maze, but you can find a waypoint in the center. You'll want to find and light all the torches to permanently light up the room. Remember that you can place your own Brazier echoes to help find them.
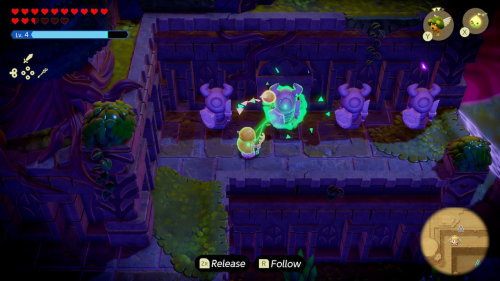
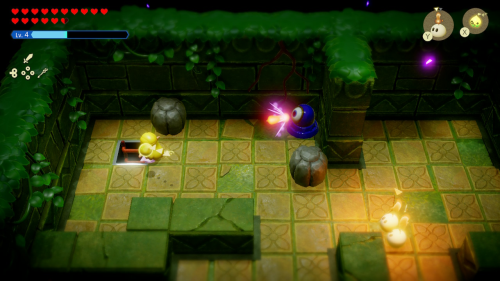
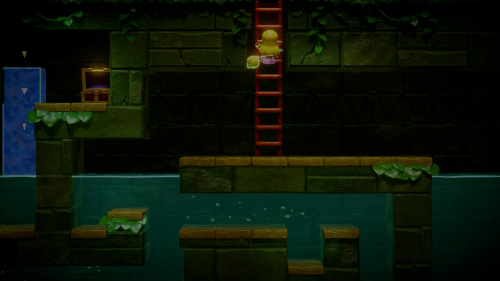
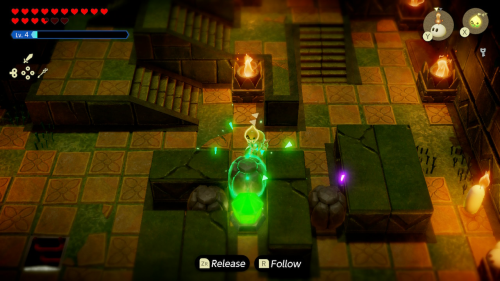
Take the ladder in the northwest corner of the room to a little sublevel. Summon some boulder echoes through the bars on the right to lower the platform and raise the one on the left. You can then climb up and get under the left platform and hit the switch, opening all the doors in this room. Open the chest up top to get a small key. You can then take the ladder back down the same way we came.
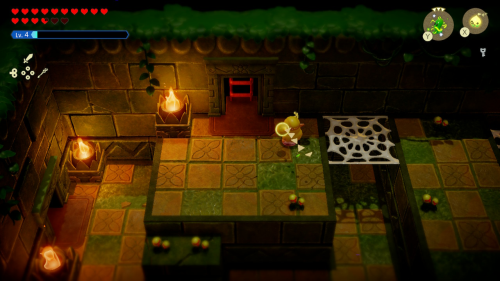
Back in the torch room, look along the north wall between the two torches. Bind to the right side of the wall and pull back to reveal a hidden passage. Inside you'll find a chest that contains a small key.
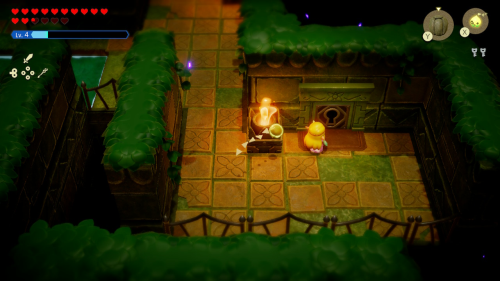
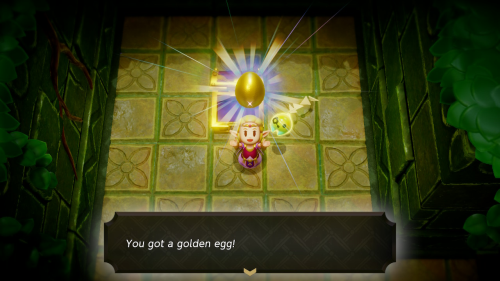
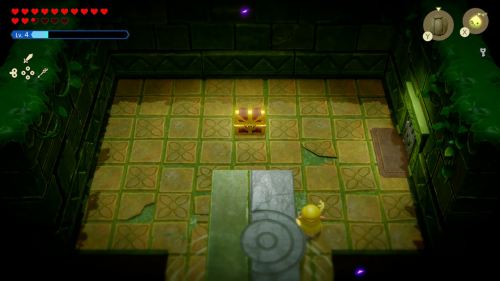
In the southeast corner of this room there is a locked door that you can open and take the stairs down to a small room. Inside is a chest that contains a golden egg. Now back in the torch room you'll want to take the south exit.
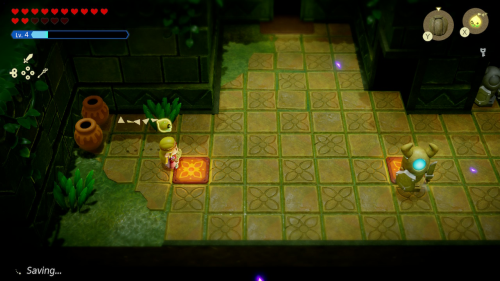
In this room, you can lure an Armos statue onto one of the switches and then stand on the other at the same time to open the locked doors. There's a waypoint in the next room to activate before heading back outside through the pool of water. You can then head back into the dungeon through another entrance to the right behind some webbing.
In this room you'll want to ignore the two Armos statues that are already here and summon your own Armos echo in the lower right so it passes over the switch. Step on the other one at the same time it passes over to unlock the door ahead. You'll need to defeat an Electric Wizzrobe in the next room. A Fire Keese is useful here as it can take out the webbing on the ground and deal damage to the Wizzrobe. Besides that you can just jump up and slash or shoot arrows to defeat it.
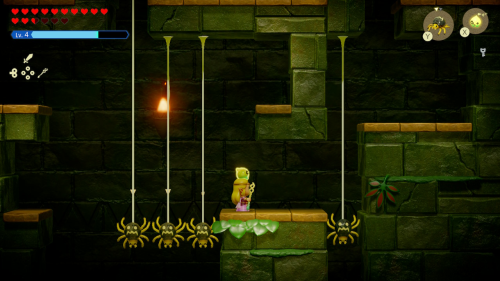
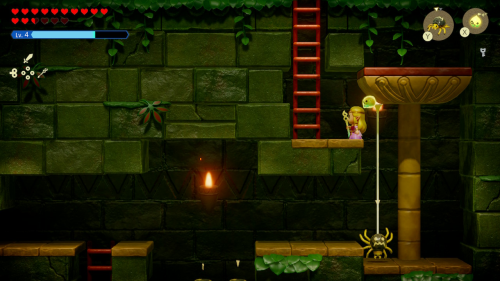
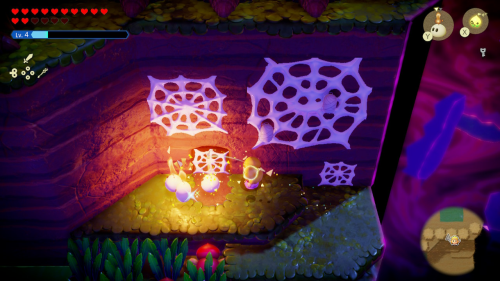
The next room is another dark maze with a waypoint to activate. There are several spiders in here. You'll want to just use fire to your advantage to burn all the webs, take out the spiders, and light all the torches. Once the room is fully lit up you can see the ladder in the southwest corner.
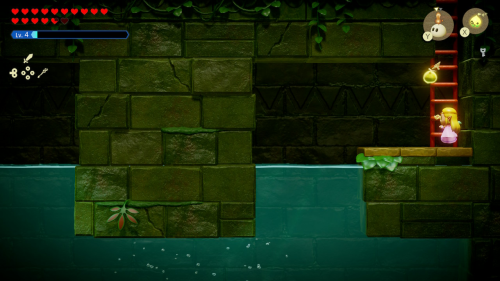
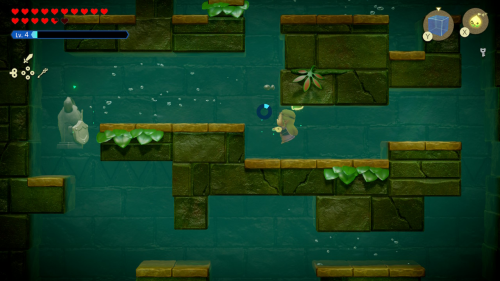
You'll find yourself in another underwater sublevel. Have a Chompfin ready to go to take out the enemies. At the bottom of you'll find some boulders that you can just push forward with bind. Follow the currents and stick to the left side of the room. Resurface on the far left and you can use some water blocks to reach a chest that contains 50 rupees.
You'll now have to deal with the Armos statue in the way in the middle of the room. The trick is to bind to it from a distance and then use the space to the right and above you to push it into the current area to the left. It's a tight window, so you might have to move up and down a bit to wedge it in so you can push it out of your way. You can then take the ladder up out of this room.
This is another dark room. You'll want to go around and light all the torches before solving the puzzle in here. Once the room is lit up you'll see three electrical switches. You can easily activate these by quickly running between them and placing down Buzz Blobs. Doing so will open the doors on the left and right of the room.
Take the door to the right back to a previous room. This time take the ladder up to a new sublevel. There is another balance puzzle in here, but it's quite simple. Just place two boulders on the left platform and then use a water block tower to get on the ledge under the right one. You can then exit the sublevel and reach a room with another waypoint.
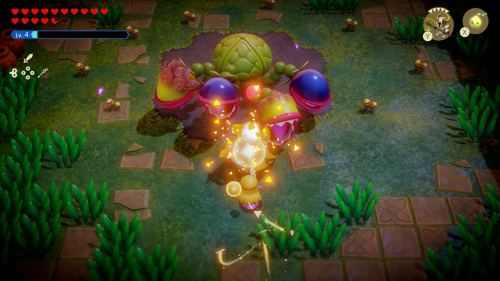
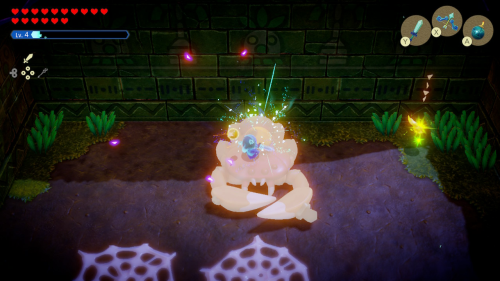
Enter the next room to face Diababa for a second time. This phase of the fight is similar to the last, except that Diababa now has four different heads of two different colors. The orange heads act the same as before. You can attack them with an echo (Darknut Lv. 3) or slash at them yourself to stun them and then attack the weak point on their neck. Take these two out first.
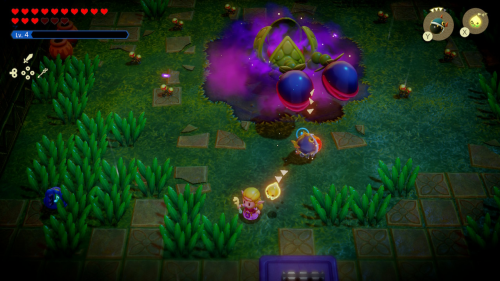
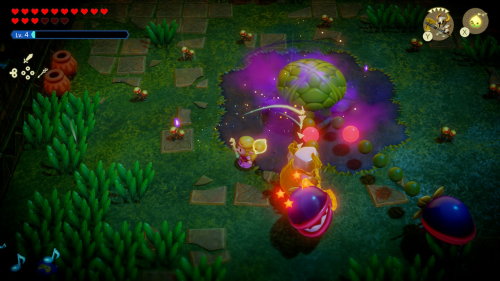
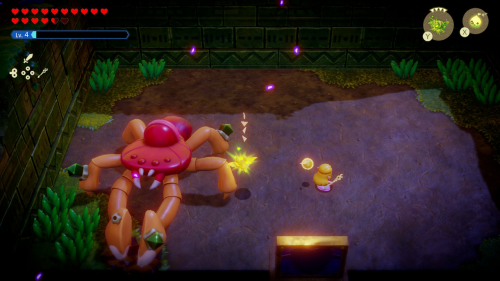
The blue Diababa heads are immune to normal attacks. However, you can use the fact that they eat anything in their path against them. Place a bomb or Bombfish echo in front of them and they will swallow it up and be stunned by the explosion. You can then attack their weak point and take them out like the other heads.

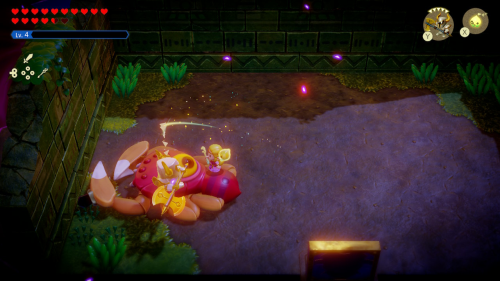
Once they've all been defeated, Diababa will leave behind the boss chest with the big key inside. Either warp or navigate back to the room with the electrical switch puzzle on 2F. You can now take the left door to reach a new room.
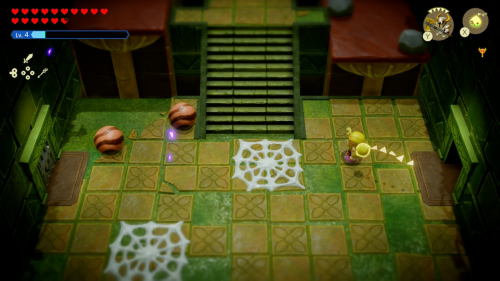

Take out the Baby Gohma eggs and you'll find another balancing puzzle to solve. Remove all the rocks from the right platform and summon an Armos echo so that it would walk over the switch if the platforms were level. Then leave only 1 rock on the left platform and they should be balanced with you standing on it. You can then time the Armos landing on the right switch to land on the left switch and open the locked doors in this room.
Boss - Gohma
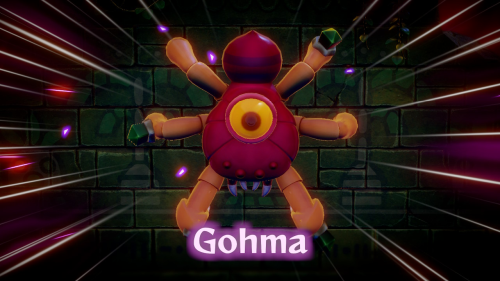
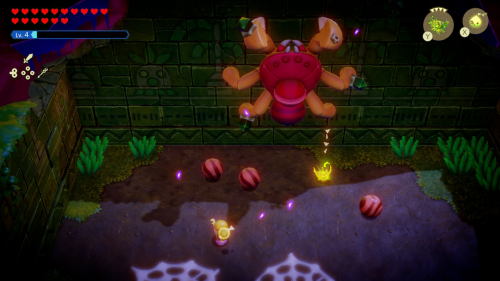
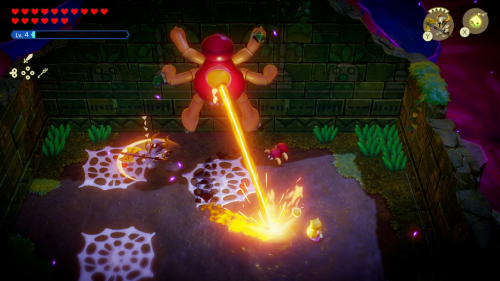
Activate the waypoint and make sure to heal up before heading through the boss door. You'll be greeted by a familar boss in the Zelda series: (Queen) Gohma. During the first phase, she will hang on the wall and rotate around. She spits webs and lays her eggs. It's best to take them out while they are still in egg form.
You'll notice there are small green crystals on some of her legs, which are actually electrical switches. You can summon an Electric Keese to do your dirty work for you. It will target these switches and when all three are activated Gohma will be stunned and you can get some slashes in on her eye.
In the second phase she'll take to the ground and attack you herself. Try to stick to the side of her body to avoid the very fast claws. Besides operating on the horizontal plane, this phase is very similar. Have an Electric Keese activate her switches and then slash at her eye when she is stunned. If you run out of energy, you can summon a Darknut Lv. 3 on her to do a lot of damage.
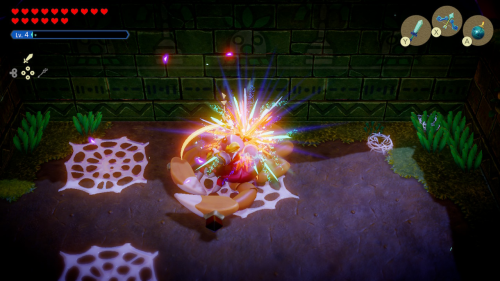
The final phase is a combination of the first two, where Gohma can stick to the wall or move on the ground. Make sure to balance attacking her switches with an Electric Keese and keeping the arena cleared so you don't get overwhelmed by small enemies. She can also shoot a lazer from her eye in this phase, so just dodge that until she switches to a different attack. Once she is stunned one more time you should be able to get enough slashes in to defeat her.
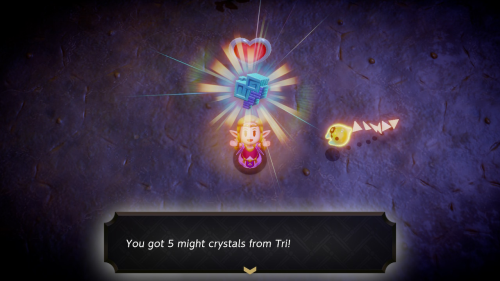
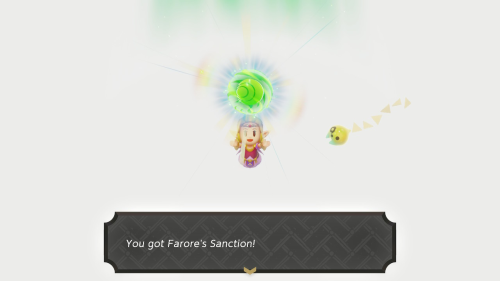
Once Gohma is defeated Tri will gain more power reach Lv. 9, which will increase the number of echoes you can summon. You will also receive 5 Might Crystals. You'll then see a cutscene where the goddess Farore will give you Farore's Sanction and tell you a creation tale.
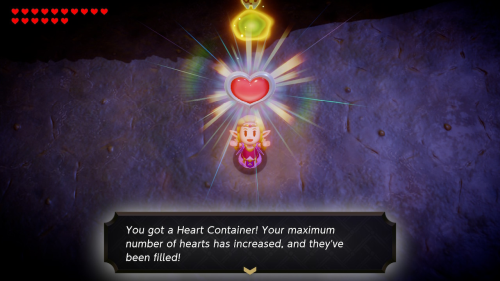
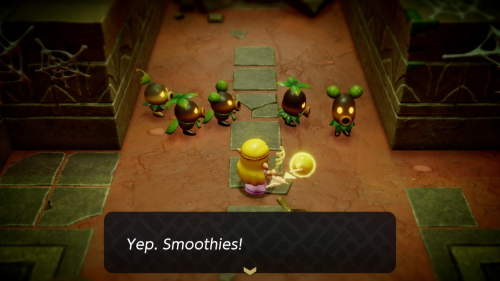
Make sure to pick up the Heart Container before returning to your world. When you get back the Deku Babas will thank you for the rescue and then be entranced by a new sweet treat: smoothies. Peace has been restored to Faron Wetlands, but there are still a few things we can do here before moving on to the next main quest.
Faron Wetlands Collectibles
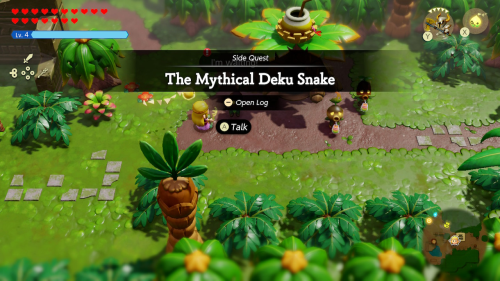
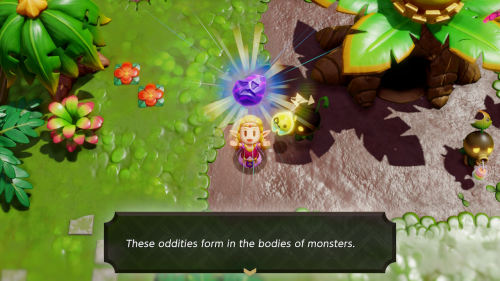
Start by speaking to the Deku Scrub to the left of the smoothie shop. This starts "The Mythical Deku Snake" side quest. All you need to do to complete it is give him 3 electro apples. You'll get 2 monster stones as a reward.
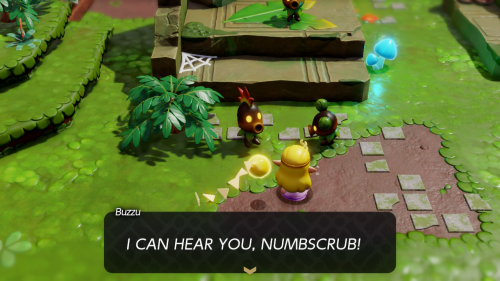
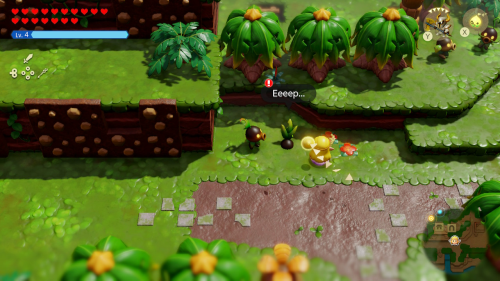
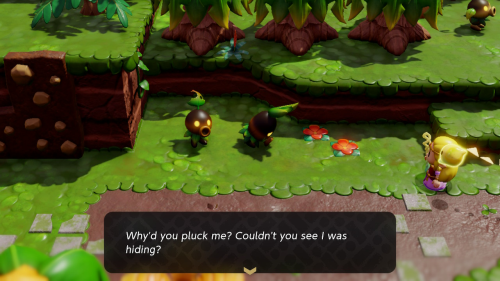
On the west side of town you can speak to the Deku Scrub with a mohawk (Bempu) who will tell you about his annoying friend Buzzu. They want to play a game of hide and seek, starting the "Looking for Bempu" side quest. The first hiding location is in front of the smoothie shop. You'll need to pull him out of the ground with bind. Bempu will hide again, this time near Heart Lake. You'll find him hiding in the ground in the northwest corner.
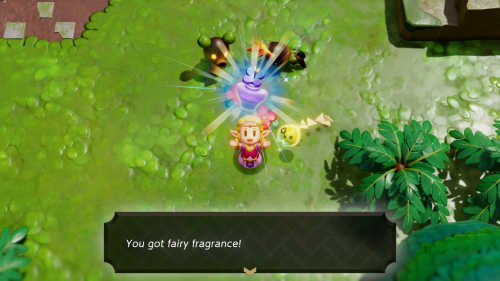
The next hiding location is "between four stone siblings". This is the staircase area to the northwest of Scrubton. The final hiding location is at Blossu's House in the southeast corner of the wetlands. Pull him from the ground for a final time to end the game. The two will make up and the side quest will be complete. You'll get the fairy fragrance as a reward. It's an accessory that increases the appearance of fairies.
Return to Scrubton and head to the south exit of town where you'll find a Deku Scrub hiding underground next to his friend. Pull him out and speak to him to start the "Mobbing Mothulas!" side quest.

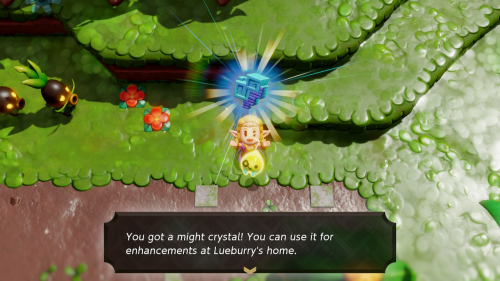
Visit the area to the east of the Hidden Ruins where you'll find three Mothulas. An easy way to defeat them is using an Electric Keese to stun them and then slash away with your sword. Speak to the same Deku Scrub afteward and you'll get 1 Might Crystal as a reward.
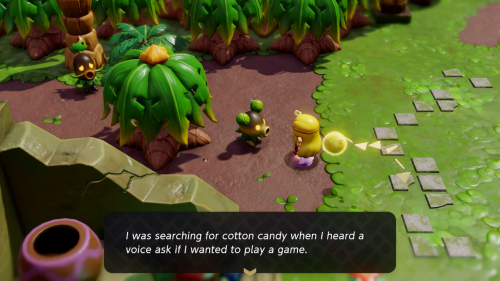
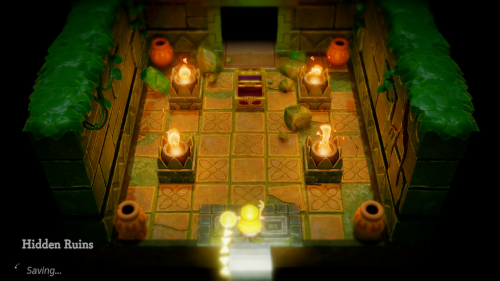
Speak to another Deku Scrub in the northwest corner of Scrubton and tell them you like cotton candy. This starts the "Cotton-Candy Hunt" side quest. You'll need to warp over to the Hidden Ruins and complete a small dungeon. If you haven't unlocked it already, you can find the entrance to the hidden ruins by defeating the Drippitune in the area and lighting the torches on the columns.
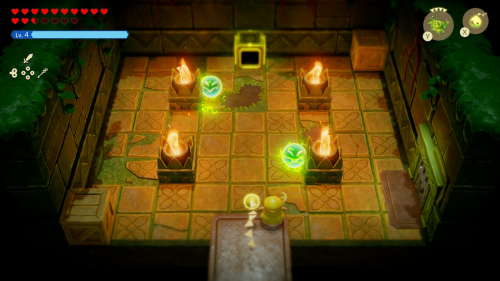

You'll now see a new door opening behind the chest we opened before. In the first room you can place some echoes to guide the Sparks to the electric box, or you can simply bind to them and drag them there. Set fire to everything in the next room and then either guide the Sparks to the box or just summon your own and place them in the box.
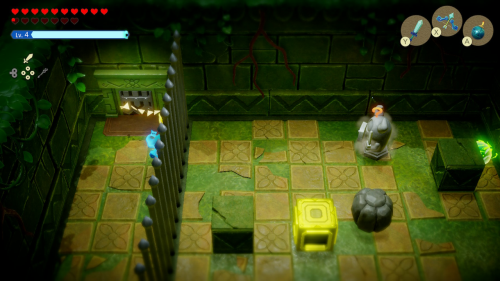
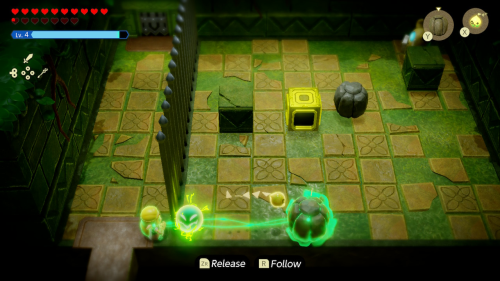
The next room is a little tricky, as you'll need to guide the Sparks through the grate and you won't be able to bind all the way to the edge of the room. The trick here is to activate the Armos statue with an arrow to disrupt the Spark stuck back there. Once the Sparks are along the outer perimeter of the room, you can use a boulder to guide them up to the box and open the next door.
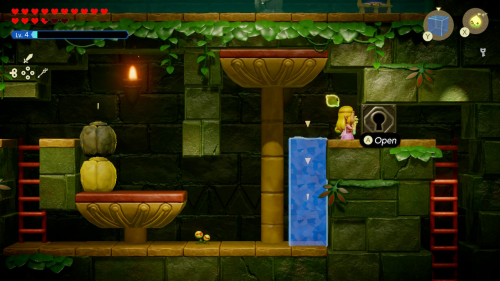
In this sublevel there are Sparks all around and large gaps in the floor. You can bind to a spark and follow it to get across the first gap. You can then summon a Strandtula and quickly climb up it before a Spark gets there to reach the chest and get 20 rupees. Then use a Strandtula on the right side to exit this room to the right.
Still in the sublevel you'll find yourself in an underwater area. There are three spread out Sparks that you can carefully guide to the box in the center of the room. Or you can simply build a quick bridge there and summon three of your own Sparks to immediately open the door to the right. Continue to the right past one more room.

In here you'll need to face off against this large piece of cotton candy we've been hearing about: and it's Smog once again. This fight is similar to the last one, but it takes place in a 2D sublevel, making it much more vertical in nature. Smog will split into three parts, and you'll need them to collidie to combine back into one monster you can damage.
The key to getting the parts to combine is to get them off the small platforms that they rotate around. If you can get them down into the lower area, you can place beds over the gaps to trap them down there. You can also bind to them to get them to switch directions. Once they are combined, you can summon ranged echoes and use arrows to deal damage to Smog.
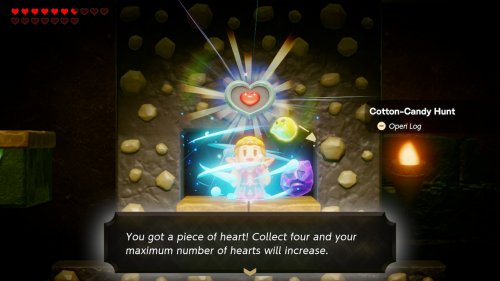
In his second phase, Smog will split into five parts instead. It's more time consuming, but the process is the same. Get them to combine however you can and then deal damage to Smog in large form. Once defeated he will leave behind Piece of Heart #34, a couple monster stones, and many rupees.
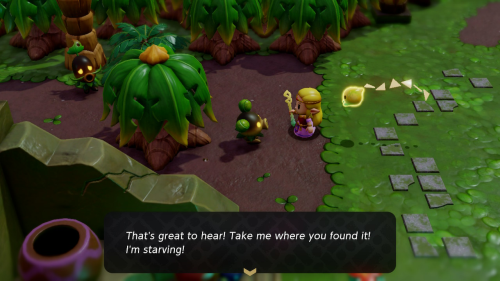
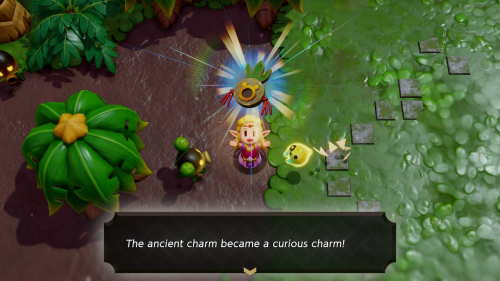
Return to the Deku Scrub in Scrubton to complete the quest. They don't believe that what they saw was a monster and not cotton candy. But as a reward, they will transform your ancient charm into a curious charm. Wearing it will further decrease the damage that you take.
That's everything there is to do in the Faron Wetlands. In the next part of the guide, we'll be heading towards the final dungeon in the "Lands of the Goddesses" main quest at Holy Mount Lanayru.
Back to Faron Wetlands Continue to Hebra Mountain
