Side Quests
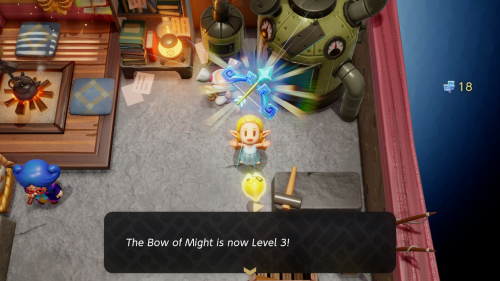

Before continuing the main objective in the Faron Wetlands, there are a few things to do throughout Hyrule. The first is to stop by Lueberry's House to spend some of the Might Crystals we've been collecting. You should have enough to fully upgrade your bow and to upgrade your new bombs. This will allow you to hold "A" to transform your bombs into a Bombchu.
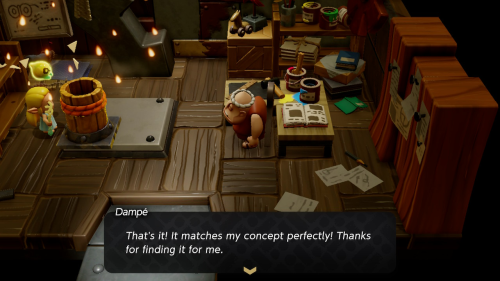

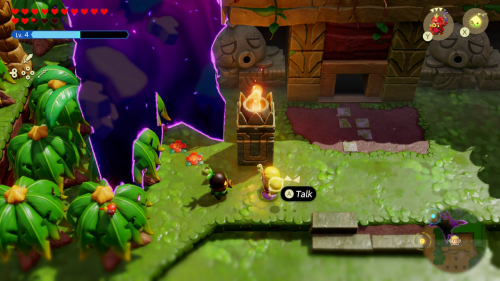
We can also pay another visit to Dampé in his home now that we have the firework echo. Place an Octorok echo followed by a firework echo on his platform. He will use this inspiration to create the Tocktorok automaton. It's a little robotic Octorok that spits out fireworks. This completes the "Explosions Galore!" side quest.
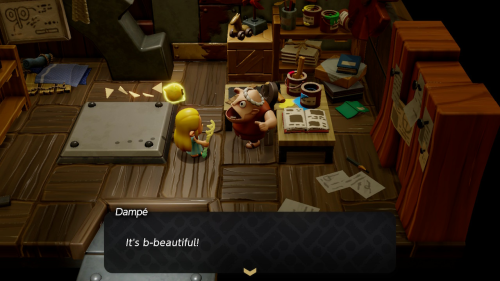

Check out Dampé's journal again and choose the "Performance Artist" recipe. You'll then need to show him a Zol echo and speak to him to give him the Prismatic Music Box we got earlier from a flag race on Hyrule Ranch. He will then make you a Gizmol automaton. This Zol sings and dances to distract enemies.

Those are the only automaton we can make for now, so let's head to Hyrule Castle Town to make use of one of them. Speak to the kid on the west side of town who we showed all the Zol to earlier. This starts the "An Out-There Zol" side quest. Show him the Gizmol we just made to complete the quest and get Piece of Heart #30 as a reward.
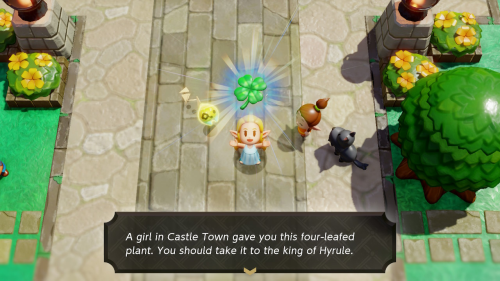

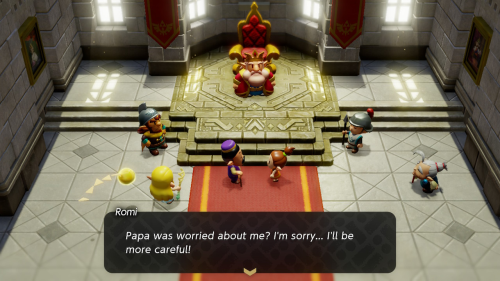
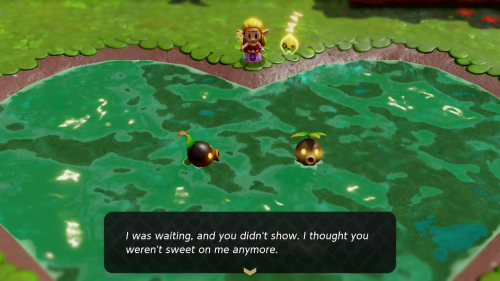
Head towards the castle and speak to the girl next to her black dog. This is Romi and she gives you a happy clover to give to your father, the king. This starts the "From the Heart" side quest. Enter the castle and head to the throne room to deliver the clover to the king.
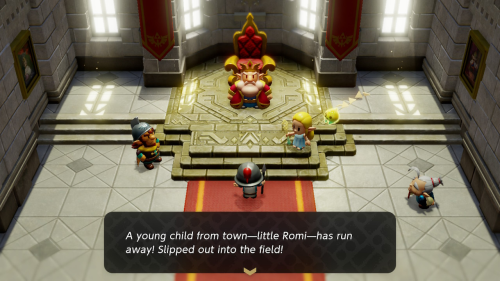

After you hand over the happy clover, a soldier delivers the king some news that Romi has run out of town and may be in danger. We'll of course need to go check on her. Follow the road out of town and listen to where the soldiers along the road tell you to go. This leads to a new rift that has opened up in Hyrule Field.
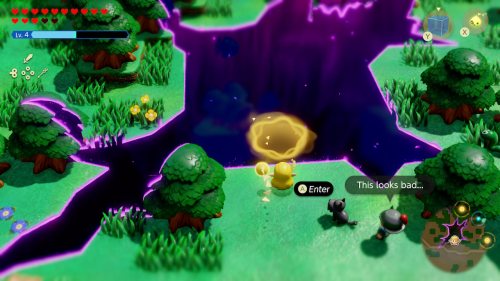

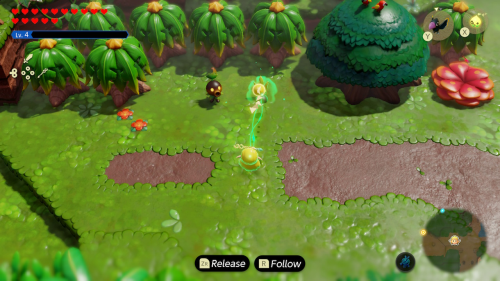
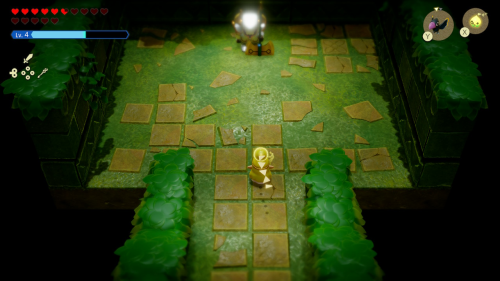
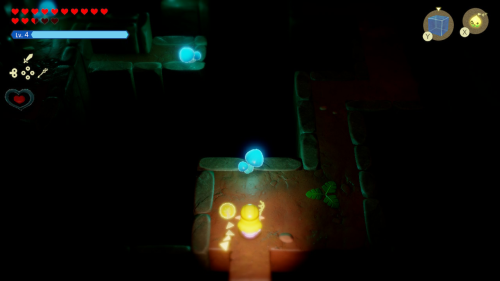
As might be expected, Romi has been swallowed up in this rift. Have Tri create an entrance and enter the Stilled Southern Hyrule Field rift. You'll need to find and free three groups of Tri's friends inside.
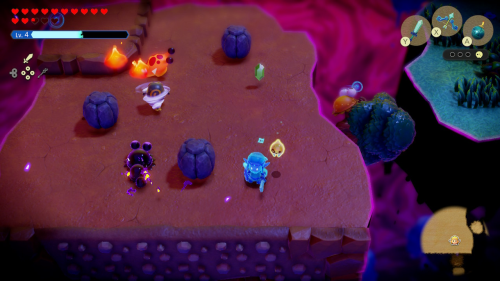

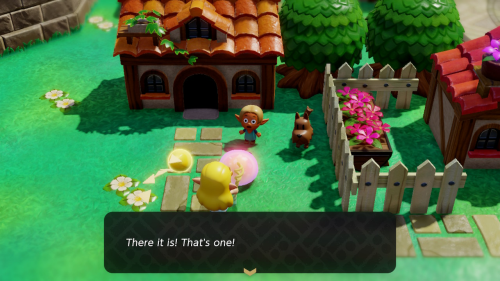
Head to the left on these platforms until you reach a climbing wall. You can clear out the torch slugs on the wall with some Tornando echoes. Once you reach the top defeat the mini-moldorms and you'll find the first group of Tri's friends. Continue to the right to the area with many Peahats. Quickly defeat the shadow Zol here to find the second group of Tri's friends.


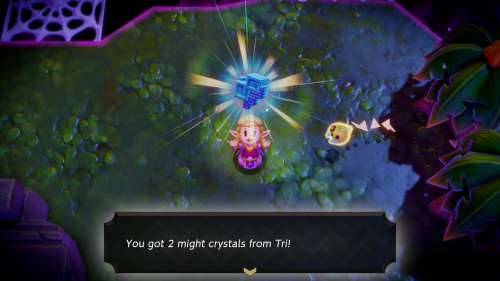
Continue to the right across some more tree platforms and you'll find a pool of water. You'll see a shadow Tangler in here that you'll need to defeat to find the third and final group of Tri's friends. You will get 2 Might Crystals as a reward and Tri will mend this rift.

After the rift is cleared and Romi is saved, you'll return to speak with the King of Hyrule. Romi and the King will thank you and you'll be given the customary attire outfit as a reward. This outfit will give you the classic Princess Zelda look. This completes the "From the Heart" side quest.

Now that the rift is cleared, we'll actually want to return to that area of Hyrule Field via the nearby waypoint. Head north into the grove of trees. At the northwest corner of this grove you'll find a bare spot in the ground. You can use a Holmill here to dig up 1 Might Crystal.

Next we'll want to head over to Seesyde Village and speak to the cat near the waypoint while wearing cat clothes. This cat wants to reward her owner by giving her a treat: a smoothie. She doesn't quite remember the name, but thinks it's something like the "Warmix Spatial" smoothie. This beings the "A Treat for My Person" side quest.


What this cat is actually after is the "warm mixed special" smoothie. If you don't have one, you can head to the Smoothie Shop nearby to the east. You can make one by mixing a Warm Pepper with a Refreshing Grape/Tough Mango/Fresh Milk. Return to the cat with the smoothie and hand and give her owner the smoothie. You'll complete the side quest and be given 1 Might Crystal as a reward.
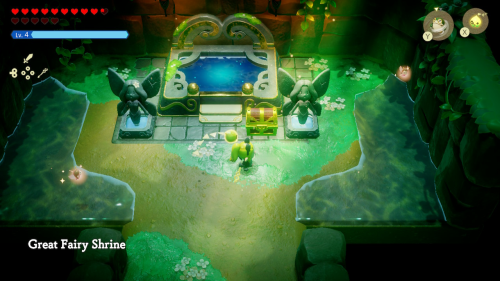

The final thing to do before starting the next main quest is to visit the Great Fairy Shrine in Lake Hylia. If you already purchased three accessory slots before, you'll notice a chest in here. Open it to get 1 Might Crystal. If you haven't, go ahead and upgrade your accessory slots as much as you can and then re-enter the fountain to find it.
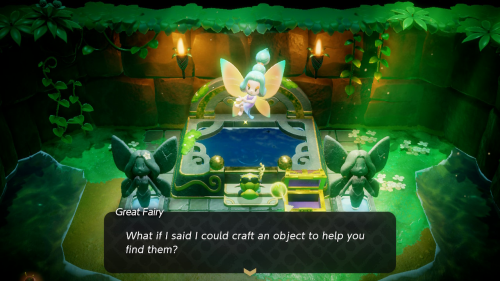

After opening the chest the Great Fairy will chastize you but let you keep the reward. She also offers to make you something to help find Might Crystals. That may not be super useful if you are using this guide, but we'll get it nonetheless. This begins "The Great Fairy's Request" side quest. Go ahead and skip this next section if you aren't interested in this little trading quest.
The Great Fairy's Request
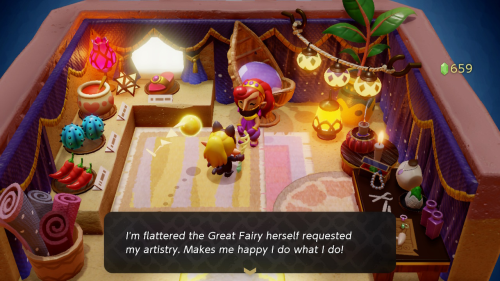

Warp over to Gerudo Town and speak to the shopkeeper. She's happy to help but needs you to gather some materials. She needs a floral seashell and a magma stone. These are one of a kind items, so we'll need to make some special requests for them in their respective areas.
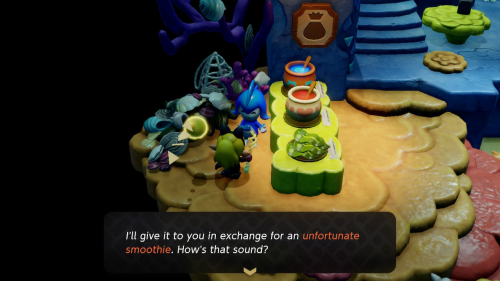

Warp over to Zora Cove and speak to the shopkeeper there. As it turns out, they just found a special shell. All they want in exchange for it is an unfortunate smoothie, which you may already have if you've been experimenting. If not head over to a smoothie shop and mix together two pieces of rock salt (or any of the other many combinations). Return to the Zora Cove shop and exchange the smoothie for the promised floral seashell.
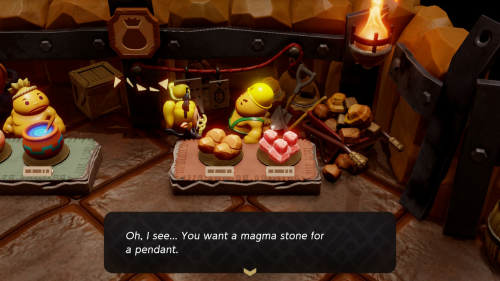

Next warp over to Goron City and enter the shop. Speak to the shopkeeper who is selling the rock items. He says that you can find magma stones in Lizalfos Burrow, but it's currently infested with Lizalfos. Warp over to the area and enter Lizalfos Burrow.

Navigate to the end of the cave, taking out the Lizalfos along the way. In the final room of the cave you'll need to defeat the three Lv. 2 Lizalfos enemies. They can deal a lot of damage when they swarm you, so throw down a strong echo to at least distract some of them while you defeat them with swordfighter form. Afterward the shopkeeper will find a magma stone for you.
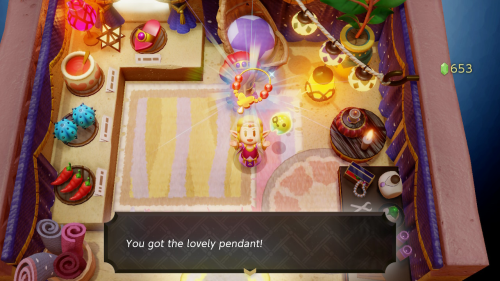

Return to Gerudo Town and speak with the shopkeeper. She'll get to work creating the lovely pendant. You can now warp back to the Great Fairy Shrine and deliver this gift to the Great Fairy. As a reward you'll get the might bell. This piece of equipment can be equipped as an accessory and will ring when you are near a Might Crystal.
Faron Wetlands


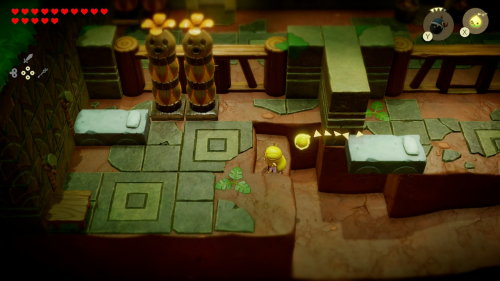
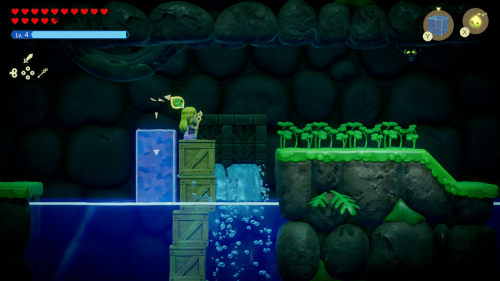
The path to get into the Faron Wetlands is not as clear as the other areas, but it actually starts from here in Lake Hylia. Head to the southeast corner of the lake to the piece of land next to the waterfall. Use a water block tower to get on the cliff here and head north. You'll find a Moblin camp here that you can clear out. The nearby chest will be unlocked that contains 7 riverhorses.

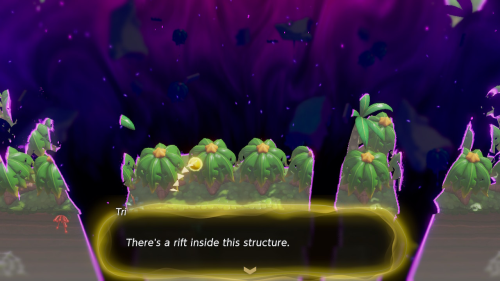
Now head east and you'll find a climbing wall that you can take down into the Faron Wetlands. You'll find a waypoint that you can activate right away. As you continue on the path in this area Tri suggests that there are many rifts in the area but we should check out the biggest one first.
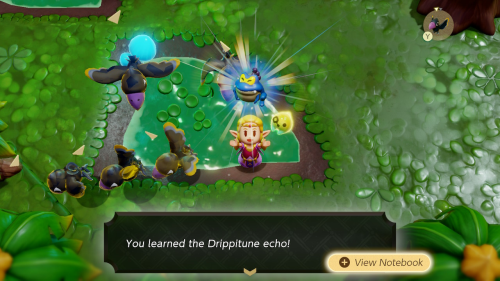

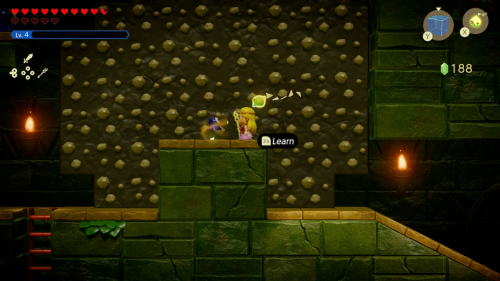
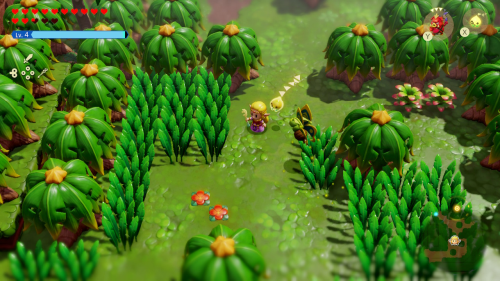
The initial path through this area is quite linear, so you can just follow it to the east. You'll come across a frog that's sitting on a tree stump. This guy can summon rain with his song. Defeat it and learn the Drippitune echo. You'll also see a number of blue mushrooms in this area. Most of these are just mushrooms, but some are an enemy in disguise. Once you see one, defeat it to learn the Hoarder echo.

Continue to the east and you'll soon come across the natives of this area: Deku Scrubs. You'll need to use bind to pluck the one on the right out of the ground and speak to him. Ask about the recent trends and you'll learn about some dark thorns in the area that are somehow linked to the production of cotton candy? He suggests checking it out to the north.

Follow the path up the stairs to the north and then continue east. You'll find two Deku Scrubs guardding a door that seemingly leads to the rift entrance. This is also known as "The Sweet Spot". After speaking to the Deku Scrubs out front you'll learn that you need a membership card to get in.
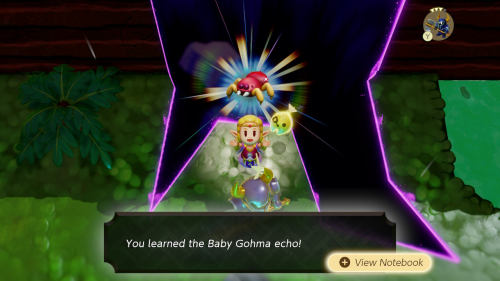

Continue to the east and you'll see a new type of spider enemy. Take it out and learn the Baby Gohma echo. You'll also see a few electric enemies that emit a large shield of electricity when in water or rain. You'll need to use a ranged echo or your bow to take them out. You can then learn the Buzz Blob echo.

Use a water block tower to get on the land to the north next to the waterfall. Make sure to defeat the Drippitune up here to stop the rain. You'll find Stamp Stand #18 up here. To the left you'll see a crystal behind a spider web. Build a bridge of old beds to reach it and then use a fire enemy like an Ignizol to burn away the web. You can then collect 1 Might Crystal.
Scrubton
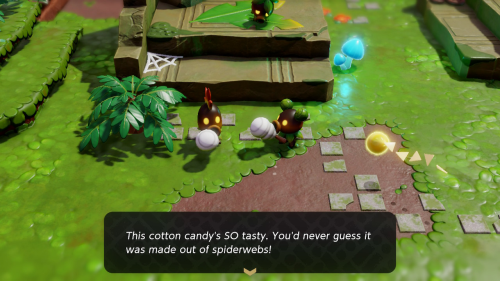

From here you'll want to head west to find the town of Scrubton. You'll see that many of the residents of this town are busy munching on some cotton candy made from spiderwebs. Make sure to activate the waypoint on the northeast side of town. There is also a chest nearby that you can steal 5 portions of radiant butter from.
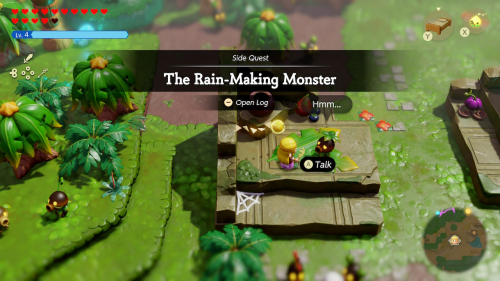

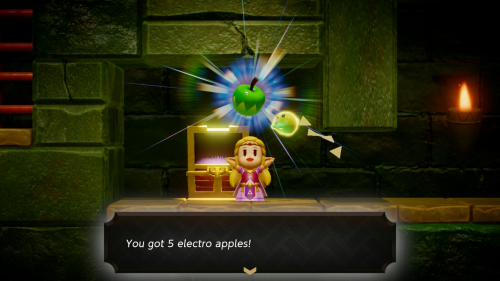
Speak to the sad looking Deku Scrub who wants to find the source of the rain. This starts "The Rain-Making Monster" side quest. All you need to do to complete it is show him a Drippitune echo. You'll quickly complete the quest and get 8 electro apples as a reward.
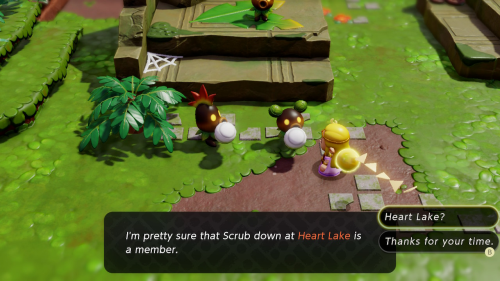

The only thing left to do in town for now is speak to the various Deku Scrubs who are eating cotton candy. They'll each tell you about someone who might have a membership card. They point you in the direction of Heart Lake, the Eastern Ruins, and the corner of the wetlands. On the east side of town you can also check out the Smoothie Shop, which has a physical location in Scrubton.
Blossu

We can now start exploring the area to the southeast of Scrubton. You'll soon come across a field with some stronger Deku Babas. You can use some ranged attacks or simply light the grass on fire to take them out and learn the Deku Baba Lv. 2 echo. Continue to the east to the ruins where you'll find another new enemy. This one is a puddle of goo that will pop out and attack you when it gets near. You can bait it out with an echo and attack or just be quick with your sword. After defeating one you can learn the Goo Specter echo.

Once you have defeated all the Goo Specters in the area you can speak to the Deku Scrub here to learn that he is also looking for a membership card, but no one seems to be around. He suggests that we should pay a visit to Blossu in the southwest. However, we can still check out this cave while we're here.

In this first room there are five narrow paths each guarded by an Armos at the end. You'll need to lure the Armos out and then get behind them and attack their back side to defeat them. This can be a little tricky, but you can build some water block bridges or old beds to help you get behind them. Once one is defeated, you can learn the Armos echo. The second from the left is the only one that actually needs to be defeated, as the ladder to the next room is behind it.

This sublevel includes a climbing wall and several enemies that will shoot lazers at you if you enter their line of sight. You might recognize these guys and know that they can only be defeated with bombs. Once you take one out you can learn the Beamos echo.

Continue to the right up the first ladder and then down the one on the far right. You can defeat one more Beamos and reach a treasure chest containing 5 electro apples. Now you can start climbing up, defeating or avoiding the other Beamos here. You'll get to a climbing wall that is infested with Keese, so summon an army of crows to defend you. You'll eventually reach a ladder that leads to the final room of the cave.

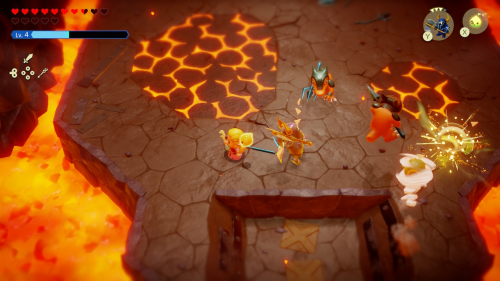
You'll need to defeat the very strong Darknut here. You can summon various echoes to distract it, but most can't get past his armor. Wait for him to do his spin attack and then go in for a few slashes with your sword. If your sword is fully upgraded, it won't take too many to defeat it. Afteward you can learn the Darknut Lv. 3 echo. You can also open the chest to get the spin brace equipment.

Head back to the sublevel and exit the cave (there is a switch that opens a small shortcut to the left). Head south from the ruin area and you'll run into a stronger version of the Mothula enemy. Use some ranged echoes to defeat it and learn the Mothula Lv. 2 echo. Continue to the west and drop down into the water to another ruins area.
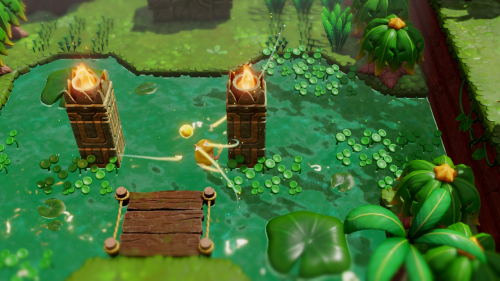

Take out the Drippitunes here to stop the rain. You then need to light the two tall torches in the water. You can build water block towers next to them and light them with Ignizol echoes. Once you do the statue to the north will slide over revealing a staircase down. In these hidden ruins you can find a chest containing a monster stone.
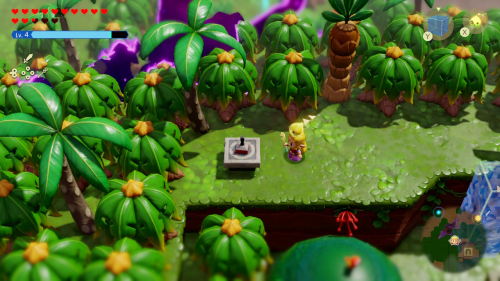

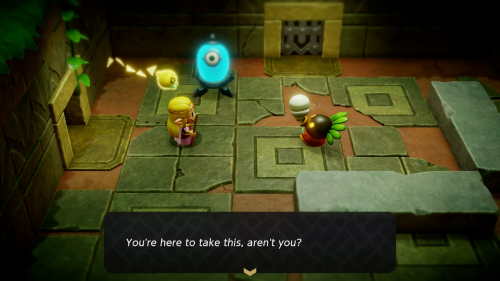
Build a water block tower to get on the cliff to the north where you'll find Stamp Stand #19. Head south through the ruins and you'll find a new Wizzrobe variant in this area. Make sure to defeat it and learn the Electric Wizzrobe echo. Then head east where you'll find another waypoint to activate. Here you'll find Blossu and a few other Deku Scrubs next to a rift. As it turns out, the rift swallowed Blossu's home and he would quite like to have it back.
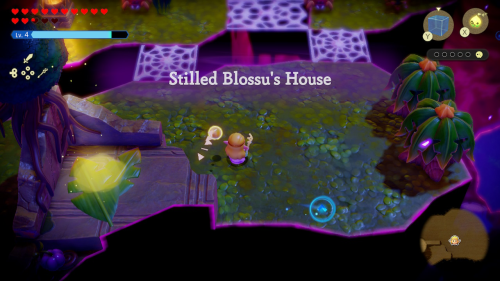

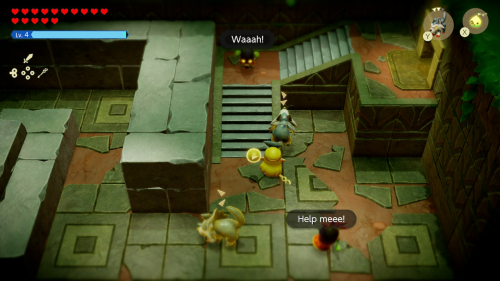
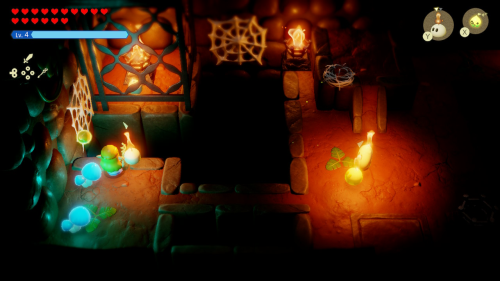
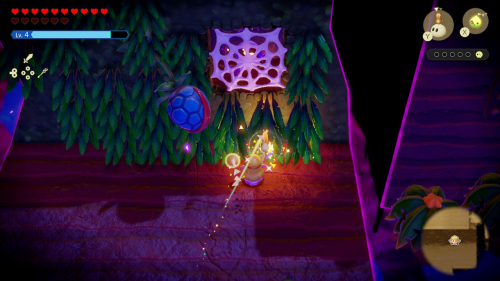
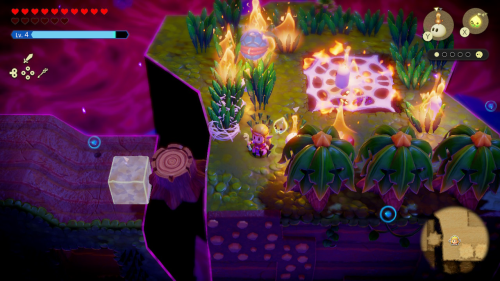
Have Tri create an entrance and enter the Stilled Blossu's House rift. You'll need to rescue five groups of Tri's friends to mend this rift. Rather unsurprisingly considering the webs, you'll soon be attacked by some spiders. Clear them out and head north where there is a large spitting flower. Slice away at it to defeat it and learn the Giant Goponga Flower echo. You can then burn the spiderweb ahead to find the first group of Tri's friends.
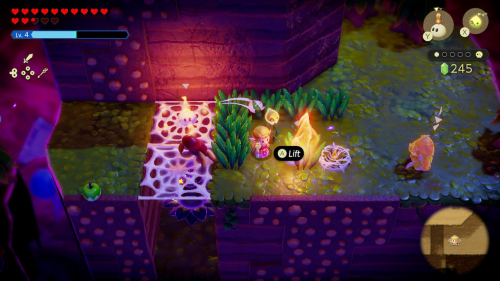

Climb the wall and defeat the enemies up here, remembering that fire is your friends in this area. Burn the webs to the left and drop down to defeat the shadow goponga flower. Once you do you can rescue the next group of Tri's friends. Check out the platform to the left where you'll see the third group of Tri's friends being guarded by three Deku Babas. Use fire to stun them and then slash away to defeat them.

Head to the east and you'll see some lit torches between this main platform and a smaller one to the right. You can use a water block tower to reach these torches and use them as a platform, since it will put out the fire as you build it. Once you are there you can jump to the other platform and burn the spiderweb to reach the fourth group of Tri's friends.

Return to the main platform and climb all the way to the top. Then take the ladder to a sublevel. Drop down and defeat the Strandtula and then summon one of your own on the left-most opening above. Use a bombfish on the blocks and then quickly build a water tower and set fire to the Deku Baba. He is guarding the final group of Tri's friends, who you'll need to blow up the cracked block to reveal.

After collecting all five groups of friends Tri will mend the rift and you'll receive 2 Might Crystals as a reward. Blossu is grateful you fixed his house, but the other Deku Scrubs aren't so much. In fact, they throw you in jail! They will also take all of your items, leaving you with only a deku stick.
Deku Scrub Lockup

The Deku Scrub that locked you up also happens to leave the key behind. It's on the other side of the gate, but you can bind to it and pull it through to get the lockup key and let yourself out. This same key works on the other cell too, so you can open that up and get 20 rupeees.

There are guards outside of the south exit, so instead take the left set of stairs to the north. This is another area where you'll need to sneak past a number of patrolling guards. To get past the first, you can pick up some of the wooden boxes and set them back down to keep yourself hidden. For the next set of guards, you'll need to wait until they turn the other way and slowly sneak past them. If one spots you, you can make a run for the left exit still and you'll be safe if you get there in time.
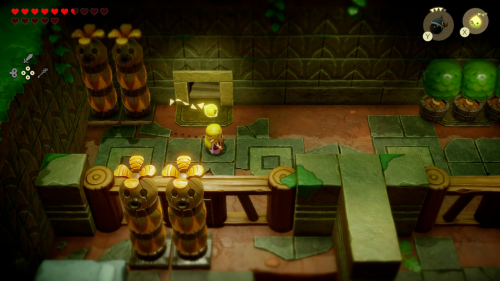

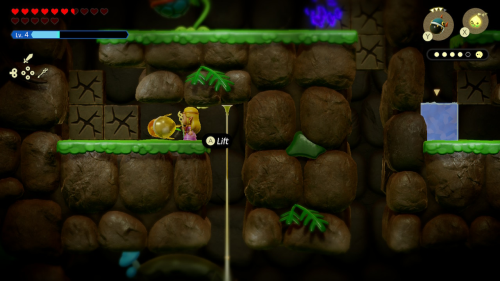
In the next room you can bind to middle shrub on the wall and pull it away to reveal another door. In this room you'll see a heart piece on top of some totem poles. To reach it, you'll need to rearrange all the other items in this room in a way that gradually increases their height so you can create a ladder. Refer to the screenshot above for one way to do it. Once on top you can pick up Piece of Heart #31. If you're finding this tricky, you can come back later when you get your echoes back.

Back in the main room, go through the cell door and bind to the bed that's down the ramp. Bring it all the way up the ramp and then use it to create a bridge that lets you jump to the left side. You can then bind to the table in the corner of this room and bring it back outside of the cell. Using this table and the unlit torch, you can make a ladder to get on the higher ledge to the right.

In the next room you'll find a Deku Scrub eating cotton candy off your Tri Rod. After finishing up they will give you back your Tri Rod. This will let you use swordfighter form, so you can hit the switch and exit this room to the north.

You can now take the stairs on the right side where you'll find some Deku Scrubs blocking a hallway. You can summon some monster echoes to scare the Deku Scrubs in this room to get past them. You'll know they are sufficiently scared when they are shaking and have a text bubble above them. In the next room you can jump down into the well to make your escape.
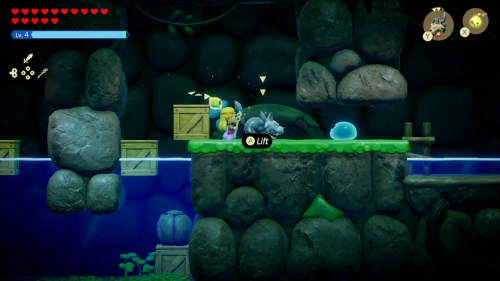

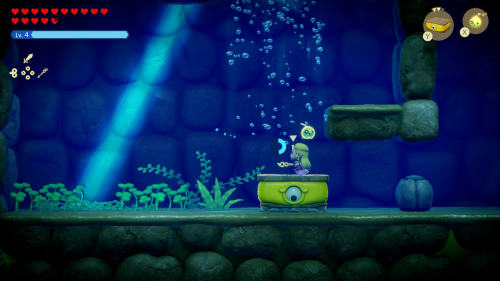
Once in this well sublevel, place a boulder on the left box to sink it down so you can proceed. When you get to the next set of boxes blocking you, you can bind to them and jump to remove them from the water. Continue to the right and defeat the Hydrozol. If you dive down into the water, you can move a bunch of the boxes out of the way to get a purple rupee.

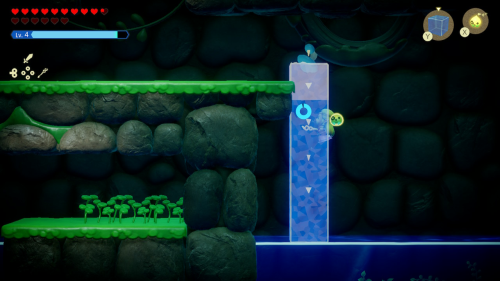
To get over the waterfall that will push most echoes you summon down, you can use all the boxes you pulled away to form a large vertical stack. This will get you enough height to reach the other side, even when they are being pushed down. Continue to the right past the enemies all the way to the right side of the area. Here you'll see a might crystal but there is a current pushing you down. Move the boulder out of the way and summon a Platboom echo, which can easily push through the current. Ride it up and pick up 1 Might Crystal.

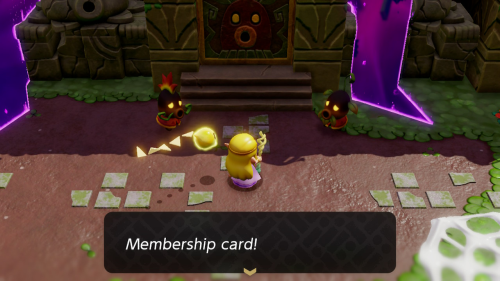
Head back to the left of the well and use the same Platboom strategy to fight the current and reach the ladder to escape. Back outside, you'll find Blossu who thanks you again for restoring his house. He'll even give you the membership card to the Sweet Spot, as he no longs wants anything to do with it.
Western Faron Wetlands
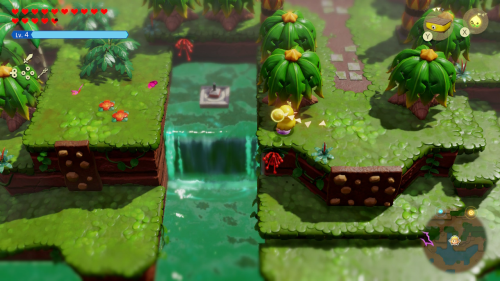

You can head straight for the Sweet Spot now if you'd like, but we do have some more of the Faron Wetlands that can be explored beforehand. Start by heading south out of Scrubton and you'll see a waterfall to the left. In the water you'll find Stamp Stand #20.
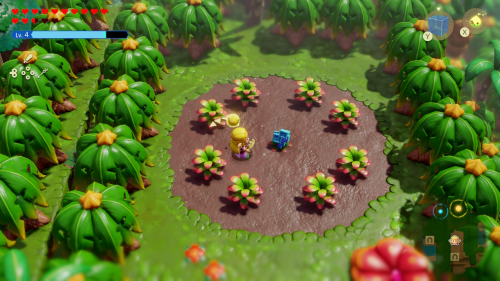

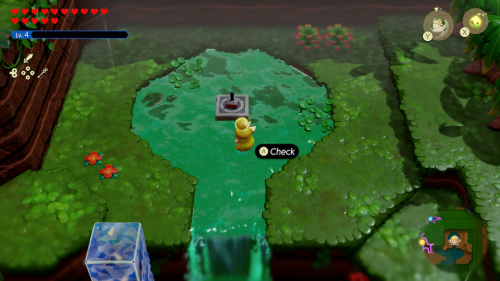
Head to the southeast to the corner of the trees. Build a water block tower to get on top of them and head south until you reach an area with some plants arranged in a circle. Take out the one in the center to find 1 Might Crystal beneath it. Drop off this ledge to the south and enter the cave beneath it.

This cave is dark with several glowing mushrooms lighting the way. You can pick one up to help you navigate. However, some of these mushrooms are actually Hoarder enemies. Head north and you'll see another room. Instead of entering, take the little outcrop to the south and place a bed to help you jump over the gap. Follow the path to the left to find Piece of Heart #32.

Enter the room to the north and use an Ignizol to light the torches. There are four total, with one being behind a grate on the left side. Once they are all lit a chest will spawn that contains 50 rupees. You can then exit this room and follow the path on the left side to find another cave exit.

There is one final room in this cave and it features a red bird enemy called a Beakon. When this guy squawks it calls nearby enemies to help it out. Take out all the enemies in this room and learn the Beakon echo. You can then exit the cave to the south, where you'll find yourself on the other side of mountain in a pond area.
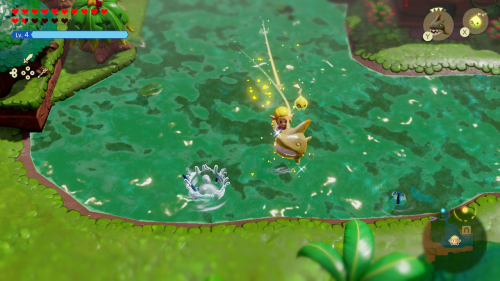

In this pool of water you'll be attacked by some Piranhas. You can summon a Chompfin to take care of them and learn the Piranha echo. Cotinue to the west and you'll soon find another waypoint.
Stilled Heart Lake

To the left of the waypoint you'll find a heartbroken Deku Scrub. Create an entrance to the rift here and they will hop right in, in pursuit of their lover. Hop in to the Stilled Heart Lake rift yourself to go rescue them. Once inside you'll need to find five groups of Tri's friends to mend this rift.

Head north in here and you'll see a wall covered in grass. Light it on fire to defeat the enemies and clear away the spiderweb that is hiding the first group of Tri's friends. Drop to the ground and then stand on the trees to the right. You can summon some Fire Keese to burn the spiderweb on the wall and then collect the second group of Tri's' friends.

Climb up the wall here and once on top burn all the grass and enemies. Drop into the hole to collect the third group of Tri's friends. Now continue left and build a water block bridge to get to the grassy platform on the left. There is a pool of water here that takes you down into a sublevel.

On the left side of the water there is a current flowing downwards and a cracked block on the wall to the right. Summon a bombfish above the current and then bind to it. You can then swim on the left side to line it up while the bombfish is in the current. Blow up the cracked block and then enter the current from the top to reach the fourth group of Tri's friends.

Swim to the right and take out the Deku Baba with a Chompfin. It was guarding the fifth and final group of Tri's friends. Tri will then mend the rift and reward you with 2 Might Crystals.

Once the rift is restored both of the Deku lovers will be reunited. After watching a sappy reunion, you can continue exploring the rest of the wetlands by heading north. Stick to the left and you'll find a staircase of sorts. To the right of this you can build a water block tower to get over the trees and then find Stamp Stand #21. If you've been following along this means that you'll also complete the Thrilling Stamp Card, resulting in a reward of 5 monster stones and the Final Stamp Card to fill out.

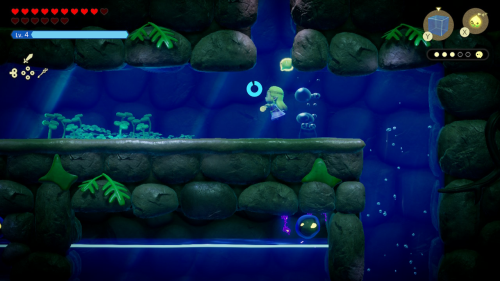
Head north from here and enter the cave. This brings you to a water sublevel. This is a large maze filled with Deku Babas. You'll want to navigate to the bottom left corner of the maze, being careful not to run out of air. You'll run into an Armos statue that you'll need to defeat to continue to the right.

Swim up until you reach an area with several dragonfly enemies above you. Take them out by summoning some Mothulas or Crows. Then build a water block tower on the left side of the water so you can reach a ledge to the left. You'll need to go up and over this Armos using a trampoline so you can defeat it from the back side. You can then collect Piece of Heart #33.

Swim to the right where you'll need to solve a few boulders puzzles to navigate the narrow passage. Use bind to push the first boulder to the right, then swim up and bind to it. Swim back to the left with the boulder beneath you to clear it out of the way. On the next boulder puzzle, pull the first one towards you to the left. Then bind to the second one and manuever it to the right by swimming up above it and moving to the right.

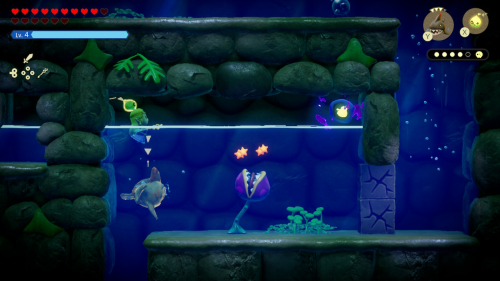
In this next room you'll need to fight the strongest variant of a Lizalfos we've seen. A Chompfin should make pretty quick work of it. You can then learn the Lizalfos Lv. 3 echo. You can also open the chest to get 50 rupees. You can then exit the cave by swimming up.


Drop down and check out the large grassy area to the left and then find the path to the south. This leads to another circle of plants where you can find 1 Might Crystal beneath the center plant. You can now start heading north and east back towards Scrubton.

On the way you'll see some unlit Ignizol in the grass because of the rain. Take on the Drippitune in the right corner to stop the rain here. The Ignizol will then burn down the grass and spiderwebs and you can open the chest that contains 5 electro apples. That's all there is to do for now, so warp back to Scrubton.
Stilled Faron Wetlands

Head north out of town and use your membership card at the Sweet Spot. Once inside you'll see several Deku Scrubs spinning some "cotton candy". Unfortunately the rift starts to expand as soon as you arrive and swallows them up. We'll of course need to save the day.
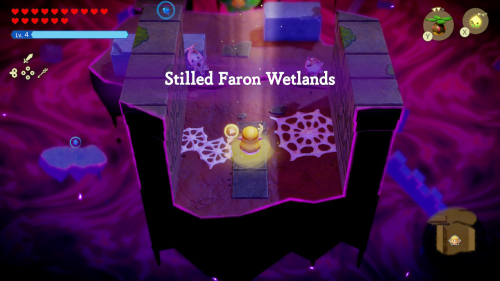

Have Tri create an entrance to the Stilled Faron Wetlands rift. Head north along the platforms and you'll see a few different types of Deku Baba you'll want to clear out. Stick to the left side and you can open a chest containing 20 rupees.

Continue to the north and you'll see a large variety of enemies as well as unlit torches. You'll want to ignore them for now and just head to the northwest corner where you'll find a Drippitune. Take it out to nerf the Buzz Blob and allow you to light the torches. On this same platform you can also find a chest that contains 4 containers of fresh milk.
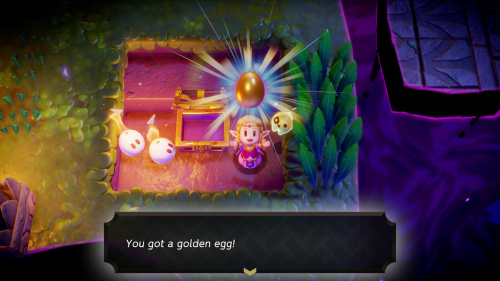

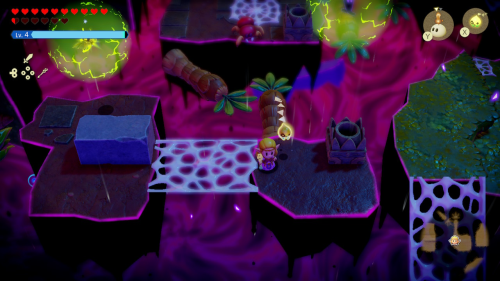
You'll now want to go around defeating the enemies and making your way to the north east. If you haven't already, you can also learn the Electric Keese echo here. Next to one of the torches there is a spiderweb you can burn to reveal a chest containing a golden egg. Continue all the way to the north where you'll find a waypoint. There are some lit torches here and a wall of fire blocking a cave entrance. Summon a Drippitune to put everything out and enter the cave.


In this first sublevel you'll simply need to climb up the rock wall and take out the spiders to get to the top. Stick to the right side to avoid the Beamos. In the next room, you'll need to activate three switches with electricity. Simply summon some Buzz Blobs (and make use of the ones in the room). Remember you can stand on the ledge and summon a Buzz Blob through the grate.
Once you're back above ground you'll see a large flower swallow up the big chest. It may seem like there is more to explore in this area, but really there are just several entrances on different levels to the next dungeon: Faron Temple. We'll tackle that in the next part of this guide.
Back to Eldin Temple Continue to Faron Temple
