Part 4: Gerudo Sanctum
Gerudo Sanctum
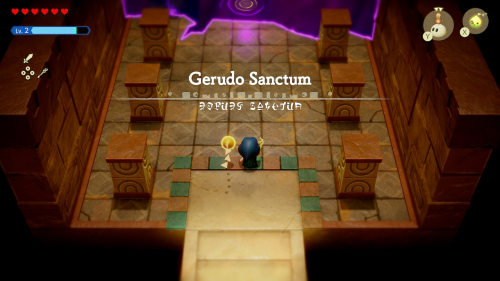
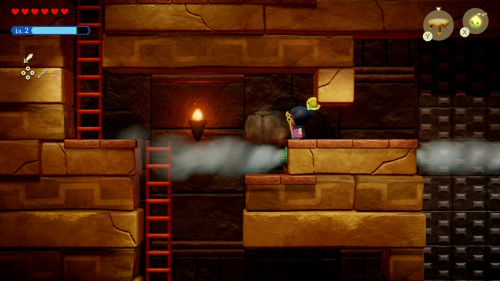
Enter the dungeon and have Tri create an entrance to the rift. As soon as you do, you'll see Link run up the ladder ahead of you. Follow him to a sublevel with several wind-cannons. You'll want to use a Boulder echo to the right and block the first wind-cannon. You can then climb up on the far right and drop down to the left above the second wind-cannon. Then you can push the boulder here to the left to block the third wind-cannon. You can then take the ladder to the left out of the sublevel.
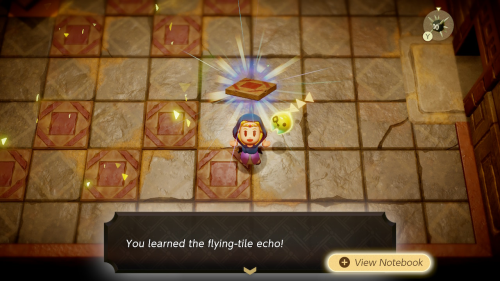
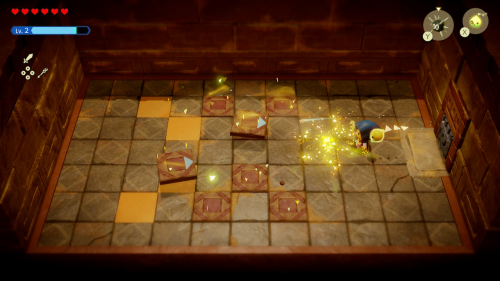
There is a waypoint you can activate in this room. Head to the left where you'll see some glowing floor tiles. Run up to one and learn the flying-tile echo while it is still in the floor. Then you can place Sea Urchins to defend yourself against the rest. You can then open the chest to get 20 rupees.
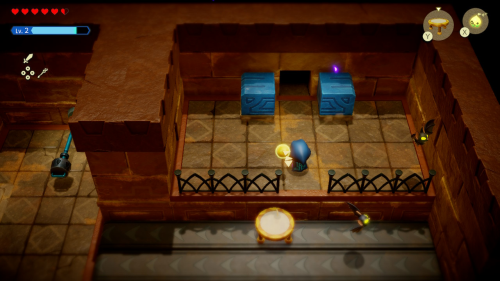
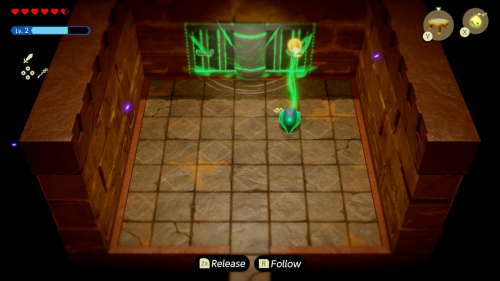
Now go to the room to the right and pull the handle all the way back. Quickly run on the conveyor belts and place a trampoline to the right. Use this to get up on the ledge and run through the open door before it closes. In the next room you can bind yourself to the wall to twist it and reveal a hidden room. Enter and open the chest to find a small key.
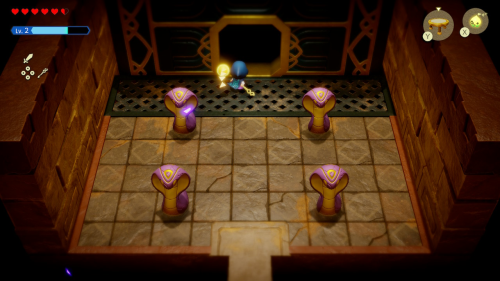
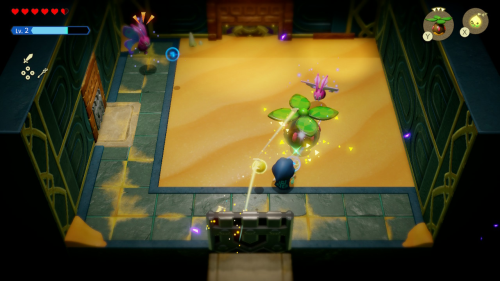
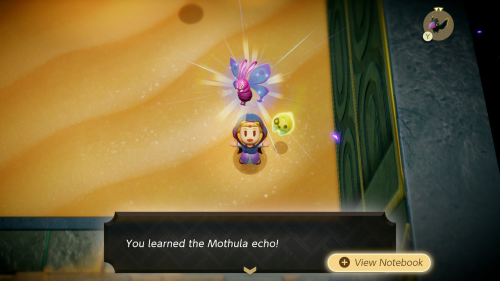
Head back to the first room and unlock the door ahead. Inside you'll find four statues and you can learn the snake-statue echo. In the next room you'll find some new Mothula enemies. You can summon a couple of crows to defeat them and then learn the Mothula echo. Then head through the door to the left.
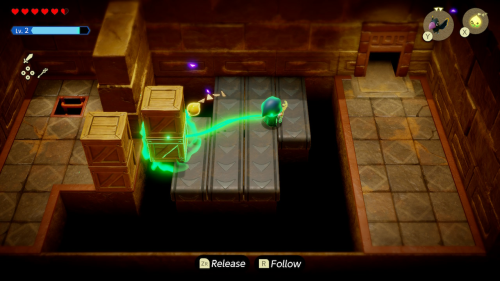
Head down in the next room and you'll see some conveyor belts you can jump on and some wooden boxes to the left blocking your path. Bind to them and move them out of the way without falling off the belts. You can then jump over to the right and enter the sublevel below.
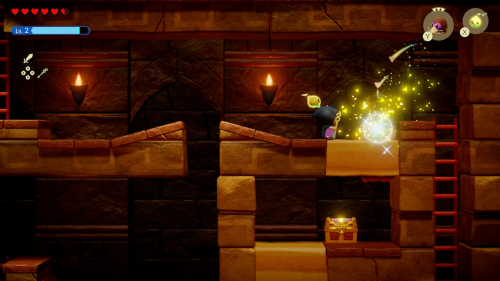
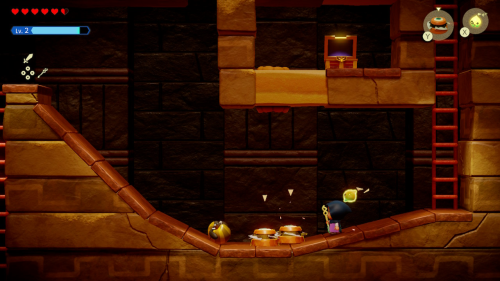
Defeat the Carmadillo with a Pathblade and then go to the right above the chest. Use a Holmill to dig a hole below and open the chest to get a golden egg. Dig another hole and defeat the Carmadillo below. Then head down the ladder.
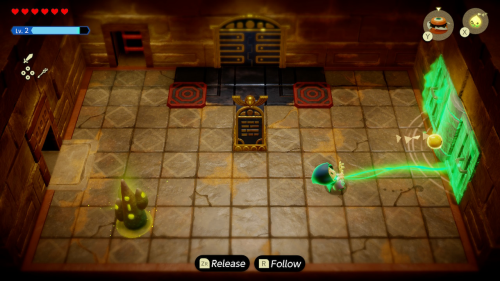
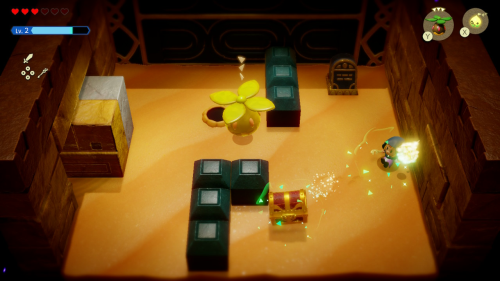
There is another waypoint to activate in this next room as well as a sign that tells you to "seek two distinct tributes". Pull the rotating wall to the right and enter the next room. Inside there is a Holmill that you can take out with a Peahat and many piles of sand. Blow them all away to find a chest with 10 portions of rock salt. There is also a hint for the previous room: "It stands quietly in the sanctum. It is blue in color, with large tusks and a long nose".
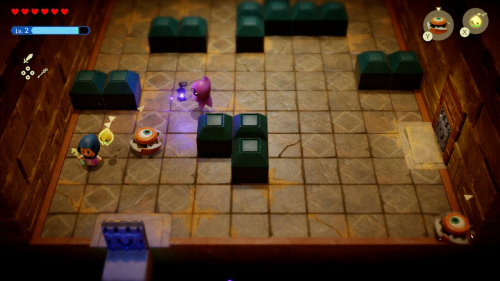
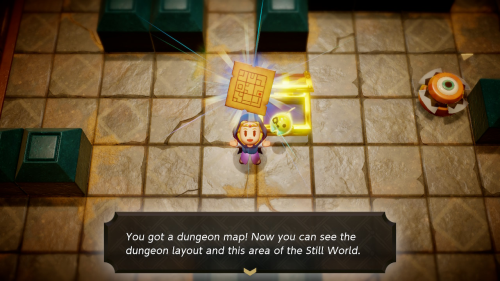
Head back and enter the room on the left. Inside is the rather elusive Poe enemy. It's very quick and defensive, so you'll want to use a combination of fast echoes like Pathblades and swordfighter form to take it out. Afterward you can learn the Poe echo. Open the chest that appears to get the dungeon map.
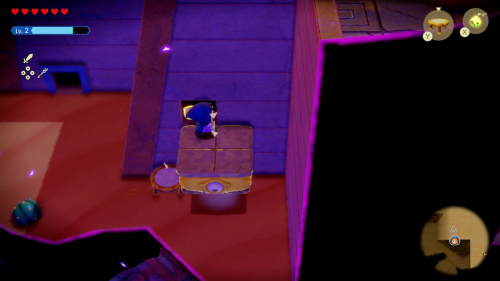
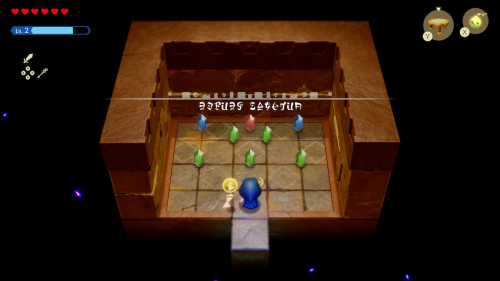
Take the door below to head outside where you'll see Link running off to the left. To the right you'll see an opening in the wall that you can reach with a Platboom. Inside you'll find some rupees. Continue to the left, using swordfighter form and echoes to defeat the enemies. You'll find a chest containing 20 rupees on a platform.
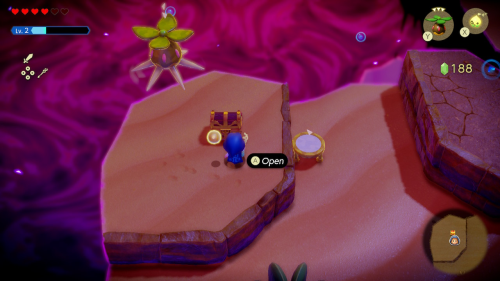
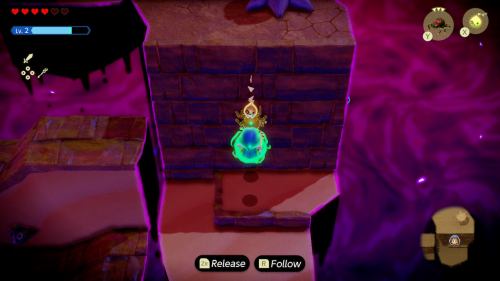
Continue to the north and you'll see a blue pillar that you can get on top of by binding yourself to a Crawltula. Be careful as Tornandos will eventually approach you and try to knock you off while you're up here. You can take them out with crows. Open the chest to get 50 rupees. Head to the right and use a trampoline to get up to the higher platform.
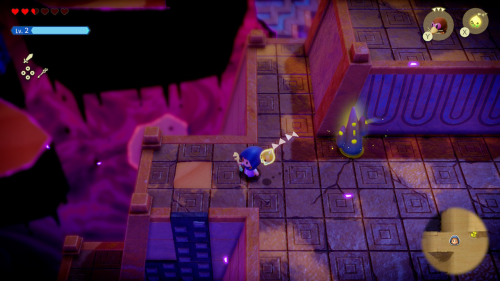
Head south to find that you're on the roof of the Gerudo Sanctum. There's a waypoint to activate up here. Defeat the enemies and use a wind-cannon to clear the sand up here. You'll find a chest that contains a monster stone.
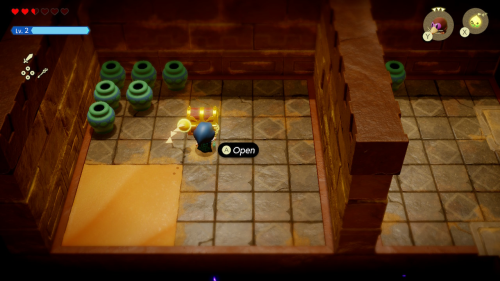
To the left of the waypoint you'll see a single missing tile and some soft sand. Use a Holmill to burrow through it and drop down in the hole. You'll find a secret room with a treasure chest and pots. Open it to get 50 rupees. You can burrow in the sand to get back to the Poe room, but it's better to just warp to the waypoint on the roof.
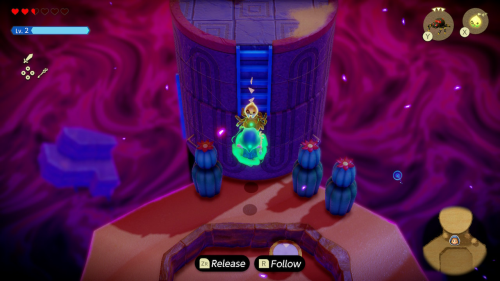
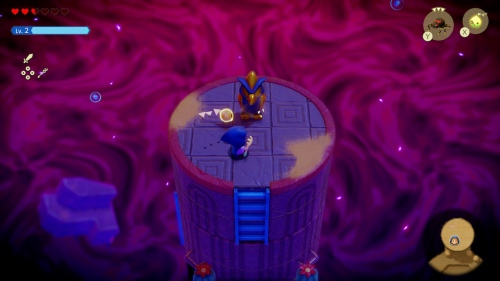
Head to the right and continue to the right platforms, skipping the entrance for now. Use Crawltula echoes to climb up the walls and defeat the enemies with swordfighter form. You'll come to a tall pillar at the end that you can also scale with a Crawltula. Up here you can learn the hawk-statue echo.
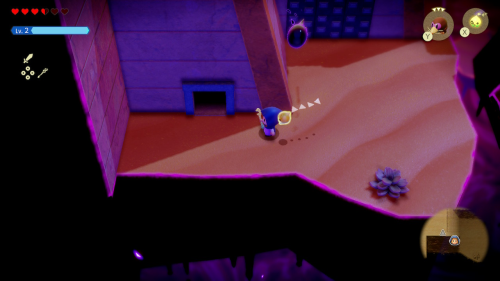
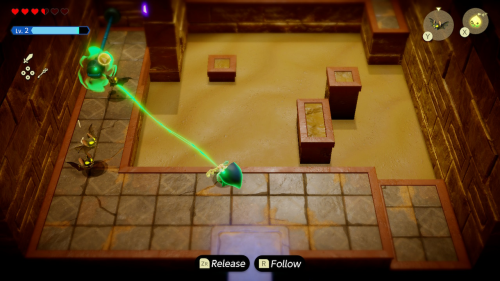
Now head back to the roof area and enter the right entrance that we skipped before to re-enter the dungeon. There is a lever in this room that you'll need to pull back with bind and then reach the opening to the north before it closes back up. There are several ways to do this, but the easiest is to just quickly hop across the platforms and then create a stack of wooden boxes as a bridge.
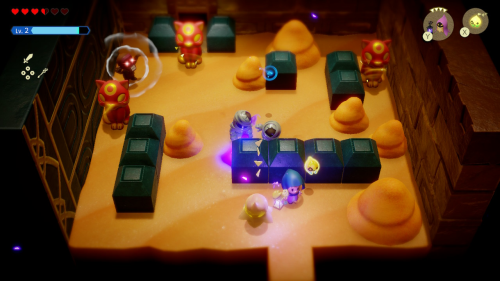
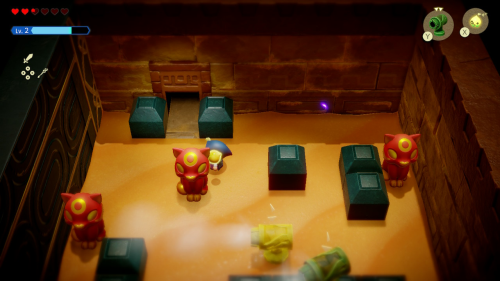
The next room is full of enemies. Use an Ignizol to take out the Gibdos and a slew of quick echoes on the ReDead. You can learn the cat-statue echo here as well. The next room is a hallway with a waypoint and some pots. Make sure you're healed up as the miniboss is in the next room.
Miniboss - Shadow Link (Bow)
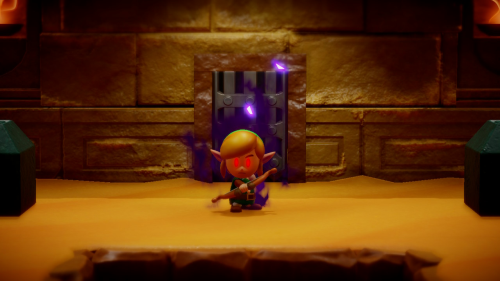
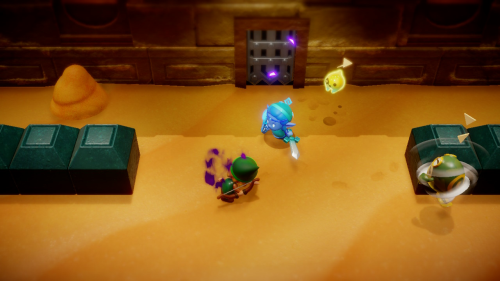
Just like in Suthorn Ruins, the miniboss of this dungeon is Shadow Link. This time around, he'll have a bow at his disposal. He can out maneuver most of your echoes, so dealing damage in swordfighter form is your best bet. After dealing a few hits of damage, he will split into three.
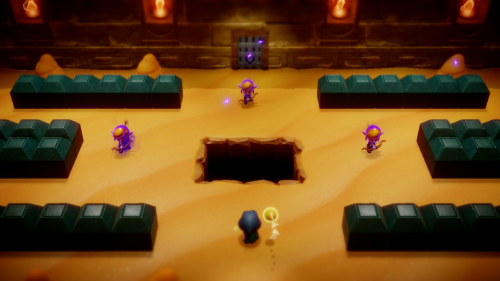
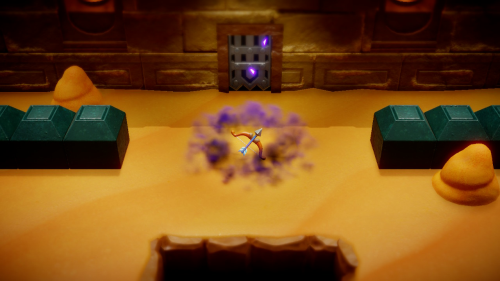
The strategy for the second phase is the same as the first, you'll just have some more arrows to dodge. Each Shadow Link copy will only take two hits from your sword to defeat, it's just a matter of catching them. After he's been defeated you can pick up the Bow of Might. This is another weapon that you can use in swordfighter form.
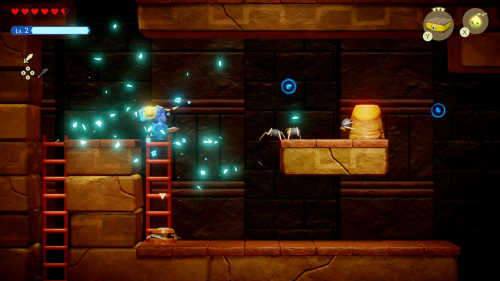
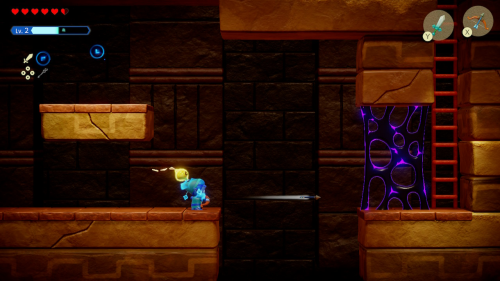
Check the pots and sand piles to fill up on hearts before taking the ladder up to the next sublevel. You can try out the new bow here by taking out the Beetle-mound on the platform. Then you can also shoot the shadow web across the gap to clear a way. Make a bed ladder to reach the other side.
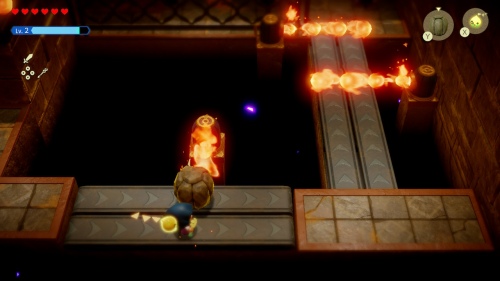
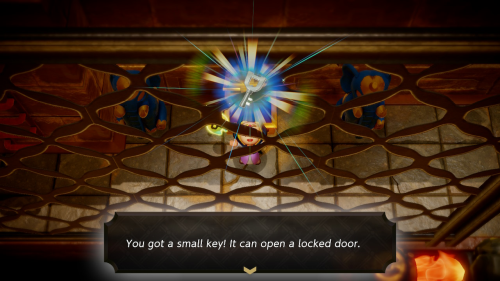
Activate the waypoint in the next room. There are several conveyor belts here that pass through fire cannons. The trick is to place a boulder on the conveyer belt and then stand behind it to protect yourself from the fire. When you get to the back of the room you can learn the elephant-statue echo and open the chest to get a small key.
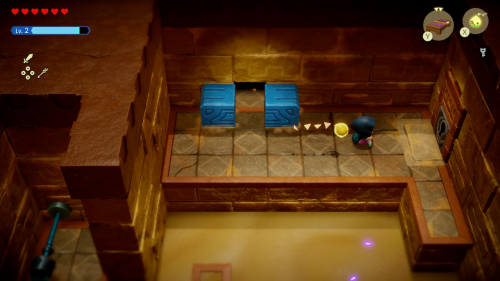
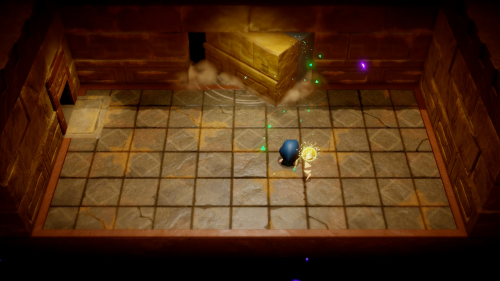
Warp back to the hallway before the miniboss room. Head south through the next room and then use your key on the locked door to the right. Bind yourself to the right side of the rotating wall to create an opening.
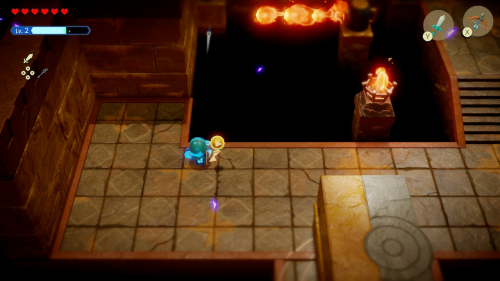
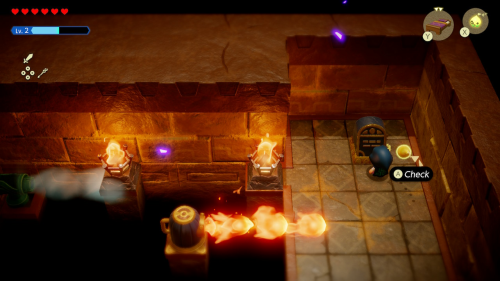
In this room you'll see a wind-cannon in the left corner and three unlit torches. Shoot an arrow at the box below the wind-cannon to make it fall so it no longer points at one of the torches. You can then bind yourself to the fire-cannon in the center and spin it around so that it lights all three torches. Once they are lit a stone sign will appear.
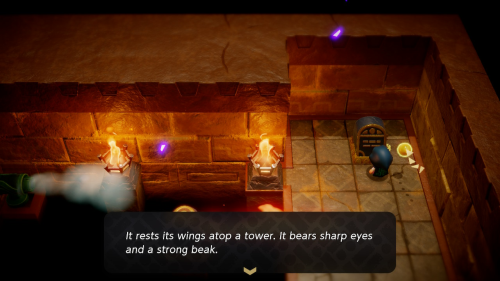
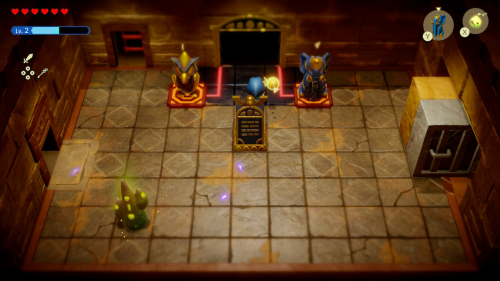
The sign offers the final clue needed for a previous room: "It rests its wings atop a tower. It bears sharp eyes and a strong beak". With both hints gathered, we can now warp back to the pedestal room on 1F. Place a hawk statue echo on the left and an elephant statue echo on the right to open the door ahead.
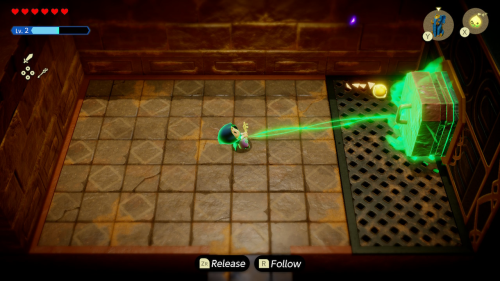
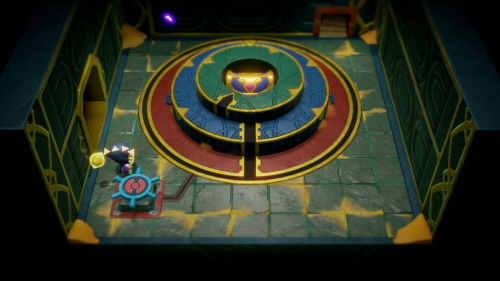
In this room you'll find a large plug that you can pull out with bind. This drains the sand from the room to the right. Enter the opening you just created. The key here is to twist the circular platforms so that the black line is lined up in front. Bind to the blue circle and spin it to line it up directly. For the green circle, you'll need to use a combination of twisting with bind and spinning the wheel to line it up correctly.
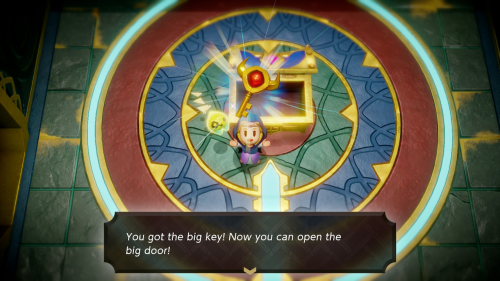
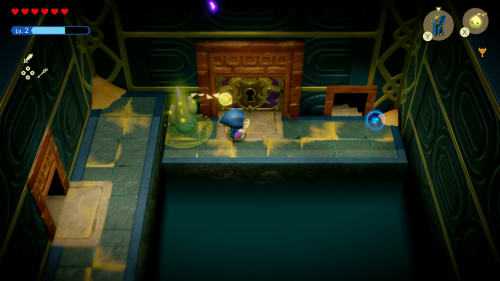
Open the chest to get the big key. Activate the waypoint and make sure you heal up with a bed before unlocking the big door and entering the boss arena.
Boss - Mogryph
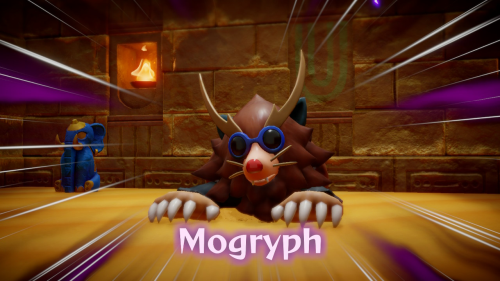
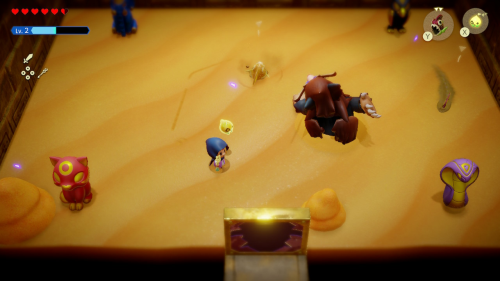
Mogryph is a giant mole monster who will burrow in the sand before exposing himself to attack. He attacks by swiping in the air, which will also cause a ripple in the sand that can damage you. You can avoid this by not standing directly in front of him. Spawn a couple Sand Piranha echoes as they can deal damage even while he is burrowed. Otherwise just wait until he exposes himself and use swordfighter form. You can also trick him into charging into a statue, which will stun him for awhile.
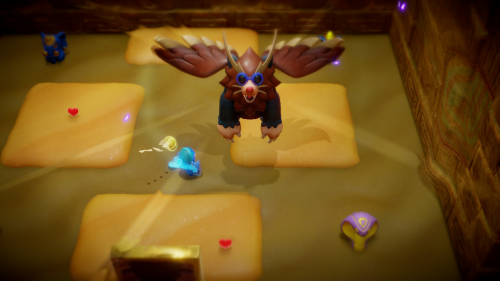
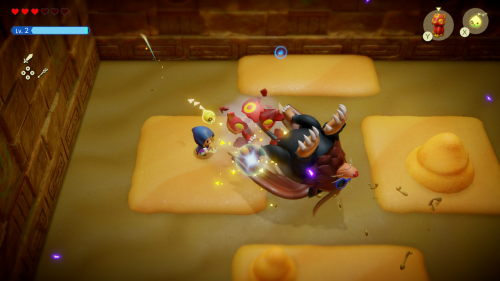
In phase two of the fight, Mogryph will create quicksand in parts of the arena. He'll also grow wings and begin to fly around, spawning large tornadoes to attack. You'll just want to avoid his attacks when he is flying around and wait for him to eventually come back down. When he does he'll do a charge attack after landing once. Place a statue in front of him when he charges to stun him and then wail on him in swordfighter form.
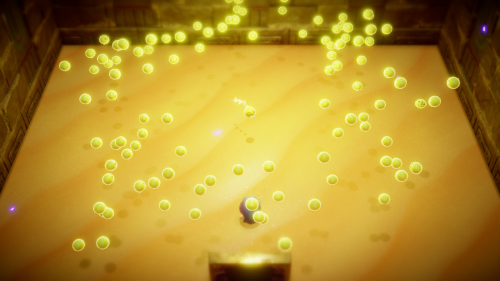
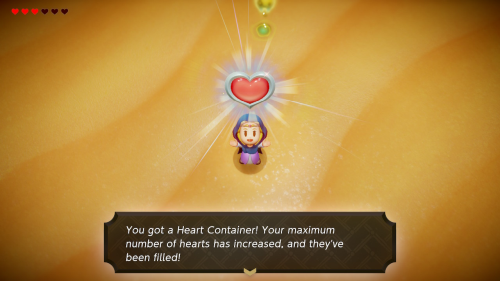
After repeating this process of stunning him by forcing him to run into statues a few times, Mogryph will be defeated. Defeating him will complete the dungeon and free Tri's friends, allowing him to power up to Lv. 3. This new power lets you create echoes from a distance by holding down "Y" to charge. You will also get 5 Might Crystals as a reward. Make sure to pick up the Heart Container before exiting the Still World.
Desert Collectibles
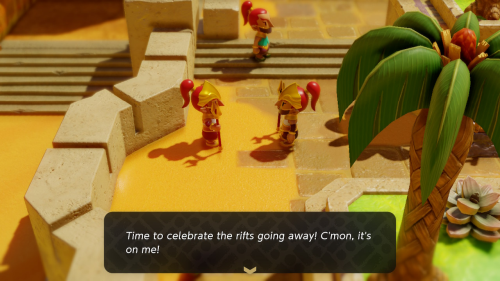
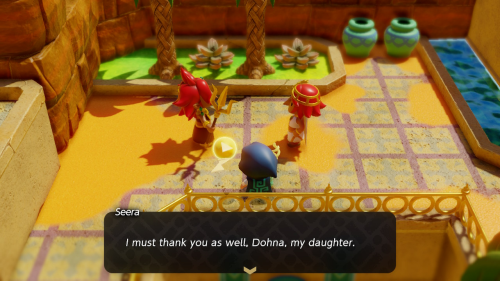
Once you exit the dungeon, Dohna will greet you and take you back to Gerudo Town. Chief Seera will thank you and Dohna and even promise to make Dohna chief one day. Now that all the rifts in the desert have been fixed, there are a few more collectibles that we have access to.
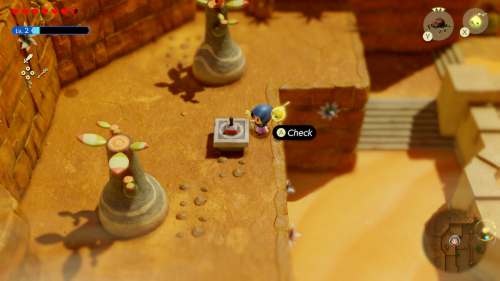
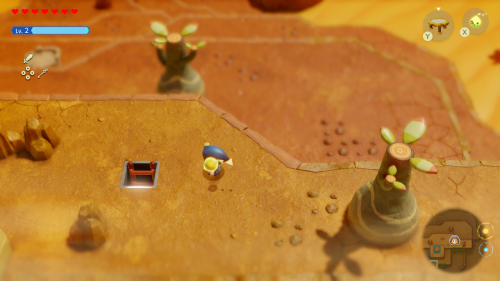
Use a Crawltula to climb up on the cliff to the west of town and you'll find another stamp stand where you can collect another Stamp. Then climb up the wall behind Gerudo Town where you'll notice a ladder that leads to a cave on the cliff.
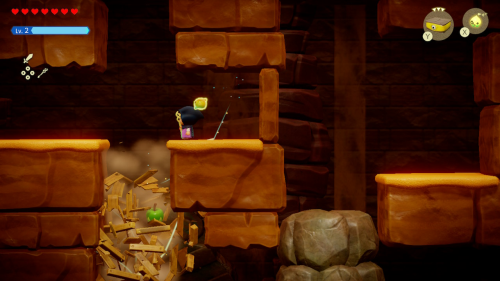
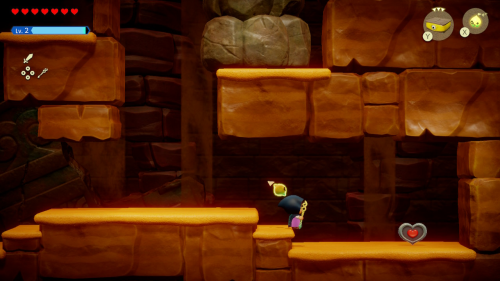
Inside there are a couple of Platbooms that you'll want to dodge and then ride up to a higher cliff. To the right will be a stack of boxes that you can destroy by placing a Platboom of your own. You'll then see a large boulder that you'll want to bind to whil still riding the Platboom, allowing you to lift it up and move it to the right. This opens the path so that you can pick up Piece of Heart #10 to the right.
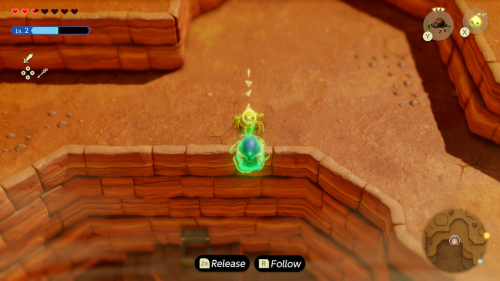
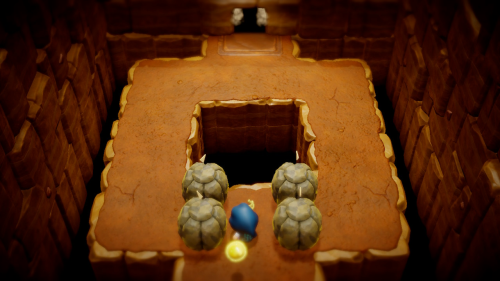
From the cave exit, head straight north to where we cleared the Lv. 2 Boarblin camp earlier. Use a Crawltula to reach the cliffs above and enter the cave to the north. In the first few rooms you'll be attacked by some Flying Tiles but you can just continue through once they are destroyed (place a boulder to defend yourself).
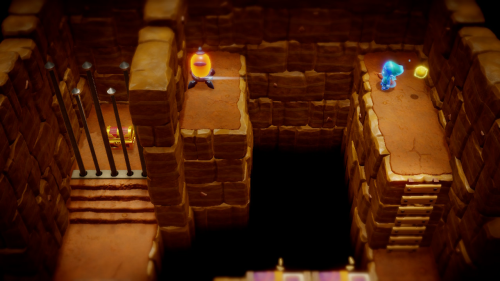
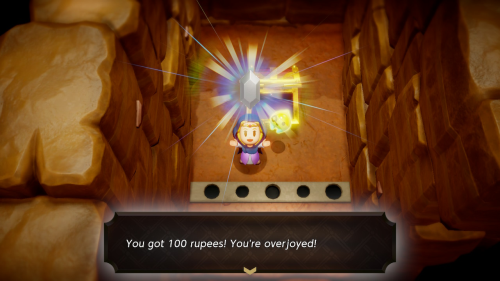
In the final room you can defeat the enemies to the right and then use some bed ladders to cross to the right side. Climb up above and then used swordfighter form to shoot the switch with an arrow. Head back to the left and open the chest to get 100 rupees.
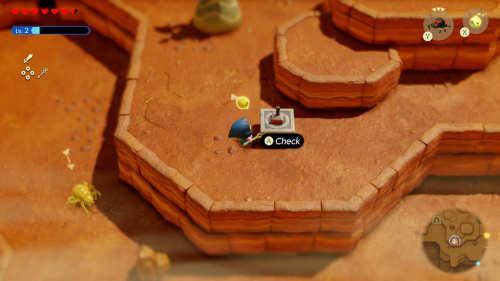
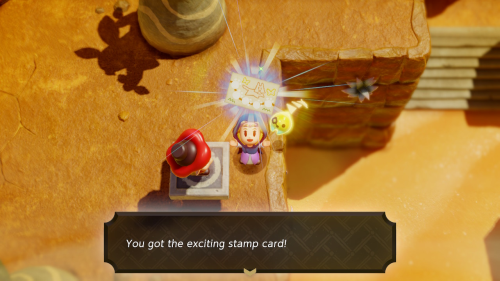
Exit the cave and climb up on the cliff to the right. Here you'll find another stamp stand where you can collect another Stamp for your stamp card. This should fill out your first stamp card. The Stamp Guy will pay you a visit and you'll get 10 containers of fresh milk as a reward. He'll also give you your next card, the exciting stamp card.
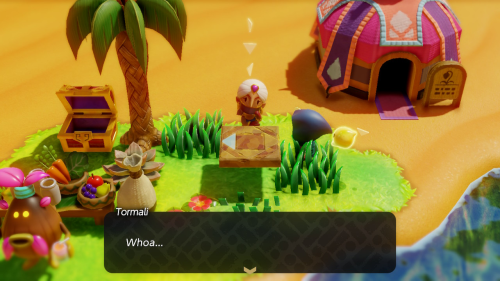
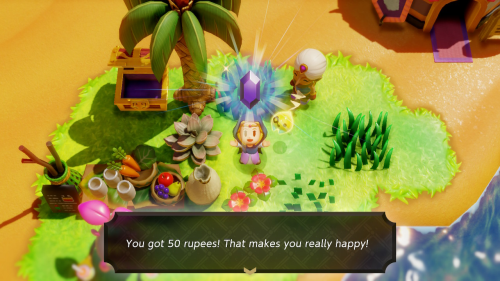
Warp back to the Oasis and show the Gerudo to the west the Flying Tile echo. Tormali will give you 50 rupees as a reward and "The Flying Tile" side quest will be complete. While you are here it is also a good opportunity to craft some more unique smoothie recipes for the "Recipes, Please!" quest.
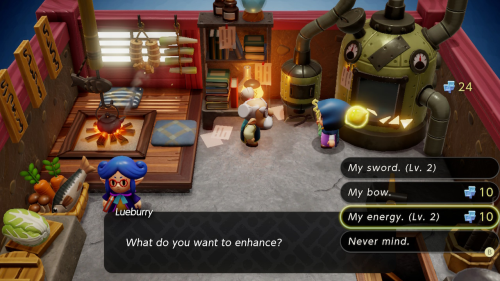
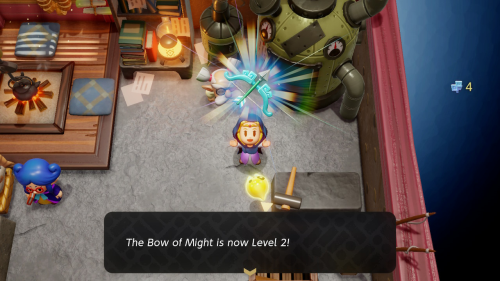
That's everything that there is to do in Gerudo Desert for now. The only thing left before continuing on to the next area is to pay a visit to Lueberry for some upgrades. You should have over 20 Might Crystals saved up, which should be enough for an energy guage (Lv. 3) upgrade and a bow (Lv. 2) upgrade.
In the next chapter we'll be investing the Jabul Waters Rift. If you chose to do that first, then you can skip the next two parts of this walkthrough.
Back to Gerudo Desert Continue to Jabul Waters