
Part 13: Hebra Mountain
Dampé

There are just a few things we can do before continuing the main quest at Holy Mount Lanayru. The first is to pay a visit to Lueberry. You should have enough (20) Might Crystals now for the final bomb upgrade. You should have all three weapons upgraded to Lv. 3 if you've been following along. Lueberry mentions that this was the final weapon upgrade, but he can still make something else for us if we bring him 25 more Might Crystals.
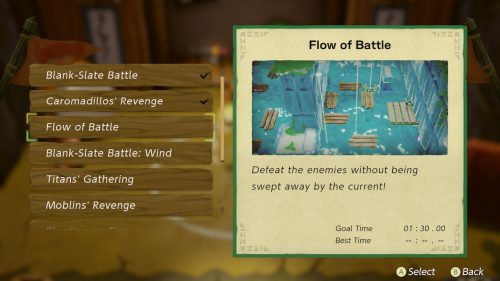
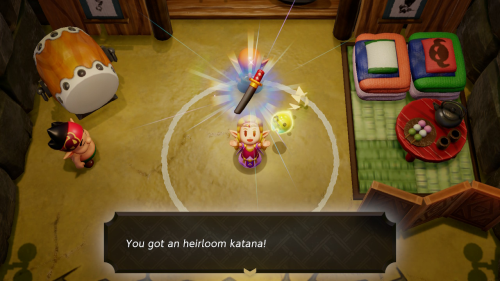
Next we'll want to head over to Kakariko Village and check out the Slumber Dojo. There should be a few new trainings for you to choose from now. But if you haven't already, you just need to do 6 of them for now. Once you complete any six you'll be given the Heirloom Katana as a reward.
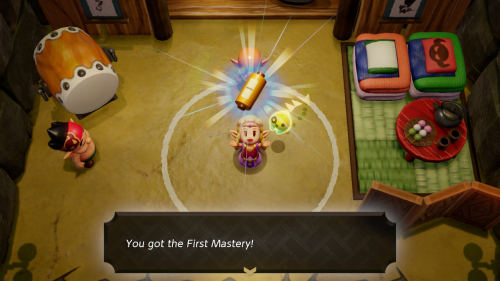
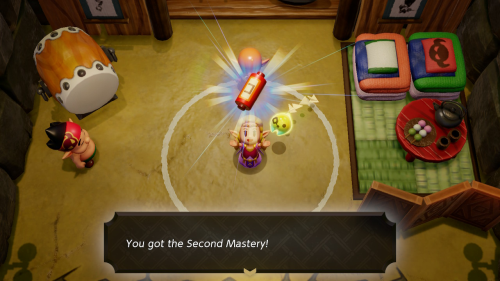
You'll get various other rewards as you complete the trainings, including the First Mastery equipment after completing the first four. If you complete eight trainings at this time you can also get the Second Mastery. Equipping this will reduce your energy consumption and increase the duration you can use swordfighter form for.
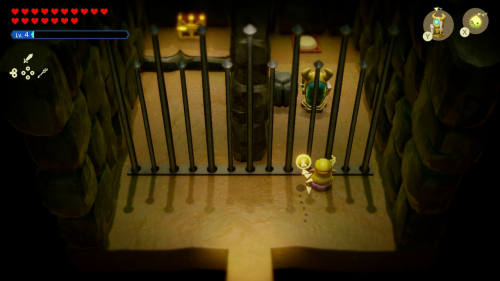

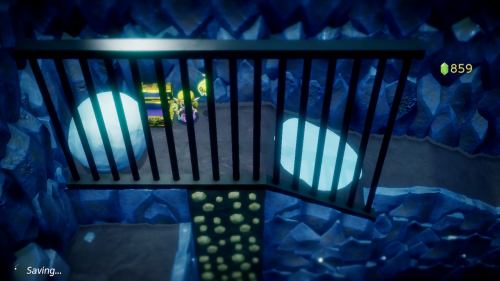
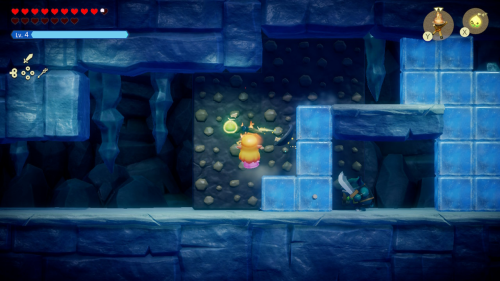
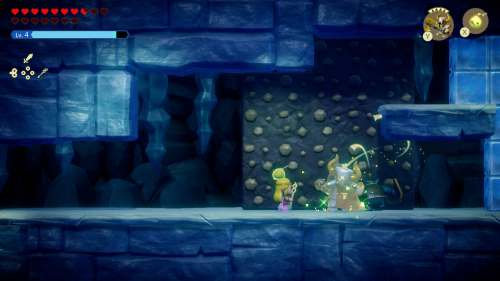
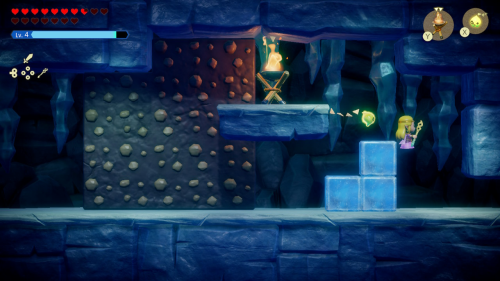
Next we'll want to warp over to Dampé's Studio. Before heading inside, climb up the cliff to the right and enter the cave. We now have the key to solving the puzzle in this room: the Armos echo. Move the boulder out of the way and summon an Armos on the right side of the room to activate the switch and lower the bars. You can then open the chest to get 3 Might Crystals.
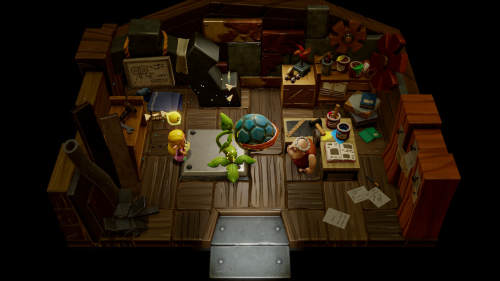
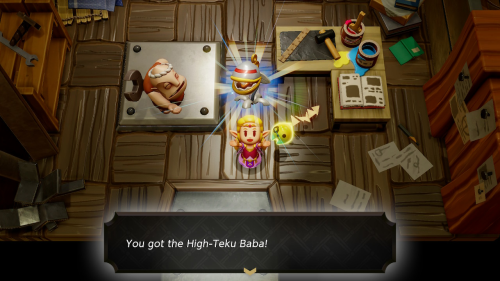
Now head into Dampé's Studio and check out his journal. Read the next entry to start the "Endless Stomach!" side quest. To complete it, place a Deku Baba Lv. 2 echo on the platform and then speak to Dampé to give him the Steel Trap. Dampé will then make the High-Teku Baba automaton.
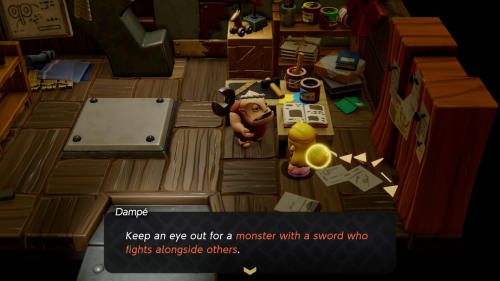
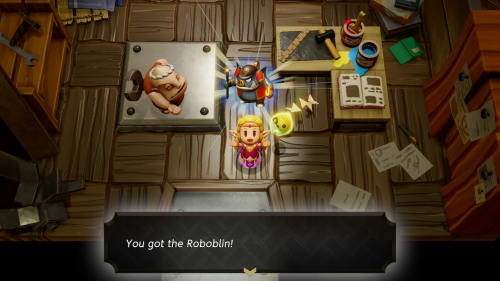
Check out Dampé's journal again to begin the "Chop 'em in two!" side quest. Place any Sword Moblin echo on the platform for the first part of the recipe. Then speak to Dampé and show him the Heirloom Katana we recently acquired. He'll use it to make the Roboblin automaton, which is a stronger sword fighting robo-moblin.

Check out Dampé's journal one more time to start the "Get Rich Quick!" side quest. Place a Crow echo on the platform. Then Speak to Dampé and deliver him the Golden Fan that we obtained from the Mango Rush minigame in Gerudo Desert. He'll use this to create the Goldfinch automaton. It works the same as a crow, but steals high value rupees from enemies.

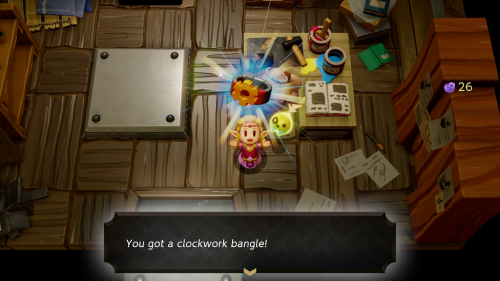
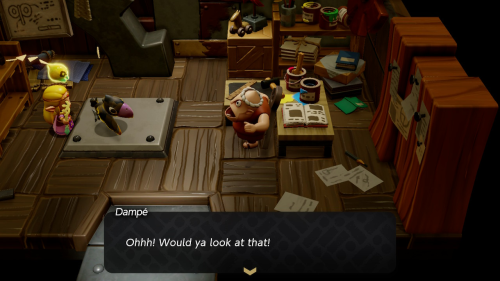
That was the final automaton Dampé can create, but he does offer one final piece of equipment if you speak to him again. You can trade him 5 monster stones for the clockwork bangle. Wearing this will allow you to more quickly wind up automatons.
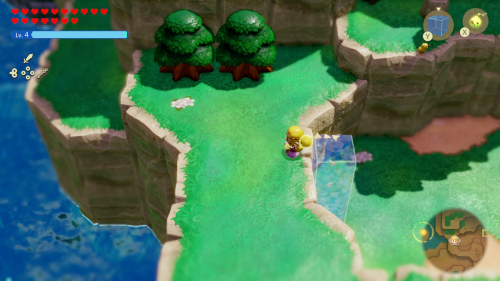
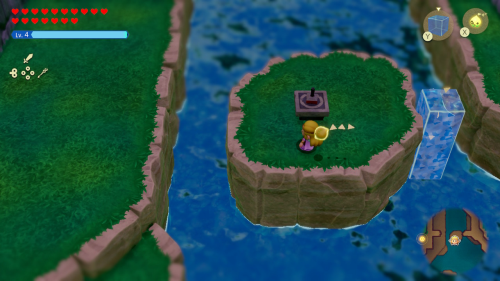
From Dampé's Studio, begin heading west by climbing over the cliff. Jump into the pool of water at the bottom of the waterfall and swim to the small island to the north. Here you'll find Stamp Stand #22. Jump over to the dry land from here.
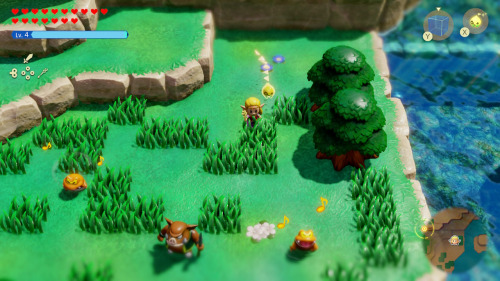
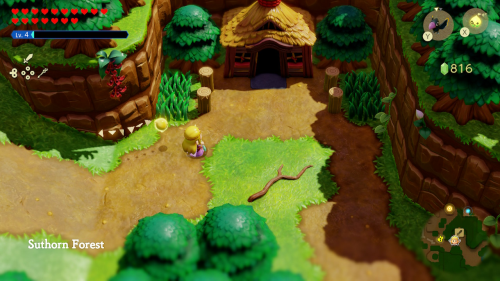
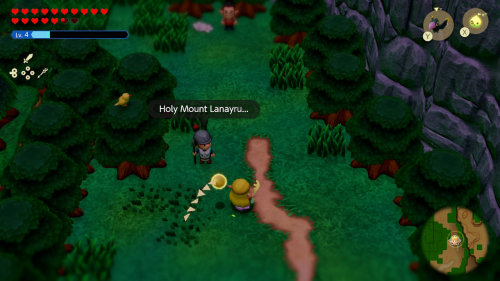
Continue heading west and you'll come across a group of enemies. This includes the new Ribbitune, which you should get an echo of. Continue to the west along the road and you'll come across a waypoint to activate.

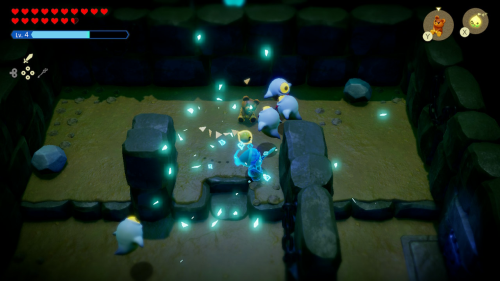
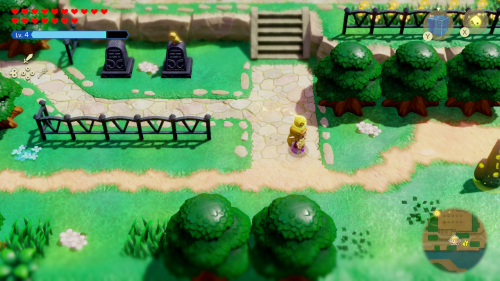
You'll find yourself at a graveyard. Head to the main gravestone to the north and light the two torches on either side of it. Head inside this cave area where you'll find many Ghini enemies. You'll also come across a stuffed-toy echo. This can be used to distract ghost enemies.
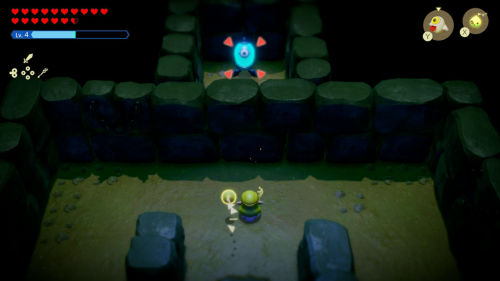
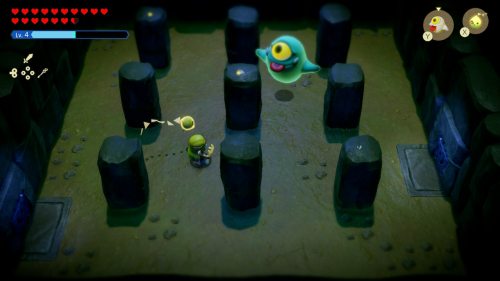
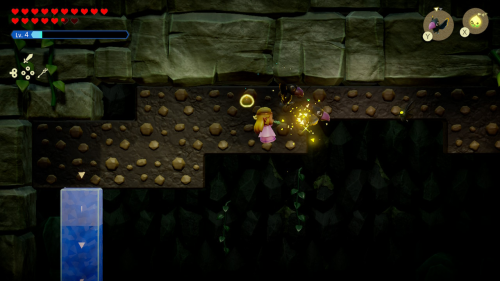
Defeat the Ghini in the next room and you'll see a switch on the other side of the rock wall. Lock onto it with "L" and then summon a Ghini echo to float through the wall and activate it. In the next room there is a large Ghini that you'll need to defeat. Use a Stuffed Toy echo to distract the smaller ones while you fight it.
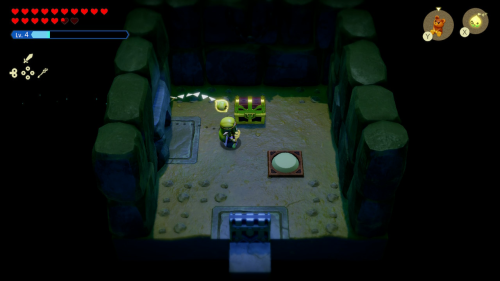
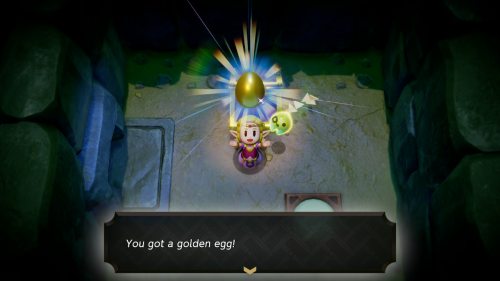
Once it's been defeated you can learn the Ghini Lv. 2 echo. In the final room of the cave there is a treasure chest that contains a golden egg. You can then press the switch to create a shortcut back to the beginning of the cave.
Hebra Mountain Passage
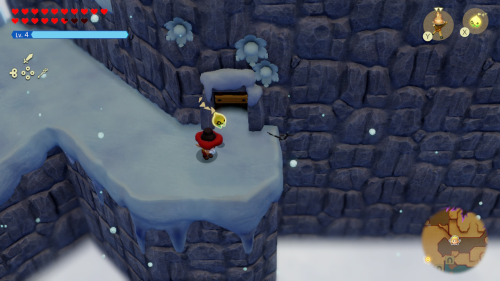
Continue west past the sanctuary until you find a smoothie shop. It's not a bad idea to mix a few smoothies to keep you warm, as we'll be venturing onto a cold mountain pass. Head north along the road towards the marker on your map. Pass the soldier and another man who warns you how cold it is. Use a bomb to blow up the cave entrance ahead.
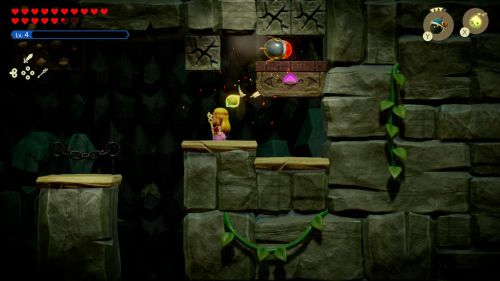
Inside the cave, you'll see a bridge that's out ahead. To get to the other side you can instead build a water block tower up to a climbing wall. Use it to reach the platform on the other side. You can build a bed bridge here and place a bomb on on it to blow up the cracked rocks. Then place a bomb on the rising platform so it blows up the cracked rocks above.
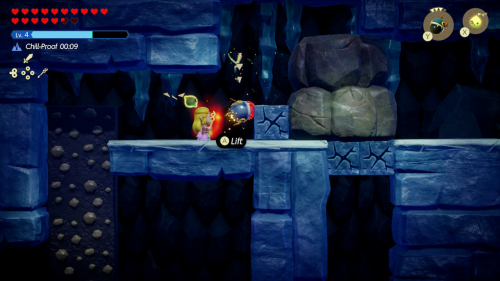
Take this platform up to the next area. Head to the left and open the chest to get 9 warm peppers. Use the climbing wall to reach the top and move the large boulder to the left with bind. Head back down and clear the cracked rocks on this first rising platform and then take it up and blow up the cracked rocks above as well. You can then take the ladder up and out of the sublevel.
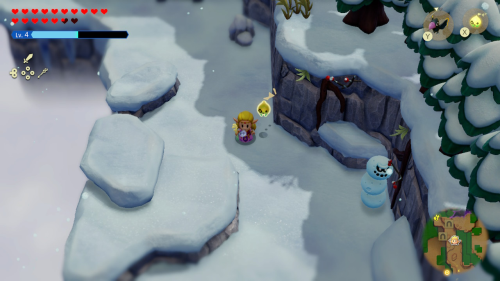
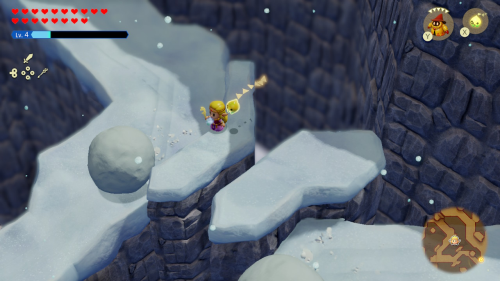
Outside you'll find yourself on Hebra Mountain. To the left you'll find a waypoint to activate. Follow the mountain path to the south and you'll find a new snowman-like enemy. Defeat it to learn the Snomaul echo.
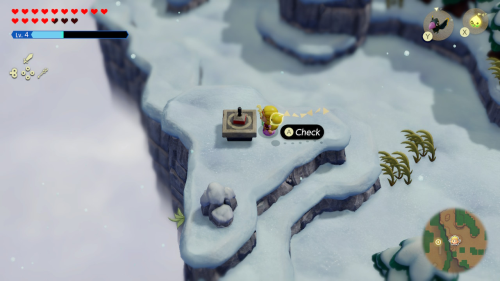

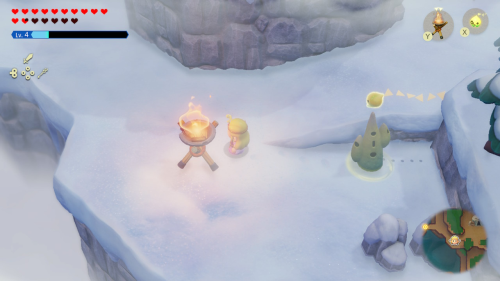
Continue to the south and you'll soon see Stamp Stand #23 on a small ledge. In the area to the south there will be an icy wind that will damage you if you don't have a way to keep warm. You can do this by drinking a warm smoothie or by staying near a source of fire. In the area just to the south you can find a chest that contains three twisted pumpkins.
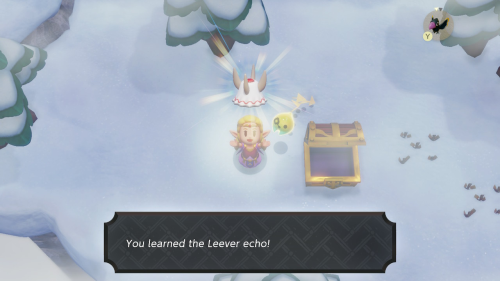
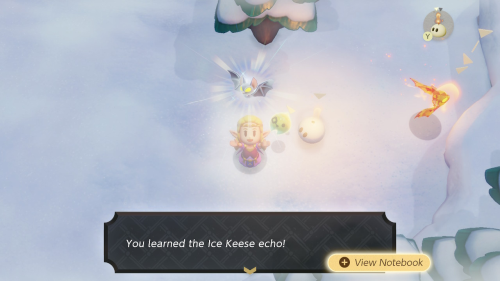
You can also find a new enemy in this region that is familar to the Zelda series: a Leever. They pop in and out of the snow around here. Head north a little and you can defeat the new type of Keese by using some fire enemies. You can then learn the Ice Keese echo.
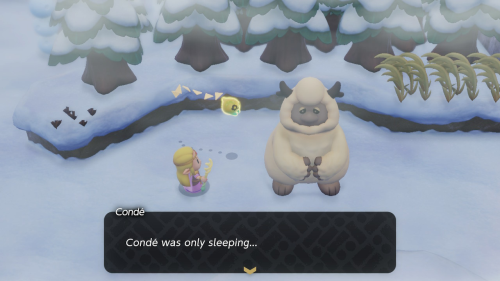
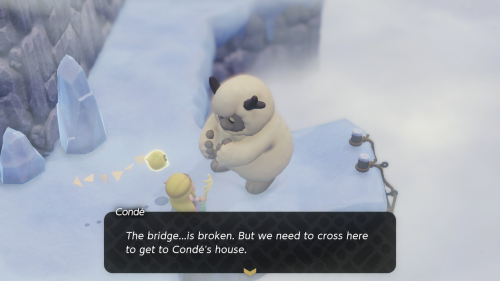
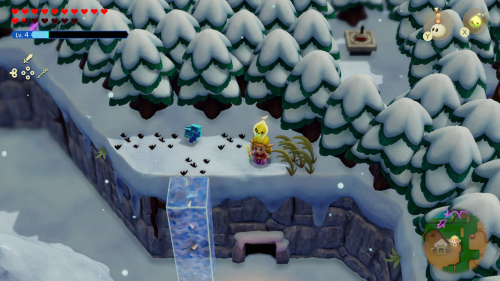
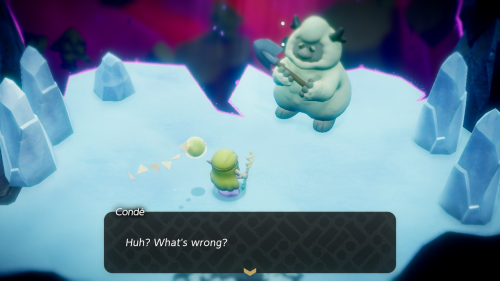
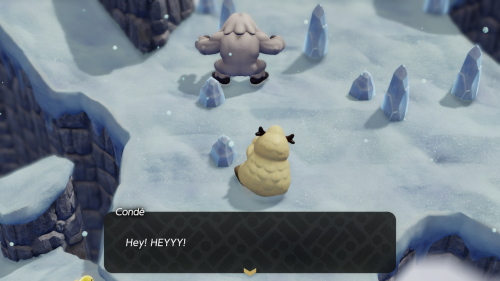
As you continue north you'll be stopped when you hear the growl of a large creature laying face down in the snow. It turns out this is a rather friendly creature named Condé. He will lead you back to his house to wait out the storm, but it turns out that the bridge is out. That's no problem, as he can put you on his back and leap across the gap.
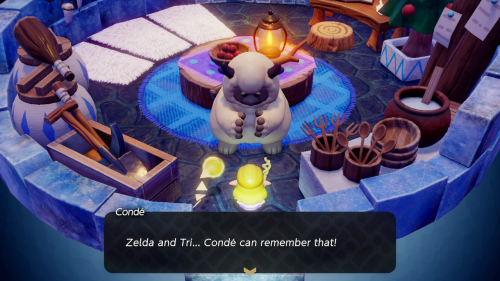
On the other side of the bridge Condé will continue on to his house and you can activate the waypoint along the way as you follow him. His house is just to the east of this. Once inside Condé will mention that his brother used a balloon to reach Holy Mount Lanayru once. Check out the various things around his house to pass the time until the snow blows over.
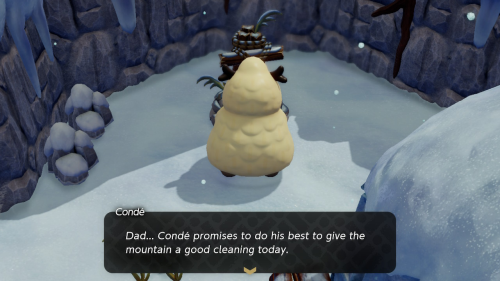
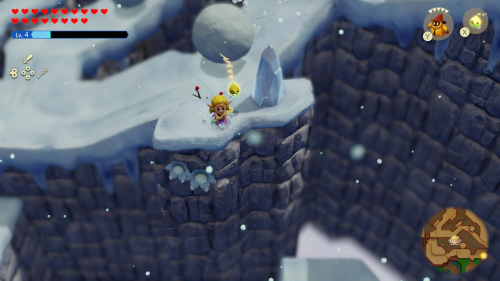
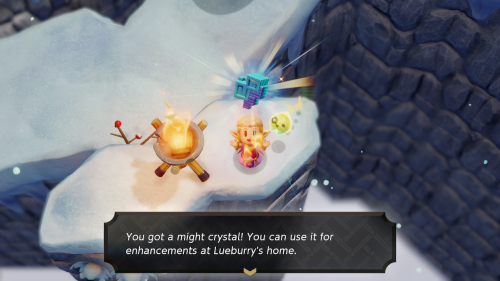
Head outside and you'll see a touching moment where Condé speaks with his father at his grave and then proceeds to remove snow from parts of the mountain. Before entering the cave, you can get on the ledge just above the cave and use an Ignizol echo to melt away the chunk of ice. This will reveal 1 Might Crystal for you to collect.
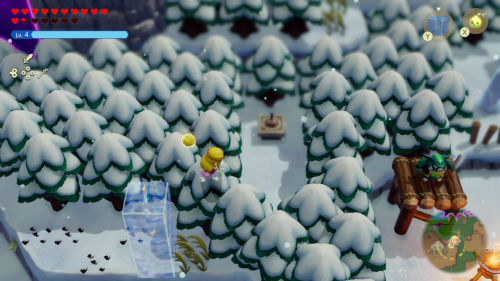

To the east of this you'll find Stamp Stand #24 in a clearing in the trees. You can reach it by building a water block tower and getting on top of the trees. Now drop back down and enter the cave. Burn the boxes in the first room to melt the ice and clear the door to the next room.
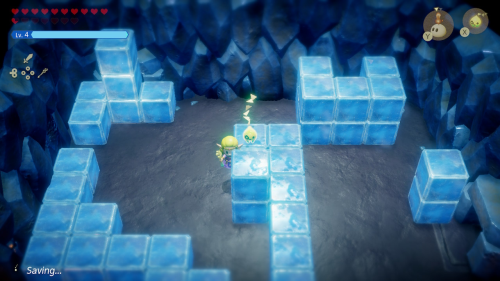
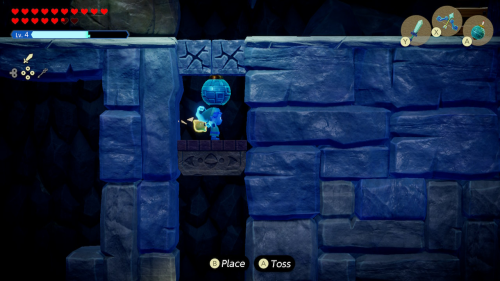
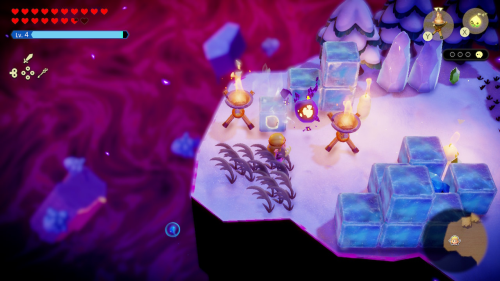
Just avoid the Ice Keese in this room and continue to the next. You'll find a room full of ice-blocks that you can push around on the floor. You can also learn the ice-block echo. Take the right exit to the next room.

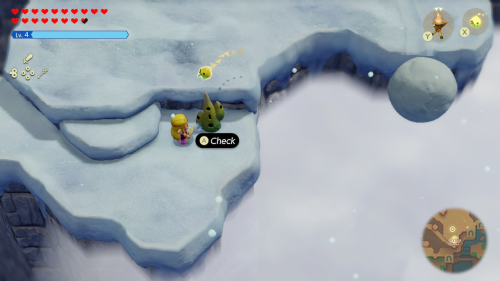
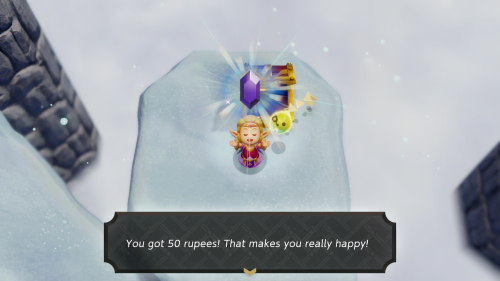
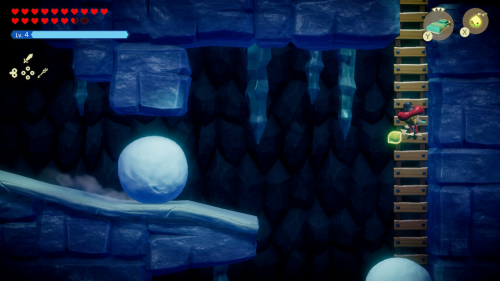
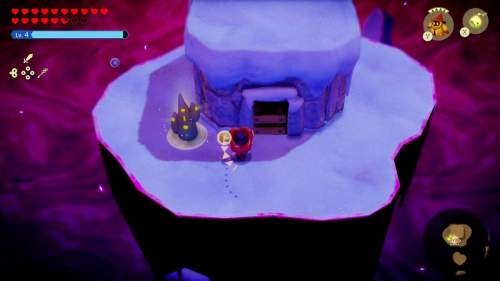
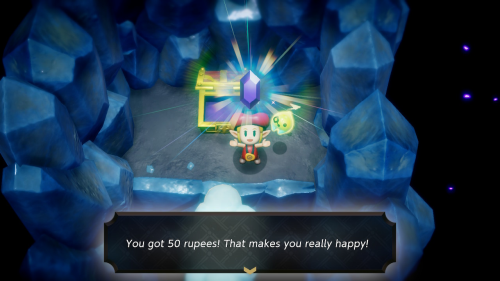
Here you'll find a giant snowball rolling down a ramp. You can actually learn the snowball echo if you're quick enough. You can also bind to it to stop it rolling so that you can safely reach the chest that contains 50 rupees. Now return to the previous room.
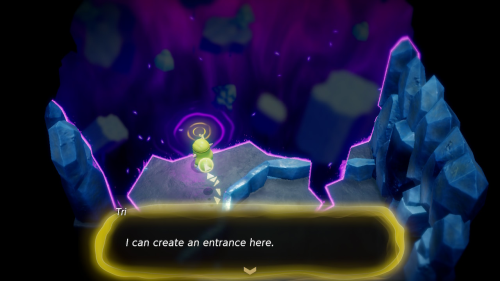
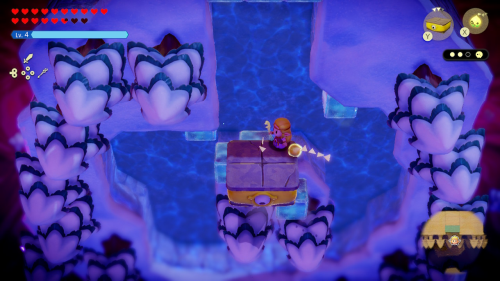
Melt the ice in the northeast corner and you'll find another exit to this room. Here you'll find Condé shoveling snow into a rift. Melt the ice on the left side of the room to find another spot on the rift where Tri can create an entrance.
Stilled Hebra Mountain Cave
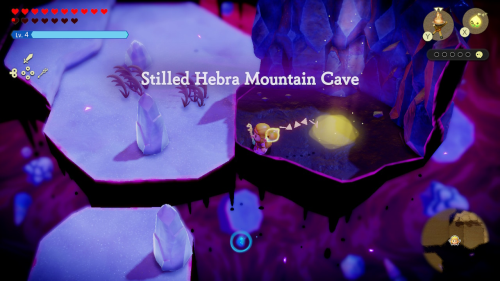
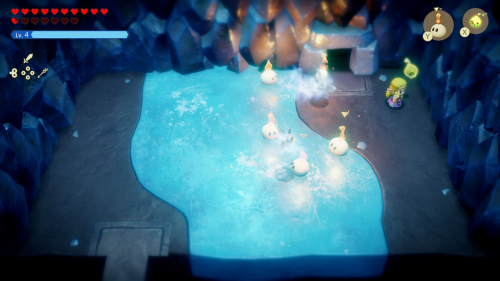
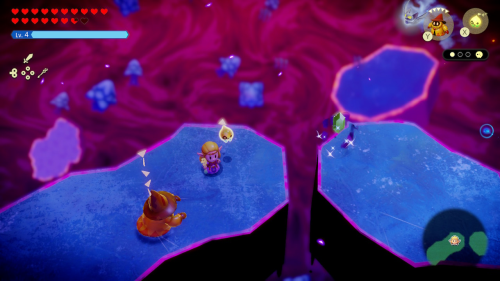
Into the rift to reach Stilled Hebra Mountain Cave. There are five groups of Tri's friends to find in here. Start by taking the small platforms to the south and use old beds and Braziers to melt the ice and reach the far platform. Melt the ice here to find the first group of friends.
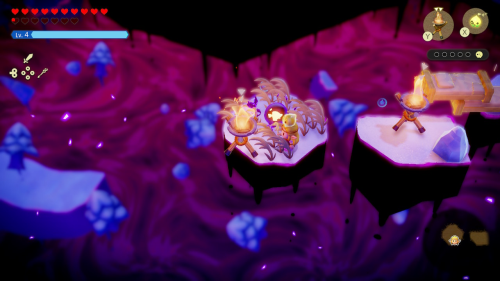
Return to the entrance area and head left to find a large platform with an ice rink in the middle. Defeat the enemies here and then melt the ice in the center to find the second group of friends. Now head to the right along the icy platform and carefully navigate the narrow ice to reach the third group of friends to the north.
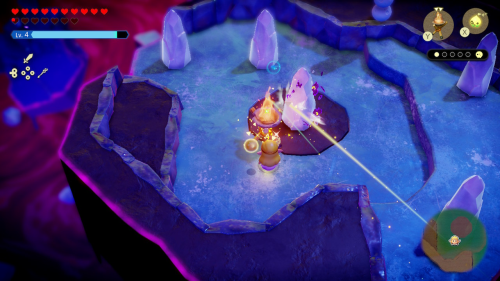
Return to the center and head straight north now. Climb to the top of this icy wall use water block towers and drop Ignizol echoes down on the tree below to melt the block of ice. You can then drop down and collect the fourth group of friends.
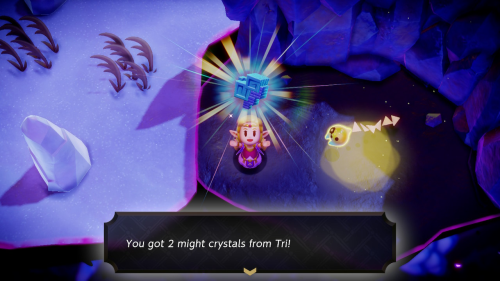
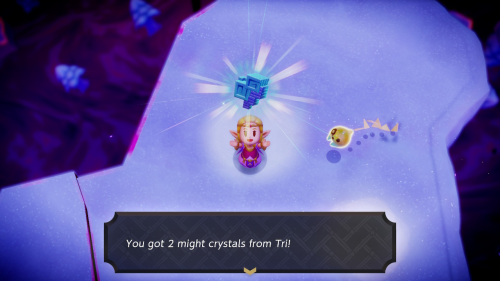
Climb back up the wall and defeat the shadow Moblin to the right that is guarding the fifth and final group of Tri's friends. Tri will give you 2 Might Crystals as a reward.
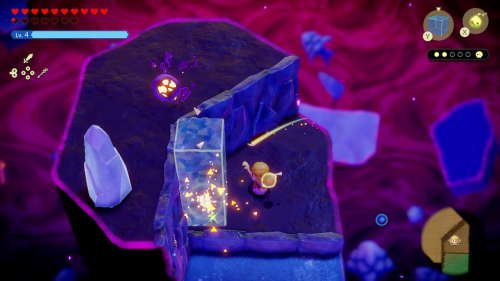
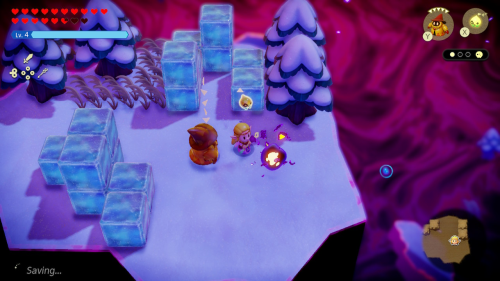
When you exit the rift Condé will take all the credit and jump up to a higher spot on the moutain. Since the rift is cleared, we can now continue in this cave by taking the ladder up to a sublevel. Melt the ice blocks with a Brazier (you can bind to it to move it around) and defeat the Sword Moblin in this room before continuing right.
Watching for the falling snowball in this room. Stick to the right side and climb up the rock wall. Once you get an opening jump over to the left where you'll find a chest that contains a monster stone. You can then take the ladder on the right to exit the sublevel and head south out of the next room to exit the cave.
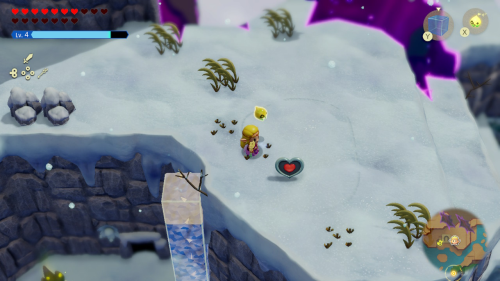
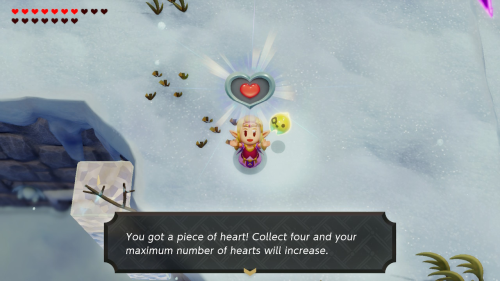
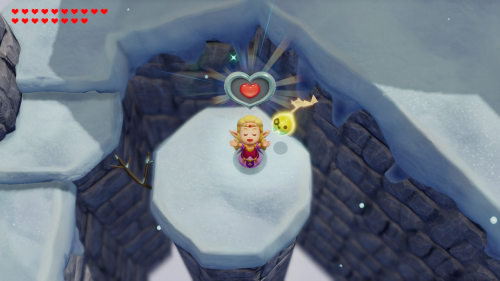
You'll find yourself at a higher point on the north side of the moutain. Activate the waypoint here and then build a water block tower to get on the cliff behind you. Up here you'll find Piece of Heart #35.
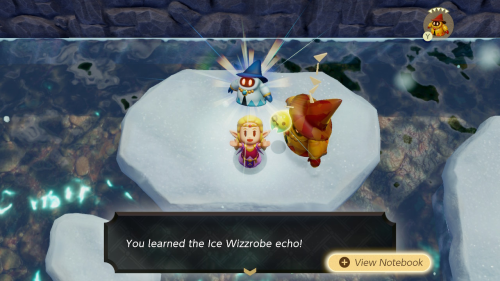
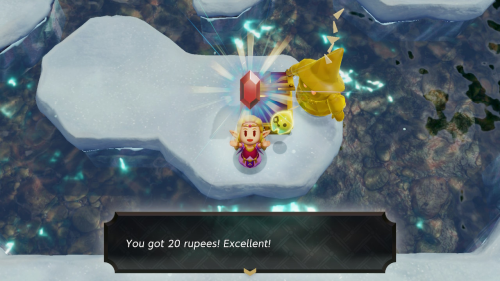
Drop down to the east and you'll find a new type of Wizzrobe that is tricky to deal with. The easiest way to counter it is to summon a Fire Wizzrobe to attack while you distract it. Aterward you can learn the Ice Wizzrobe echo. You can also venture into the icy water to pull out a chest containing 20 rupees on the east side of this pond.
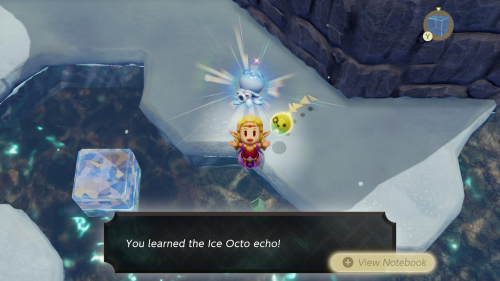
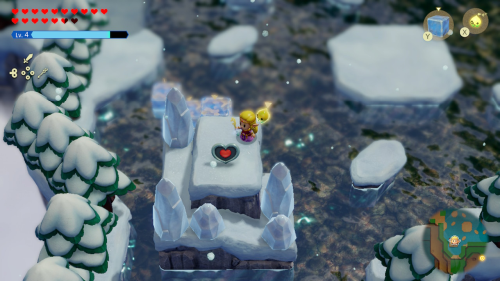
Head back to the west to the main pool of icy water. You can find and defeat a new Octorok variant, make sure to learn the Ice Octo echo when you do. Make your way to the southwest part of this pool while clearing out the enemies and you'll find another heart piece on a pillar. Use ice blocks to reach it and nab Piece of Heart #36, which should be enough to give you another heart container.
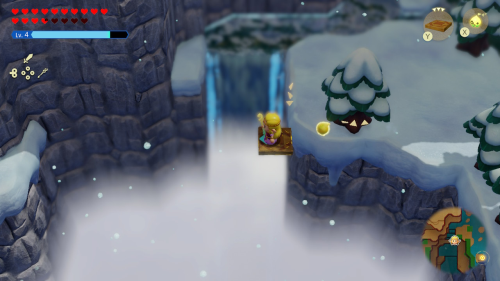
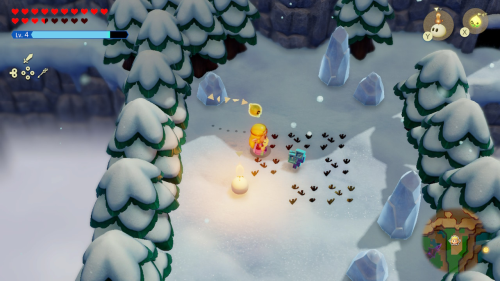
Check out the west side of this area where you'll find a waterfall and a cave. Before heading into this cave, you'll see a little notch between two trees to the south of the waterfall. From this spot, summon a flying tile echo to the west and hop on it. You should barely reach a cliff on the other side. Here you can burn the ice block surrounded by grass to find 1 Might Crystal.
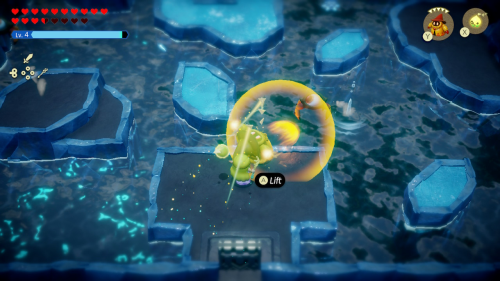
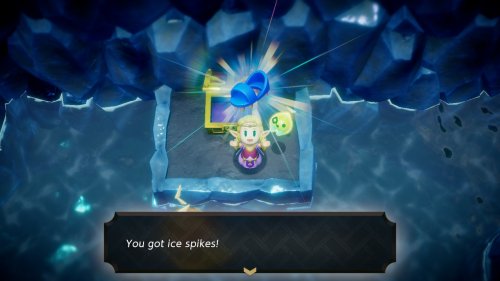
There is also a cave over here that you can enter. In the first room you can fight a stronger Tektite enemy. Defeat it and learn the Tektite Lv. 2 echo. In the next room there are several enemies you'll need to defeat while navigating on an icy platform. Summon a Fire Wizzrobe to do most of the work for you. When they are defeated a chest will spawn containing the ice spikes equipment. These prevent slipping on ice and are very useful in this area.
Upper Hebra Mountain Tunnel
Warp back to the newest waypoint and enter the cave to the northwest of the pool of water. In the first room you can just avoid the enemy and use some blocks to get up and out of here. The next room combines both wind and ice to make for some very slippery platforming. However, you should have equipment that you can equip that can negate the effects of both, making this room entirely trivial. Once you get to the end of the room use a flying tile echo to get over the gap and enter the next room.
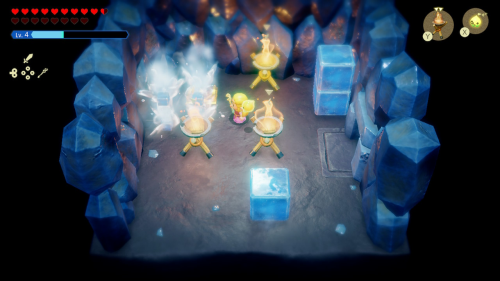
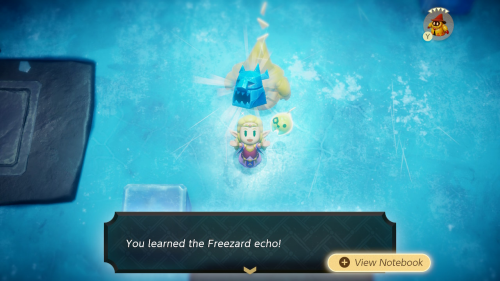
In the room to the left you can melt some ice and find a chest containing 6 monster guts. In the room to the north you'll find a new type of enemy that glides around on the ice shooting out a constant stream of ice breath. You can summon a Fire Wizzrobe to defeat them and learn the Freezard echo.
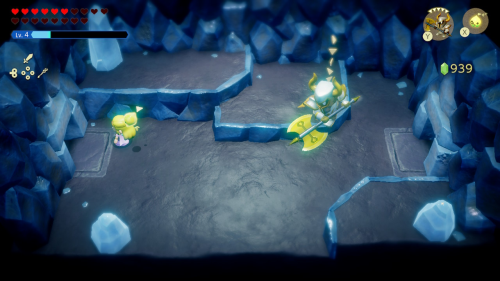
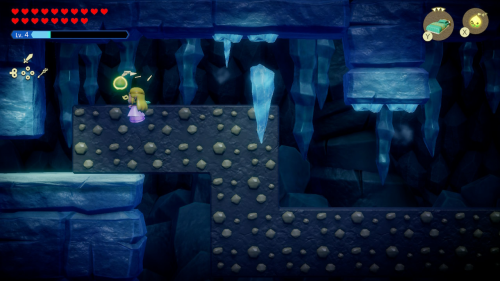
In the next two rooms you'll just find some enemies that you can take out with a Darknut echo. Then take the ladder up to the next sublevel. You'll need to watch for falling icicles here. Just make a run for it as soon as one falls and use the climbing wall to get to the left side of the room.
It's easiest to just avoid the Ice Octos in this room and quickly navigate to the left. You'll find a rising platform that you can get on and dodge the ice streams from both side. You'll then find another rising platform that you can place a boulder on the right side of to block the ice streams. You can then exit the sublevel via the ladder to the left.
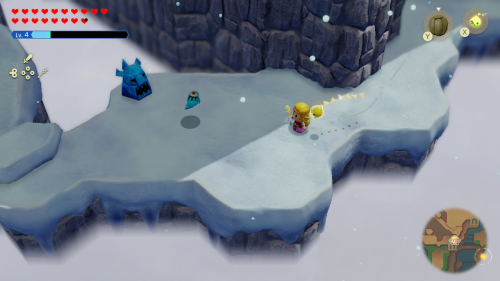
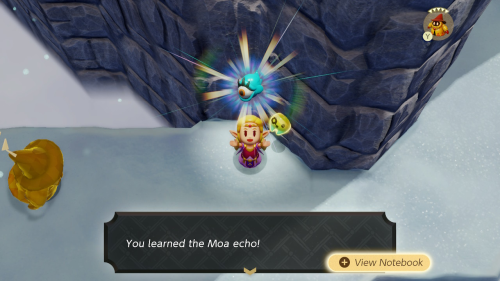
You'll emerge on an even higher area of the mountain where you'll need to navigate some narrow cliffs in the snow. There is another new enemy up here that floats around and shoots beams from it's eye. Take it out with a Fire Wizzrobe and learn the Moa echo.
Continue taking the narrow path to the west where you'll need to avoid the many snowballs rolling down the mountain. When you reach a fork in the road, take the path to the north and you'll see Piece of Heart #37 sitting on a platform to the left. You can reach it with a well timed jump.
Head back to the fork in the path and take the east path instead. You'll notice a platform to the south with a suspicous icicle. Melt it and you can find 1 Might Crystal. The snowballs are a little more tricky to dodge here, but remember that you place Braziers to melt them or bind to them if they are about to hit you.
When you reach the end of the path to the east you'll find Condé up here as well. He finds his big brother and they both jump up to a higher spot on the mountain. There is a waypoint you can activate here as well.
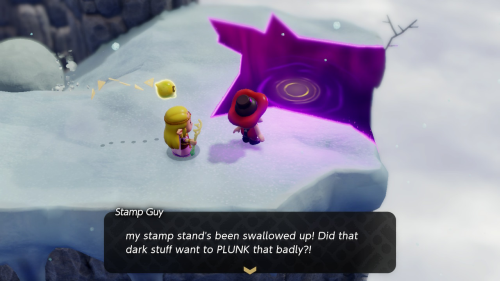
Head north and you will see a main area ahead and a narrow branch off to the northwest. Take this narrow branch first and you'll come across a buried treasure chest you can pull out of the ground. Open it to get 50 rupees. Now head all the way to the east in this area and you'll find the stamp guy panicking next to a small rift.
Speak to the Stamp Guy to start the "Stamp Stand Swallowed!" side quest. Enter the Stilled Hebra Mountain Passage minor rift where you'll need to free three groups of Tri's friends. Start by heading to the left and use a flying tile echo to get across the large gap. Use some fire echoes on the platform to take out the enemies and melt the ice blocks to the left. This will reveal the first group of friends. Now return to the main platform and start heading to the right instead.
Use more flying tile echoes to get to navigate to the right. Summon a Fire Wizzrobe echo to help deal with the ice enemies around here. When you get to far right platform use some fire to take out the shadow Freezard and find the second group of friends. Use some more flying tile echoes to get back to the main platform.
Head north and you'll find a vertical wall of water. You can swim most of the way up, but you'll be blocked at the top by some ice blocks. Hop out of the water onto the trees that are below this. Build a small block tower and then use a Platboom echo to reach the very top and melt the ice to free the last group of friends. Once you you do the rift will be mended and Tri will give you 2 Might Crystals.
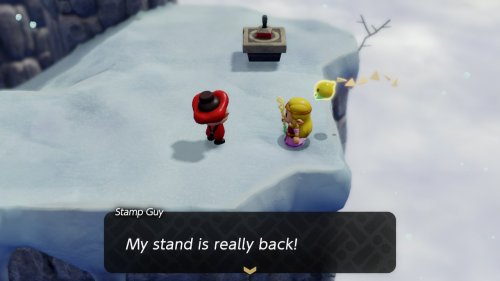
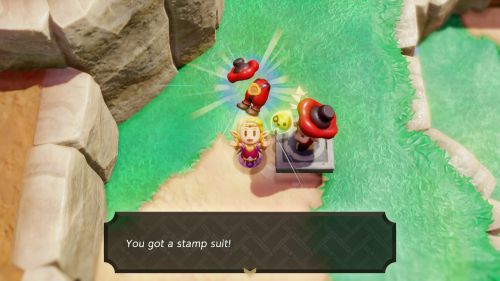
When you return to the surface, the Stamp Guy will thank you and you'll be able to get your final stamp at Stamp Stand #25. If you've collected all 25 stamps and completed your final stamp card, the Stamp Guy will return to give you the stamp suit outfit. Whether you actually want to put that thing on is another question.
With that side quest complete, you can now return to the main area and enter the cave to the north. In this sublevel you'll need to climb to the top using the ramps while avoiding the rolling snowballs. Just navigate quickly as soon as one snowball passes you and use the rock walls to get out of the way. You can also bind to a snowball to block it in a pinch. When you reach the ladder at the end, you can use a flying tile echo to get to the left slope and open the chest to get 4 monster fangs.
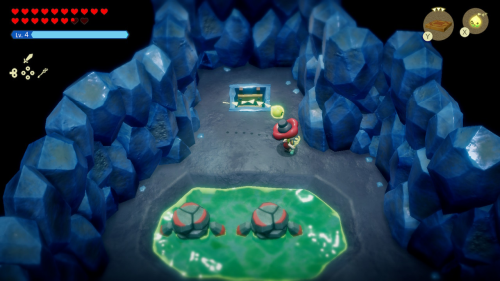
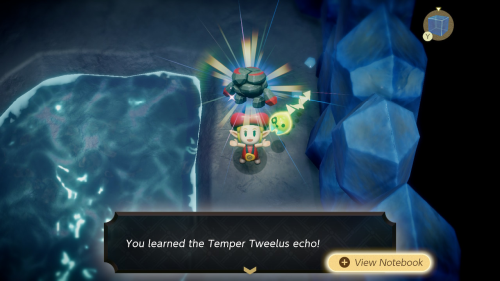
In the next room you'll find a new enemy variety resting in the hot springs. They get very angry when you attack them, but you can take them out with a few bombs. Then you can learn the Temper Tweelus echo.

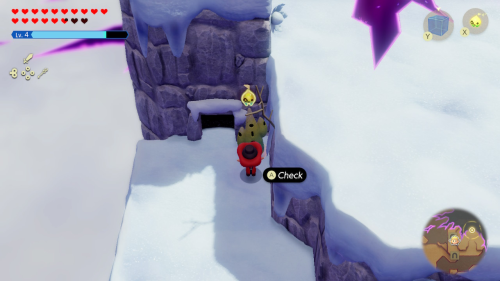
When you exit the cave you'll find that Condé has been pushed over by his big brother. He's quite sad after feeling betrayed by his brother, so we better go fix this rift to fix the situation. Make sure to go back and activate the waypoint by the cave entrance.
Stilled Hebra Mountain
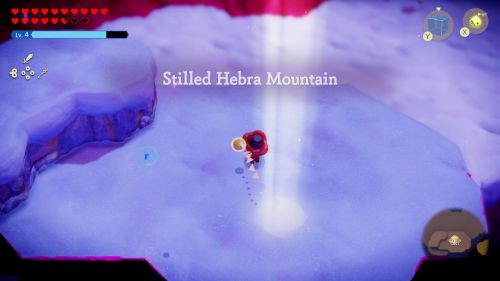
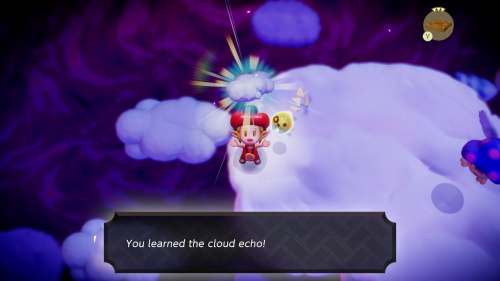
Approach the major rift and have Tri make an entrance to the Stilled Hebra Mountain rift. Head north and avoid the Tornandoes here and use a flying tile echo to get to the left platform. Over here you'll see some small clouds that you can study to learn the cloud echo. This will allow you to make some platforms in the sky to navigate the rest of the area.
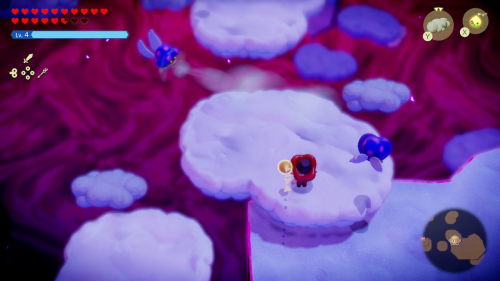
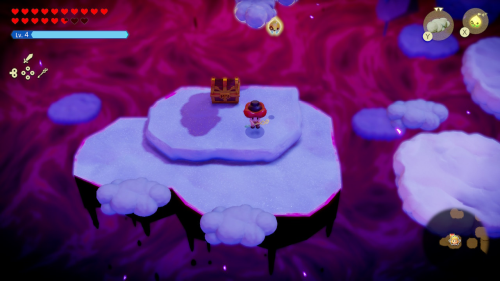
There are some Ghirros in this next section, but they can't bother you directly if you have the Gold Sash equipped. They can however blow your clouds away, so you might want to take them out anyway. Use clouds to get to the platform to the left and you can find a chest containing a monster stone. Then continue making clouds to get to the northwest and enter the cave.
In this sublevel, you'll want to use clouds to cross the platforms and summon a Wizzrobe when you need to clear out the Ghirros. Climb up above and blow up the cracked blocks to reach a chest containing 3 warm peppers. Then head to the right and reach the platform below and you can find a chest containing 20 rupees.
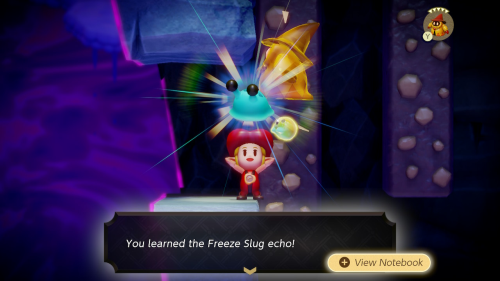
Continue to the right and you'll enter an area with some narrow rock walls with a new type of slug enemy. Summon a Fire Wizzrobe to the right to clear them out and learn the Freeze Slug echo. You can then take the ladder up to exit the sublevel.

Activate the waypoint here to enter a new area: Stilled Holy Mount Lanayru. Keep a Fire Wizzrobe around to take out the Ice Keese and keep using clouds to get to the large platform on the right. Climb up the cliff and then take out the Ice Octos in this area and then check out the cave to the northwest.
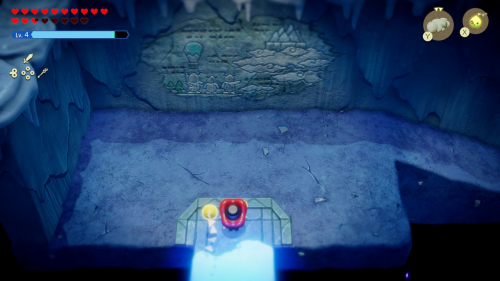
Inside the cave you can build a cloud staircase to reach a chest that contains 50 rupees. Back outside, build a water block tower to get on the higher cliff and clear out the enemies. You can then take the ramp up to a large cave entrance. Enter and you'll find some cave drawings that show that Condé's Big Brother is very fond of him - at least before these rifts showed up. The path to the right leads directly to the next dungeon, which we'll cover in the next part of this guide.
Back to Faron Temple Continue to Lanayru Temple
