Hyrule Castle Town
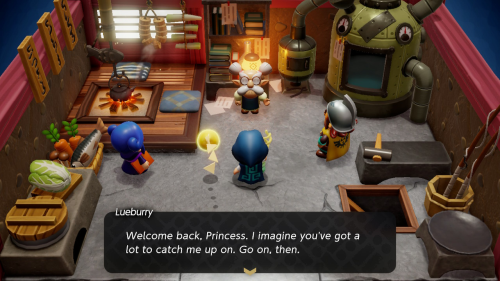
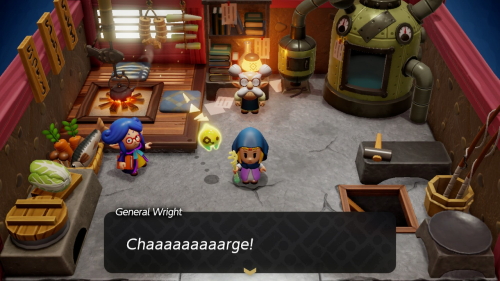
Warp over to Lueberry's House to continue the main quest. When you arrive General Wright and Minister Lefte will explain that the last large rift is at Hyrule Castle and they will begin heading that way. That's where we want to head as well. If you haven't already, make sure to upgrade all your weapons and energy as much as you can while you're here.
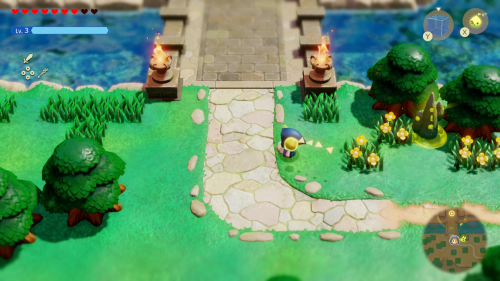
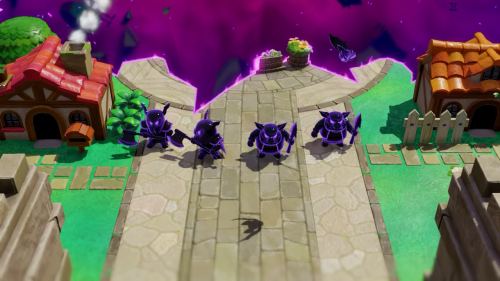
Warp to the Hyrule Castle waypoint and enter through the gate to the north. You'll find General Wright and Minister Lefte being blocked out of town by some guards. As the group is speaking, the rift in town will grow and a number of shadow enemies will spawn.
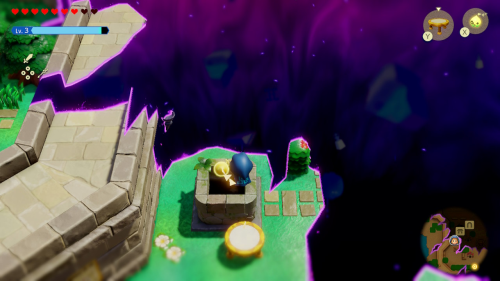
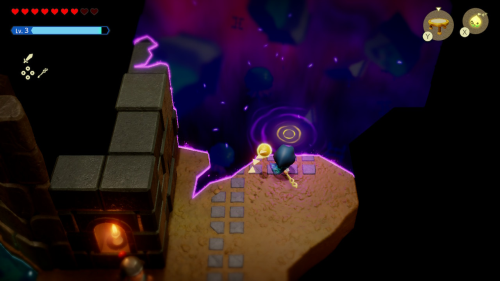
When you try to enter the town, Tri will let you know that the entrance to the rift can be found underground. Use swordfighter form to clear out any enemies in your way. You can then head left and use a trampoline to get inside the well opening. Down here you'll find an entrance to the rift.
Stilled Hyrule Castle Town
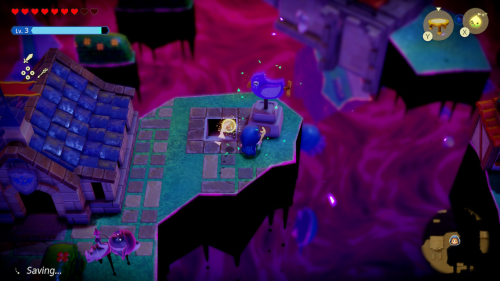
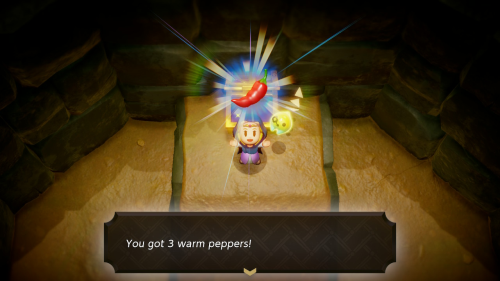
Once you enter the stilled world, you can head up through the staircase of the house to enter ground level outside. You'll see many town residents frozen here. If you recall before, we moved the weathervane in town with bind to reveal a secret entrance. You can do this again in the stilled world and find a cave entrance. Inside is a chest containing 3 warm peppers.
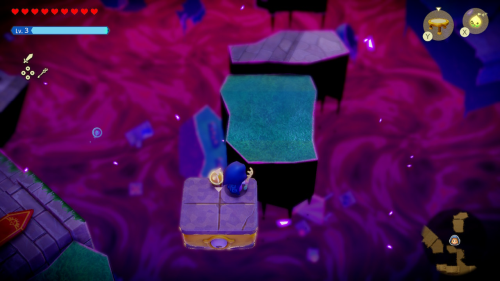
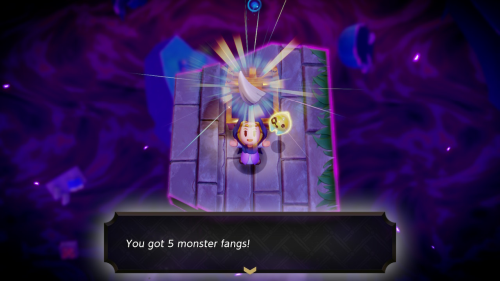
Follow the platforms to the southeast and defeat the enemies along the way. There is nothing of interest in these first few buildings except for some more monsters to defeat. Head north and you'll see an island high up to the north. You can use a trampoline and Platboom echo to reach this. There is another higher platform that you can use another Platboom to reach. You'll find a chest up here containing 5 monster fangs. You can get back to the path using a bridge of water blocks.
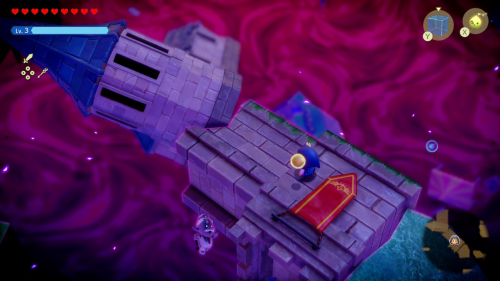
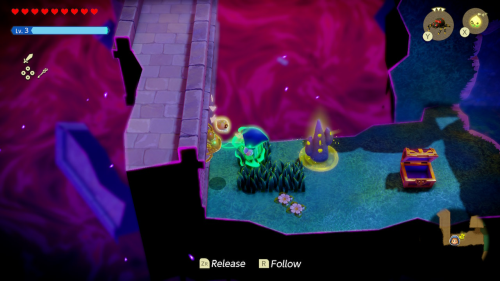
Continue climbing to the north over the broken pieces of castle. There are some more shadow enemies to defeat. You'll soon reach a pool of water where you can pull a treasure chest out of the ground to the left and get 7 portions of radiant butter. There is a waypoint to activate here as well.
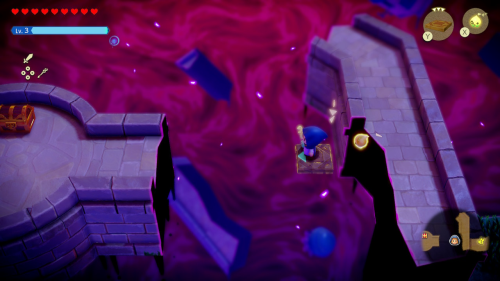
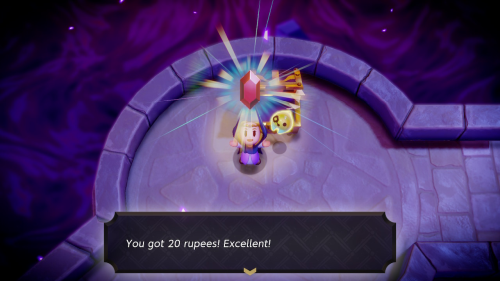
You can climb the wall to the left with a Crawltula echo. To get to the platform all the way to the left, you'll need to summon a flying tile echo and ride on top of it. There's a chest here containing 20 rupees. You can also use a flying tile echo to get back.
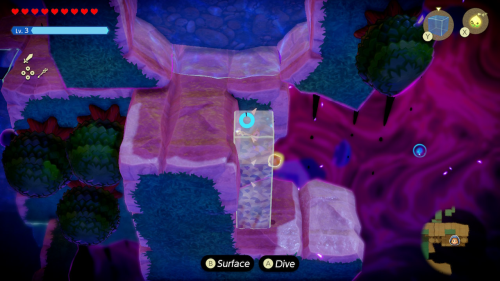
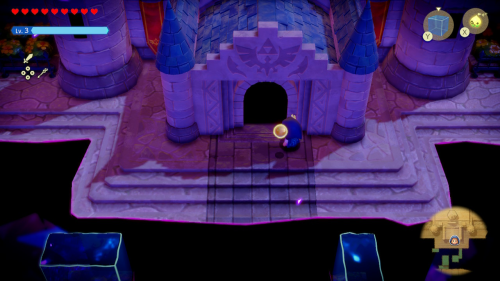
You'll now want to start climbing the vertical wall of water and trees. Head to the right and make sure you don't miss the red rupee on the ground below. There are more pools of water to the north that you can swim through by placing your own water blocks to connect them. Once you get on top you'll find the entrance to the next dungeon.
Hyrule Castle Dungeon
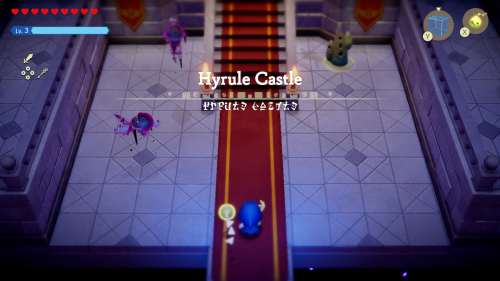
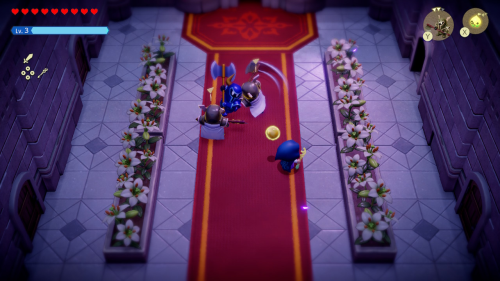
As soon as you enter you'll find a waypoint to activate. Continue to the next room and you'll find a stronger Darknut in the hallway. You can summon two Darknuts of your own to defeat it. Afteward you'll learn the Darknut Lv. 2 echo.
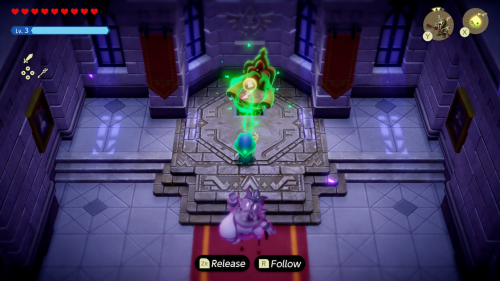
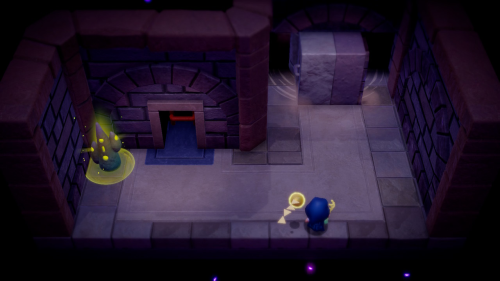
Continue forward to the throne room where you'll see the King frozen. Behind him you can bind to the chair and move it out of the way to reveal a ladder that leads down to a sublevel. Follow the hall to the left and take another ladder down to "B1".
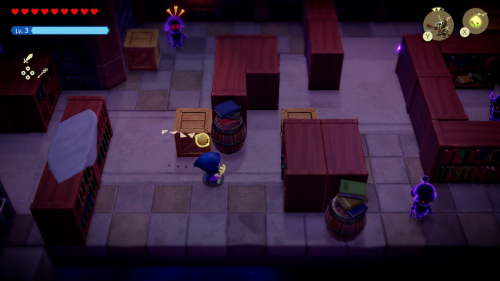
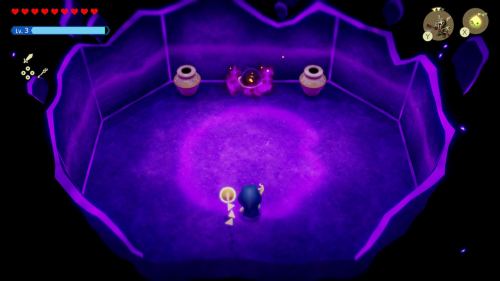
There's a waypoint to activate here. You can bind to the right handle on the stone wall and pull to the left to swing it open. In the next area you'll see a number of shadow guards patrolling the area, just as real guards did before. You can't simply walk up and attack these guys. If they spot you, you'll be taken to a small shadow arena where you'll need to defeat some other enemies to escape. You'll then be taken back to the center of the room.
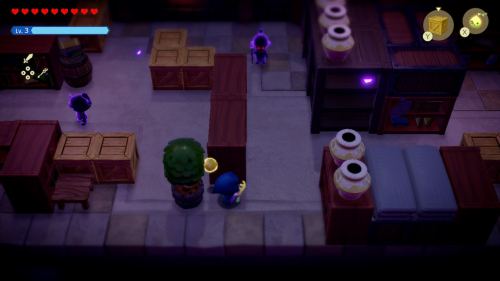
You'll instead need to evade these guards. Remember that they are also drawn to noises, so avoid using your spin move or breaking things. Wait for the first guard to turn around and then head to the right. Start following behind the second guard when he's moving to the south and then move to the right to safety.
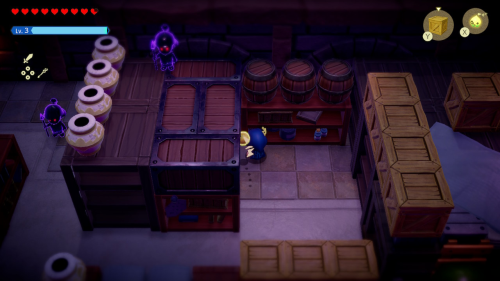
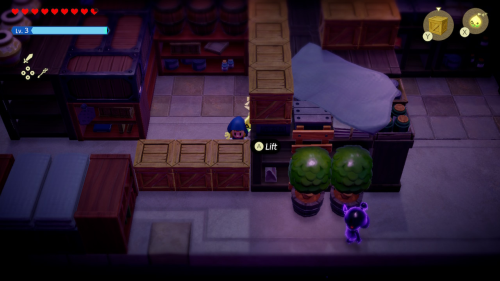
For the third guard, sneak past when they aren't looking and then make sure something is blocking their line of sight behind you. Wait for the fourth guard to turn around and then make a run for it to the right. When you get to this area behind the wooden boxes a checkpoint is created that you'll be sent to if you get caught again.
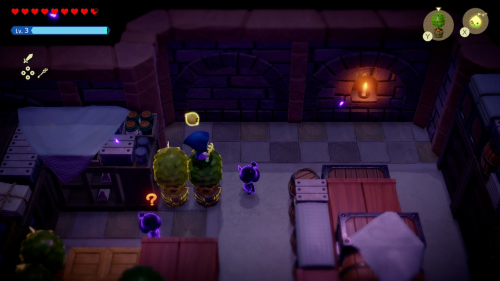
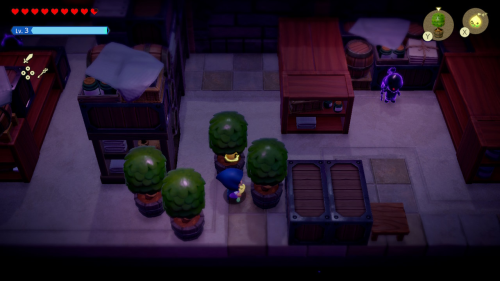
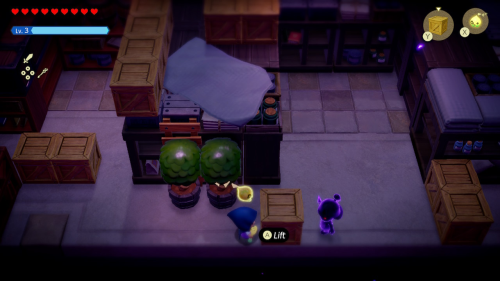
Move a box out of the way and then move a shrub down so it completely blocks the guard from seeing you. You can then climb up the ladder. Head to the right and use some shrub echoes to create a bridge to the middle section. You can then rearrange the shrubs to block off the guards and head to the next group of shrubs to safety.
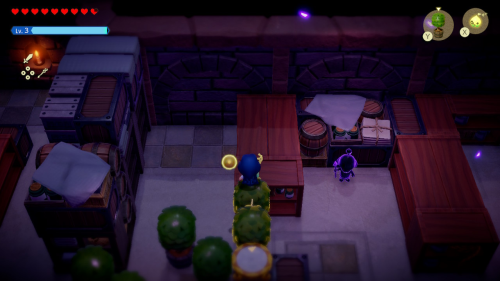
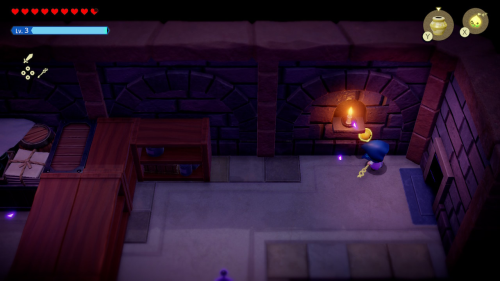
In the final area of the room you can use a trampoline and a shrub to get on the higher platforms behind the next guard and then sneak past behind him. For the final guard, throw a pot echo to the south to move him off his post and then make a run to the right and enter the door.
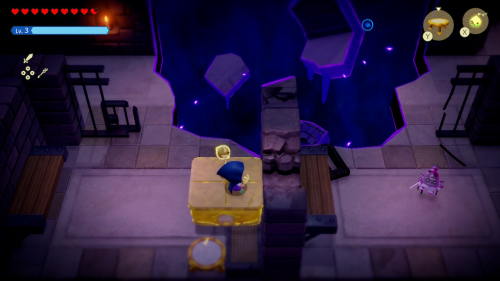
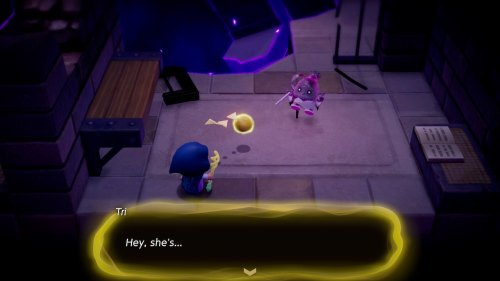
You'll find yourself back in the jail, but some of the walls and floors are missing. You can use a Platboom to get back into the jail cell you were trapped in before through the crack in the top of the wall. Here you'll find a frozen Impa. If you read the journal to the right, you'll learn that she was thrown in this jail cell after helping you escape.
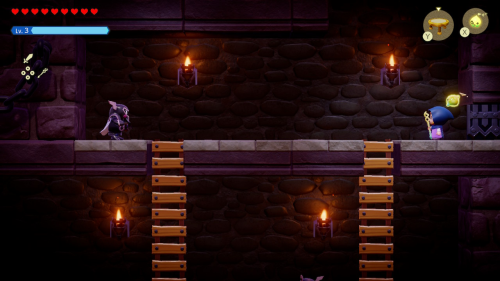
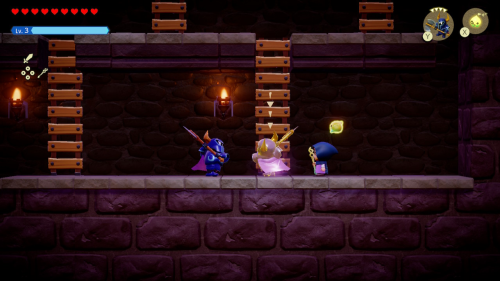
Head to the right and activate the waypoint. Then take the ladder down into a sublevel. In this room you'll find a maze of ladders as well as several patrolling Darknuts. You can summon a Lv. 2 Darknut echo of your own to take them out. Once they are all defeated the exit to the left will open up.
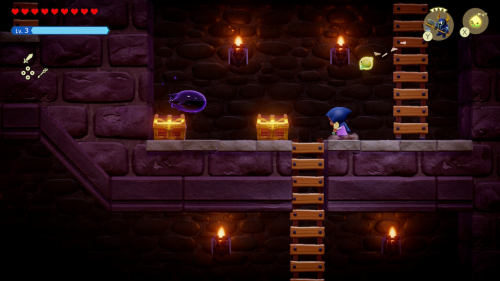
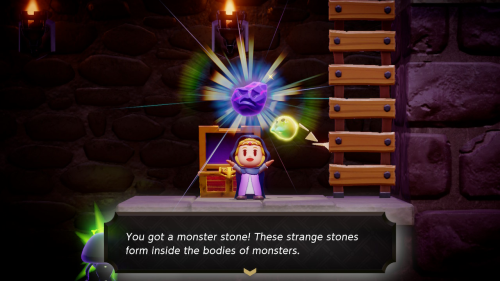
In the next room there is another maze of ladders as well as shadow blobs floating around that will summon shadow enemies when touched. Head down and stick to the left first to find a chest containing a monster stone. If you go back up and then head down and stick to the right you can find two chests containing 3 twisted pumpkins and 5 jars of floral nectar. You can then take the bottom ladder to get to floor "B2".
Floor B2
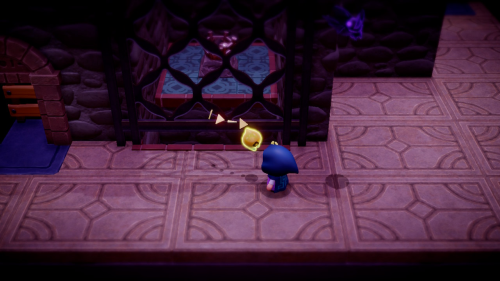
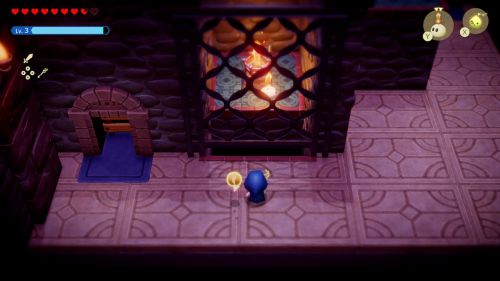
When you enter this floor Tri will remind you of the ability to summon echoes at a distance, something we haven't needed to make use of thus far. You can now do it by holding "Y" to summon an Ignizol echo through the grate to light the torch on the other side.
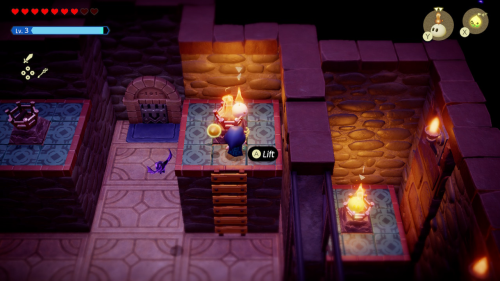
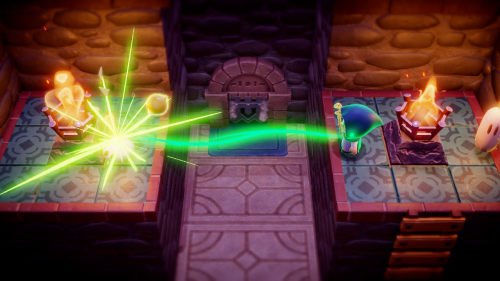
You'll need to use a similar strategy for the other torches. For the right torch, summon an Ignizol through the grate. Then bind yourself to it and climb up the ladder to bring it to the corner and drop it on the torch. You can simply drop an Ignizol on the right torch on this platform. For the left torch you'll need to again summon the echo from a distance. When all four torches are lit, the exit to the north will open up.
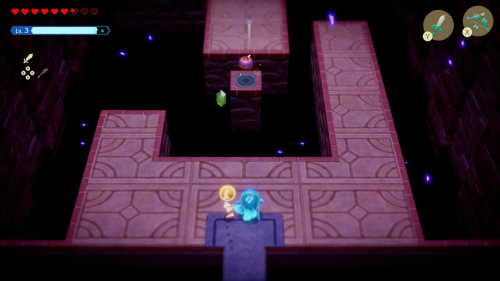
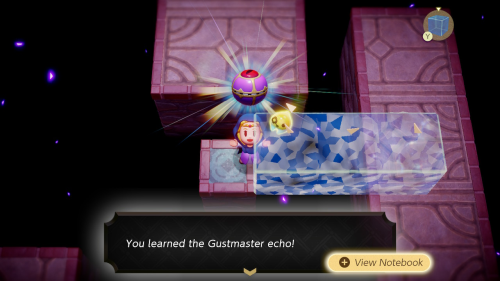
In the next room you'll see a new enemy: the Gustmaster. This emits a gust of wind in all directions that can push you off of platforms. You can defeat it with ranged attacks like your bow in swordfighter form. Once defeated, you can use a water bridge to reach the center platform and learn the Gustmaster echo.
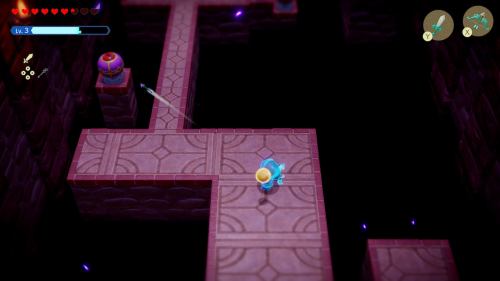
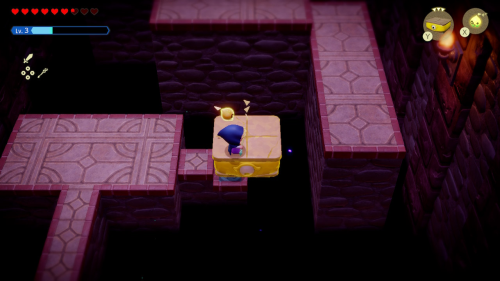
Use the same strategy on the next Gustmaster and shoot it from a distance with the arrows. When you get to the third one, it will be set a little lower making it hard to hit with arrows. Just wait until it stops gusting and rush it in swordfighter form and defeat it with your sword. You can then place a Platboom echo on the platform it was on and ride it up to get to the ledge on the right.
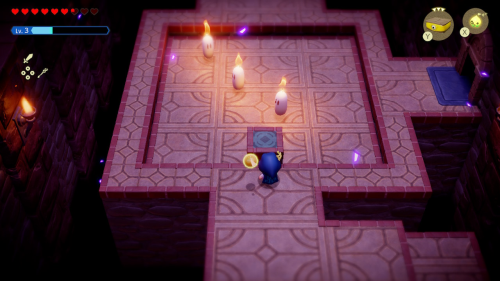
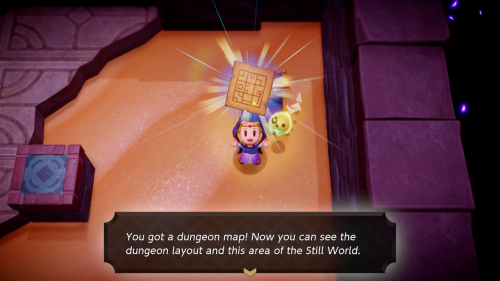
In the north part of the room you can use your own Gustmaster to take out some enemies. Place it on the conspicuous pedestal platforms to put out the Ignizol flames. Enter the room to the right and use a Gustmaster to quickly blow away the sand piles. This will reveal a treasure chest that contains the dungeon map.
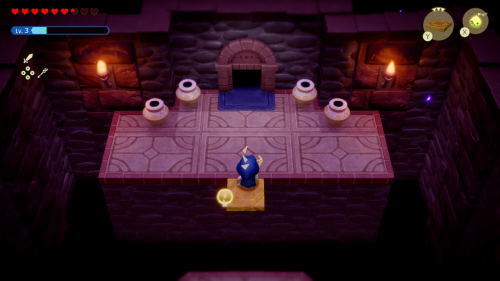
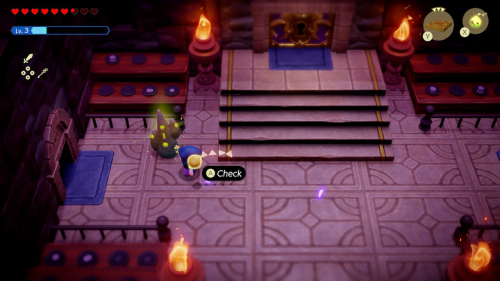
Head back left and then use another Gustmaster on the shadow Zol to blow them off the edge. You can then stand on the blue tile and summon a flying tile echo and ride it to the north. Enter the next room where you'll find the boss door. Activate the nearby waypoint. There are two paths from this room, but the right one is blocked for now so head left instead.
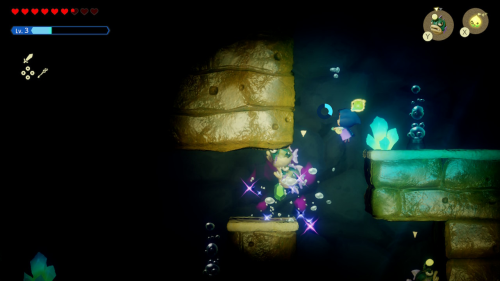
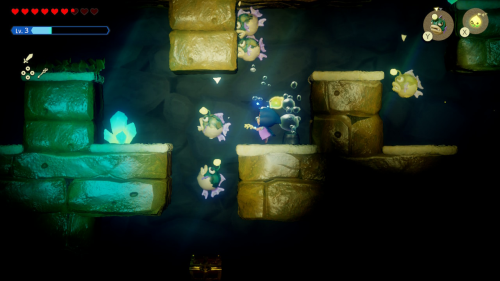
Defeat the shadow Tektites in this room and use a water bridge to get to the center platform where you can head down the ladder to a new sublevel. This is a dark water labyrinth. You can spin to activate the light crystals and summon Lv. 2 Tangler echoes to light up the way. In the center of the maze you'll find a treasure chest that contains 20 rupees.
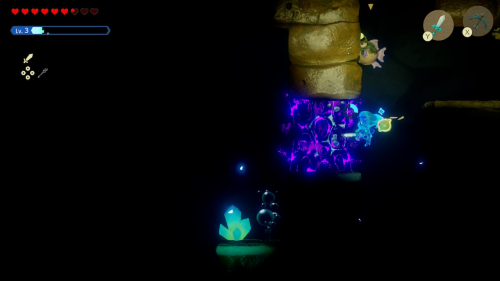
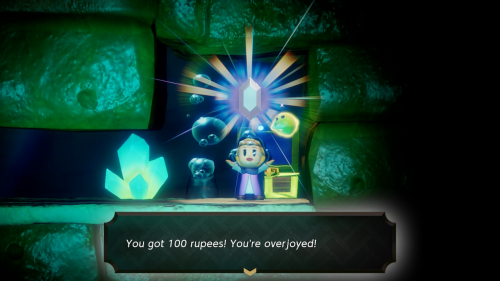
Continue swimming down and to the left, letting your Tanglers defeat any enemies along the way. There are several shadow webs blocking the way that you'll need to use swordfighter form to break. In a crevice to the bottom left (you can see it on your map) you can find a chest containing 100 rupees. You can then swim all the way back up, sticking to the left side, and take the ladder up out of the sublevel
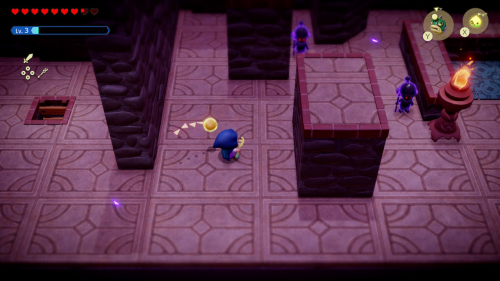
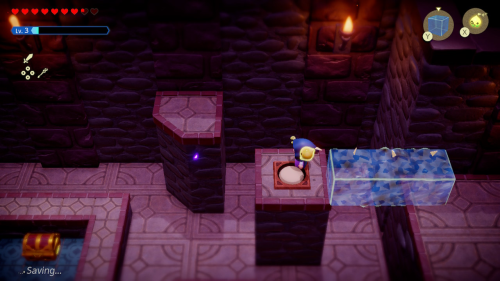
In this room there are many guards you'll need to evade. Make it all the way to the right and climb the ladder to safety. From here make a water bridge to the left and activate the white switch. This will spawn a treasure chest in the center of the room.
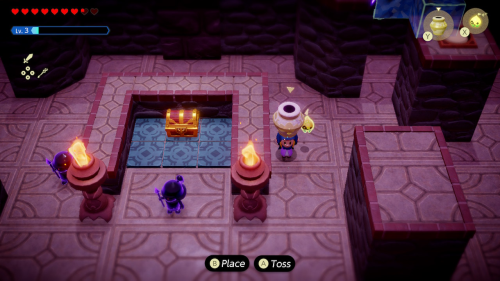
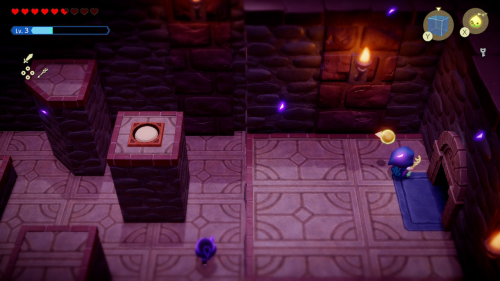
You can then throw a pot in the bottom right corner to distract the guards and wrap around to open the chest and find a small key. Distract the remaining guards and run back to the right to exit the room. Head right through this water room that we were in before to get back to the main room.
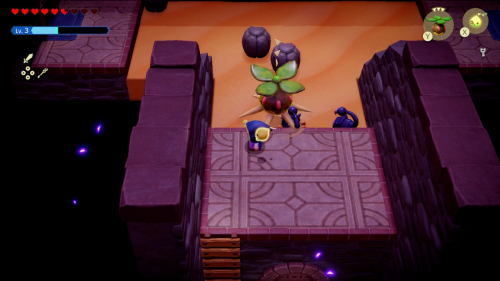
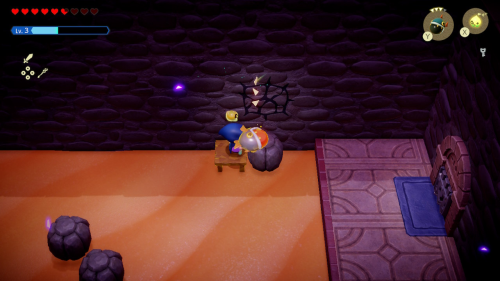
This room is filled with sand and Aruroda (scorpion) enemies. Use a Peahat echo to defeat them. You might notice a cracked piece of wall above the ground to the right. Move a boulder in front of it and then use a table echo to get on top of the boulder. Then summon a Bombfish and hold it in place to blast it open. Through the opening you'll find a hidden room with a chest containing 50 rupees.
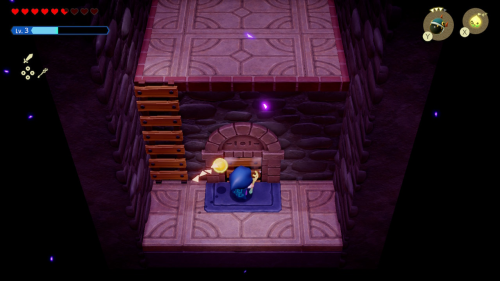
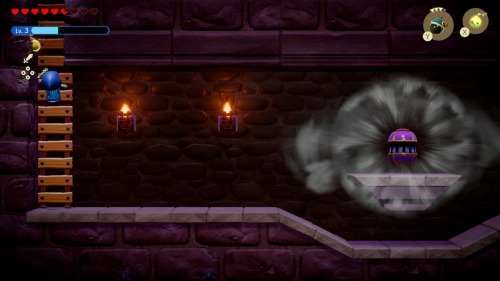
Head south through the sand and take the ladder down. Open the locked door here with the small key we found. Take another ladder down to a sublevel. There is a Gustmaster here that you don't need to worry about defeating, just run past it when it stops gusting and take the next ladder down.
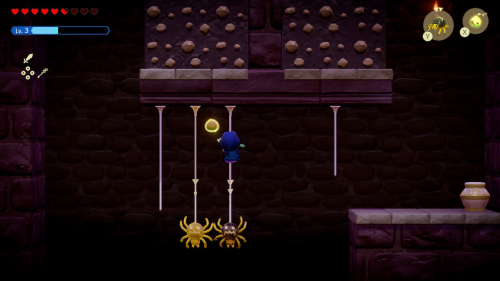
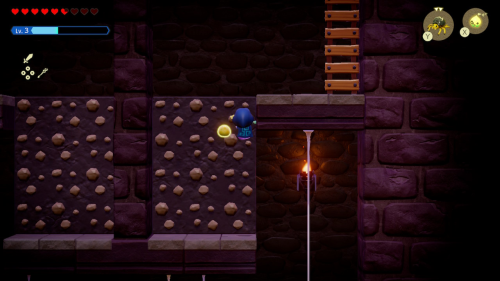
Ignore the other Gustmaster here and drop to the right to the rock wall. Summon a Strandtula echo to the left and climb its web down to reach the web below. Then keep summoning Strandtulas to your right to cross to the right ledge. Use a final Strandtula to create a web that lets get back up to the right rock wall. Then climb up to the right and exit this sublevel.
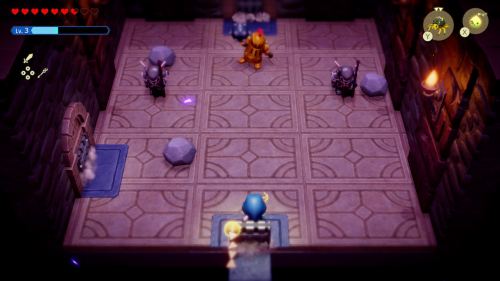
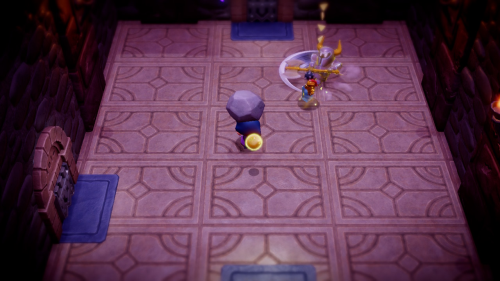
In the next room you'll need to defeat a couple Darknuts and a Ball-and-Chain Trooper. Summon a Lv. 2 Darknut echo to take on the Darknuts and begin throwing stones at the Ball-and-Chain Trooper to attack it from a distance. Once defeated you can learn the powerful Ball-and-Chain Trooper echo. The two blocked doors will then be opened.
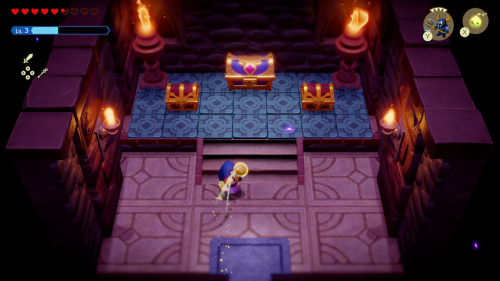
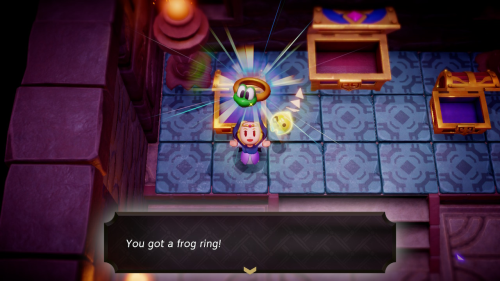
Head into the small room to the north where you'll find three treasure chests. The large one of course contains the big key for the boss door of the dungeon. In the other two you can find a golden egg and the frog ring equipment. Wearing the frong ring will let you jump higher. You can then head back through the left all the way to the main room.
Shadow Ganon
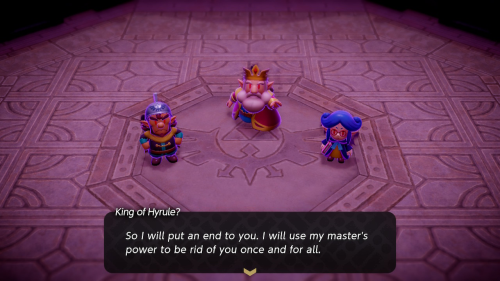
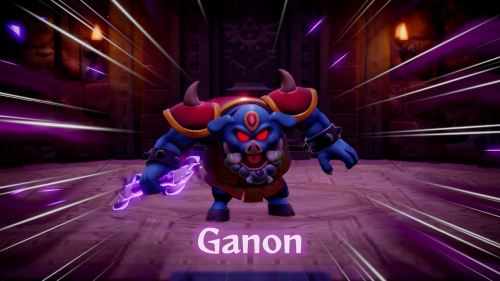
Heal up if needed and then head through the boss door. Inside you'll find the shadow versions of the King, General Wright, and Minister Lefte. They will use their powers to summon the boss of the dungeon: Shadow Ganon.
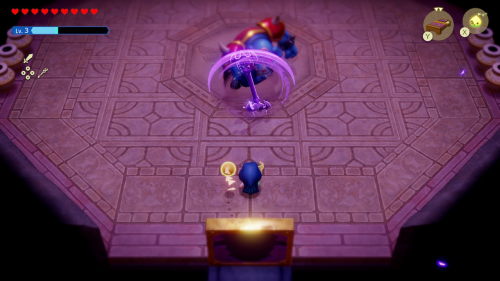
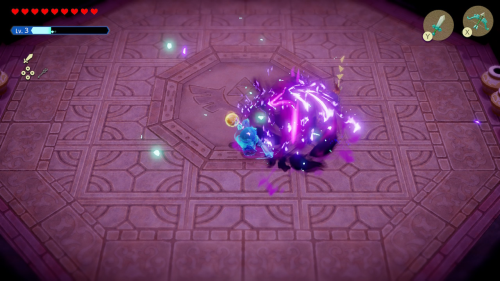
In the first phase of this battle, Ganon will block attacks from the front by spinning his weapon in front of him. He'll then quickly teleport and perform a lunging attack. If you dodge it, this leaves an opening for you to deal some damage in swordfighter form. You should also have a strong echo like a Lv. 2 Darknut summoned.
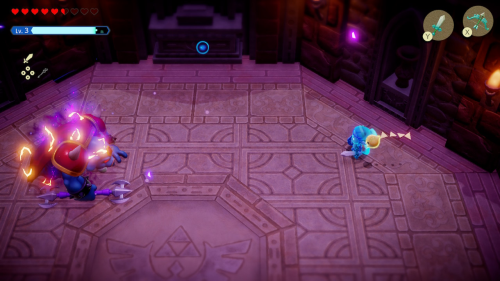
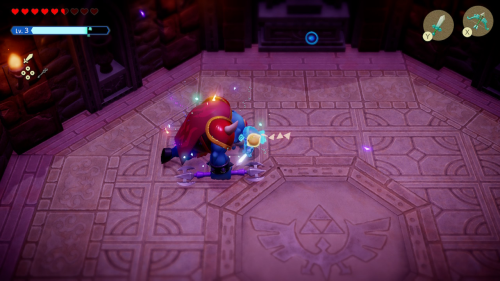
Once you deal enough damage, Ganon will enter the next phase where he'll start summoning his spinning weapon at a distance. He leaves himself vulnerable when does this, but he also summons Fire Keese that can get in the way and take out your echoes. If you start running low on energy, you can slowly gather some that spawns along the edge of the ring.
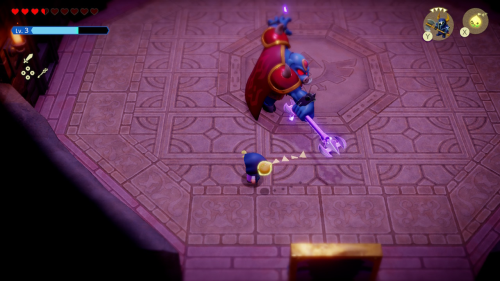
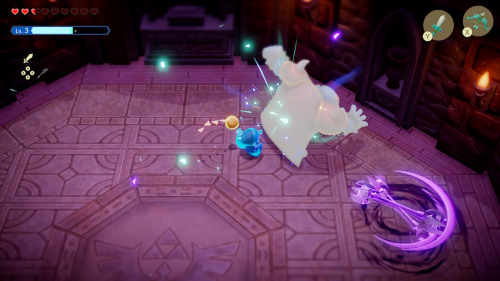
In the third phase, Ganon will start summong Fire Keese much more quickly. He'll also summon his classic energy orb that you'll need to volley with him by timing your sword swings as it approaches. He'll eventually lose the volley and will be stunned for awhile so you can get some more attacks in. You'll have to repeat this volley process a couple times before the next phase.
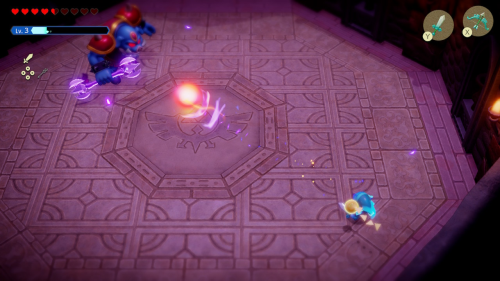
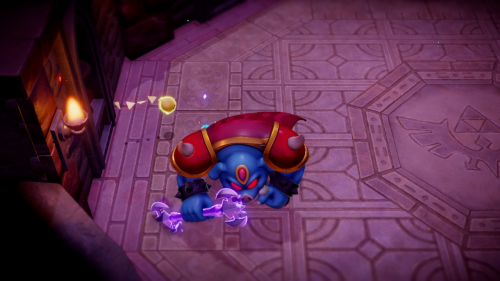
In the fourth phase and final phase, Ganon will continue doing all the same moves, but even faster. He'll cycle through is normal moves and starting a volley with the energy orb. Make sure to gather enough energy to volley with him. If you are having trouble with the speed, make sure to start the volley when you are further away to give yourself some more time. After dealing enough damage in this phase, Ganon will be defeated.
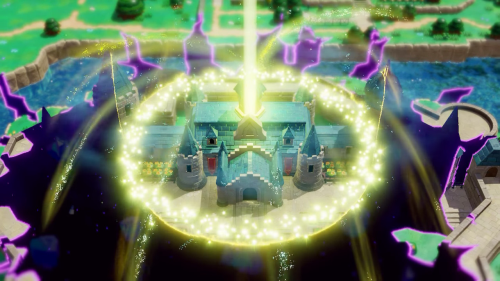
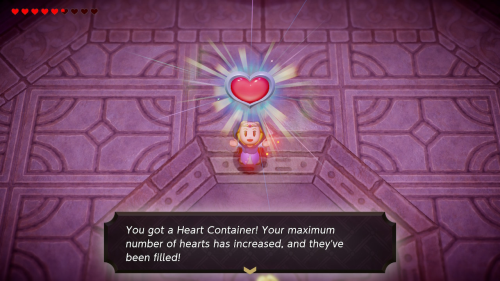
Once Ganon is defeated, the rift that engulfed Hyrule Castle Town will be mended. Tri will be upgraded to Lv. 5 and more of your echoes will have reduced summoning requirements. You will also get 5 Might Cystals from Tri. Make sure to pick up the Heart Container before leaving.
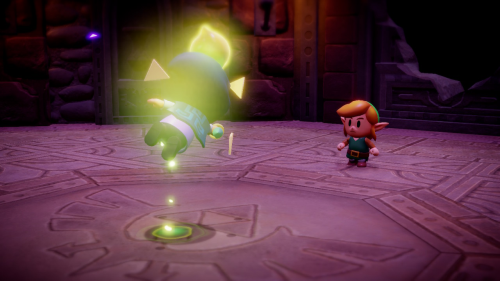
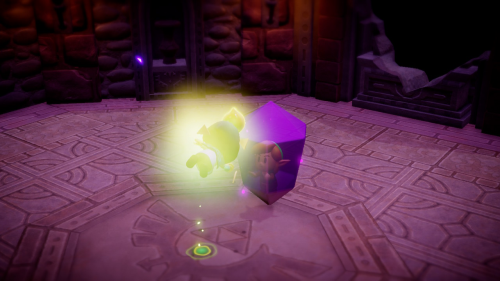
As you attempt to leave you will see a shadow monster break through the wall of the dungeon and try to nab you. However, Link appears to chase him away. As you are teleporting away, Link will be sealed in a crystal and taken away once again.
Restored Castle Town
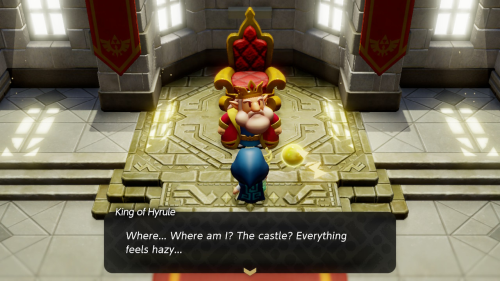
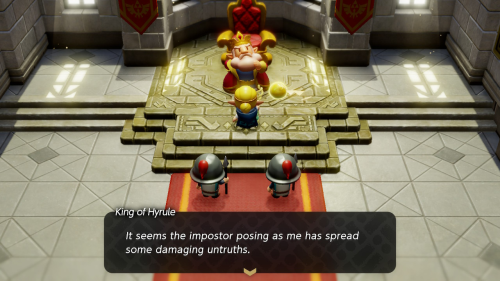
Back in the restored Hyrule Castle, the King will awaken and you'll fill him in on what happened. The King then fills in the guards on his imposter and they will no longer try to capture you.
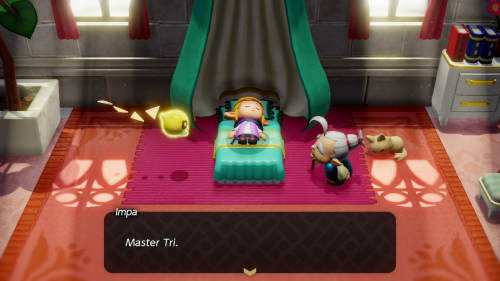
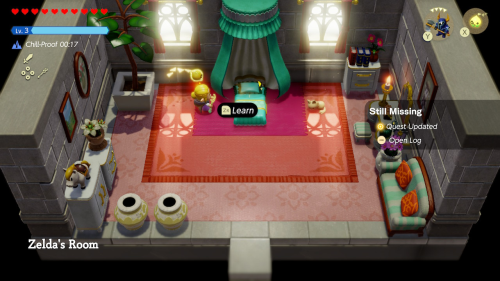
In the next scene, you will awaken from bed as Impa thanks Tri (she can see him now that she's been in a rift). Impa tells you that the King has requested to see you in the throne room. Before leaving, make sure to learn the Zelda's bed echo.
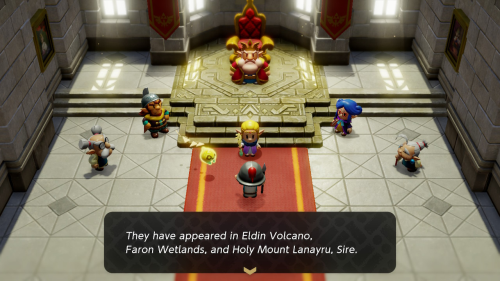
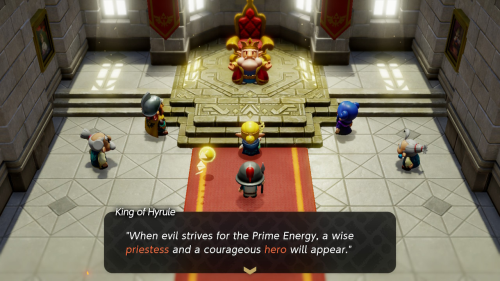
Back in the throne room, the whole gang of leaders will discuss what has happened and what to do next. A guard will then burst in and announce that three new large rifts have appeared. They have appeared in regions that connect directly with the Prime Energy, a source of power left behind by the three goddesses. Legend has it that only the priestess (Zelda) and hero (Link) can work together and stop whatever source is trying to take the Prime Energy.
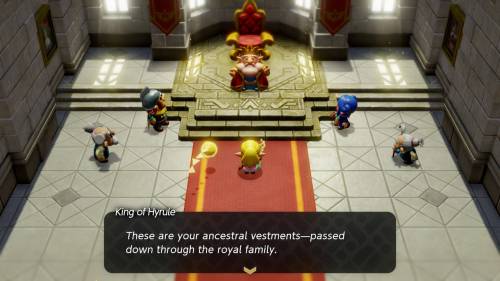
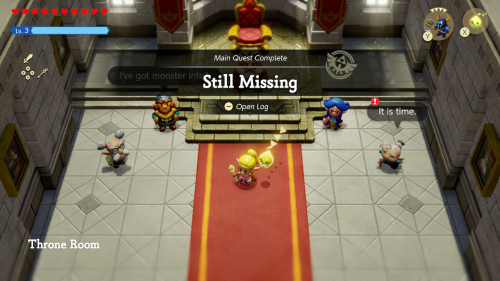
The King will instruct you to mend the three new rifts to put a stop to this. Impa will then give you your royal clothes, since you no longer need to be in hiding. The "Still Missing" main quest will then be completed and two new main quests will begin: "Rescuing the Hero Link" and "Lands of the Goddesses".
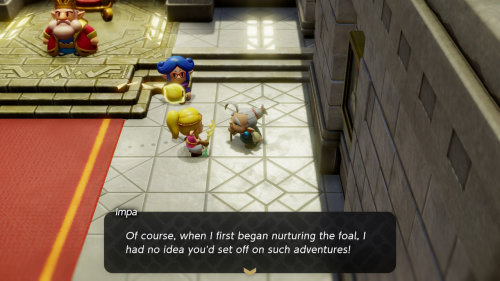
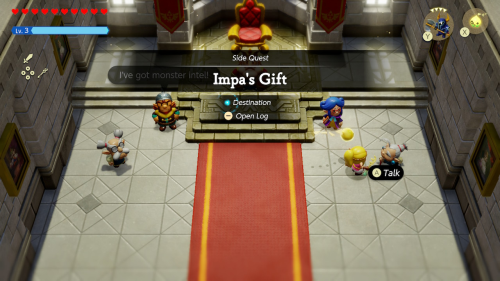
If you have any Zelda amiibo and want to use them, you now have the ability to do so and can unlock a few exclusive outfits. Speak to Impa and she will inform you that she has been raising a horse for you that you can find at Hyrule Ranch. This will begin the "Impa's Gift" side quest.
From here on out, the game is very open ended. You can choose to investigate any of the three new major rifts first, and there are also many optional collectibles and minor rifts to check out. In the next chapter, we'll be gathering collectibles, completing side quests, and investigating minor rifts before moving on to the main quest. Feel free to skip to one of the next chapters instead if you are only looking to complete the main quest.
Back to Jabul Ruins Continue to Minor Rifts