Jabul Ruins
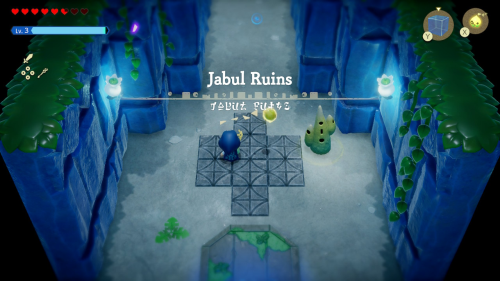

Activate the waypoint as soon as you enter the dungeon. When you walk ahead into the hallway, the floor will break beneath you and you'll fall to the B1 floor in an underwater sublevel. In this first area, you'll need to move a few boulders out of the way with bind before you run out of air.
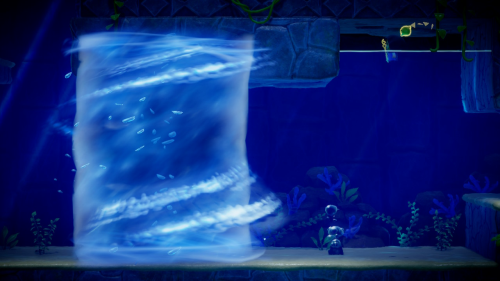

When you get far enough to the right a large fish creature will pay you a visit and create a torpedo in the water that will quickly approach you. You'll need to quickly run away from it as you navigate the path to the right. Keep on the lower path until you seem some wooden boxes and then take the upper path to get around them. You'll eventually find a ladder and be able to exit the sublevel.
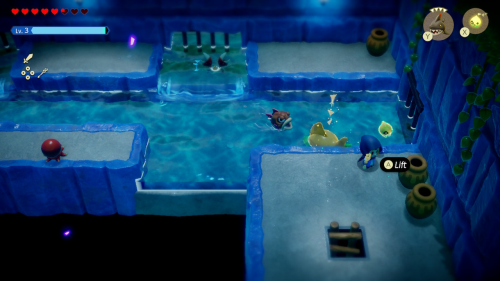

In the next room there's a number of enemies for you to defeat before taking the stairs to the left back up to 1F. You'll find yourself on the other side of the hallway you fell into and there's another waypoint to activate in this room. Enter the door ahead.
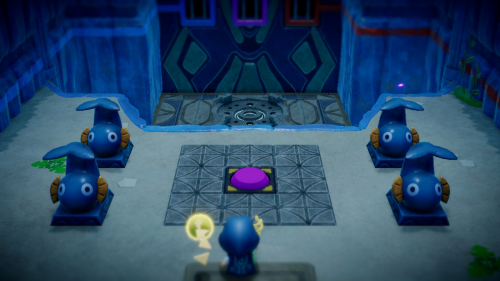

This is the main room of the dungeon that spans three floors and has a large puzzle that you'll need to solve. There is a pink switch in this room that causes water to flow from the pink grate and fill the fountain a small amount. There are four other colored grates as well, and we need to go find the switches associated with each to fully fill the fountain.
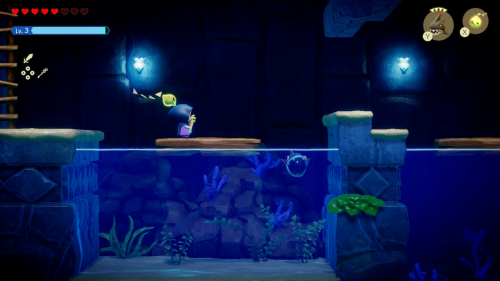

There's a ladder to the right that will take you to a sublevel with some wooden platforms floating on the water. The Bombfish might take out the platforms, but you can summon water blocks to get to the right if needed. To the right you'll find a new flying enemy called the Needlefly. Summon some Crows to take it out and learn the Needlefly echo.
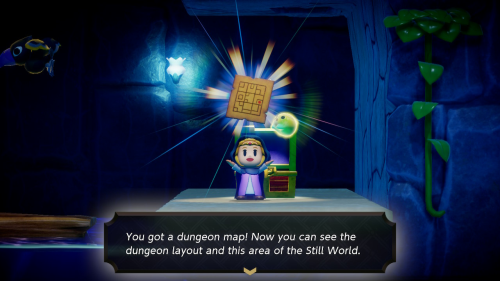

In the chest to the right you can find the dungeon map. Hop down into the water and let a Chompfin take out all the enemies. You can then safely reach the ladder to the right. In the next room is a large pool of water infested with Chompfin. You can use your own or some Bombfish to take them out.
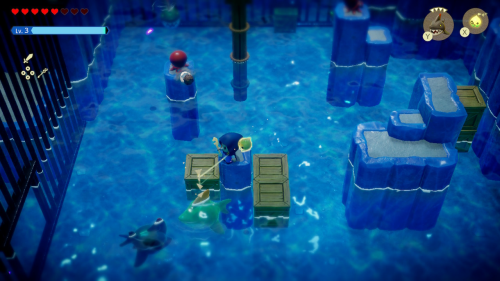

On the north grate there is a wooden box you can blow up and swim through. Use a trampoline to get up to the left and open the chest to get 50 rupees. You can then place a bed on the top of the stairs to reach the elevated planks to the right. From there you can carefully walk across the tightropes to reach the staircase on the left side of the room.
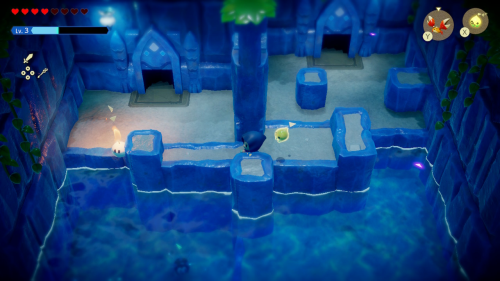

The next room is full of Sand Crabs that you can take out with almost anything, Sea Urchins work well. In the next room you can simply step on the red switch to open the grate in the main room and raise the water level. Then drop down to the left to the previous sublevel and take the ladder to the left back to the main room.
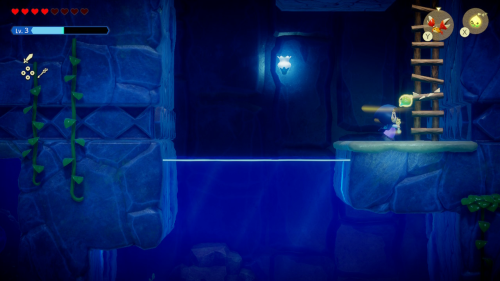

Back in the main room, take the ladder to the left down to another sublevel. There is a dark pool of water down here. You can summon Tangler echoes to give yourself some more light and defeat the enmies. On the bottom of the pool you'll find an underwater Deku Baba and you can learn the Bio Deku Baba echo.
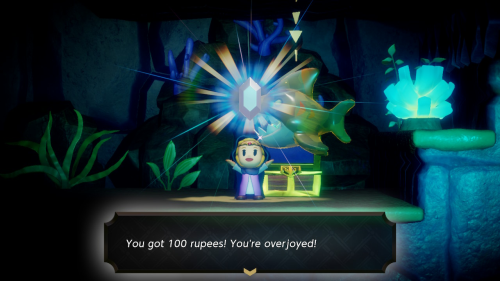

Continue navigating through this enemy filled waterway, using a Chompfin or Tangler to take out the enemies. Near the end there is an alcove to the right where you can find a chest containing 100 rupees. Shortly after and to the left you can start swimming up to find the ladder out of the sublevel.
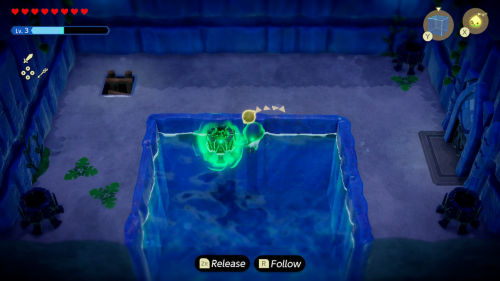

In the next room there is a torch lighting puzzle, but one of the torches is underwater. This may seem impossible to light, but remember that you can simply remove it from the water by binding yourself to it while swimming. You can then use an Ignizol echo to light all four torches and open the door to the right.
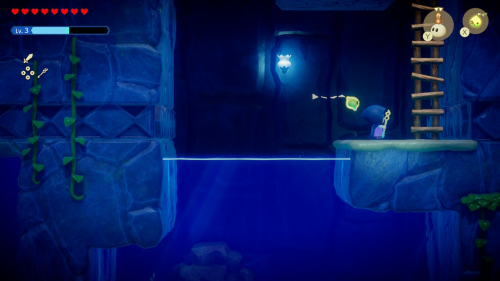

In the next room is the blue switch that will cause water to flow from the blue grate in the main room. You can then drop down into the opening to the right and take the ladder out of the previous sublevel. With three grates open, enough water will be in the fountain to lift you to the second floor.
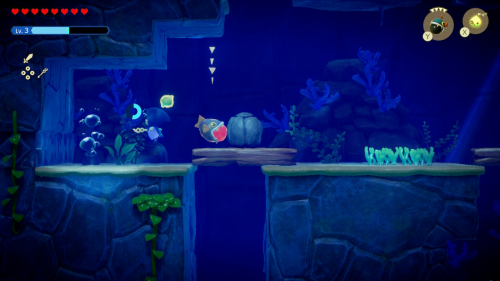

Head to the right and take the ladder down to another sublevel. You'll see a wooden plank with a boulder on it. You can either blow it up with a Bombfish or bind to the boulder and it will float up. Below you'll find a chest containin a golden egg.
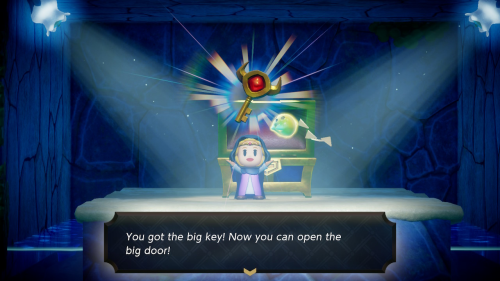

Now blow up the wooden plank to the right of this and keep blowing up the obstacles until you can swim all the way down. You'll find a chest down here containing the big key for the boss door of this dungeon. From here you can swim all the way up and to the right, blowing up the wooden boxes to the right to exit the sublevel.
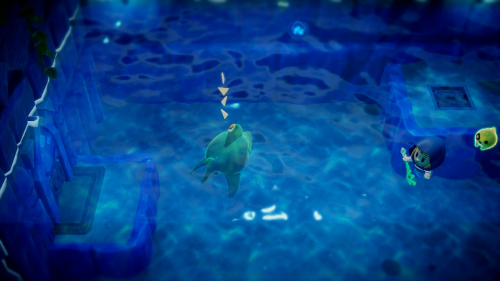

This next room is full of water and dark enemies. Just summon a Chompfin to take care of them and run away. Once they are all defeated the door to the left will open up. The green switch in the next room is underwater and protected by enemies. Send a Chompfin out and then place something heavy like a Sea Urchin above the switch to activate it.
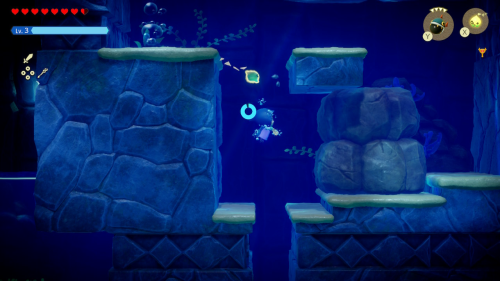

Swim down into the opening back to the large sublevel we were in before. You'll need to blow up the plank with a Bombfish and then use bind to move the giant boulder to the right to clear a path. You can then swim left and exit the sublevel back to the main room. Now hop across the fountain to the left side of 2F and enter the door.
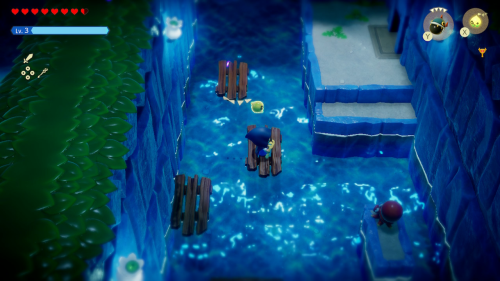

In this room you'll want to hop on a wooden plank and ride it down the current until you can hop onto a platform to the left. On the left side you'll need to hop on a plank and then hop across the other platforms to get upstream and on solid ground to the left where there's another door.
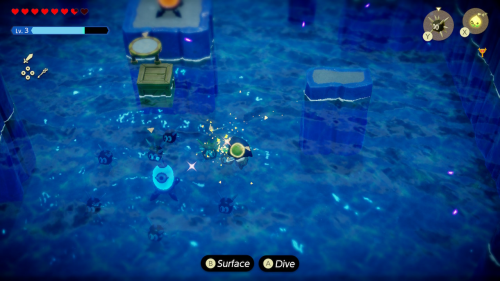

In the next room there are four switches throughout the room that you'll need to activate (orange) to proceed. The first is on a high platform to the right. From the room entrance you place water blocks on the ground (they will get destroyed in the water current) and build a bridge to the left. A twirl will activate teh switch.
The second is underwater and you can drop a Sea Urchin to the right of it and let the current pull it into the switch. In the center of the room you can jump from the wooden box to the center and hit the switch yourself.
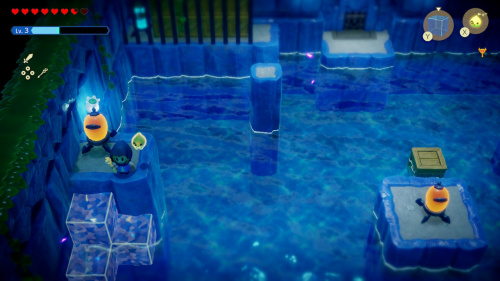

For the switch on the high platform to the left, you can build a small tower of water blocks starting from the short platform below it. For the one in the northwest corner, you can build a water bridge from the exit door to the left. You can then place a Pathblade echo and it will go right through the wooden boxes and activate the final switch. The exit door will then open for you.
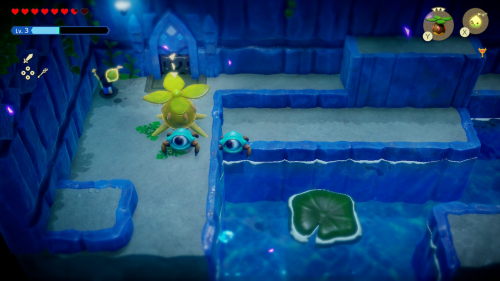

In this room there are many Tektites that you'll need to defeat. There are many options but the trusty Peahat echo and a little swordfighter form works well. The door to the right will open when they are defeated.
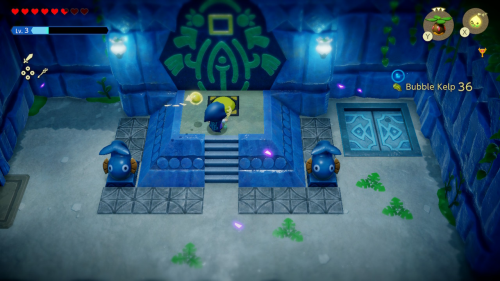

This room contains the yellow switch, which is the final one. Activate it to raise the water level all the way in the main room, fully activating the fountain. You can then drop through the opening and head right to return to the main room. Jump into the fountain and go through the boss door when you are ready.
Boss - Vocavor
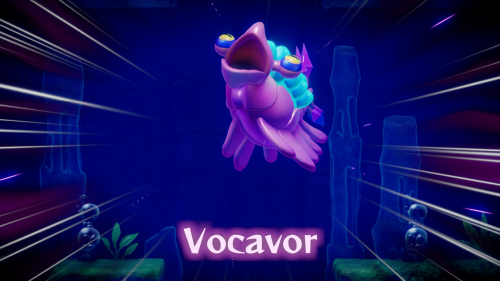

Drop through the opening to enter the boss arena. You'll find yourself in a dark arena with the same fish creature, Vocavor, who created the Torpedo and chased us away before. Vocavor will summon more torpedos that you'll need to weave through to get close to him. Once he takes a little break you can use swordfighter form to swing at the armor on his back to break it. Once it's broken you can deal direct damage.
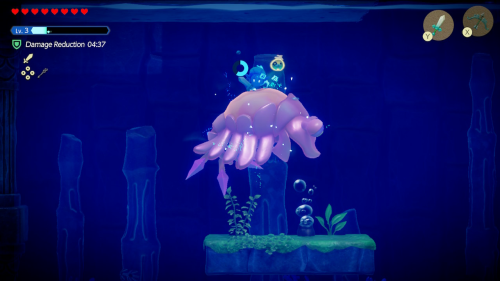

Vocavor can also attack by sending his tail spikes at you like homing missiles. Just try to avoid them and quickly make his way to his back to start swinging. After dealing enough damage Vocavor will remove some of the water around him, making it difficult to attack from above.
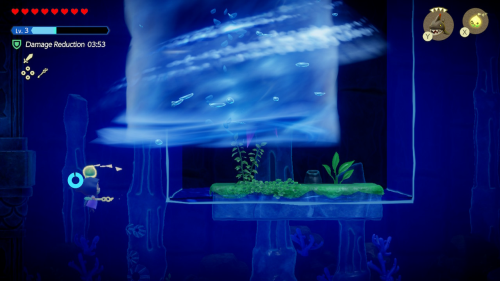

He will eventually summon a large torpedo that you'll need to avoid. After this attack he gets tired and floats upside down, letting you attack his weak point with a bow. If you don't have a bow yet, you can also summon various flying echoes to attack.
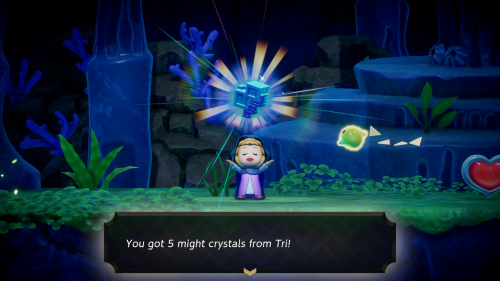

After dealing enough damage Vocavor will be defeated and the room will be drained of water. Many of Tri's friends will be rescued and together they can repair the large rift in this area. This will also increase Tri to Lv. 4, which reduces the cost for many echoes. You will also get 5 Might Crystals. Make sure to pick up the Heart Container before leaving the Still World.
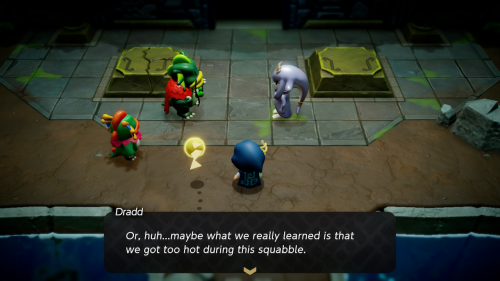

Back in Hyrule, Kushara and Dradd have officially made up and promise that their two Zora clans will work closely together going forward. Since the real Lord Jabu-Jabu has been freed, the two clans will perform together for him.
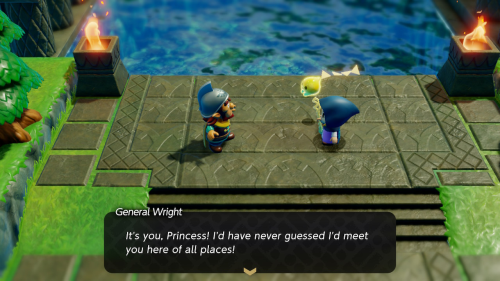

Since the rift has been fixed, General Wright will be freed and recognize you. He decides to join Minister Lefte and help Lueberry with their research. This officially closes out "The Mysterious Rifts" and "Searching for Everyone" main quests and begins the "Still Missing" main quest.
Jabul Waters Collectibles
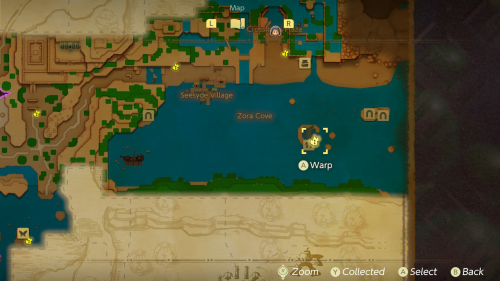

Before continuing the main story, there are some collectibles to gather and quests to complete in the area now that the rift has been fixed. These are all optional, so you can skip ahead to the next part if you aren't intersted.
There is one side quest now available in Zora Cove to complete before exploring the rest of the river. Enter Sea Zora Village and speak to the Zora on the left to get the "Precious Treasure" side quest. You need to find something for them to store their precious jewels in.
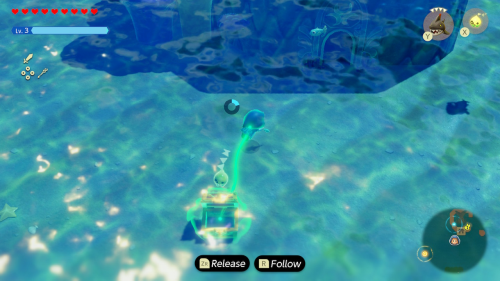

If you recall before, there was a treasure chest we opened just to the southwest of here. Swim over there and bind to it and bring it back to the Zora, who is not outside the village on top of the ring island. This will complete the side quest and you'll get a reward of 3 monster stones.
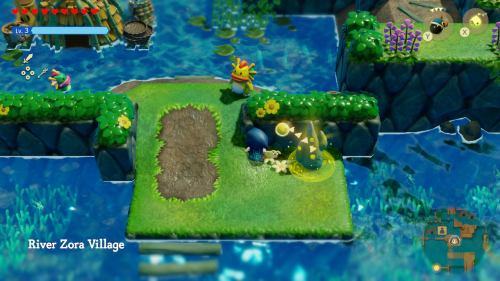

Warp back to River Zora Village and head up the ramp to the upper area. Speak to the frightened child. He is convinced that his mother is going to feed him to some monsters. This starts "The Zora Child's Fate" side quest. Enter the house to the left to find his mother.
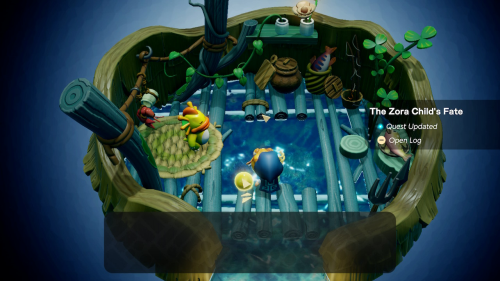

As it turns out, the mom just wants to see some of the aquatic monsters. She firsts wants to see a "sinister-looking fish", which is a Tangler. She then wants to see a monster that "goes boom when you get close", which is of course a Bombfish. Last is a "shocking jellyfish monster" otherwise known as a Biri.
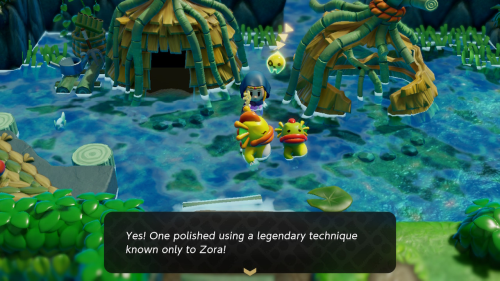

Once you've shown her all three echoes she reunites with her son and gives him a special charm to help him learn how to swim. As it turns out, seeing the monsters helped her learn how to polish scales. She also gives you a Zora Scale as a reward, which is a piece of equipment that allows you to hold your breath underwater for longer.
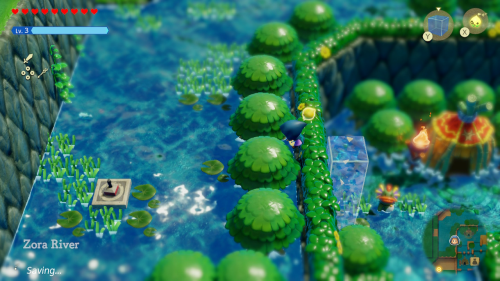

While you're in town, you can create a tower of water blocks to reach the high area to the left of the chief's house. Here you'll find Stamp Stand #9. You can then follow the river north and then east. Build another tower of water blocks to get to the next section to the east.
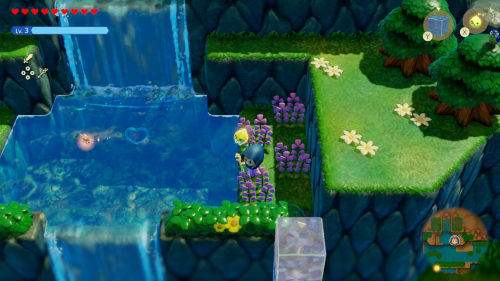

Build a water block tower on the land to the right of the waterfall to reach a higher area where you'll see a pool of water. There's a Fairy here you can nab. More importantly, you can dive down to find Piece of Heart #13. You can then hop down from this higher waterfall.
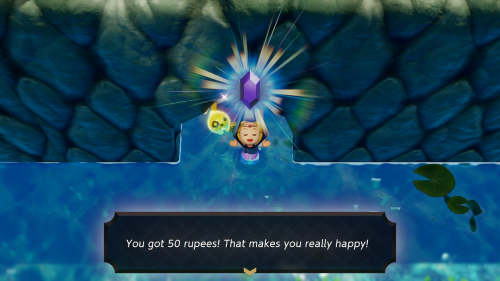

Continue to the east along the northern wall and you'll come across a crack in the wall. Blow it up with a Bombfish and you'll find a chest containing 50 rupees. Look for the waterfall to the right here and then drop down onto the plateau below. Continue south to find a Moblin camp. You can clear it with a Chompfin and then open the chest to get a golden egg as a reward.
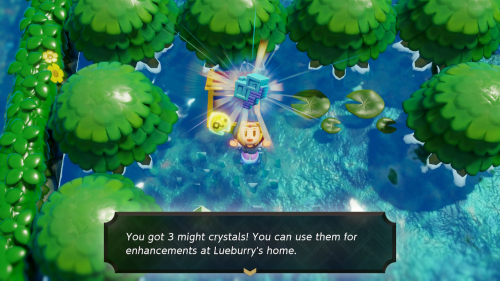

To the southwest of the camp on the same plateau you can find another treasure chest. Open it to find 3 Might Crystals. Head south back to Jabu-Jabu's Den and you'll see another heart piece on a pillar to the right. Use a tower of water blocks to get on top and nab Piece of Heart #14.
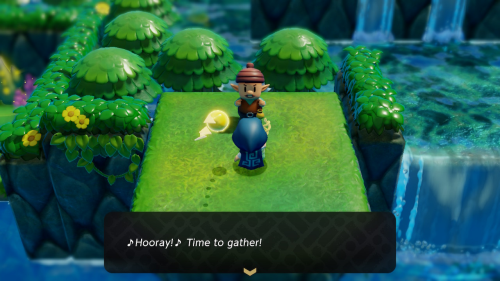

Next to the waypoint here build a tower of water blocks on the right wall and you'll see a man standing on a ledge nearby. Speak to him to particpate in another Acorn Gathering minigame. You'll have to grab all 6 acorns that he tosses into the water below. You'll have to build some water block towers to reach a couple and the sixth is slightly underwater on the left side.
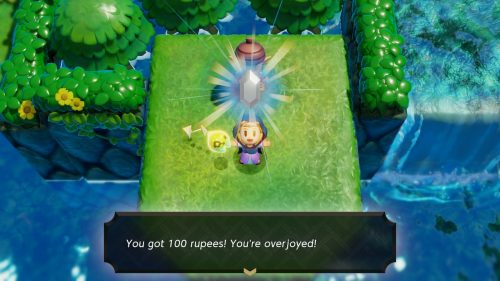

If you finish the gathering in under 40 seconds, you'll get 20 rupees. If you finish under 20 seconds, you'll get 100 rupees. Build a water block tower on the right wall of this pool of water to reach the upper river on the right side. Follow it to the south to find another treasure chest. It contains 10 riverhorses.
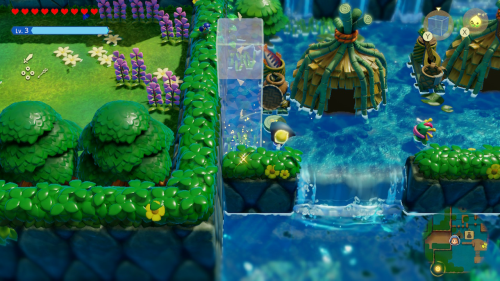

Now warp back to River Zora Village so we can explore the west side of the area. In the main area with the shop, build a water block tower against the left wall to get to the higher area. You'll see a cracked wall you can blow up with Bombfish up here. Inside is a chest containing the silver brooch equipment. Wearing this causes rupees to appear more often.
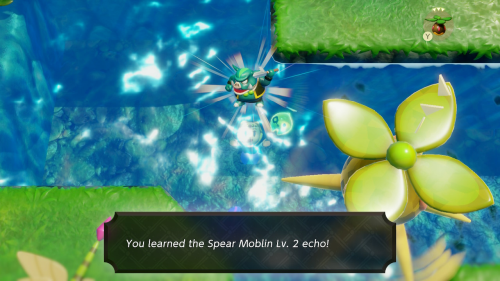

Use a water block to get on the ledge to the south and then drop down onto the group of trees below. You can find a red rupee in the water here before continuing south to find a Moblin camp. Take out the Moblins here with some echoes of your choice. Afteward you can learn the Spear Moblin Lv. 2 echo and open the chest to get 3 Might Crystals.
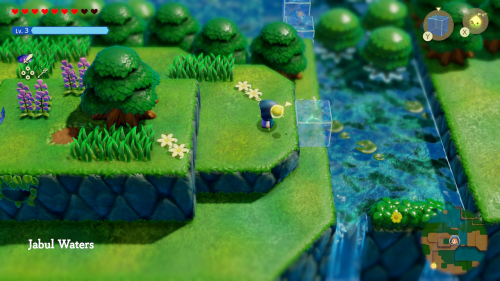

Continue to the south and get on to the piece of land just south of this section of Zora River. There is a small hill here with a suspciously bare square of dirt next to a tree. Use a Holmill to dig in it to find 1 Might Crystal.
That's everything there is to do in Jabul Waters for the time being. In the next part we will continue the "Still Missing" main quest by paying a visit to Lueberry, General Wright, and Minister Lefte.
Back to Jabul Waters Continue to Hyrule Castle Dungeon