Part 5: Jabul Waters
Canyon
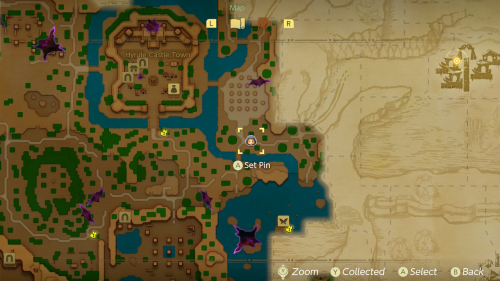
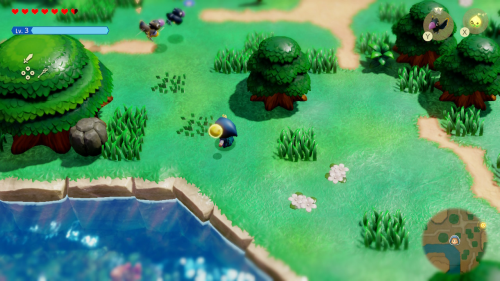
We'll now be heading for the Jabul Waters rift as part of the "Searching for Everyone" main quest. You can begin by warping to the waypoint south of Hyrule Castle Town. You'll then want to head east over the bridge that's north of Lake Hylia towards the marker on your map.
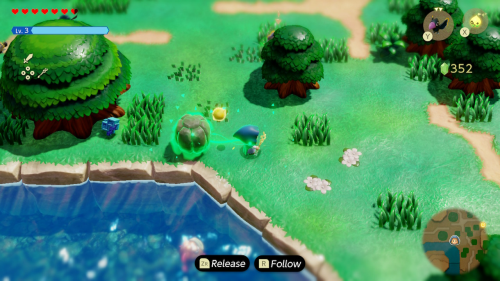
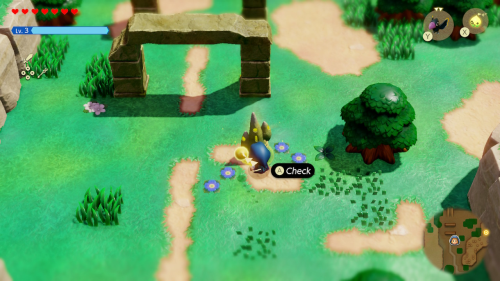
When you get to the cross roads, you can check out the boulder to the southwest next to a large tree. Move it with bind to reveal 1 Might Crystal hiding beneath. From there you can make a small detour north to activate the waypoint south of Eastern Hyrule Field.
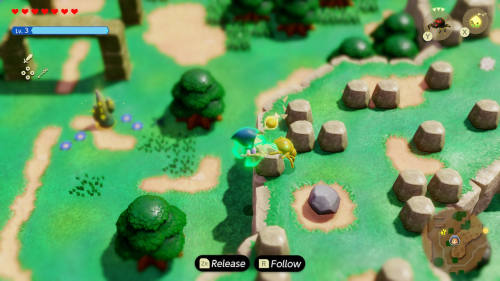
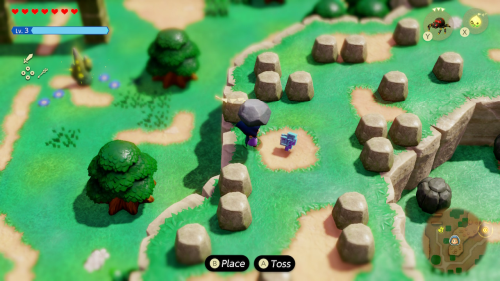
Climb up on the cliffs directly east of here using a Crawltula echo. You'll find a rock you can pick up to find 1 Might Crystal beneath. Then hop off the other side into the canyon.
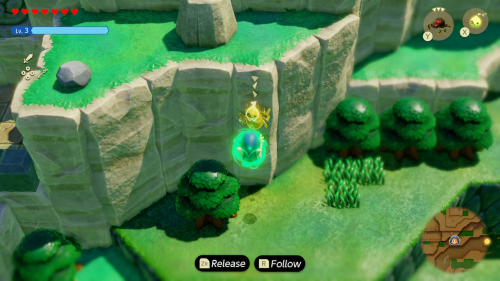
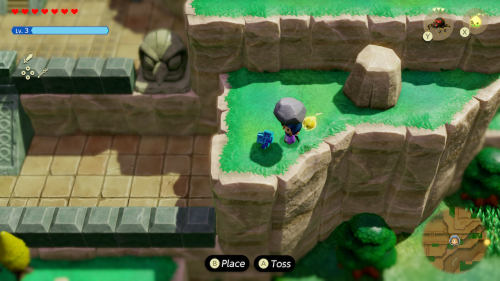
Continue east along this canyon until you reach a Zelda Wanted poster. From here use a Crawltula to get on the cliff to the north and then continue on to the higher cliff. You'll find a rock up here that you can lift to find 1 Might Crystal. You can now head south back into the canyon.
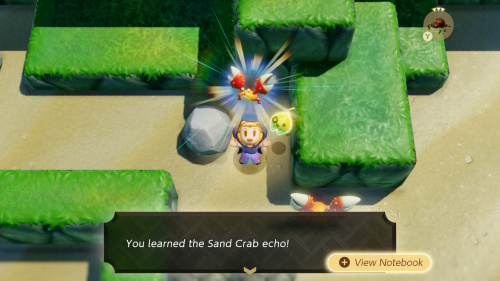
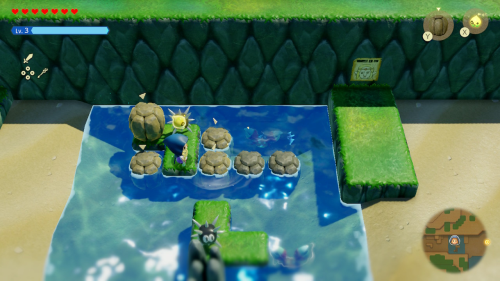
You'll soon come to a beach area where you'll find some Sand Crab enemies. You can toss a rock at them to defeat them and learn the Sand Crab echo. You'll then come to a pool of water that you can place boulders in to quickly cross and avoid the enemies. Activate the waypoint on the east side of this pool.
Seesyde Village
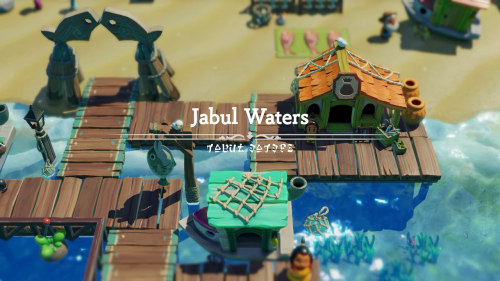
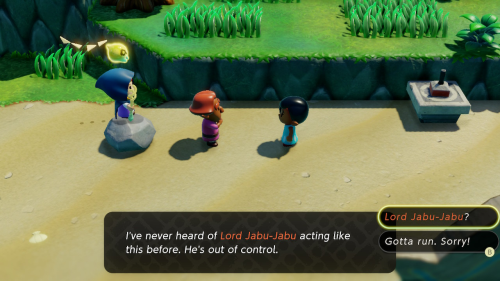
You'll enter the lovely Seesyde Village at Jabul Waters, begining "The Jabul Waters Rift" main quest. When you enter town you'll overhear two people speaking about Lord Jabu-Jabu acting strangely after a rift appeared in his den.
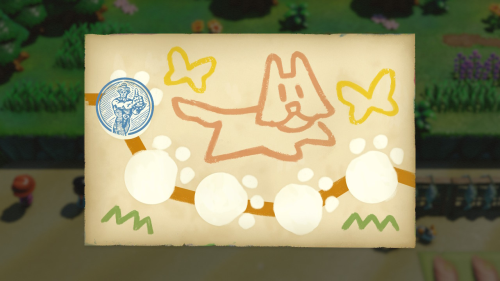
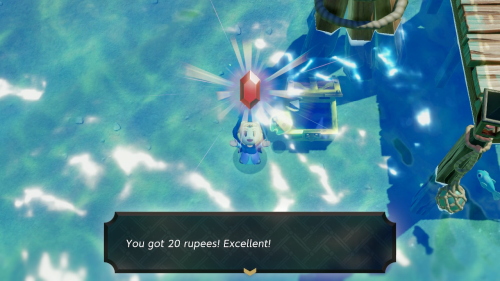
Just to the east of these people is Stamp Stand #6. Head south onto the docks and you'll notice a sunken treasure chest to the left. Dive down next to it and pull it out of the sand. You can then open it while under water to get 20 rupees.
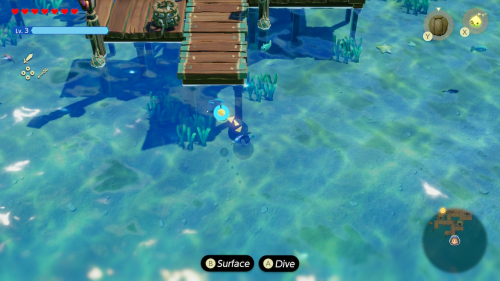
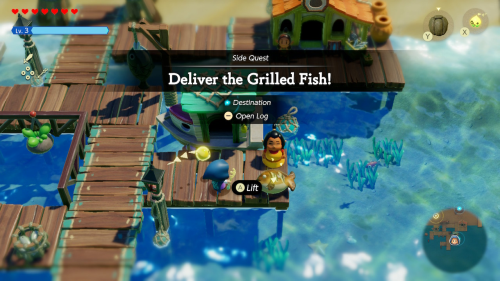
At the southern tip of the docks you can dive below to find 1 Might Crystal. Speak to the woman by the boat here to start the "Deliver the Grilled Fish!" side quest. You can learn the Grilled Fish echo from the fish she gives you, but you'll have to deliver the real fish to complete the quest.
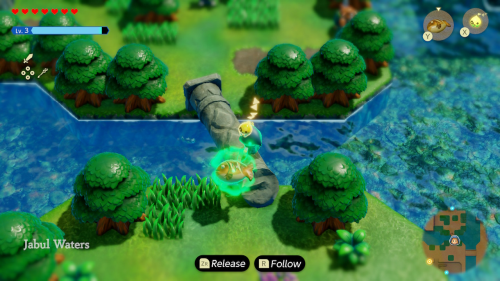
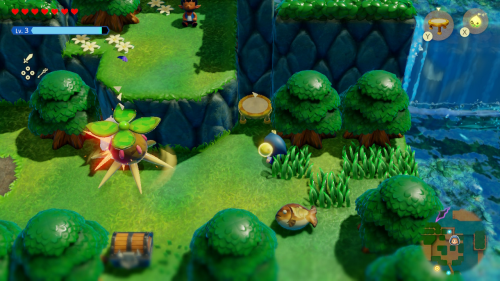
Bind yourself to the fish and then head north using the pillar as a bridge. You'll come across a Boarblin camp and they will try to get your fish. You'll have to set it down and defeat the monsters without letting them get to it. If you they nibble on the fish at all, defeat them and then return to the mother to get a fresh one.
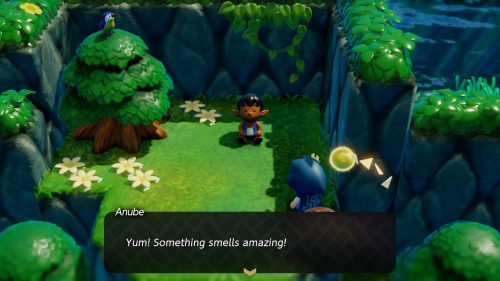
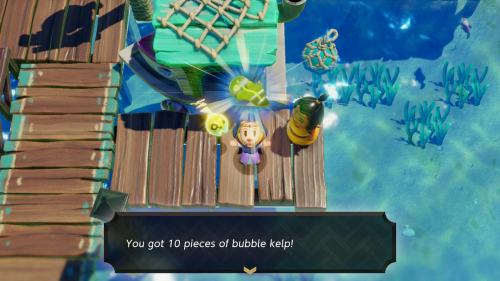
Use a bed and trampoline to get on the cliff with the fish and deliver it to her son, Anube. Make sure to open the chest to get 10 riverhorses and then return to the mother to complete the quest. She'll give you 10 pieces of bubble kelp as a reward.
Zora Cove
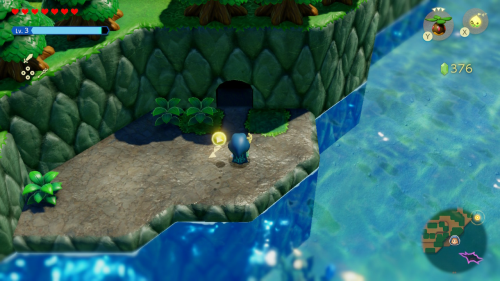
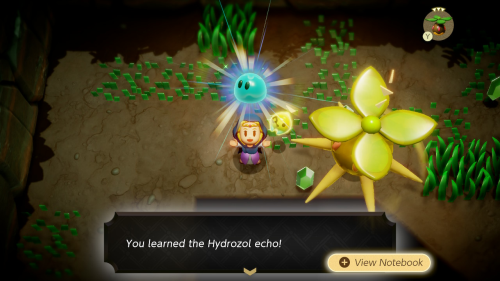
You can now explore the area south of town called Zora Cove. Swim to the southwest and you'll find a little piece of land with a cave entrance along the perimeter. Enter the cave and take out the various Zol enemies, a Peahat does a good job. You can learn the new Hydrozol echo.
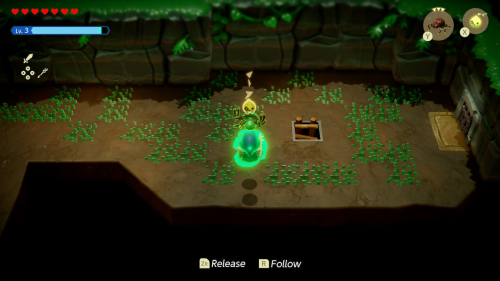
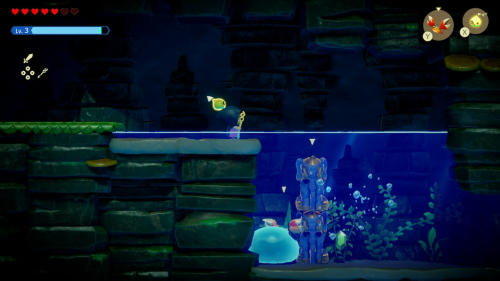
Head down the ladder into the sublevel. You'll see that Hydrozols expand in the water and have a much bigger presence. You can drop a Sand Crab echo into the water to take care of them and then take the ladder out of the sublevel.
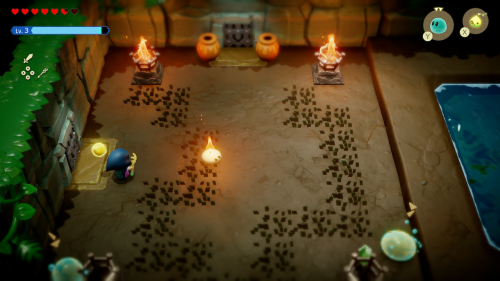
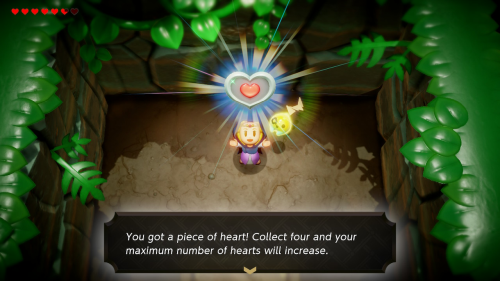
Unlike most puzzles, you'll actually want to make sure all of the torches are unlit in the next room by putting them out with a Hydrozol echo. They can also be used to fight the Ignizol that are setting everything ablaze here. You can then pick up Piece of Heart #11 from the room above. Then exit the cave to the left.
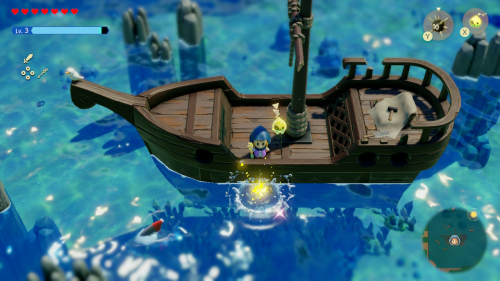
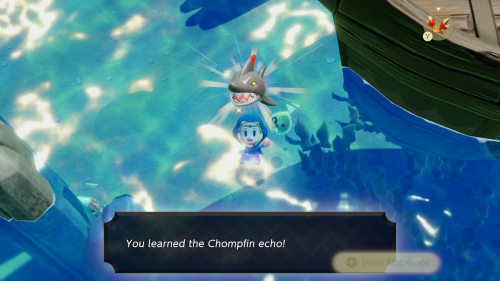
You can then check out the pirate ship to the south and hop on top by placing a wooden box echo in the water. A shark enemy called a Chompfin circles around this ship and may cause you some trouble. You can defeat it by repeatedely dropping crabs on its head. You can then learn the very powerful Chompfin echo.
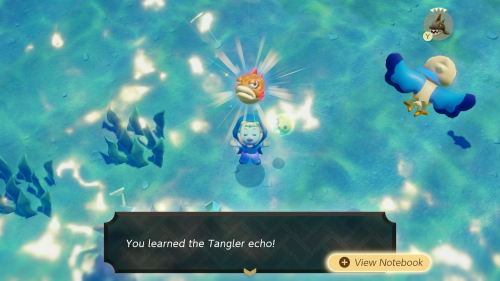
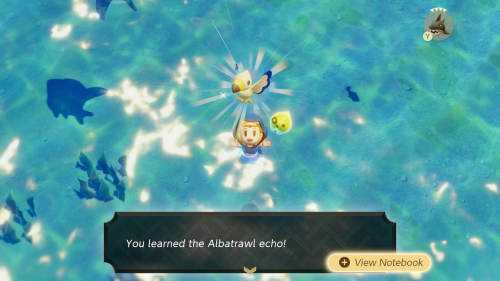
With this powerful water echo in hand, we can now venture into the center of the cove and easily defeat the other new enemies. You can learn the Tangler echo and the Albatrawl echo in this area.
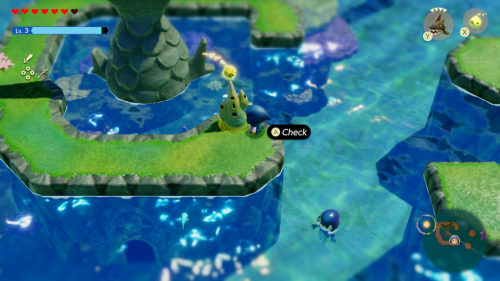
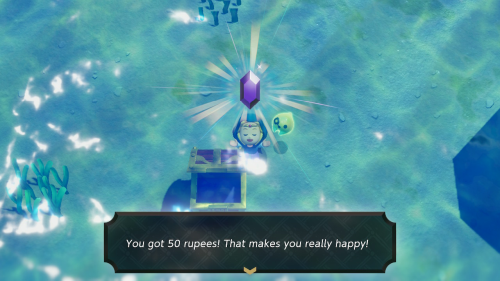
Head to the eastern side of Zora Cove and you'll find a little group of islands. There is a waypoint on these islands you can activate. On an island to the north of this you can see a sunken treasure chest off to the left. You can bind to it to pull it out and then open it to get 50 rupees.
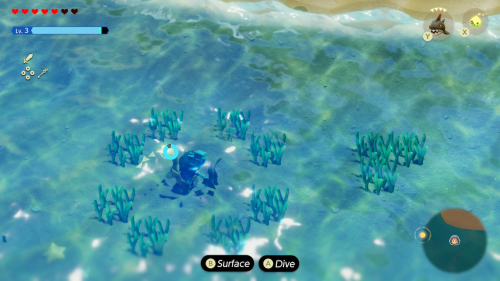
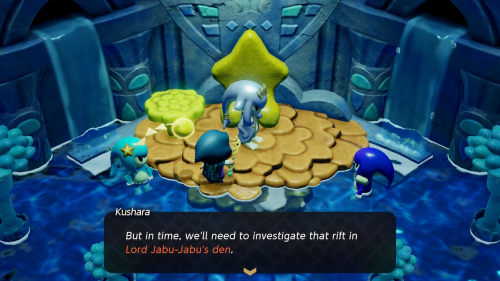
Swim to the right of this island and you'll notice a ring of grass underwater with one piece of seaweed in the middle. Dive and spin through it to reveal 1 Might Crystal to collect. You can speak to the Zora in this area to learn that the entrance to Zora Village is just below the ring island. There's nothing important to do there for now, but you can enter to chat with some Zora if you'd like. If you do you'll learn that the Sea Zora out here are having a tiff right now.
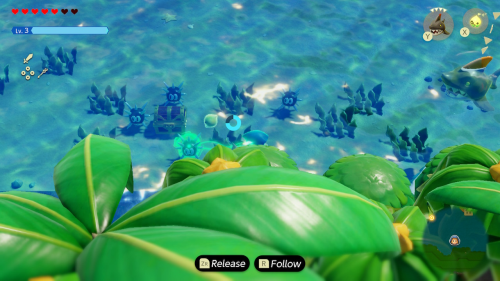
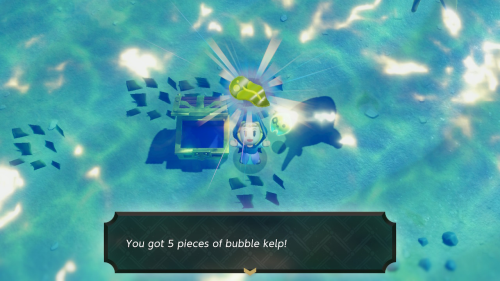
Swim to the southwest the village and you'll find a treasure chest surrounded by Sea Urchins. Move them out of the way with bind and open it to get 20 rupees. Straight to the east there is another chest in the water that contains 5 pieces of bubble kelp.
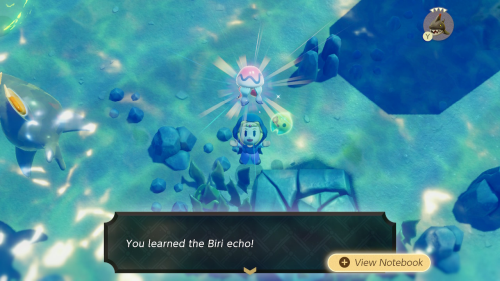
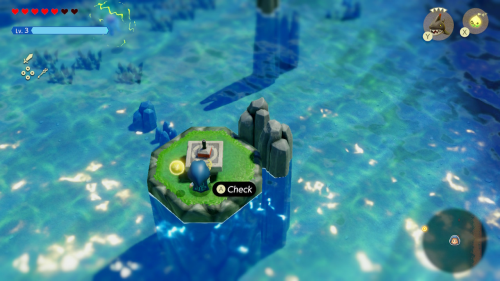
Continue to the east and you'll run into a new electric jellyfish enemy called a Biri. You can defeat them with a Chompfish when they aren't electrified to learn the Biri echo. Nearby to this you can also find Stamp Stand #7 on a small island.
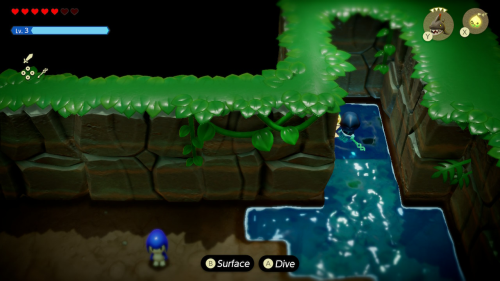
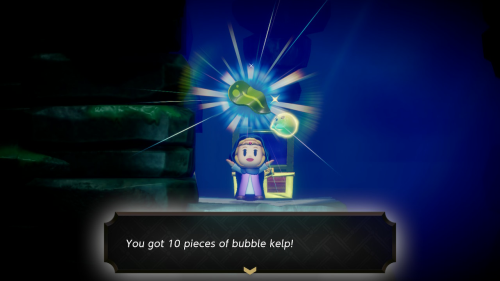
Head north to the next island and check out the cave here. Inside you'll find a pool of water you can dive into that will take you to an underwater sublevel. While you are navigating through this area you can swim into the bubbles to refresh your breath. Use a Chompfin echo to defeat the enemies and open the first chest to get 10 pieces of bubble kelp.
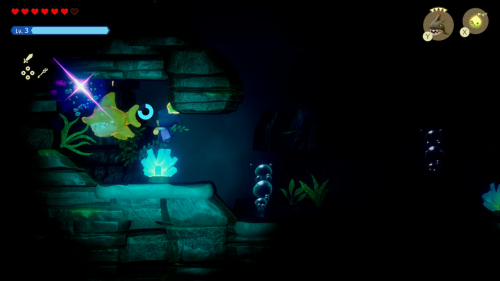
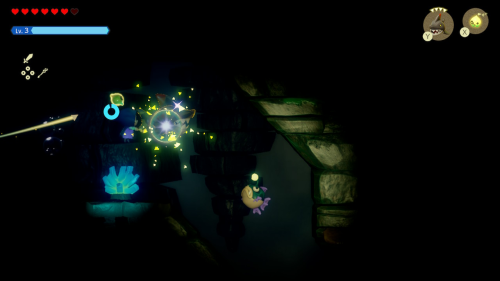
You'll eventually reach a dark section of water where you'll find a stronger Tangler enemy with a light. Defeat it with a Chompfin to learn the Tangler Lv. 2 echo. You can then use this new echo to light up the path to the right. This leads to an alternative underwater exit to the cave.
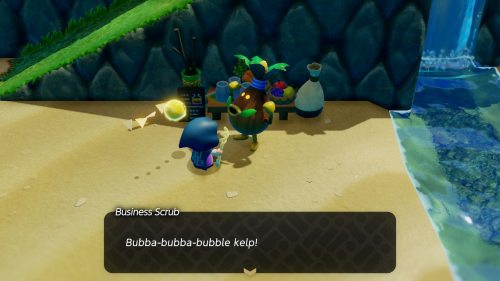
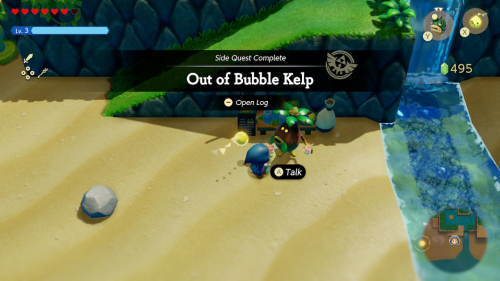
Head north from here to the beaches and then cross the river and speak to the Business Scrub here. Speak to him and give him 3 pieces of bubble kelp. This will complete the "Out of Bubble Kelp" quest and you'll get 20 rupees. His shop will now be open for business, allowing you to mix smoothies here.
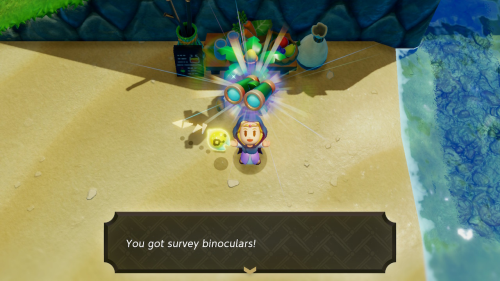
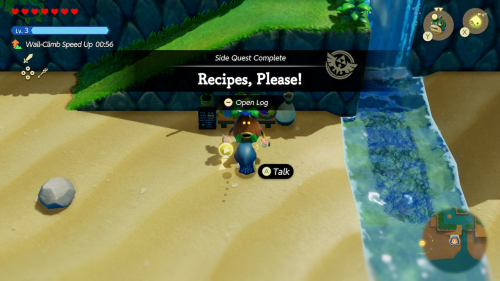
If you'd like you can take this opportunity to make progress on the "Recipes, Please!" side quest. If you craft 20 unique recipes you will get the survey binoculars and the "Recipes, Please!" side quest will be complete.
Zora River
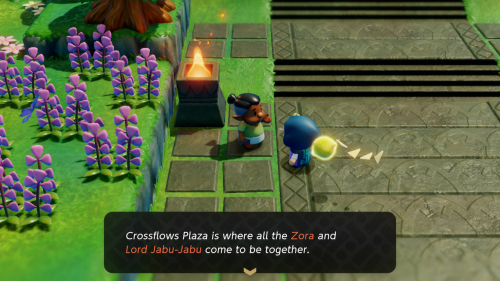
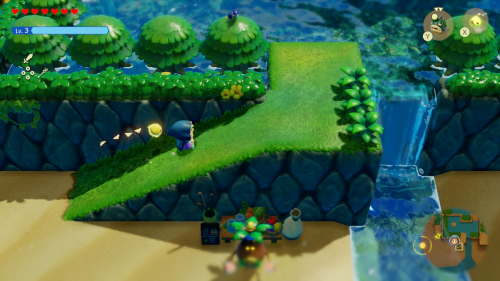
Just to the left of the business scrub you'll find a waypoint to activate. Straight ahead is Crossflows Plaza, where music is played for Lord Jabu-Jabu. There's nothing to do here yet, so take the path behind the business scrub up to Zora River.
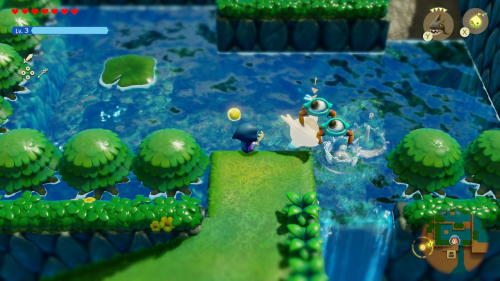
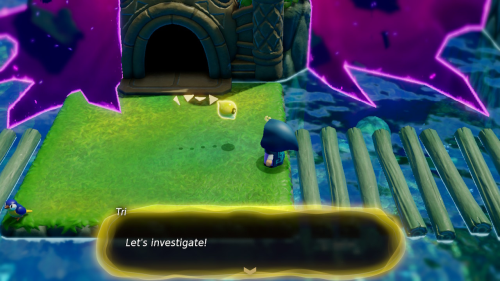
Stay in the lower path of the river and follow it to the north. You can just swim up the river and hop on the lily pads. Use a Chompfin to defeat the many Tektites around. You'll soon reach another waypoint you can activate. Next to this you'll find the giant rift that's swallowed part of Lord Jabu-Jabu's den.
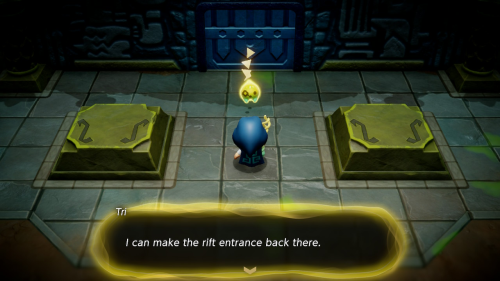
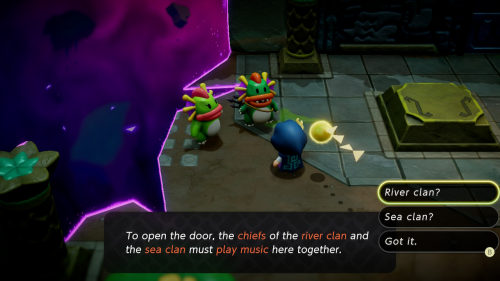
Enter the den and Tri will suggest that they can make a rift entrance further into the den. Two River Zora will then approach and explain that the only way to get further into the den is to have the two Zora clans each play music for Lord Jabu-Jabu here. This means we'll need to reach each of their respective villages and ask them to come.
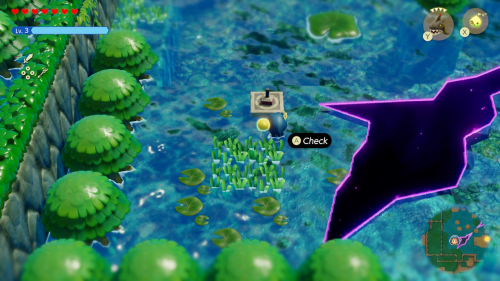
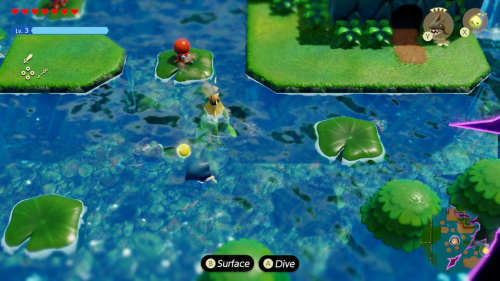
Head west to keep following the river. On the left side of the first small rift you can find Stamp Stand #8. Keep following the river to the north and you'll find a cave entrance to the right.
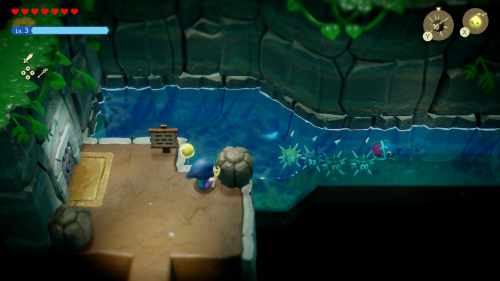
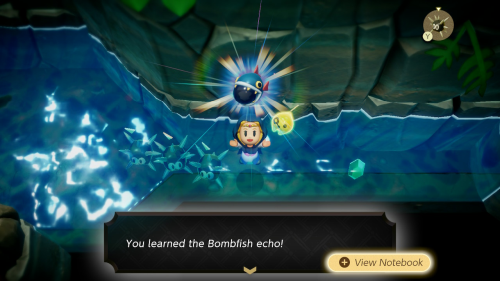
Inside the cave you'll see a sign warning you of the nearby Bombfish. This enemy will self destruct against anything it hits, so send an echo it's way as a sacrafice. You can then learn the very useful Bombfish echo. This can be used as a bomb in and out of the water, and you won't be hurt by the blast.
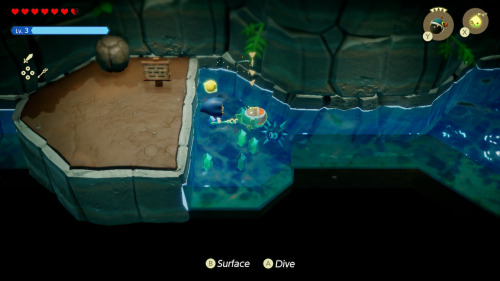
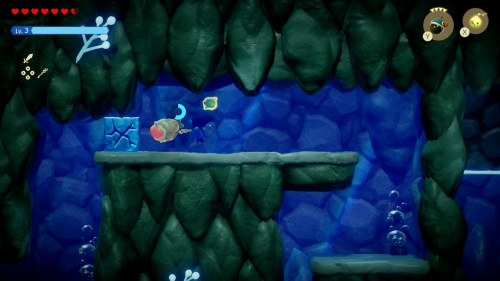
Continue to the right and use the Bombfish to clear out the Sea Urchins. Defeat the rest of the enemies in this room and then take the ladder down to an underwater sublevel. You'll need to navigate the narrow passage here and use a Bombfish to clear each cracked block in your path. You can activate a Bombfish once it is placed by spinning into it. Repeat this process for the rest of this room.
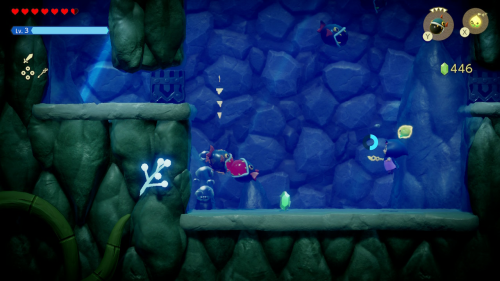
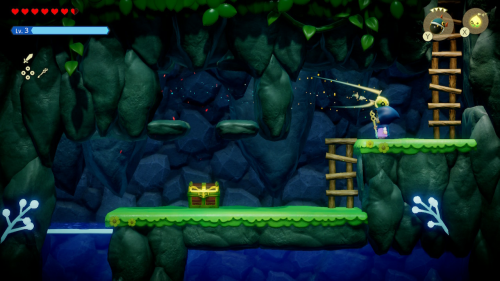
In the next room you'll be greeted by several angry Bombfish. Use some of your own to neutralize them, remember to refill your air in the lower left as needed. At the top of this room you'll see a treasure chest on a wooden plank. It's rather tricky, but you can blow up the plank by placing a bombfish and then binding to it near the ladder and quickly climbing up. Inside the chest you'll find a golden egg. You can then exit the cave.
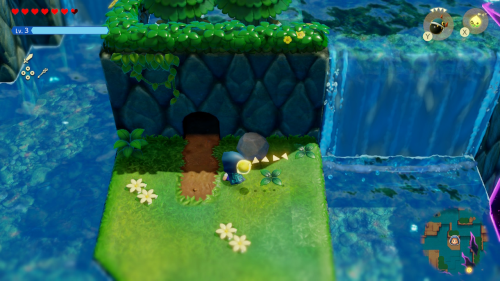
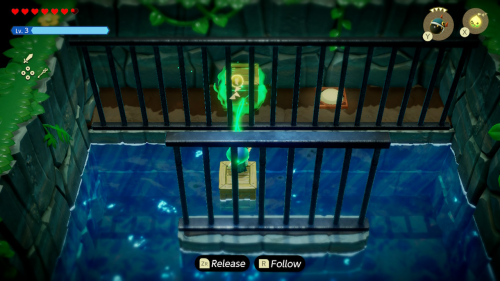
Continue up the river and take the slope up to a higher area. Head to the right where you'll find another cave entrance. There is a little puzzle in the first room where you need to ride the wooden box in the current and then bind to the box behind the bars as your moving to palce it on the switch. This opens the door to the next room to the right.
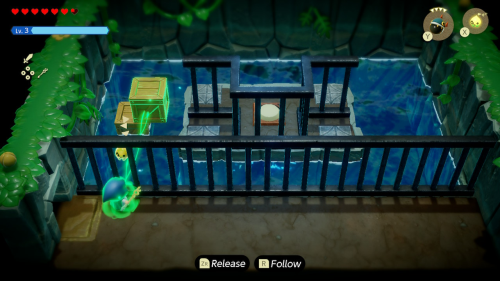
There is a similar puzzle in this room, but you'll have to get the box up a set of stairs. You can do this by timing your jumps to get over each step. If you the box gets stuck somewhere, you can leave the room to reset it.
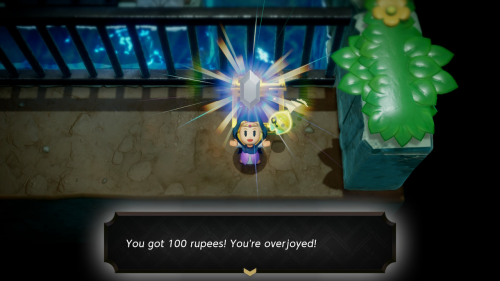
The final puzzle in the third room is a little tricky. You'll need to move one of the boxes into the river current and then wait for it to go around to place the other box on top. You can then bind yourself to the box and let it carry you until it's along the far wall. Once it's lined up with the switch, start controlling it to bring it forward onto the switch. A chest will appear containing 100 rupees.
River Zora Village
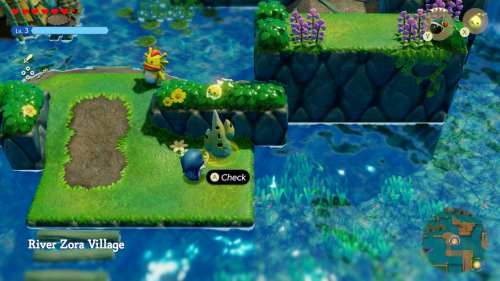
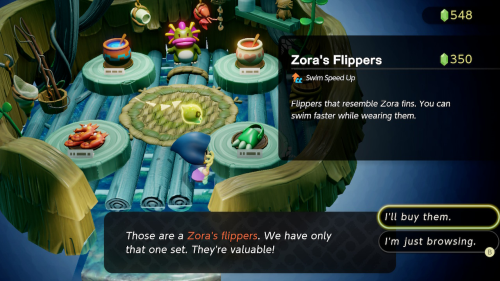
Head to the left and activate the waypoint just outside of River Zora Village. At the shop in town you can purchase the Zora's Flippers equipment for 350 rupees. This increases your swim speed when equipped, so it's a useful thing to buy right away in this area.
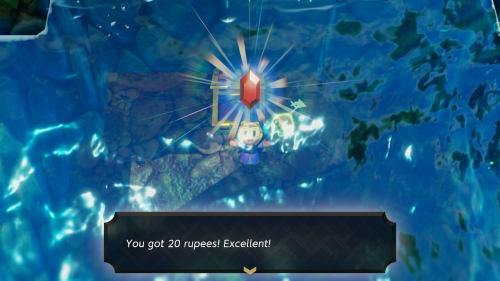
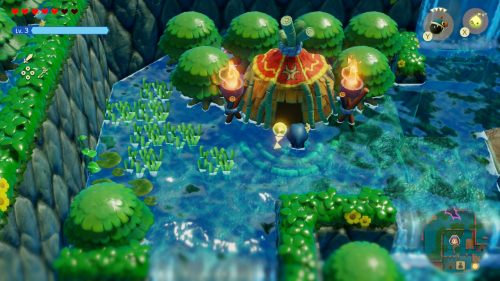
There is a ramp on the east side of town that takes you up to a higher level of the village. In the deep pool of water to the right you can dive down to find a chest containing 20 rupees. Follow the path to the left and enter the chief's hut in the northwest corner of town.
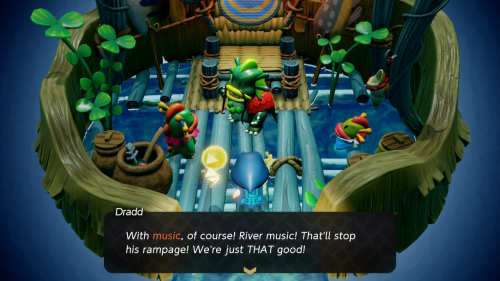
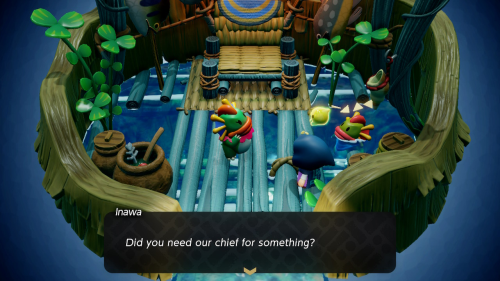
Inside you'll meet Chief Dradd who is quite upset with the Sea Zora chief for questioning his musical ability. He doesn't give you any attention, but luckily he's heading over to Crossflows Plaza, which is what we needed anyway.
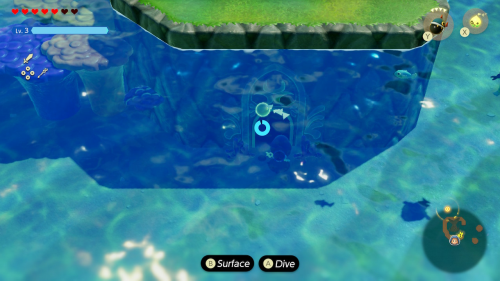
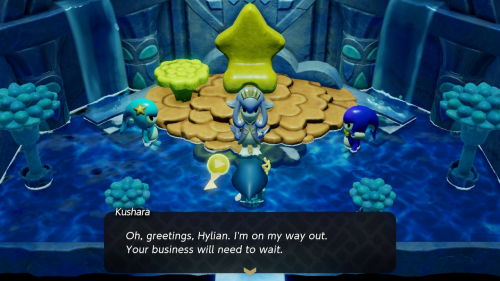
We now need to pay another visit to the Sea Zora Chief and get her to meet Chief Dradd at Crossflows Plaza. Warp over to Sea Zora Village and enter the room in the back. A very similar scene will pan out with Chief Kushara, and she too will go to Crossflows Plaza.
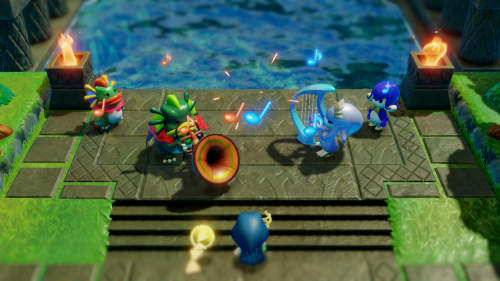
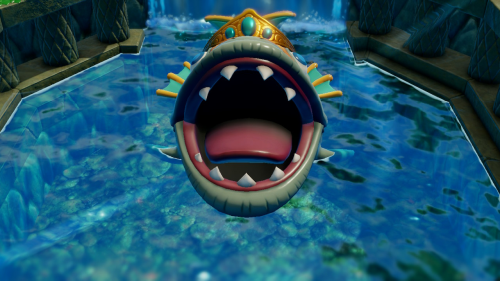
Warp over to Crossflows Plaza where you'll find the two chiefs in the middle of a dispute. Approach them and they will each begin playing their own songs for Lord Jabu-Jabu. This greatly upsets Lord Jabu-Jabu, and he will swallow up the two assistants Inawa and Rogma. He will then swim away upriver and the two chiefs will follow.
Chaos at River Zora Village
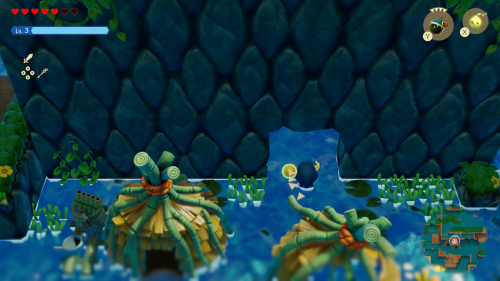
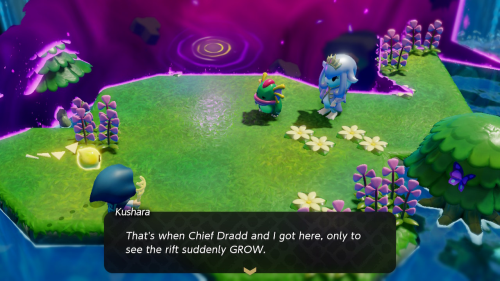
Warp back to River Zora Village to find the town in shambles. Lord Jabu-Jabu has been through and apparently dragged Chief Dradd northeast of town. Use the opening in the cliff and take the path up behind the waterfall to the east. You'll see Chief Kushara waiting next to a rift that Chief Dradd has been pulled into.
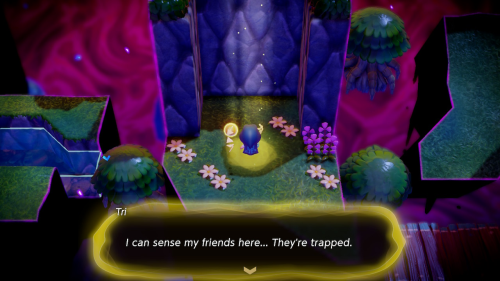
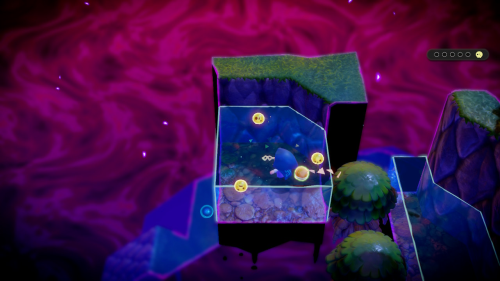
Have Tri create an opening in the rift so that you can enter. You'll find yourself in the Stilled Upper Zora River rift. You'll need to find five of Tri's friends inside to fix the rift. Head to the left straight away and follow the path to a pool of water. You'll be able to rescue the first of Tri's friends here.
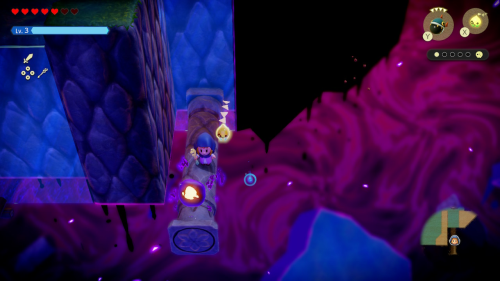
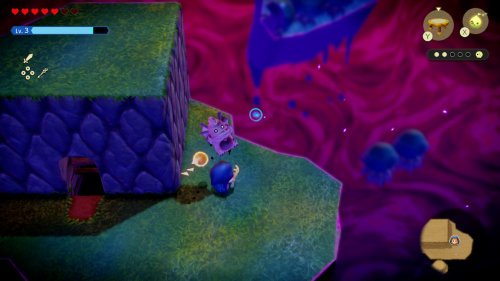
Head back to the right and head south along the pillar. Follow this path up the column of water and then drop down onto the pillar to the right. Here you'll find the second group of Tri's friends. Continue north and you'll see a frozen River Zora next to a cave entrance.
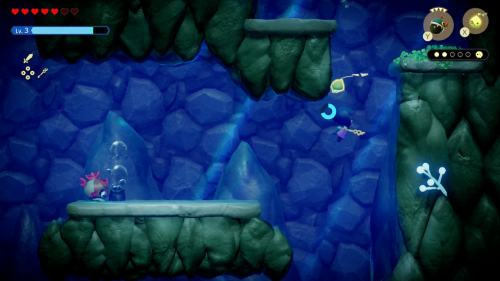
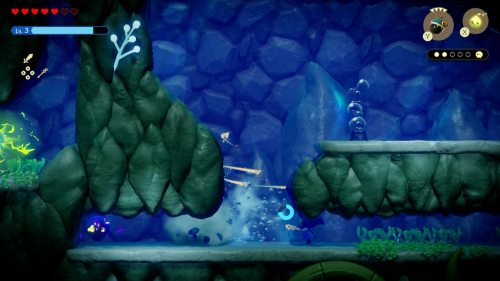
Inside the cave is an underwater sublevel full of Bombfish and other enemies. You'll need to use the Bombfish or some of your own to break the rocks and continue along the path. At the bottom of the area you'll find another group of Tri's friends to save in a little crevice.
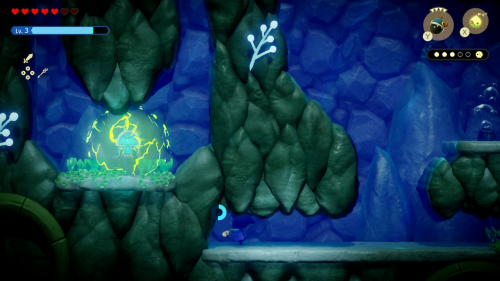
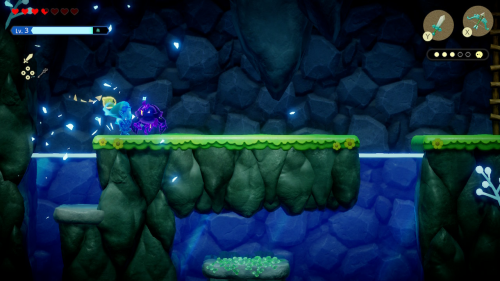
Continue to the top of the room and you'll find a dark enemy that you can defeat in swordfighter form. Once you do it will release another group of Tri's friends. Head to the right and blow up the rock at the top of the ladder so that you can exit the cave the same way you came in.
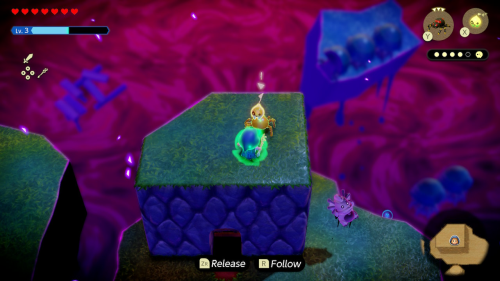
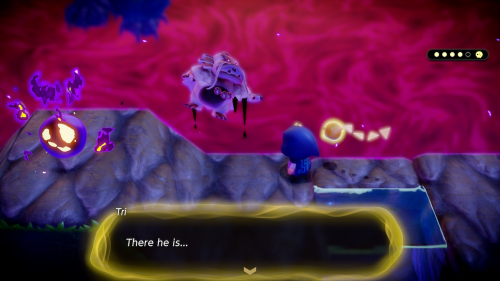
Use a Crawltula echo to get on top of the cave and then make a bed ladder to the left. Follow this path all the way to the left where you'll find a frozen Chief Dradd. Just to his left you can save the final group of Tri's friends from the dark blob.
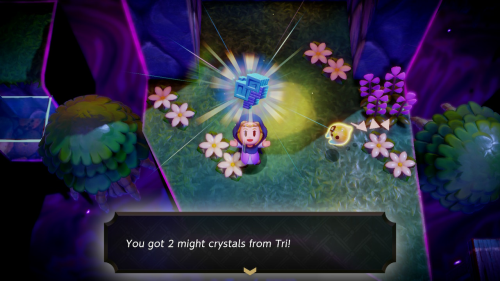
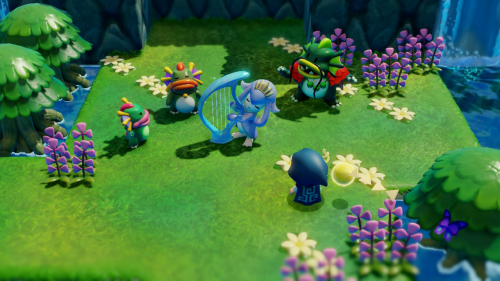
With the help of his friends, Tri will then mend this rift. This will also further increase Tri's powers and grant you 2 Might Crystals. Dradd will be freed and Kushara will help his son come to with the power of her music. This will complete the "Chaos at River Zora Village" main quest.
Rampage in Zora Cove
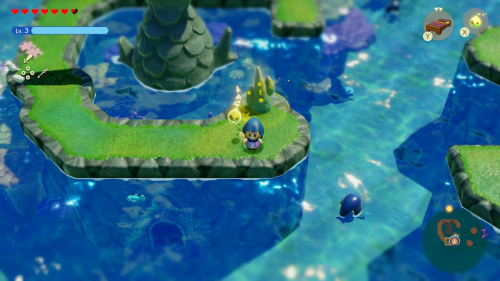
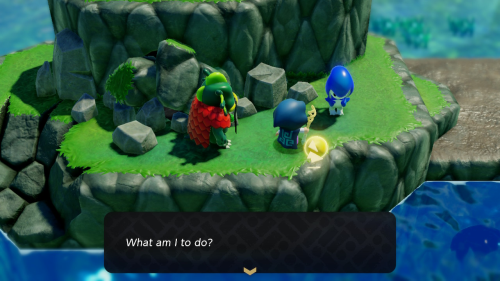
As it turns out, Lord Jabu-Jabu isn't finished with his rampage and is now in Zora Cove. Warp over to Sea Zora Village and then start swimming east. You'll see that the cave entrance on the island here has been sealed with some rocks and Chief Dradd can't get in. As it turns out Kushara and a child are trapped inside.
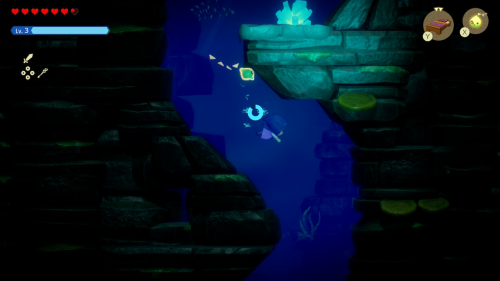
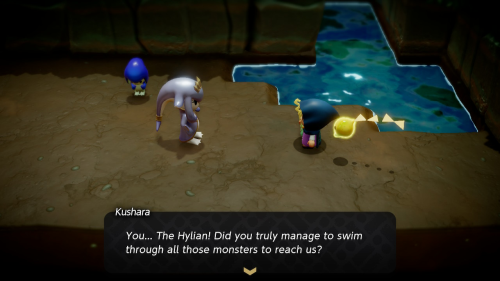
If you recall from the last time we explored this cave, there's another entrance to the cave underwater. Swith through this same sublevel as you did before, using Bombfish to take out the enemies as necessary. On the other side you'll find Kushara and the child.
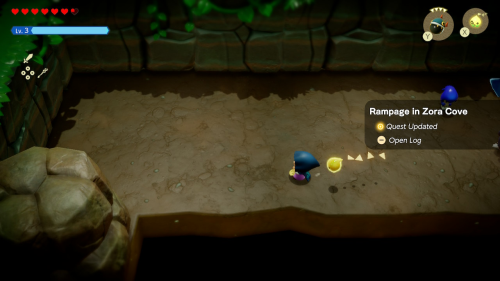
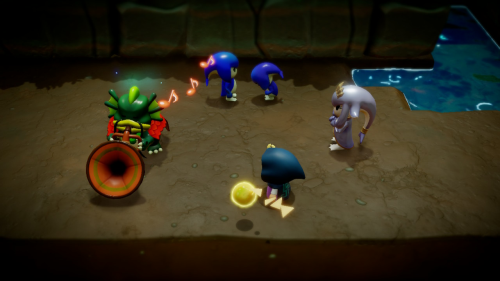
There is a giant rock blocking the exit on this side, which you can easily move out of the way with bind. Dradd and the mother will join you and similar to last time Dradd will play a song to comfort the child. Kushara and Dradd agree to put their differences aside to try and fix the Lord Jabu-Jabu problem.
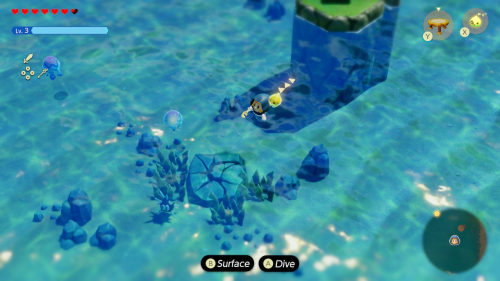
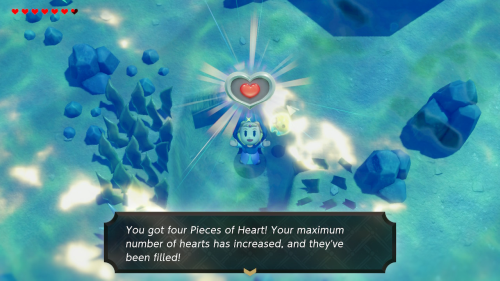
There are a couple goodies to pick up in this area before we head back to Lord Jabu-Jabu's Den. The first can be found by swimming directly south past the small island with a stamp stand. You'll see a cracked rock underwater that you can blow up with a Bombfish. This will reveal Piece of Heart #12, which should grant you another Heart Container.
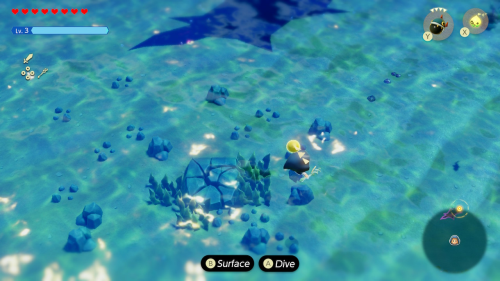
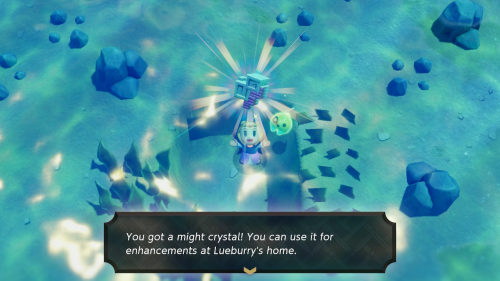
Now swim directly west of here for awhile and you'll see a similar thing. There's another cracked rock on the sea floor that you can blow up with a Bombfish. Beneath this one is 1 Might Crystal.
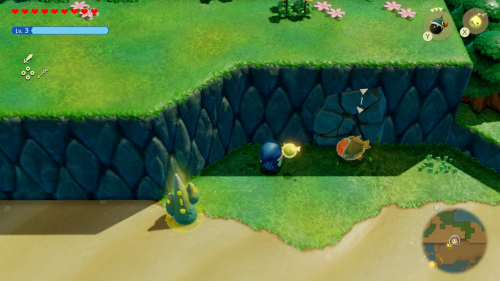
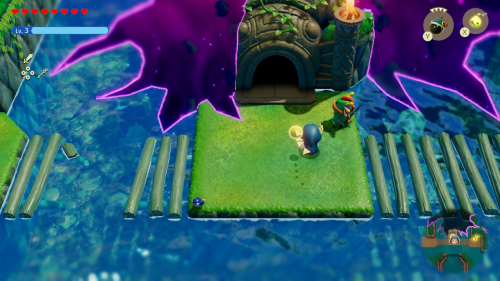
You can also warp to the Seesyde Village waypoint where you'll notice a cracked wall to the right. Use a Bombfish to blow it up and you'll find a chest with 20 rupees inside the opening. You can now warp back to Lord Jabu Jabu's Den to continue the main story.
Imposter Jabu-Jabu
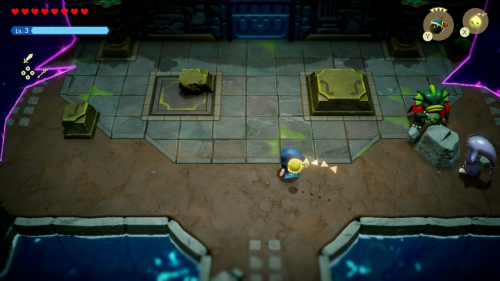
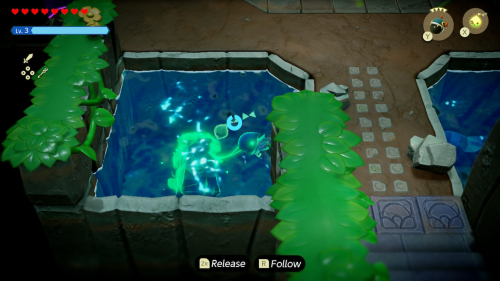
Once inside the den, you'll find that the altars that music is played on have been damaged. You'll need to clear off the rubble by binding to it and moving it elsewhere. You'll then need to restore the left altar by finding the missing pieces and putting it back together with bind. This is fairly easy as well, the small missing piece is in the open and the large missing piece is in the left pool of water.
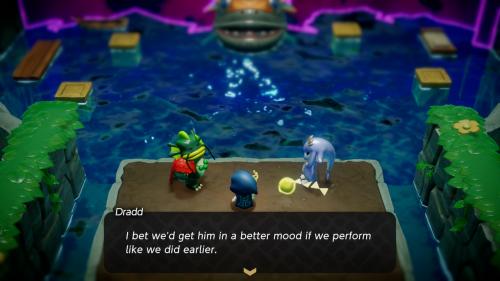
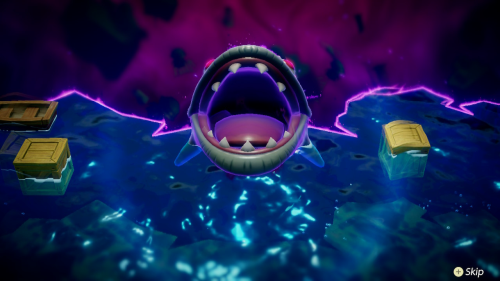
With the altars restored, Chiefs Dradd and Kushara will begin playing music together for Lord Jabu-Jabu. This will open the door to the next room. Unfortunately the music wasn't enough to quell his rage, since this is actually an imposter Jabu-Jabu that you'll need to defeat in combat.
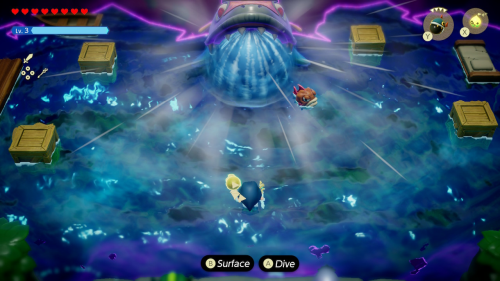
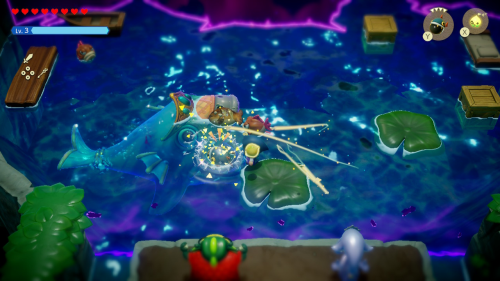
As soon as you enter the water, a wall will be put up behind you and you'll be trapped in the little arena with Imposter Jabu-Jabu. He will both inhale and expell water and various enemies and platforms that he's previously swallowed. He'll then swim around the arena chomping on anything in his path. While he's doing this, you'll just want to avoid him and summon Chompfin echoes to take out the smaller enemies.
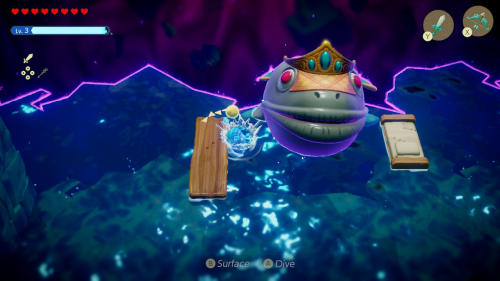
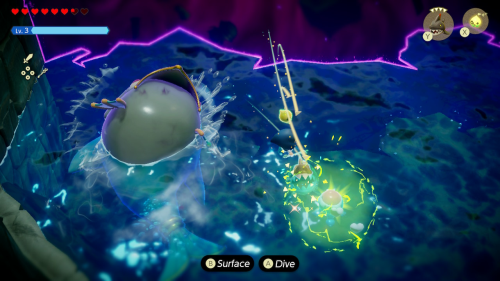
To deal damage, you'll want to wait until Jabu-Jabu begins to inhale and then place a Bombfish echo for him to swallow. Once it explodes it will stun him and then you can swing at him in Swordfighter form to deal damage. You'll simply need to repeat this process a few times. His second phase is the same as the first, but he'll be electrified and summon more smaller enemies.
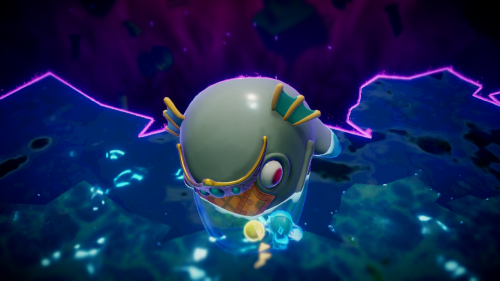
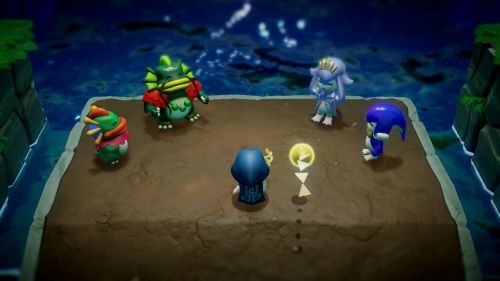
Once he's been defeated, Inawa and Rogma who he previously swallowed up will be freed. An Imposter Jabu-Jabu implies that the real Lord Jabu-Jabu is likely swallowed up in the large rift in his den. Tri will then be able to create an opening to the rift that you can enter.
Stilled Jabul Waters
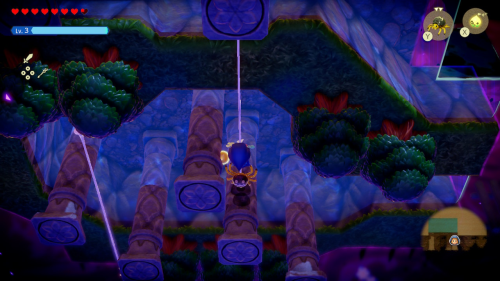
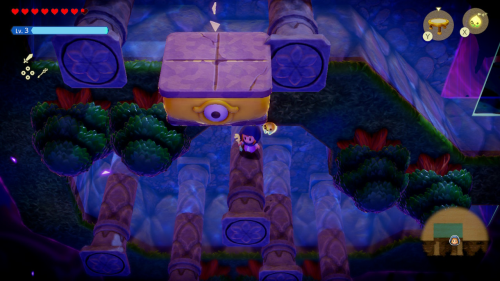
This rift is full of land and pools of water on its side that you'll need to navigate. Make your way to the first large pool that has several pillars sticking out. Hop on top of the first pillar and then use a Strandtula echo to create a web above. From this pillar you can place a Platboom and Trampoline echo to reach the pool above.
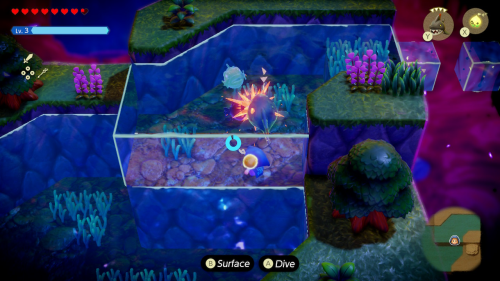
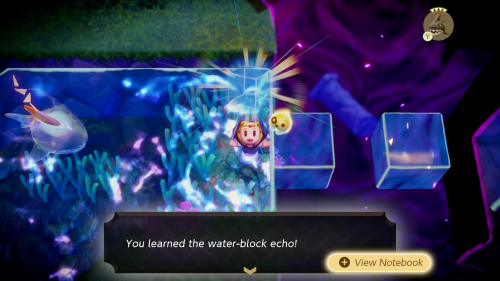
From this upper pool of water you can head right and summon a Chompfin to defeat the enemies. On the right side of this pool you'll see some floating blocks of water that you can learn the water-block echo from. This will be an incredibly useful echo going forward.
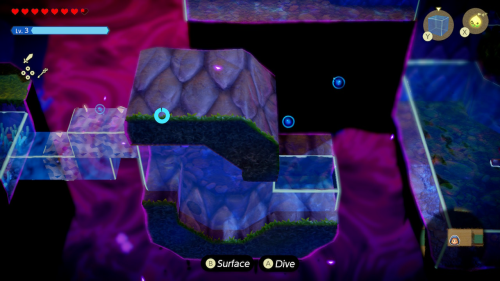
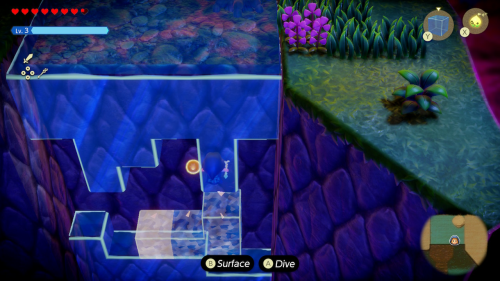
Use some water-block echoes to finish the water bridge and then create another water bridge further to the right. To the north is a wall of water that you can swim up vertically with the help of some well placed water-block echoes as well.
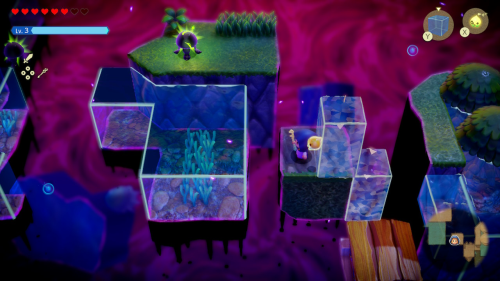
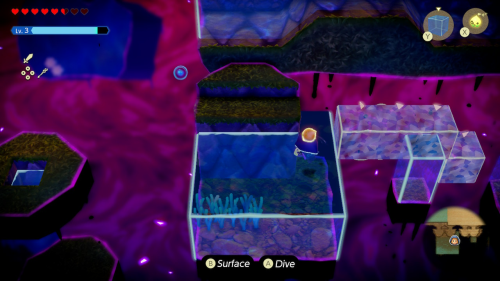
Head left up here and continue to use water-block echoes to bridge the gaps to the left. Use swordfighter form to defeat enemies as needed. You'll need to create water bridges while carefully dodging the Biri (electric jellyfish) that can knock you out of them.
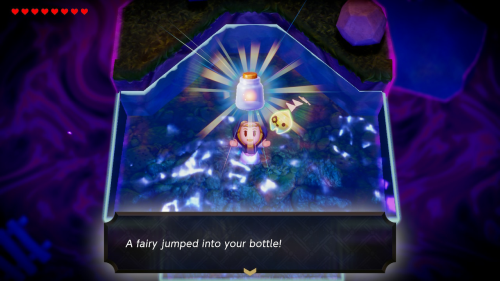
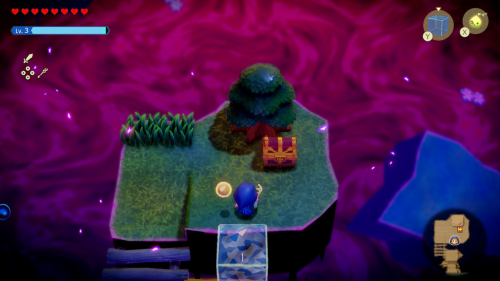
You'll eventually see a small island to the left where you can go to get a fairy if you no longer have one. Otherwise continue ahead and navigate the wall of water by placing water-block echoes in the gaps. If you use them to reach the island to the right and climb up it you can find a treasure chest containing 10 riverhorses.
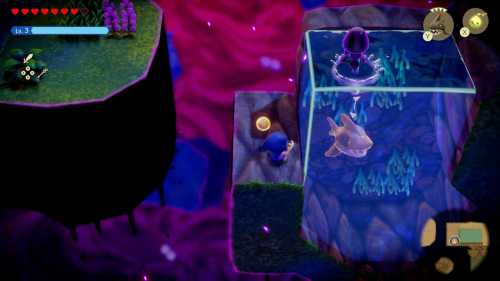
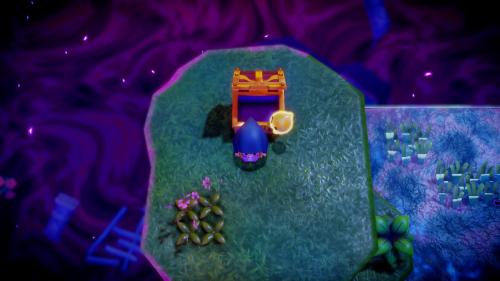
Head back to the left and swim to the upper portion of water. Here you can exit the water and use the trees as platforms to get further to the left. Create a water bridge to the left first and you can find a chest containing 50 rupees.
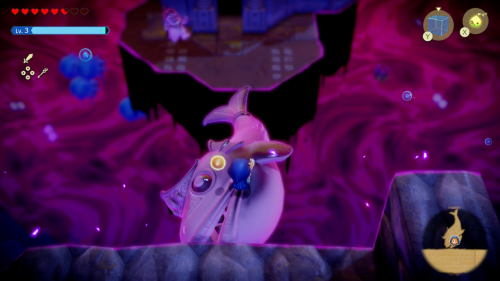
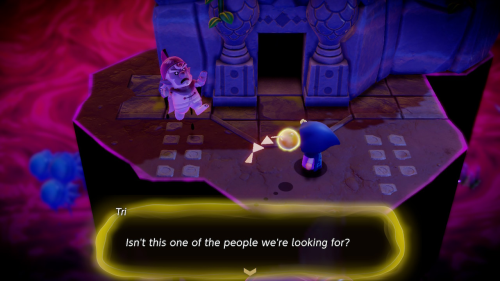
Head back to the right where you can use a frozen Jabu-Jabu as a platform. You'll see another frozen Hylian and the entrance to the next dungeon. We'll cover the Jabul Ruins dungeon in the next part of this guide.
Back to Gerudo Sanctum Continue to Jabul Ruins