Lanayru Temple


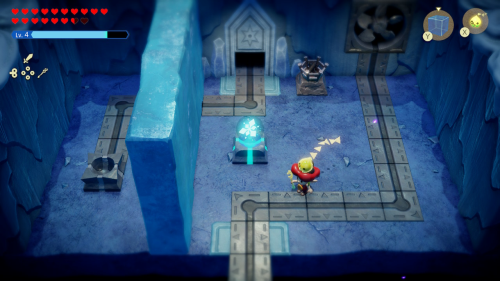
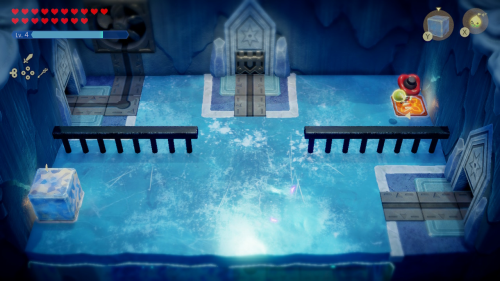
Enter the Lanayru Temple dungeon and activate the waypoint in the first room. In the next room, check out the door to the left first. This is a small room where you'll need to defeat a few Ice Octos. Like most rooms in this dungeon, it's much easier to complete if you have the Ice Spikes equipped. Open the chest containing 5 portions of rock salt and head back to the other room.
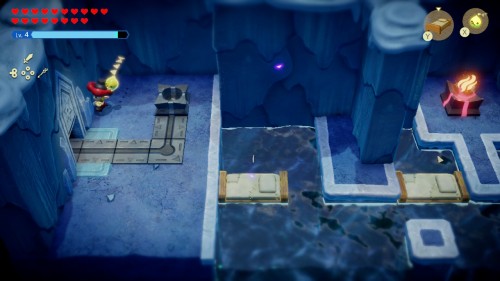

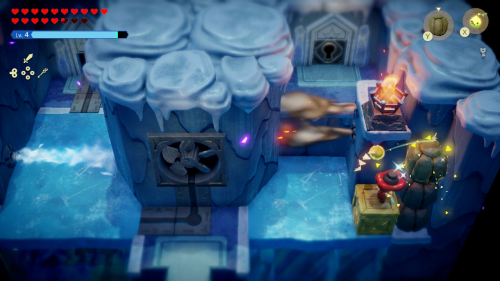
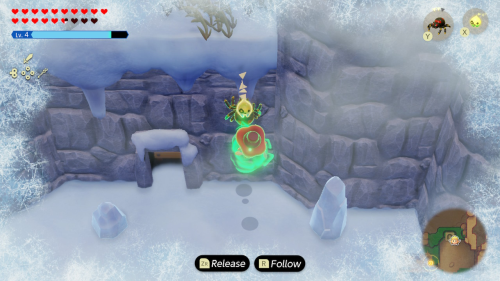
Follow the wire on the ground to the room to the right where you'll see a glowing orb and a place to set it. Place some old beds in the water and then bind to the orb and carry it over to the stand. This will activate the fan in the room to the left which will melt the large wall of ice. You can then take the ladder down to proceed.
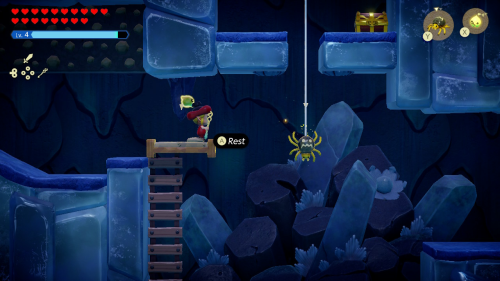

Keep a Fire Wizzrobe handy to take out the Snowmauls in this room. When you get to the ladder, place a bed on top of it and then summon a Strandtula between the two frost emitters. You can the use that to safely reach the chest above that contains 3 monster fangs. Take the ladder to the right to the next room.

Place some boulders in front of the frost emitters to safely get through this next room. Block the left emitter in the next room and follow the wire path to to the room to the left. In the next room, you'll need to place the glowing orb on the stand without touching the frost. If you do touch it, the orb will turn blue and the fan will blow cold air which can't melt the ice. Just jump over the frost stream to activate the heat fan instead.
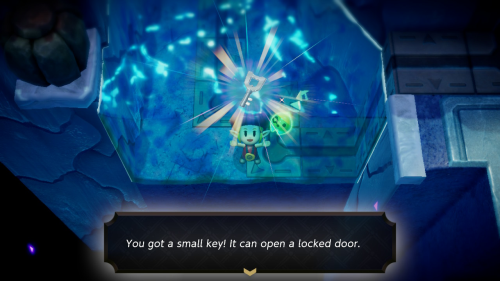

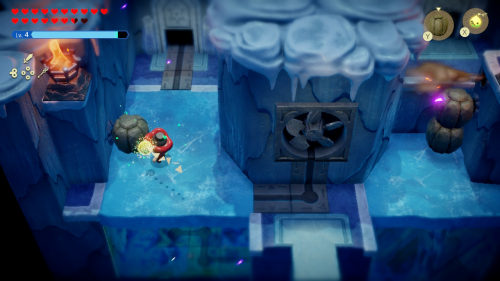
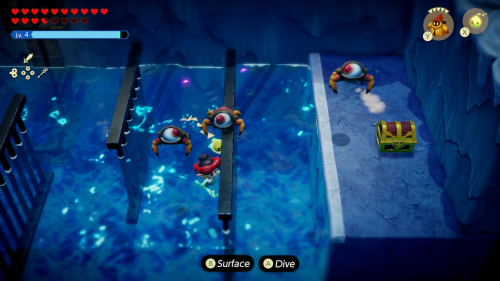
Return to the fan room and you'll notice a little sparkle in the water to the left. This is a small key that you can dive down and pick up. Now return to the previous room and use a blue orb to refreeze the fan room.

In the fan room you'll see two boulders stacked in the corner. Place a wooden box next to them so you can get up there and place a third boulder on the stack. Then move the stack in front of the heat streams to create a safe way up and head through the locked door.
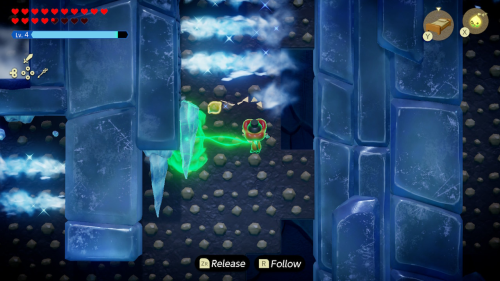

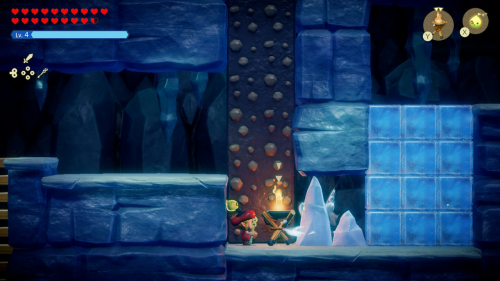
In this sublevel there are falling icicles and a climbing wall. While on the climbing wall, you can use bind to the icicles to block the frost emitters to the right. You'll need to repeat this process a few times as you navigate up and down the wall in this room. On the far right side you'll need to wait for an icicle to grow and quickly climb down before it falls.
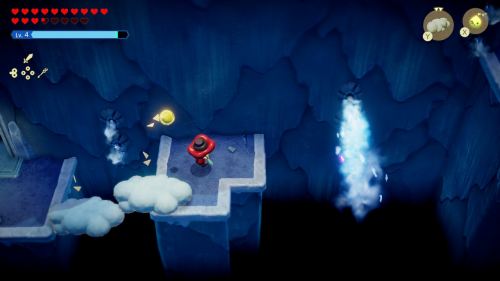

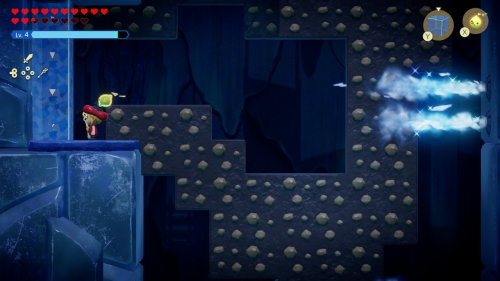
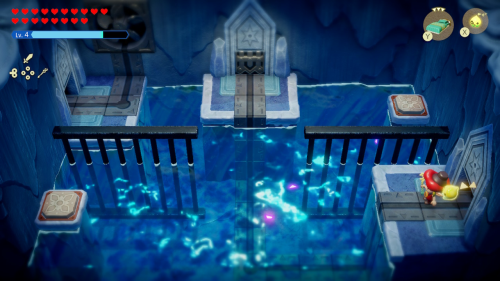
In the next room there are several frost emitters and you won't be able to build your typical bridges as they'll get destroyed. Instead you'll need to navigate around the frost by using cloud platforms. After getting across the first gap, you can build a tower of clouds up above and you'll find a small ledge with a room leading to a chest. Inside is a golden egg.
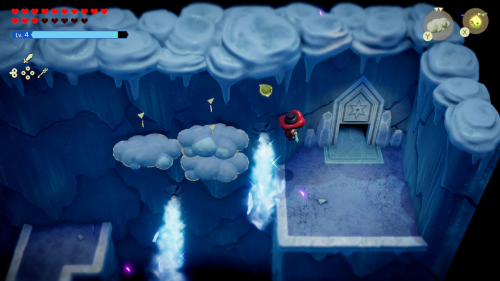

Finish the room by building cloud platforms to get across the other gap. The frost emitter is constant here, so you'll need to build up and over it. It looks like the next room is a dead end since there is a locked door, but you can actually move the top right ice block out of the way to find a ladder down to another sublevel.

The goal of this sublevel is getting the glowing orb from the bottom of the room to the stand at the top. Start by climbing down to the left and then summoning a Fire Wizzrobe to take out the slug. While on this left platform, build a water block tower against the wall on the left. Then go to the bottom and bind to the orb. You can avoid the first set of frost emitters by timing when their cycle is off. For the second set, you'll need to take the path on the left side of the room and use your water block tower to reach the top climbing wall. You can then safely reach the orb stand and melt the ice wall in the room above.
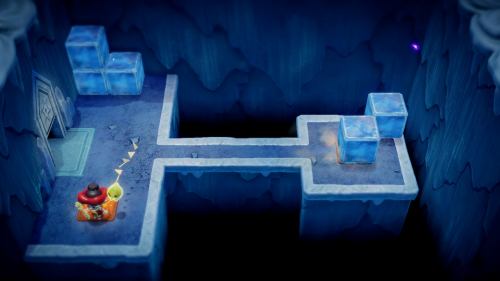

In the room to the right you'll find another puzzle where you must activate both switches at the same time. To do this, push the ice block to the right and step on the switch below as soon as the block passes over the right switch. This spawns a chest that contains a small key. You can then use it in the room to the left.

This is a large room that you'll be locked in until you defeat all the Temper Tweelus in here. You can anger them with a sword slash and then let them run into the frost emitters, or you can just slash them a few times to defeat them. Once they are gone, a chest will spawn that contains the dungeon map.
Miniboss - Green Slime
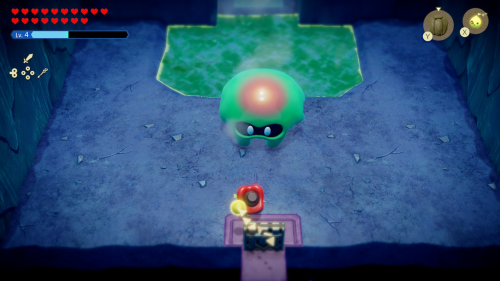

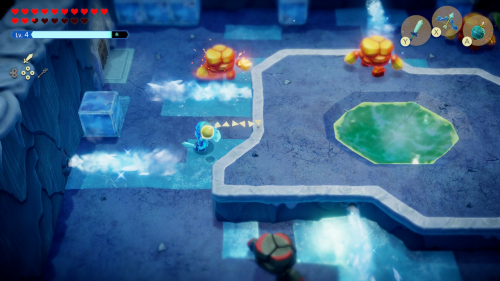
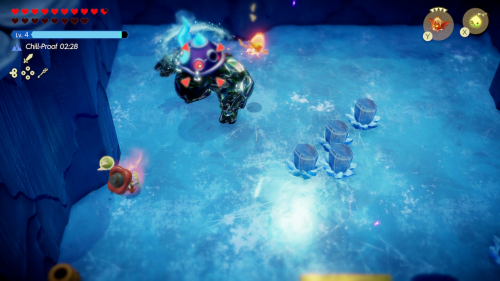
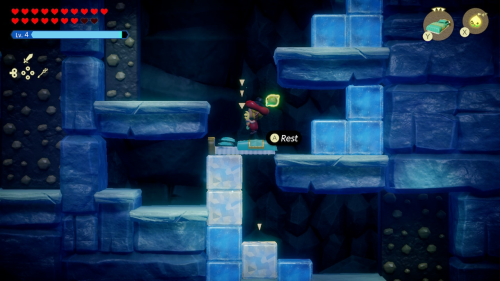
Activate the waypoint in the next room and then use the hot spring to heal up. Head into the next room for a miniboss fight against Green Slime. The key to this fight is to freeze the slime before trying to attack. Summoning a few Freezards is the best way to get it frozen. Once it's frozen, you can slash at it with your sword. It will then break into two smaller slimes.
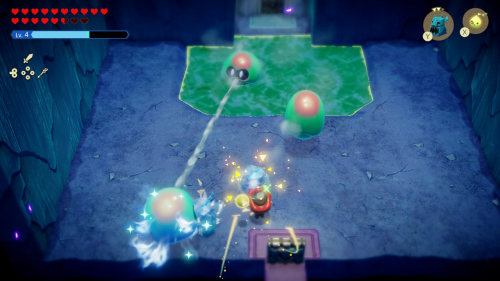

Keep repeating this same process as the Green Slime breaks into smaller pieces. Make sure to quickly slash at frozen slimes before the unfrozen ones use a stream of hot water to melt them. Once you have frozen and defeated each of the smaller slimes, the door to the north will be unlocked.
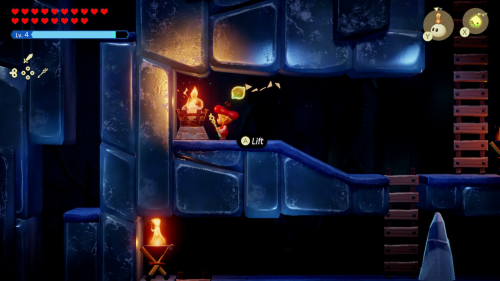

This is a large maze-like sublevel where you'll need to find and light all the torches. The first few are fairly straightforward. When you get to the right with a pool of water, you can build a ladder up to the platform and use a water block tower from there to reach the unlit torch.
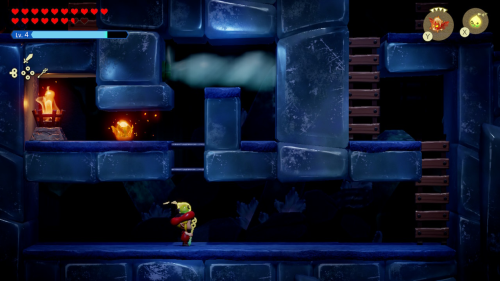

Head to the left side of the room and climb all the way down. Defeat the Fire Keese here and the summon your own through the bars above. You can then bind to it and use it to light the torch. For the unlit torch to the right, you don't even need to worry about dodging the falling icicles. Just summon an Ignizol from a distance and have it fall on the torch to light it.
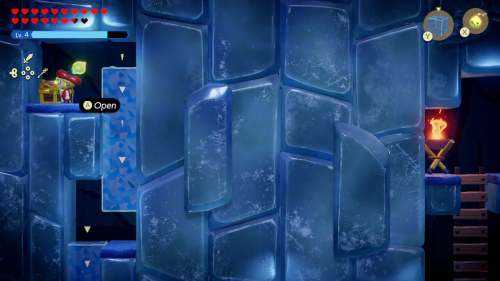

The exit on the left side of the room will be unlocked. When you go that way, you'll noticed there is an opening above the lit torch to the left. Place a water block on it and then keep building water block towers all the way the left side of the room. You'll find a chest on top that contains 100 rupees. You can then use the ladder below to exit this room.

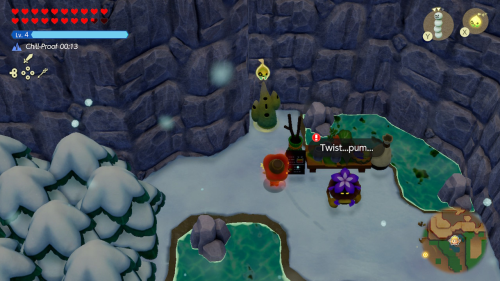
This is a large room with a puzzle to solve, but nothing to do in this room yet. Follow the wire south to the next room and then continue south to the room after that. Use a Fire Wizzrobe to take out the enemies in here and then open the chest to get 3 twisted pumpkins. Keep following the wire south to the next room.

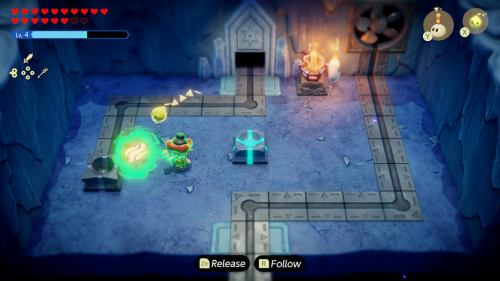
This is the southern-most room of the dungeon and there are four wires that converge in a frozen pool. Head through the right door and then follow the wire up north to the next room. In here you'll finally find a red orb to start making progress on this puzzle. Walk along the ice and use a Fire Wizzrobe to clear out the enemies. Then carry the orb along the ice to the stand in the back. This melts the ice in two of the room to the south.

In the room below, you can now swim in the melted water. You might want to defeat the Tektites first to make your life easier. Swim to the right and then use a few water blocks to reach the chest that contains a monster stone. Head back to the left room and use a boulder on the switch in the water to unlock the door to the left.

Pass through the first room to the left with a pool of water. In the next room there is a glowing orb behind some bars and both steam and frost streams. Bind to it and jump over the steam and touch the frost to turn the orb blue and then place it on the stand. This will freeze over the room to the right.

In the now frozen room, go to the bottom right and place an ice block on the wire tile. Push it to the left and then hop over the bar above so that you can press the switch just as the ice block passes over the lower one. If you time it right the door to the north will open. In the next room there is a stronger Wolfos enemy to defeat. Use a Darknut Lv. 3 echo to help. Afterward you can learn the White Wolfos echo.

You'll want to first navigate the next room with a Fire Wizzrobe to take out the Freezards. Then place or move ice blocks in front of all the frost emitters. You can then safely carely the glowing orb across and place it in the stand. This will melt the ice wall in the room to the south of the boss chest room. Then you can take the ladder to the right and press the switch to create a shortcut back to the boss key room.

Head to the room to the south and light the torch with an Ignizol. You can then pass the orb over the torch to turn it red, and then place it in the other orb stand. This will melt the icicles in the room to the north. Now place the blue orb in the same stand, refreezing the north room but this time without the icicles.
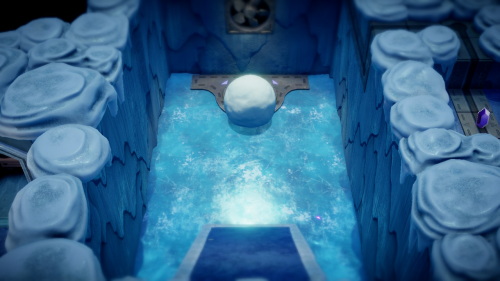

Head north and press the yellow switch. With the water frozen and the icicles gone, the snowball now reaches the large switch that lowers the bars in this room. You can now open the chest to get the big key. Now take the stairs down to the right where you can find a waypoint to activate. There is also a hot spring to get healed up in before taking on the boss of this dungeon.
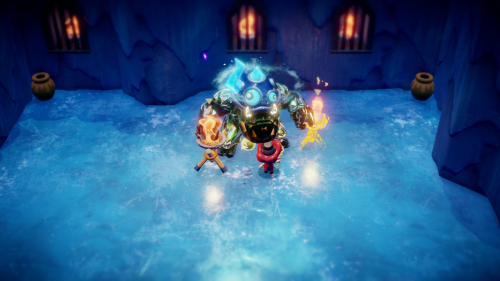
Boss - Skorchill


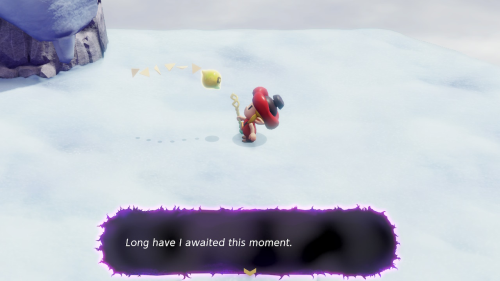
Enter through the boss door and you'll see what appears to be Condé's brother - but on closer inspection is a boss called Skorchill. He's a large monster like Condé that wheres a helmet. During the first phase, this helmet will have several frost spikes and you won't be able to damage Skorchill while the frost spikes are active.

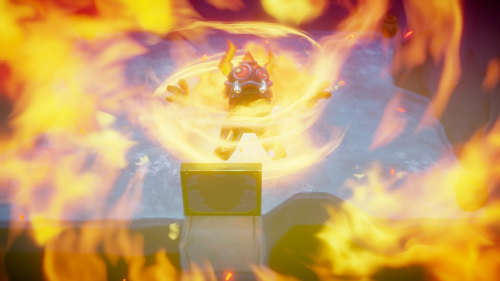
The key to this fight is to attack the frost spikes on his helmet with fire. You can use various fire echoes to do this. A Fire Wizzrobe is a good bet, but a Fire Keese seems even better since it can stick around its head for awhile. You can also place Braziers right next to Skorchill to do a small amount of damage to the helmet. Once the helmet has been melted off, you can use swordfighter mode to attack its body directly.

In the second phase of the fight, Skorchill will harness the power of fire instead of ice. The process is the same as before, except that you'll want to use water echoes to combat the helmet instead. Ice Wizzrobes or Ice Keese should do the job well. Once this helmet is destroyed, just wail away at his body with your sword.

The third phase will go back to an ice helmet, but Skorchill will still use some of its fire attacks as well. Repeat the same process as before to destroy the helmet and then deal body damage. After enough damage is dealt, Skorchill will be defeated.
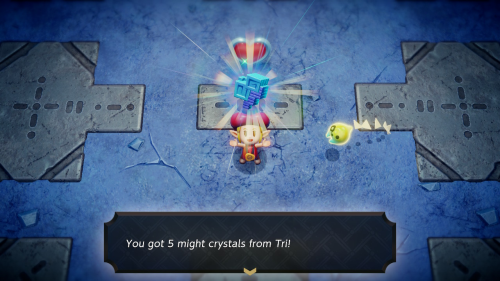

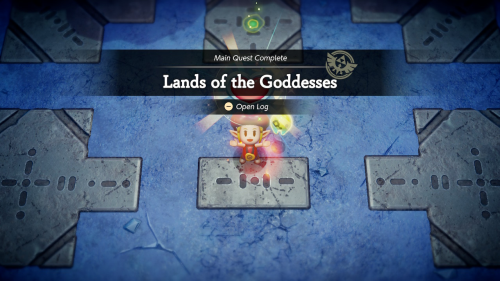
After the battle, Tri will power up, reducing the requirements to spawn certain echoes. You'll also receive 5 Might Crystals. You will also hear from the goddess Nayru. She will bless you with Nayru's Sanction. She points us to the ancient forest to find Link.

Make sure to pick up the Heart Container before returning to your world. You'll find Condé waiting for you and very grateful that you "cleaned up" the mountain. He is also happy now that he knows the creature he saw wasn't his big brother.

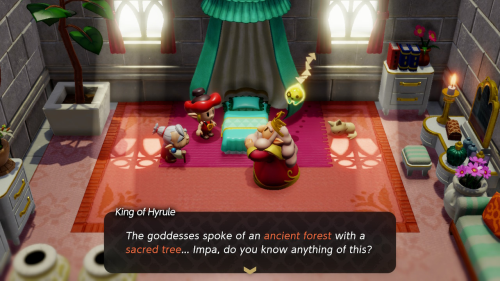
Unfortunately, after clearing this dungeon (if you followed the same order as this guide), Null will swallow you up and your identity will be stolen once again. You'll awake back at the castle and begin telling the king what happened. He suggests that meeting up with Link in the Eternal Forest is the only way to stop Null.

Exit your room and you'll find General Wright waiting for you. He runs off to clear a safe path for you, but doesn't get the memo that there is an evil echo of you floating around. We'll check out the Eternal Forest in the next part of this guide. But first, there are a few things to finish up on Hebra Mountain.
Hebra Mountain Collectibles
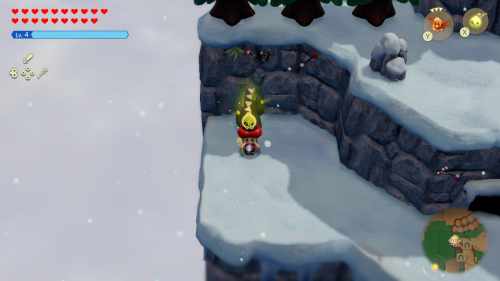

Warp back over to the first waypoint on the west side of Hebra Mountain, as we missed a few Might Crystals during the initial snowstorm. There are still cold winds in this area, so you may want to use a chill-proof potion. Follow the path in the snow and then head north in the more open area. You can find a chest buried in the snow that contains 6 twisted pumpkins. You'll also find a cave entrance accessible after melting some icicles.

What we really want is actually above the cave, not in it. Because water blocks will freeze here, use the old trick of binding to a Crawltula to get on the cliff ledge above the cave entrance. Melt the icicle up here to find 1 Might Crystal. You can also enter the cave below if you wish, but keep in mind that a golden egg is the only prize, which may not be very useful at this point.

In this sublevel, keep a Fire Wizzrobe around to defeat the enemies. Drop down and melt the icicles with some Brazier echoes. Also melt the first column of ice blocks, then replace them with a column of water blocks so you can swim up. Continue right and climb up the wall to reach a chest that contains 8 jars of floral nectar.

Place a Brazier on the columns of ice blocks to the left to melt them and then climb down the wall. Fill in the gap in ice blocks with some of your own to cross the icy water. You then want to begin climbing up the right side by placing some ice blocks and melting others to allow you to get higher. You can also use water blocks and cloud platforms as you need. When you get to the top follow the path to the left to find a chest containing a golden egg and hit the switch to exit the cave.

Follow the path south from the cave but keep to the right side. Keep following the path of torches until you get all the way to the south, then hop up on the small ledge to the left. Follow this to the southwest corner where you'll find a rock surrounded by some grass. Pick it up to find 1 Might Crystal underneath.

Now return to the north but hug the wall to the east to find a little hot springs alcove with a waypoint to activate and a Business Scrub in bad shape. Speak to him to start the "Getting it Twisted" side quest. To complete it, simply give him a twisted pumpkin. You'll get 10 warm peppers as a reward.
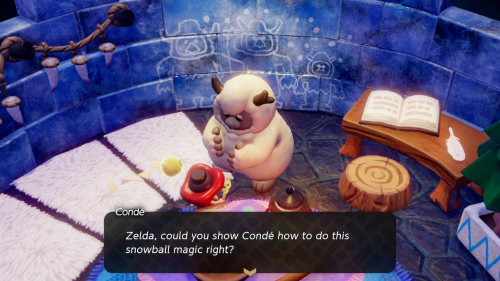

We just have one more side quest to complete back at Condé's House, so warp over there. Enter his home and speak to Condé. He tells you there is a magic way to make the mountain sunny again, by carrying a Snowball to a specific area. This starts the "Snowball Magic" side quest.
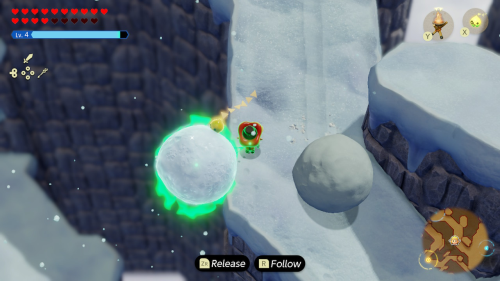

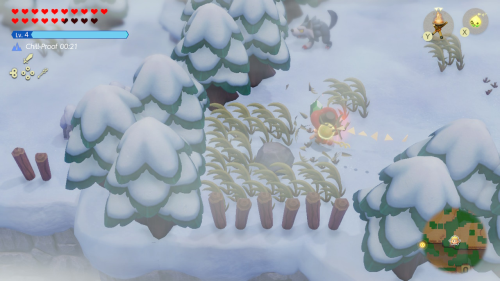
The key to this quest is making sure to bind to the snowball when it is to the left of you. You can then carry it to the west side of the mountain being careful to dodge all the rolling snowballs. Stick to the far left edge of the path to the pedestal where you can avoid the snowballs and the sparkling snowball is safely off the course. The final snowball you will need to time and make a run for it as soon as the last one passes you. As a reward for completing this quest, Condé will give you Piece of Heart #38.
That's everything there is to do on Hebra Mountain. In the next part of the guide we'll wrap up the remaining side quests and collectibles in Hyrule and then head for the Eternal Forest to finish the main quest.
Back to Hebra Mountain Continue to Null's Body
