Part 8: Minor Rifts
Before tackling any of the three major rifts founds in new areas of Hyrule, we'll focus on the remaining collectibles, new side quests, and new minor rifts that have spawned in areas that we've already visited. If you just want to continue with the main quest, feel free to skip to one of the next chapters.
Hyrule Castle Town
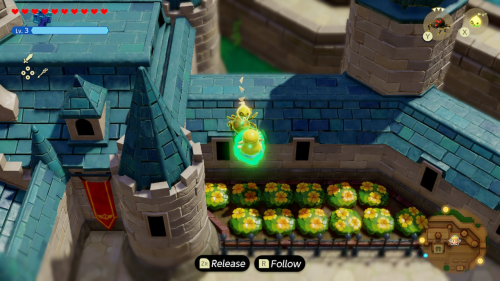
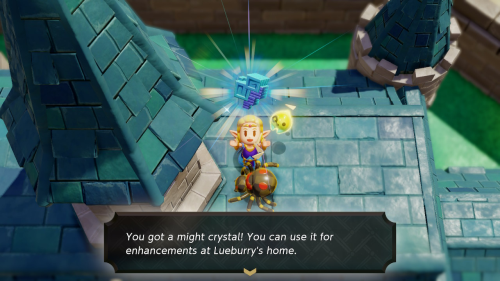
Now that the rift has been cleared in Hyrule Castle Town, there's a few new things to do. Exit the castle and then use a Crawltula to get on the roof of the castle. To the right of the steeple you'll find 1 Might Crystal.
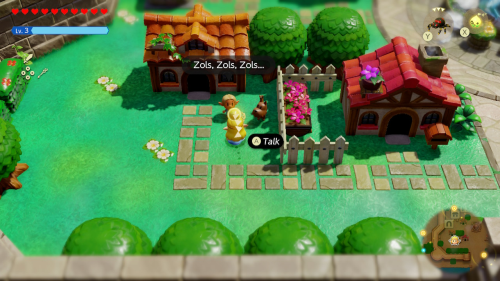
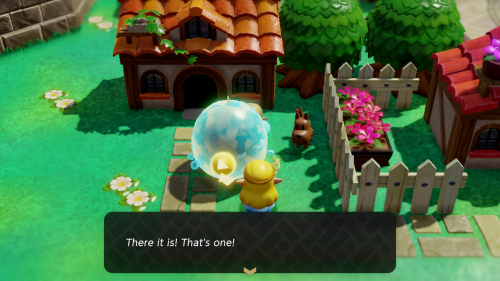
In the southwest corner of town you'll find a child outside of his house who is shouting about Zols. Speaking to him will begin "The Curious Child" side quest. First show him an echo of a Zol, then an Ignizol, then a Hydrozol. After showing him the Hydrozol he'll want to see a larger one, so place another Hydrozol echo and increase its size with a water block. As a reward for completing the quest you'll get 1 Might Crystal.
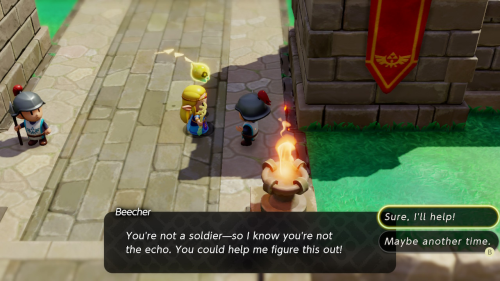
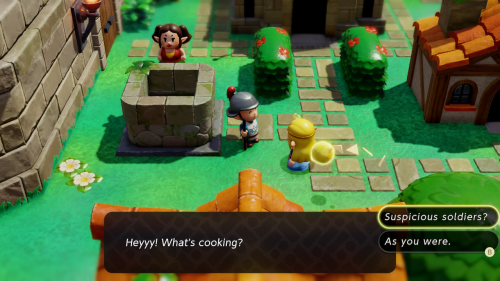
As you exit town, speak to the guard on the right side of the gate. This is Beecher, and he's looking for a potential imposter among the guards. This stars the "One Soldier Too Many" quest. You'll need to speak to the soldiers around town for clues. Doing so will eventually lead you to the Barracks on the west side of town. Here you'll learn that some damaged equipment may have been stolen.
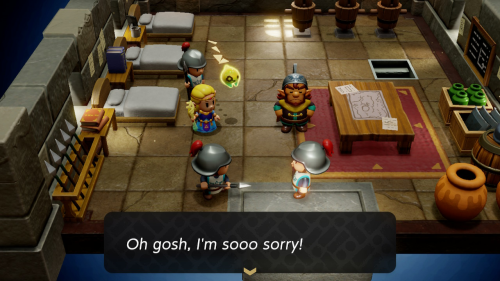
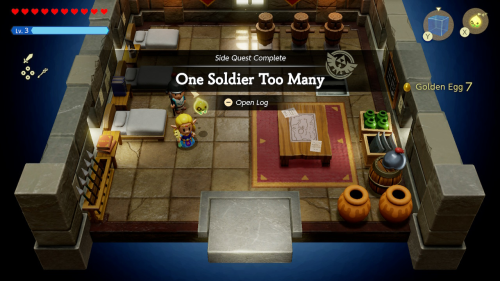
You'll now want to look for a soldier who's equipment isn't quite right. Luckily this is very close by. Just south of the Barracks standing next to the wall is a soldier who is holding a broken lance. Return to Beecher and report that the soldier near the well has a broken lance. This will begin a confrontation with that soldier. As it turns out, he is not an echo, just a citizen who wants to become a soldier. As a reward you'll get a golden egg.
Zelda's Horse
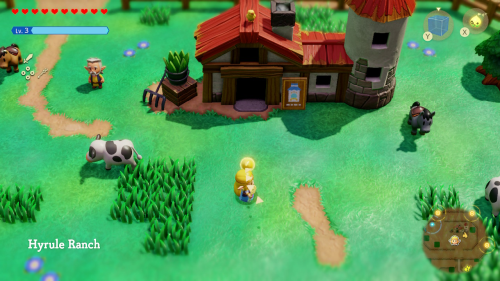
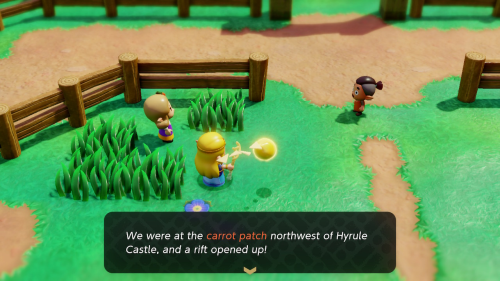
We'll now want to head over to Hyrule Ranch to acquire the noble steed that Impa spoke of. Speak to the lady with the carrot pin in her hair. You'll find out that her brother took your horse for a training ride but was swallowed by a rift! You'll see a blue pin on the map that you'll need to investigate.
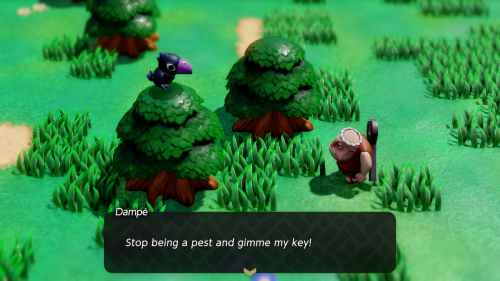
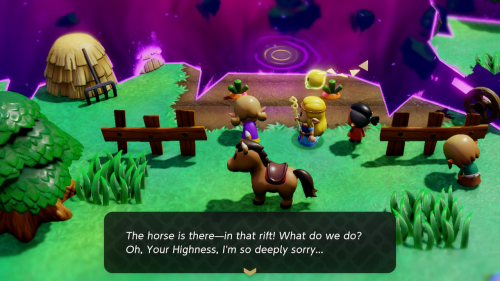
Borrow a horse and start heading northeast towards the pin. As you head that way, you'll be interrupted by Dampé yelling at a crow for stealing his key. This starts the "Automation Engineer Dampé" side quest. We'll come back to finish this after getting the horse. You'll soon find the rift that has swallowed up a carrot patch as well as your horse.
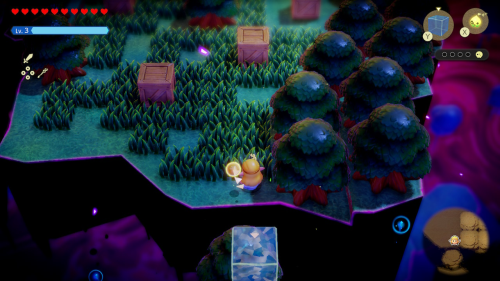
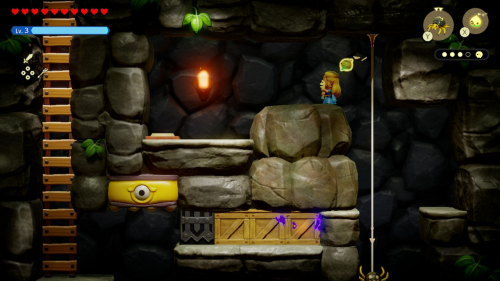
Inside the rift you'll need to find four groups of Tri's friends. Straight ahead is the first large platform where there are several wooden boxes. Destroy the one on the right side to find a ladder down to a sublevel. Head to the right in the sublevel and use a Strandtula to get all the way above and activate the switch. You can then ride the Platboom on the left and send a Pathblade out to destroy the boxes. You can then collect the first group of Tri's friends.
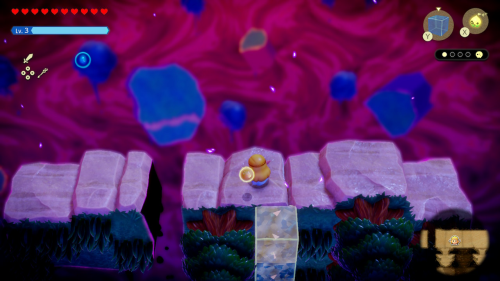
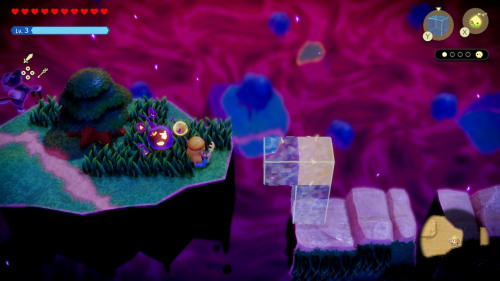
Head back up the ladder and go straight ahead from this area and there will be a vertical wall of trees. You can use towers of water blocks to climb up this wall. Head to the left and to get on the higher platform you can use more water block towers or a Platboom to reach the higher platform. Up here you'll find another group of Tri's friends.
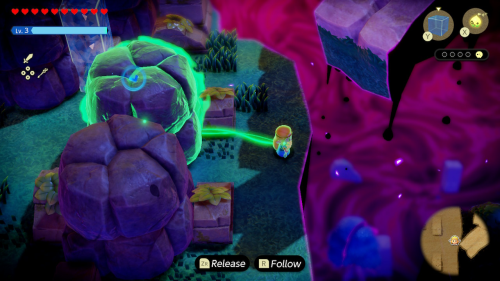
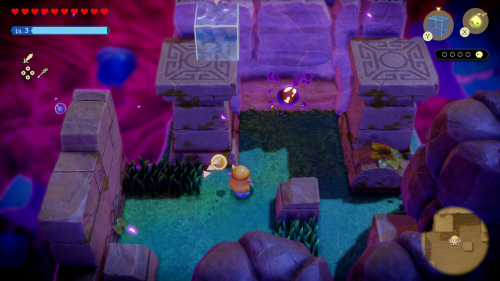
Take the platforms down to the left where you'll find several large boulders. You'll need to move them out of the way one by one with bind by sliding them through the rocks. For the final boulder along the north wall, you'll have to jump up while binded to get it over the small rock and clear a path. Behind it you'll find the third group of friends in an alcove.
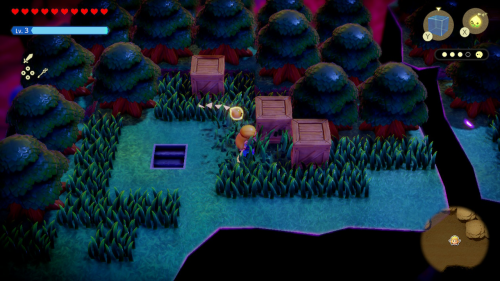
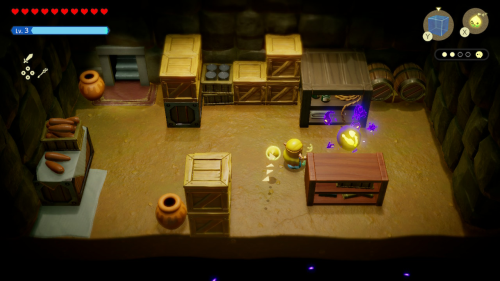
To the right of the boulder moving puzzle is a larger platform with many shadow Zols and wooden boxes. Destroy the wooden boxes to find a staircase leading down to a cellar. Inside you can use the nearby meat to distract the shadow Boarblins and then defeat them. One of them will drop the final group of Tri's friends.
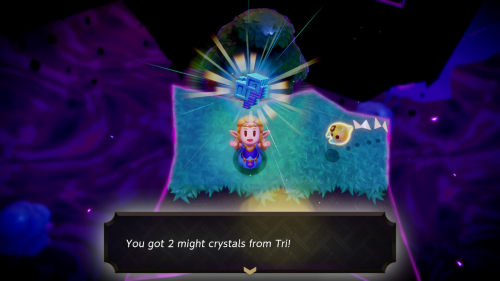
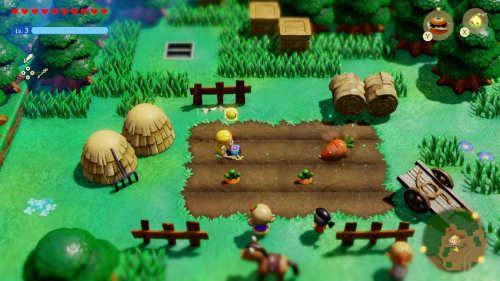
The rift will be mended and Tri's power will grow stronger. You will also receive 2 Might Crystals. Back outside your horse still seems to be missing. To summon your horse you'll need to bind to one of the carrots and pull it out of the ground. Your horse will return and this completes the "Impa's Gift" side quest.
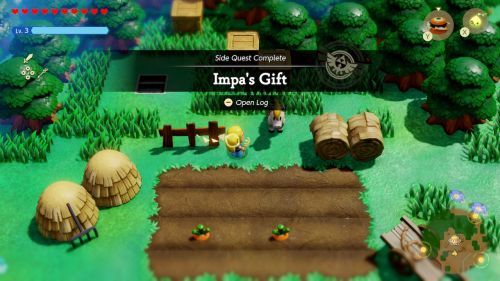
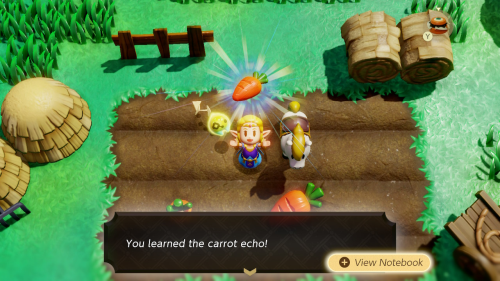
Pull another carrot out of the ground so you can learn the carrot echo. You can now use this echo to summon your horse at any time (in the overworld). With our trusty steed in hand, head back to Hyrule Ranch.
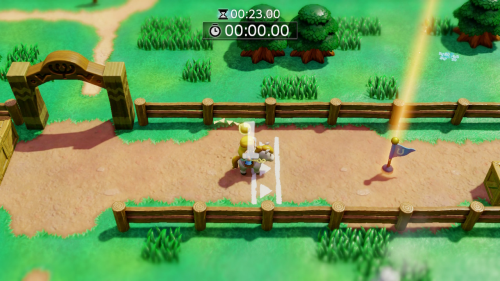
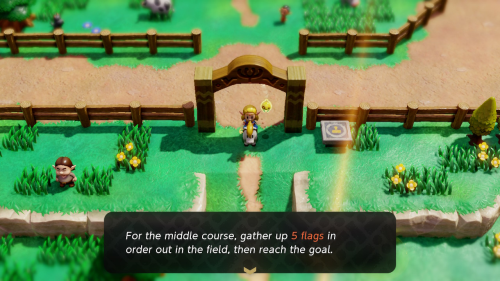
You can now participate in flag races by speaking to the girl with the carrot pin in her hair. There are three different courses that ramp up in difficulty and the prizes are as follows:
- Short course: 20 Rupees (17 seconds), 3 Might Crystals (17 seconds)
- Middle course: Prismatic Music Box (25 seconds), Piece of Heart (20 seconds)
- Long course: 50 Rupees (50 seconds), Charging Horn (40 seconds)
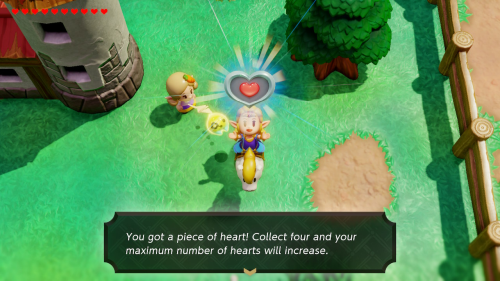
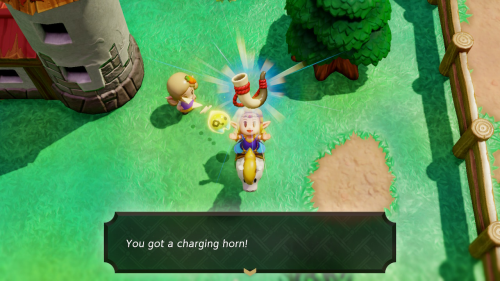
It can be quite tricky to get the second prize, especially in the short course. You'll want to make sure you are always cutting corners as tight as you can, jumping over any obstacles that can be jumped over, and dashing as soon as possible. Make sure you are also facing the direction you want to go when you start a dash, as you won't be able to change quickly once you start. In the long course there are a few small shortcuts you can make by not following the arrows.
Dampé
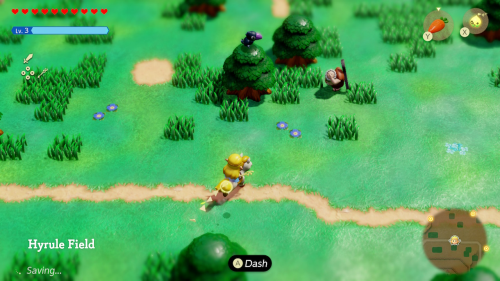
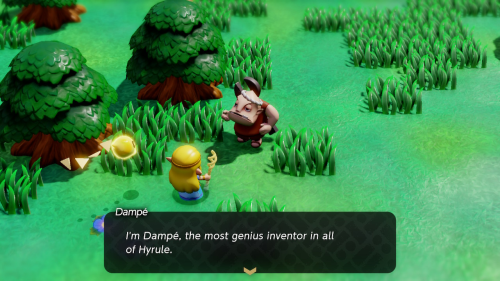
Now we can return to Dampé, who is just northeast of Hyrule Ranch, and save him from the crow. Just send your own crow echoes out to take it out. He'll let you know that he's an inventor and invites you to visit his home that he has marked on the map.
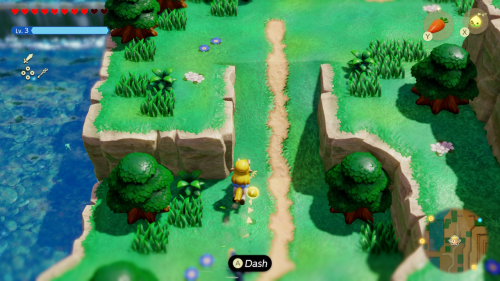
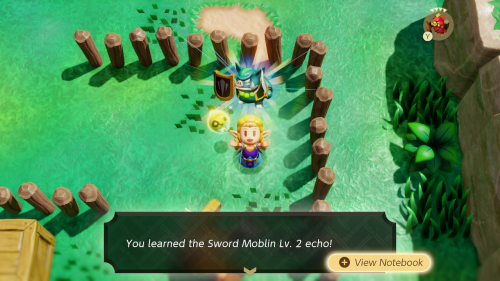
Fly over to the way point in front of the Eastern Temple. From here head south and then west and then follow this road north to Dampé's studio. Remember that you can use your horse now! Along this path you'll run into a Boarblin camp that you'll want to clear. As part of the process you can learn the Sword Moblin Lv. 2 echo. You can open the chest to get a monster stone.
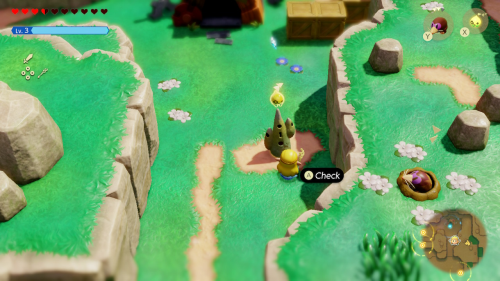
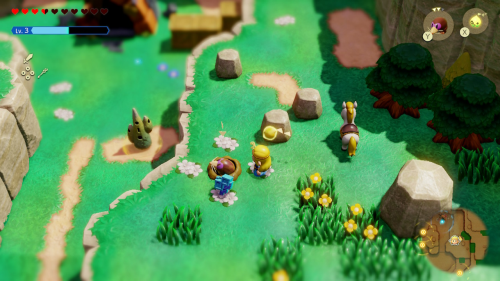
Continue following the road and you'll reach a waypoint outside of Dampé's studio. Before heading in get on the cliff to the right and you'll find some white flowers in a cross shape. Use a Holmill to dig in the center to find 1 Might Crystal.
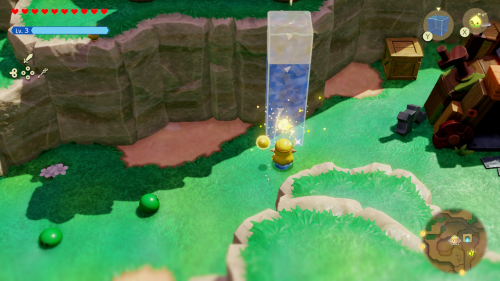
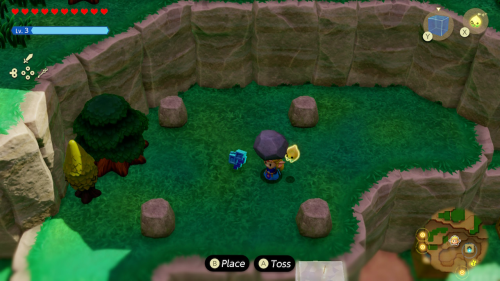
Climb the cliff just behind Dampé's studio and pick up the loose rock up here. Under it you will find 1 Might Crystal. Afterward you can head into Dampé's studio.
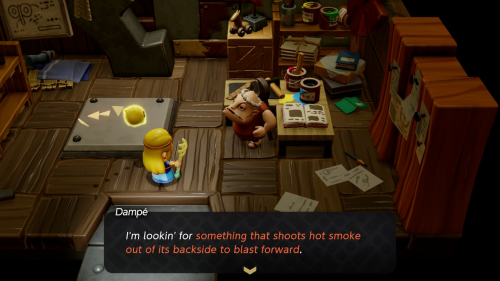
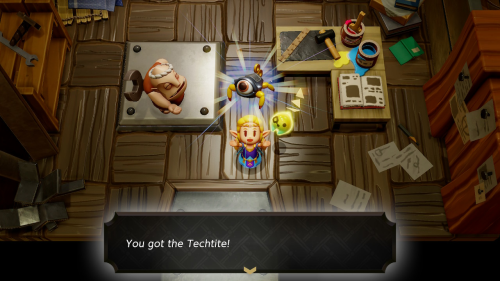
Just for coming to visit Dampé in his studio, you'll get 5 twisted pumpkins. He is an inventor, so he wants you to show him some monster echoes so that he can combine them into automation robots. The first echoes you'll need to show him are a Tektite and a Mothula. He will combine these into a Techtite. He'll also give you the clockwork key. This completes the "Automation Engineer Dampé" side quest.
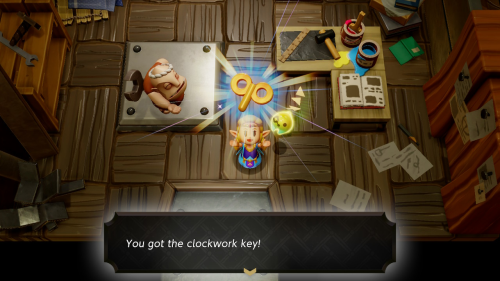
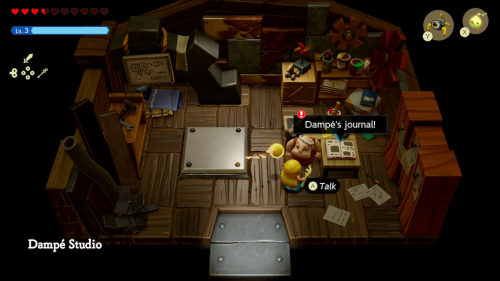
However, there are more automations Dampé can create. Check out his journal to start the "Explosions Galore!" side quest. This automation recipe requires a firework from Eldin Volcano, so we'll have to hold off on it for now.
Eastern Temple
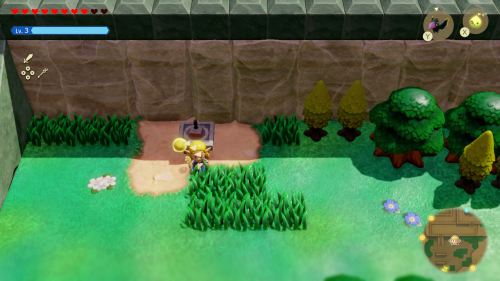
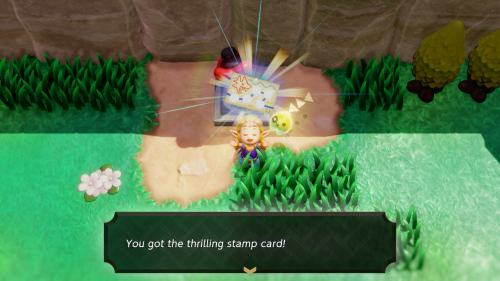
Warp over to the waypoint in front of the Eastern Temple, just south of here. Head north to find Stamp Stand #10. If you've been following along this means you have completed your second stamp card. You'll get 3 golden eggs as a reward as well as the thrilling stamp card.
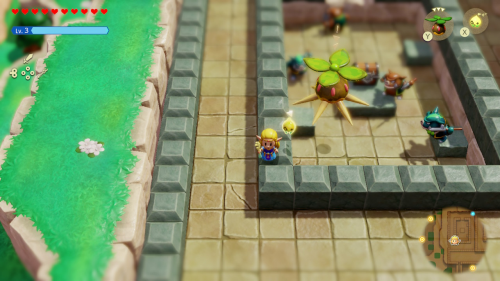
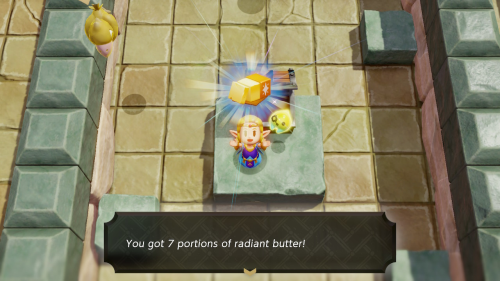
Head up the stairs and you'll find a Moblin camp on the west side of the platform. You can overwhelm the enemies guarding the chest with a bunch of crows or just go in there in swordfighter form to quickly take them out. Once defeated you can open the chest to get 7 portions of radiant butter.
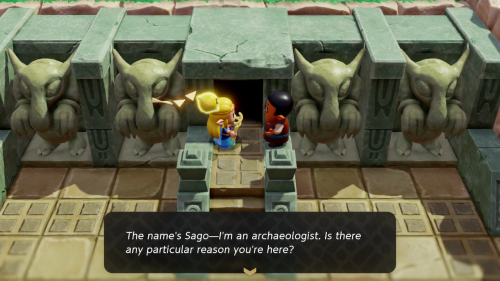
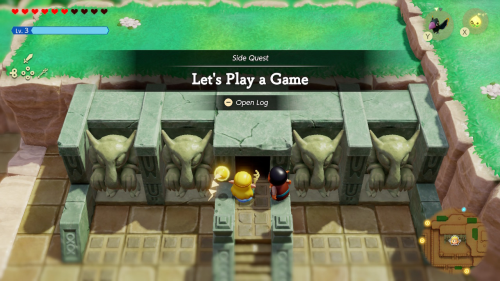
Head to the main entrance of the temple and you'll see a frightened man standing in the way. This is Sago the archaeologist, speak to him to find that he's scared of the monster inside the temple. This will begin the "Let's Play a Game" side quest.
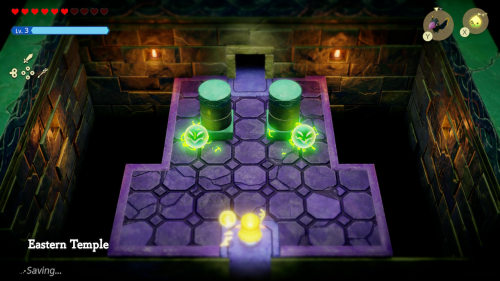
Inside the temple there are many Spark enemies that move around the room on set paths. You'll need to avoid them or take them out. Use a Sea Urchin to defeat one in the first room and learn the Spark echo.
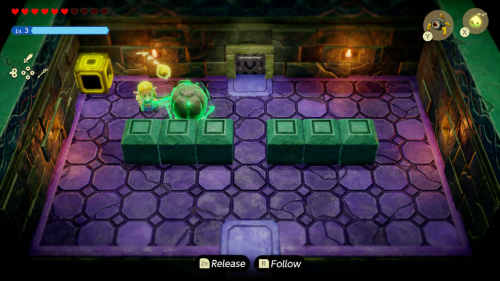
In the next room, the goal is to make at least two Sparks collide with the yellow block in the top left corner. You can do this by binding to the rock in the room and placing it so that the sparks are trapped in the corner. Once two enter the box the door will open.
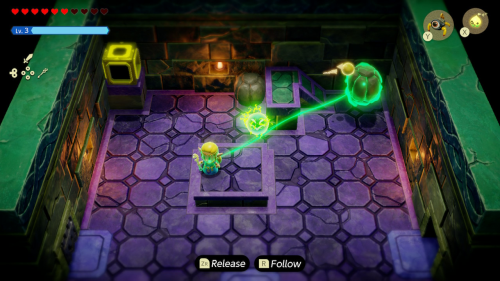
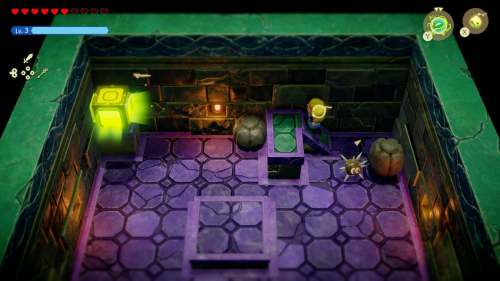
In the third room there are two Sparks that must enter the yellow box on the higher ledge. You can move the boulders from in front of the ramps and place them on the other side instead. It's easiest to just defeat the Sparks in this room and send your own up over the ramp into the yellow box. This opens two different doors. Take the right door first.
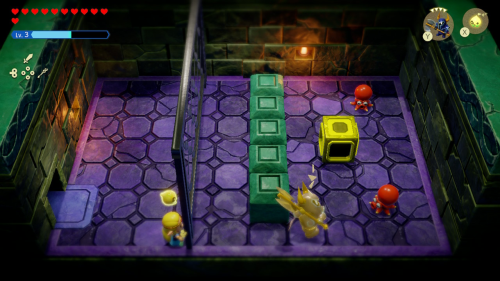
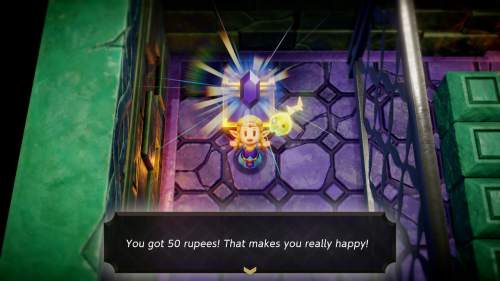
There are some Octoroks on the other side of the grate in this room. Before worrying about anything else, summon some echoes across the grate to take out the Octoroks. Most things will work, but Crows can quickly attack without getting stuck on the blocks in the way. Once they are defeated exit the room and re-enter to respawn the wooden boxes. You can then send on the top and bottom to enter the yellow box and spawn a chest near you. Open the chest to get 50 rupees.
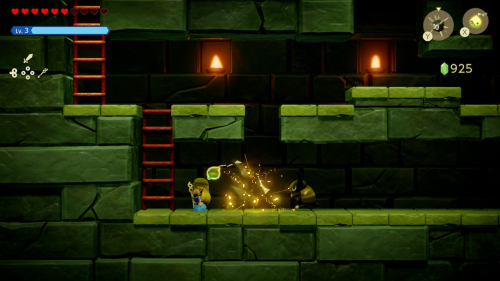
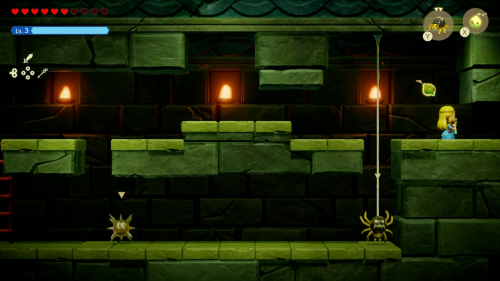
Now head back to the left and go through the left door. Defeat the two Sparks in this room and open the chest to get 5 portions of rock salt. Take the ladder down into a sublevel. In this first room you can just place Sea Urchins to defeat the enemies and continue to the right.
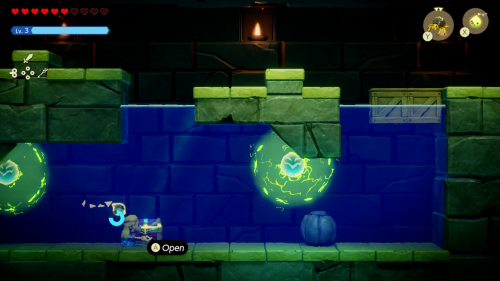
The next room in the sublevel is filled with water. Sparks have a larger area of effect for their electricity under water. Place some Sea Urchins to defeat them and open the chest in the water to get 50 rupees. Swim back up and exit the subelevel to the right.
Boss - Smog
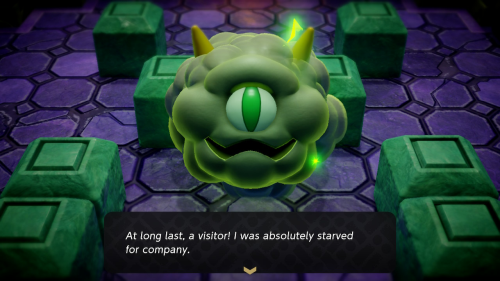
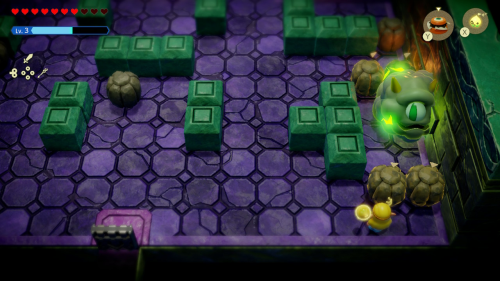
In this room is the boss of this little dungeon: Smog. He is a large electric cloud creature. In the first phase of the battle, he will move all around the room and shoot orbs of electricity at you. The key here is to use some boulders to trap him in a small corner. You can then attack him with some echoes like Pathblades while he is trapped.
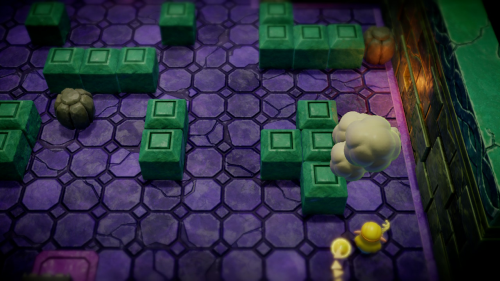
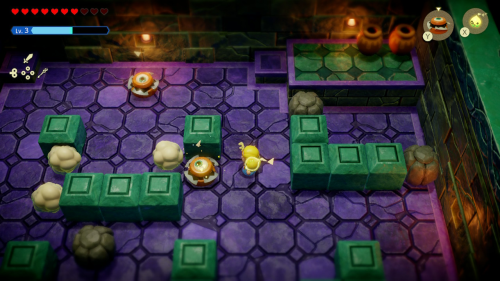
In the second phase, Smog will split into several smaller clouds that you won't be able to damage. You'll need to trap these clouds in a small area so that they all touch each other and combine back into the larger form of Smog. From here you can repeat the same process as the first phase and damage him normally.
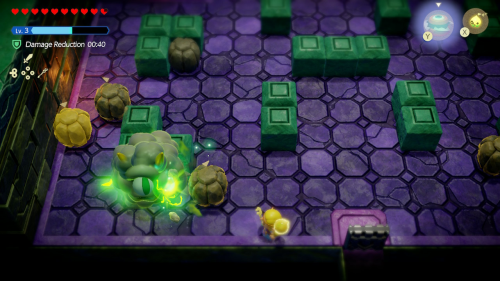
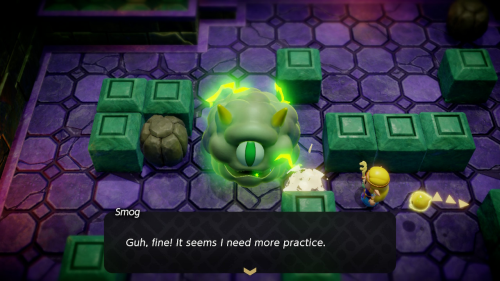
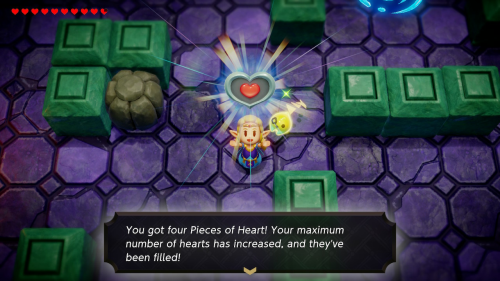
The third phase is very similar to the second, but Smog will be split into even more pieces. You'll ahve to wrangle them all up and combine them one by one. Once he is all put back together you can trap him in a corner and use Pathblades to finish him off. Once Smog has been defeated, he will leave many rupees and Piece of Heart #16 behind.
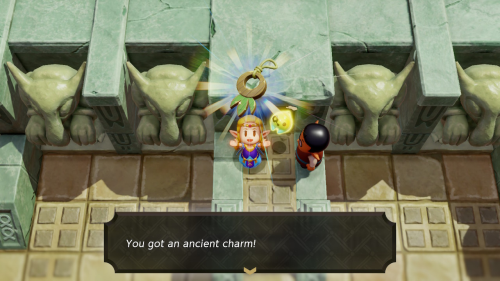
You can then take the portal to return to the beginning of the dungeon and exit. Speak to Sago once your outside to tell him you took care of the monster. He will give you the ancient charm and the "Let's Play a Game" side quest will be complete.
Wrecked Ship
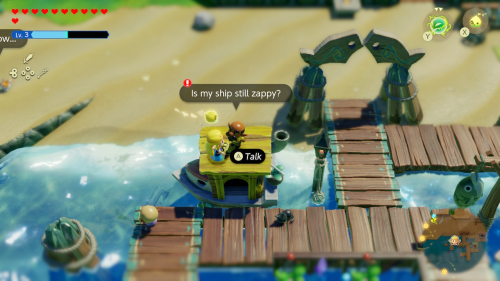
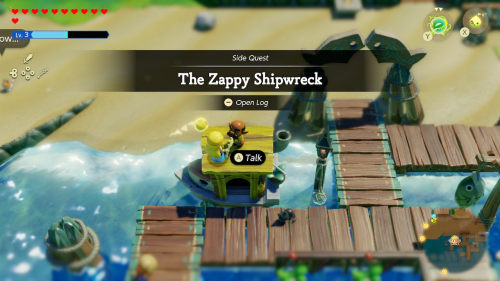
There are a couple new things we can do in the Jabul Waters area now. Warp over to Seesyde Village. Go to the docks and speak to the man standing on top of his boat. This will begin "The Zappy Shipwreck" side quest.
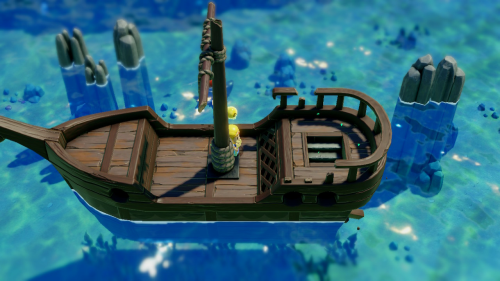
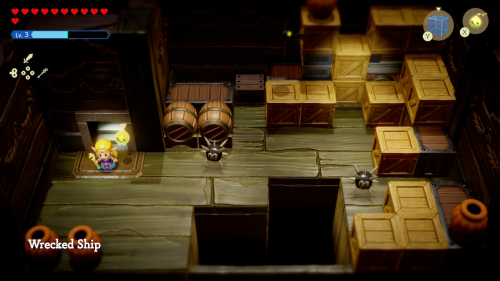
Swim over to his ship in the southwest of Zora Cove. If you missed it before, make sure to defeat the Chompfin that guards it and learn its echo. To enter the ship you'll need to bind to the hatch and pull backwards. You can then take the stairs down to enter the Wrecked Ship.
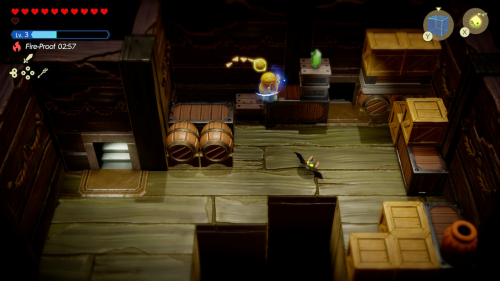
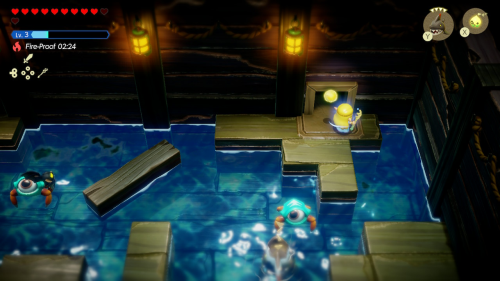
The first room is full of wooden boxes and a few enemies. Destroy the wooden boxes along the top wall to find some stairs. On the lower floor head to the room to the south that's partially full of water. You can use a Chompfin to defeat some of the enemies in the water, but you can just run by them and take the door on the left side of the room.
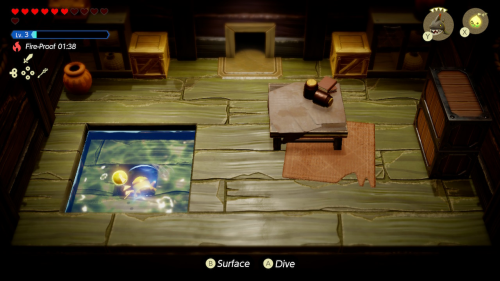
In this room you'll find a watery opening in the ground you can dive into. This leads to an underwater sublevel. It gets dark down here, so make sure to summon some Lv. 2 Tangler echoes and activate the light crystals. If you head straight down you'll find a chest containing 50 rupees. Swim to the left and avoid the Biri. You can then swim straight up to exit the subelevel into another room on the ship.
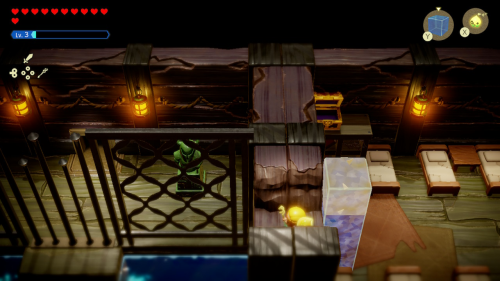
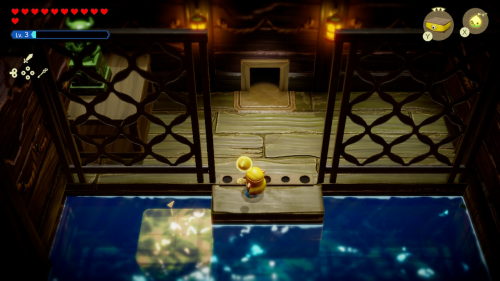
Open the chest in this room to get 5 electro apples. Use a tower of water blocks to go through the opening in the wall and reach the other side of the room. Here you'll need to get the Armos statue on the switch to the left. The easiest way is to place a Platboom to the left of the platform so that you can get the height and the distance you need to set the statue on the switch.
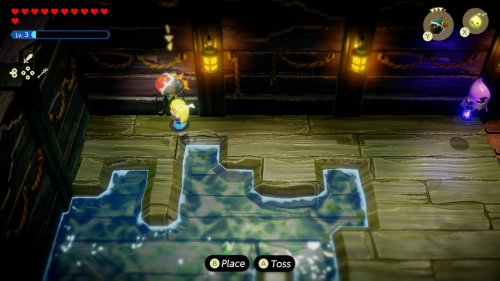
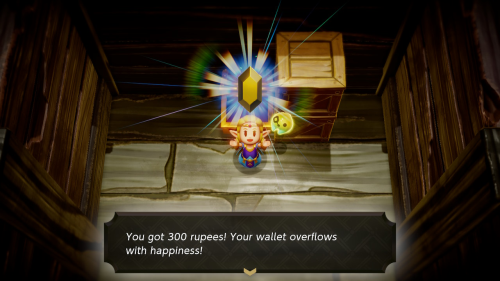
Defeat the Hydrozol in this room and then you might notice a cracked wall in the top left corner. Use a Bombfish to blast it open and you'll be greeted by a stack of wooden boxes. Destroy them by throwing them at each other and you'll uncover a chest that contains a whopping 300 rupees!
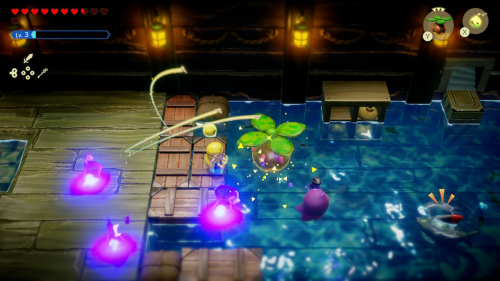
Back in the previous room you'll want to clear out some enemies using a Peahat and a Chompfin. On a platform to the right you'll find another chest containing 20 rupees. You can then go up the stairs to the next room. Make sure to get healed up in this room before entering the boss door to the left.
Boss - Barinade
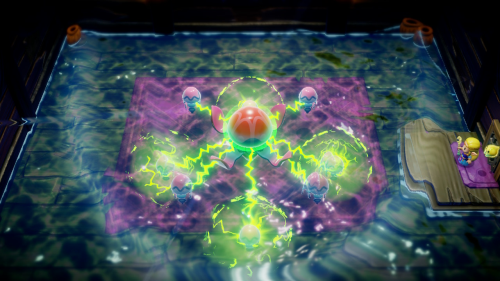
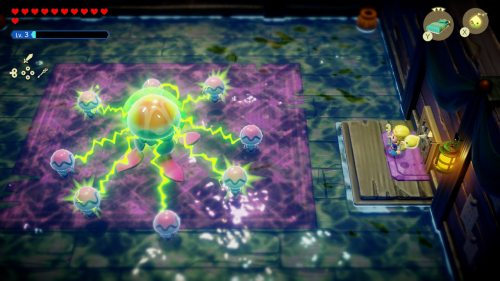
If you've played Ocarina of Time, you might find that this boss looks rather familiar. It's an large electric jellyfish that spins smaller jellyfish (Biri) around it to protect itself. You'll need to first start by defeating all the surrounding Biri before you can attack Barinade. The easiest way to deal with the Biri is to summon Sea Urchins in their path. Once they have all been taken out, you'll have an opportunity to attack Barinade directly.
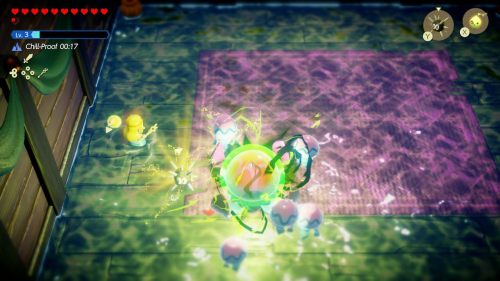
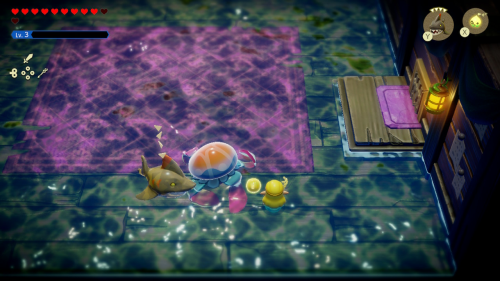
The second phase is similar to the first, but the Biri will spin more quickly and Barinade will use a powerful charge attack that covers a wide area. You'll see him charge up this attack for a few seconds, and this will give you time to take out a few Biri and then run away. Once all Biri have been cleared you can deal direct damage once again.
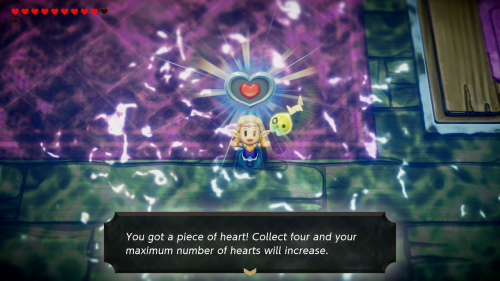
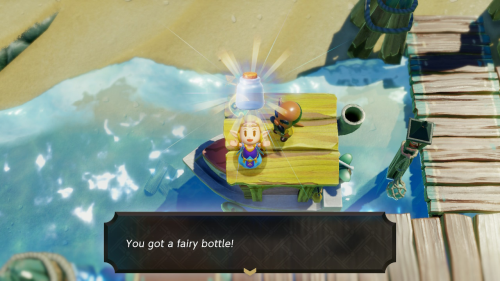
Once Barinade is defeated he will drop many rupees and Piece of Heart #17. Use the portal to return to the entrance of the ship. Then warp back to Seesyde Village and report back to the man standing on the boat. As a reward he'll give you Fairy Bottle #2 and "The Zappy Shipwreck" side quest will be complete.
Jabul Waters
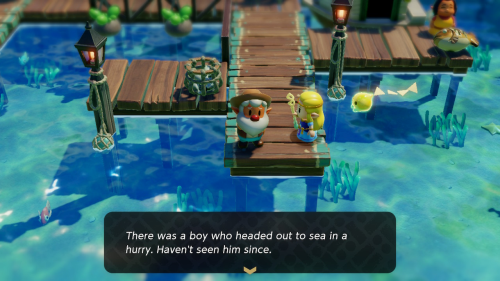
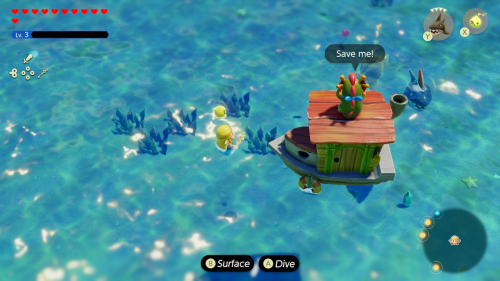
While we are here, there are a few more optional things to wrap up in Jabul Waters. Head to the south of the docks and speak to the man with a beard. You'll learn that someone borrowed his boat but isn't back yet. Swim directly south of here to find the boat, which is surrounded by monsters. Take out the monsters with a Chompfish echo to rescue the River Zora. You'll get 10 riverhorses as a reward. This completes the "Big Shot" side quest.
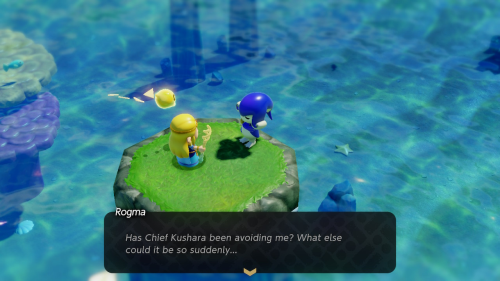
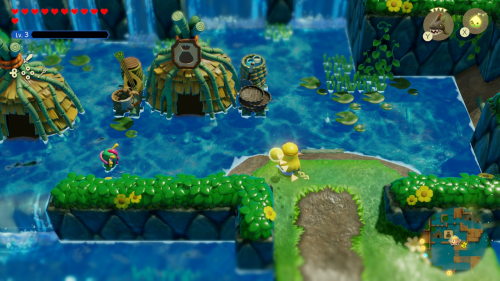
Now warp over to Sea Zora Village and speak to Rogma on a small island to the east. She is worried that the two Zora chiefs are meeting about something important and wants you to get some intel. This starts the "Secret Chief Talks" side quest. Warp over to River Zora Village to investigate.
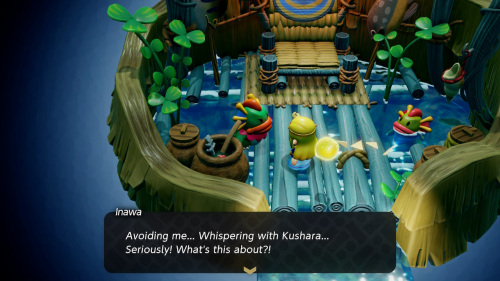
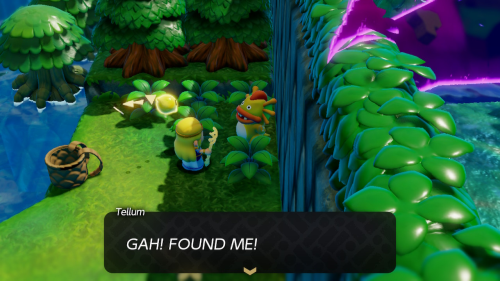
If you enter Chief Dradd's place you'll find he's not there. If you ask around the village, they'll point you in the direction of Tellum, who can be found hiding along a wall to the east of the village. He suggests that the two chiefs are meeting at a cave in Zora Cove. Warp back to the Sea Zora Village waypoint to get close.
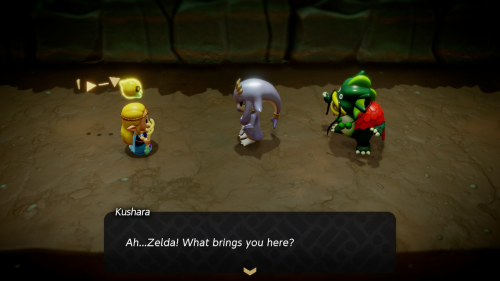
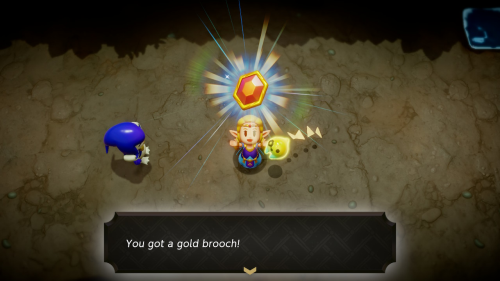
Swim northeast to the cave in Zora Cove. Head inside to confront the chiefs. As it turns out, they were just meeting to discuss a way to properly thank their two assistants. Seems a little fishy, but it resolves things for now. You'll get the gold brooch equipment as a reward and the "Secret Chief Talks" side quest will be complete.
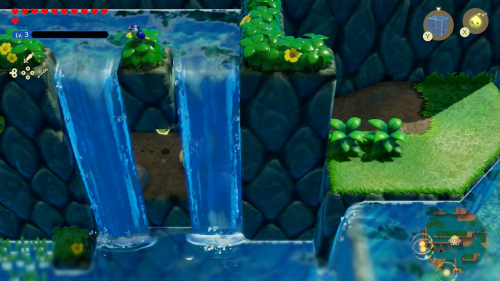
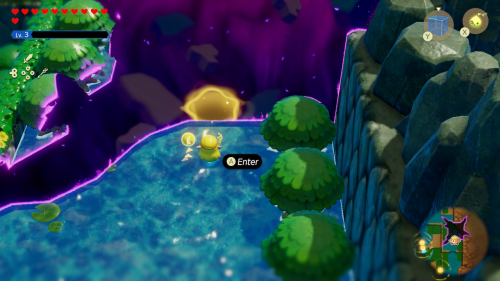
With the side quests in the area complete, the only thing to do is mend the minor rift in the northeast corner of Zora River. You'll see it on your map, warp to the River Zora Village and head east to reach it. Have Tri create an entrance and enter the Stilled Eastern Zora River rift.
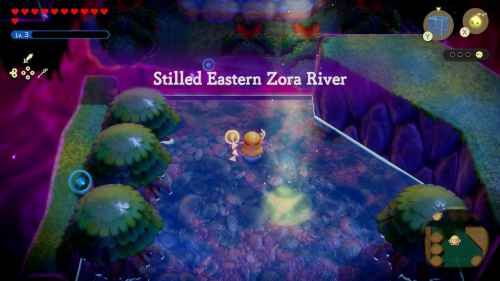
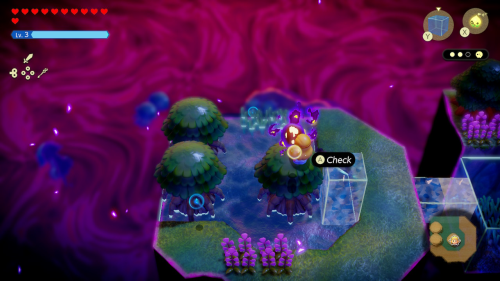
You'll need to find three groups of Tri's friends to mend this rift. Head forward and enter the vertical pool of water and defeat the enemies. Create a water block bridge to the left and follow the platforms here. You'll soon see the first group of Tri's friends waiting to be rescued on a tree.
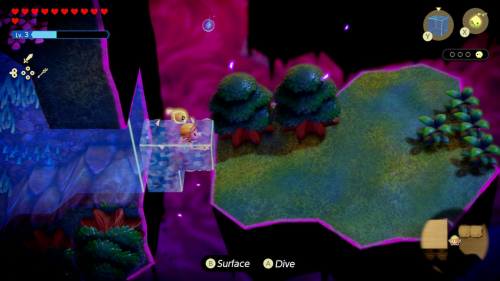
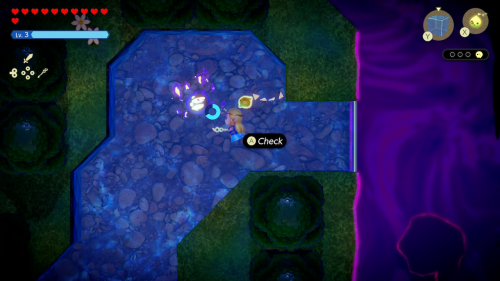
Head back to the main wall of water and then create a water block bridge to the right and follow that path until you reach a cave entrance with a ladder down to a sublevel. Head down and then swim through the large vertical wall on the left and reach the top to find the second group of Tri's friends.
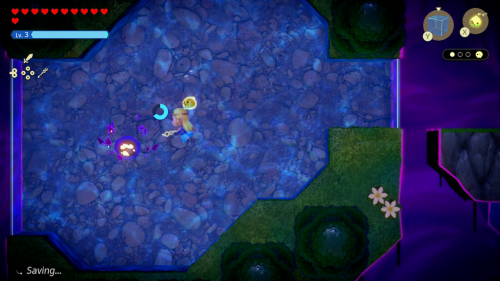
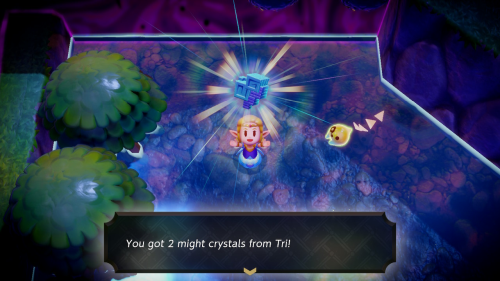
Now head back to the center of this sublevel and head to the right instead. Getting to the right pool of water is a little tricky. You'll need to build a water tower to get on top of the platform with the angled tree. Then jump off to the right and hold right to land in the pool of water. In here there are a couple shadow Bombfish to defeat. One of them will reveal the final group of Tri's friends when it is defeated. The rift here will be mended, and you will get 2 Might Crystals as a reward.
Gerudo Desert
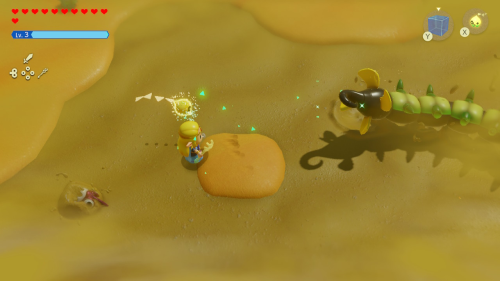
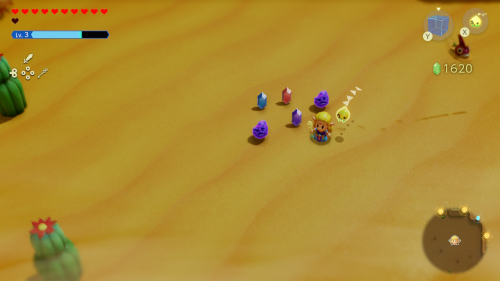
There are several optional things that can now be taken care of in the Gerudo Desert region. Warp to the Oasis and begin heading east. You'll notice there is now a sandstorm in this area. That's because there is another Lanmola that you can defeat to clear the sandstorm. Once you do, it will drop many rupees and a few monster stones.
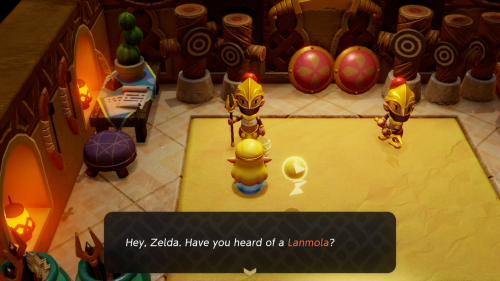
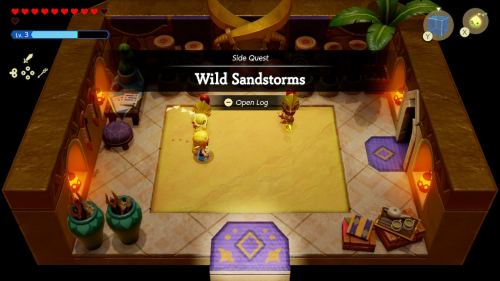
Warp over to Gerudo Town and head for the palace. Visit the palace and speak to one of the warriors in the barracks to the left. Besides the two that you've now defeated, there is a third Lanmola that these warriors want to take out. This will start the "Wild Sandstorms" side quest.
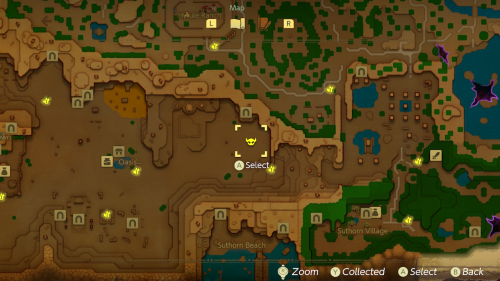
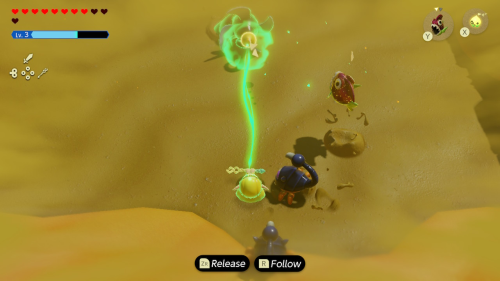
Make sure you have full energy and bring a couple energy restoring potions along, as this version of Lanmola is quite a bit stronger than the others. This new Lanmola is quite near the one we just defeated. Warp over to the waypoint between Gerudo Desert and the canyon to the east. Head northwest from here to find this third Lanmola.
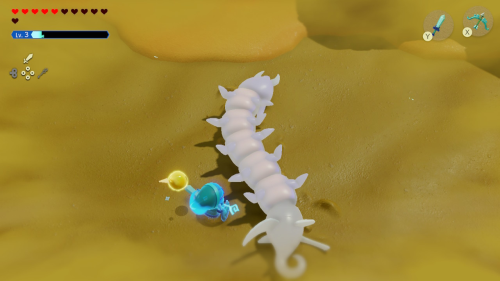
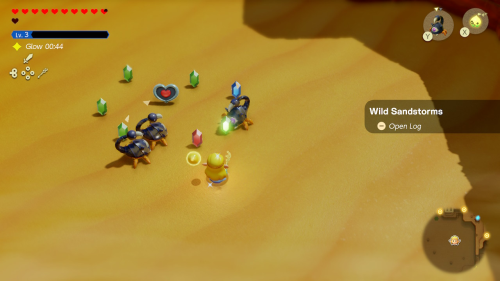
The process for defeating this purple Lanmola is the same, though it has more health and stronger attacks. You'll want to bind to it's tail to pull it out of the ground and then attack when it is exposed. The many Aruroda that will spawn love to interrupt you while you're trying to do this. You can spawn some Aruroda of your own to try to fend them off and get some extra hits in on Lanmola. Once it's defeated it will drop many rupees and Piece of Heart #18.
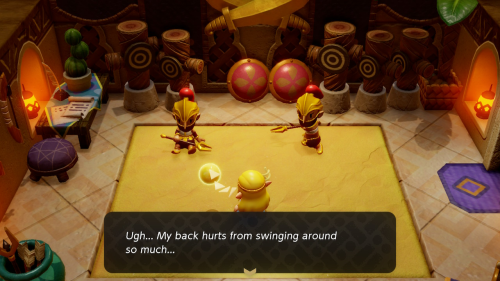
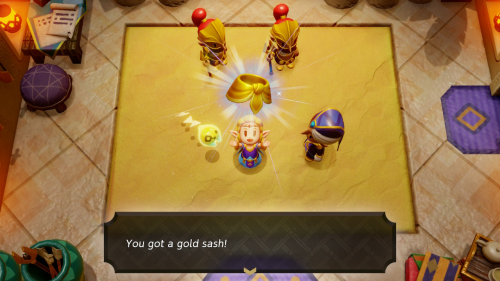
Warp back to Gerudo Town and report your victory to the warriors in the barracks. They are dissapointed you beat them to it, but Lady Facette will thank you and reward you with a gold sash. This piece of equipment completely protects you from being blown around by wind. This also completes the "Wild Sandstorms" side quest.
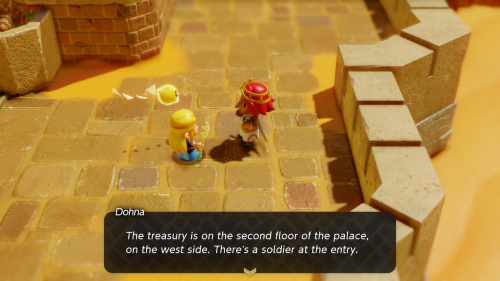
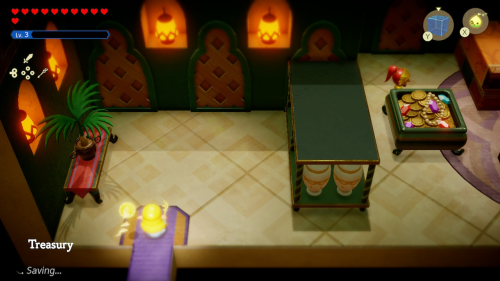
To the east of the palace in Gerudo Town, you can speak to Dohna. She challenges you to steal from the treasury to test her security as part of the "Dohna's Challenge" side quest. Head to the west entry on the second floor of the palace to find the treasury.
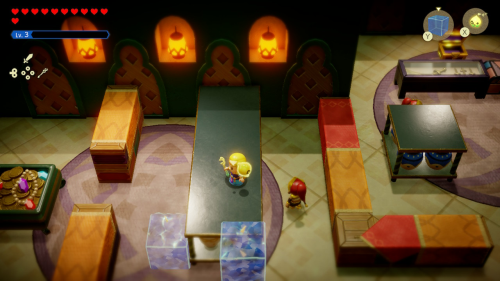
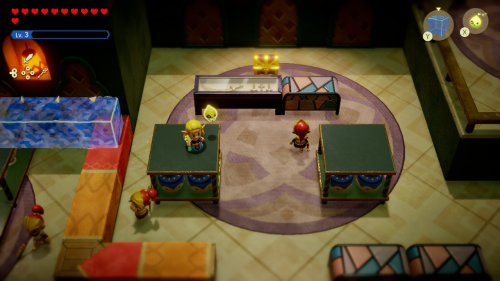
Once inside the treasury, you'll need to sneak past all of the guards roaming about. The easiest way to do this is to go above them. You can build water block towers and bridges to stay above them and avoid detection. You will need to stick to the taller platforms, as the guards are able to jump up on the smaller ones. Once you get to the middle of the room, you can throw a pot to the south and make a run for the chest to the north, which contains 10 pieces of chilly cactus.
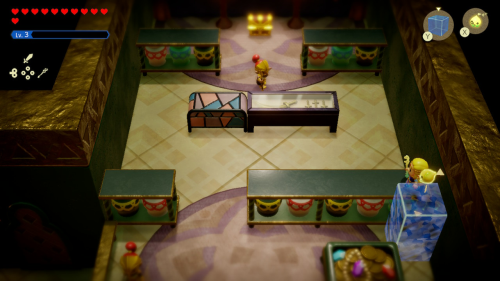
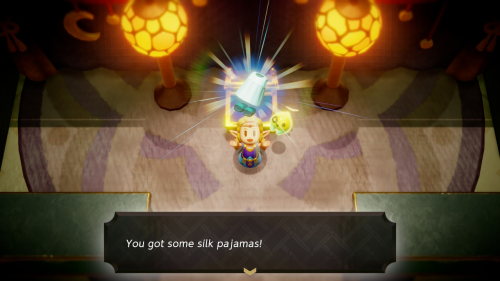
Quickly make your way back up to the tall platforms. You'll now need to reach the higher area to the right, building a water tower is easiest. Distract this first guard by throwing a pot and then get on the tall shelves in the middle. The final guard is looking both ways without moving. Throw a pot in the corner to get them off there post and make a run for the final chest. Inside you'll find a pair of silk pajamas. Afterward you'll be returned to Dohna and the "Dohna's Challenge" side quest will be complete.
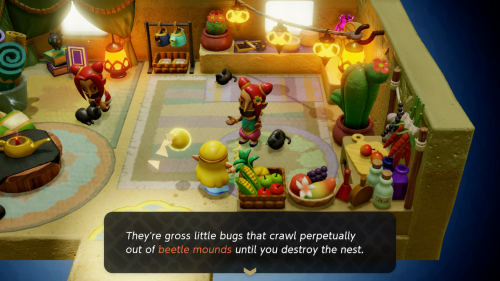
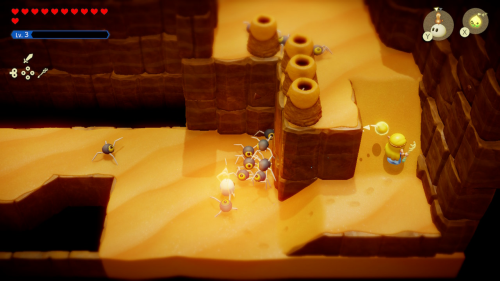
To the left of the shop in town you'll find one more Gerudo who needs help. She is afraid of Beetles, and wants your help clearing them out of a cave. This is the "Beetle Ballyhoo" side quest. Warp to the northernmost waypoint in the desert and enter the cave to the east.
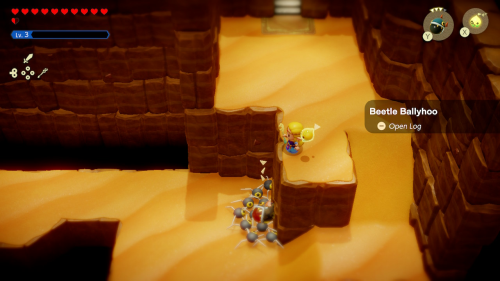
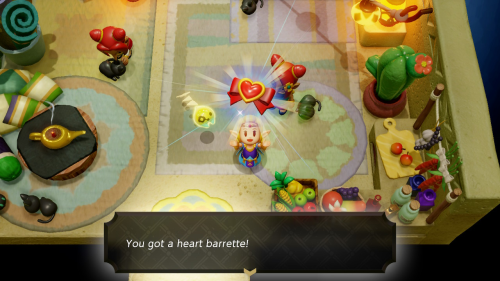
You likely already went though this cave and defeated the Beetles inside, but you'll need to do it again for this quest. Defeat all the Beetles and destroy their mounds. The easiest way is to explode them with a Bombfish. You can then return to Gerudo Town and report back. You'll get the heart barrette equipment as a reward and the side quest will be complete.
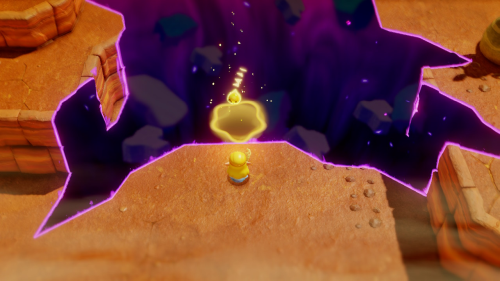
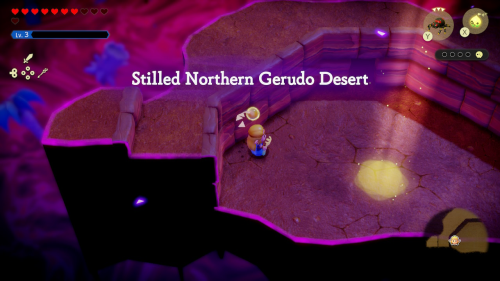
The final thing to do in Gerudo Desert is check out the minor rift in the far northwest corner. Climb up on the cliffs to reach it and then have Tri create an entrance. This is the Stilled Northern Gerudo Desert rift, where you'll need to find 4 groups of Tri's friends.
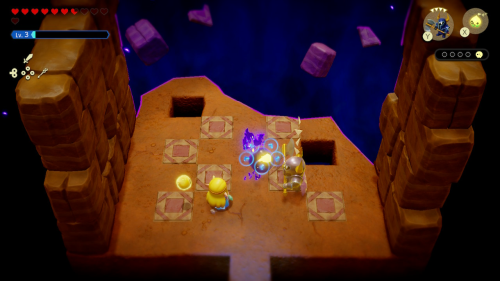
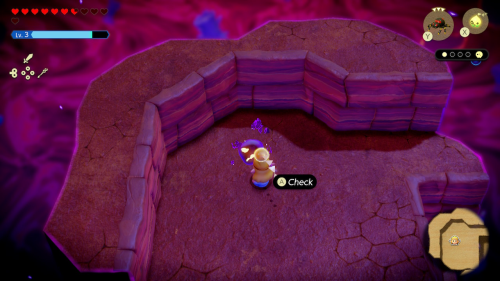
Begin by heading straight into the cave ahead. Inside you can defeat a Shadow ReDead to free the first group of Tri's friends. Then you can exit the cave and head to the left. Use a flying tile echo to reach the area to the left. Climb to the higher cliffs and defeat the enemies up here to free another group of Tri's friends.
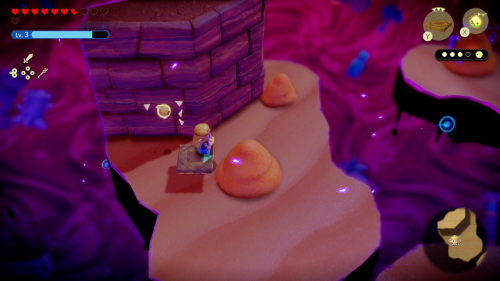
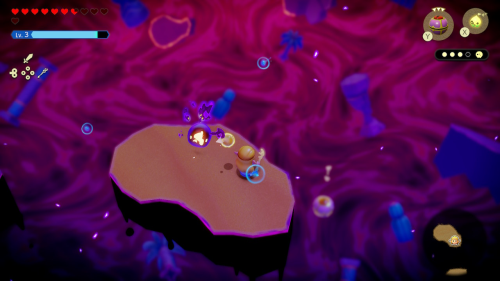
From here drop down and use a flying tile echo to get to the platform on the right. Place a Platboom and ride it up to the platform above to find the third group of Tri's friends. Continue to the right with another flying tile and you'll see the final group of Tri's friends under a pile of sand. Use a Gustmaster to blow the sand away to free them.
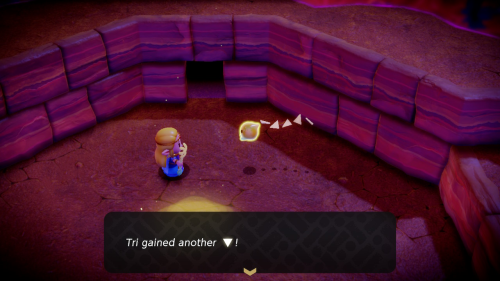
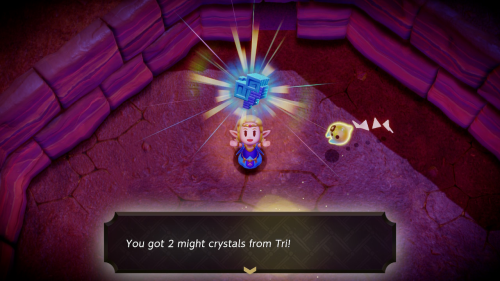
Now that all four groups of his friends have been rescued, Tri can mend this rift. He will gain some experience and level up to Lv. 6 if you've been following along. You'll also get 2 Might Crystals. That's all that can be done in Gerudo Desert for now.
Suthorn Forest
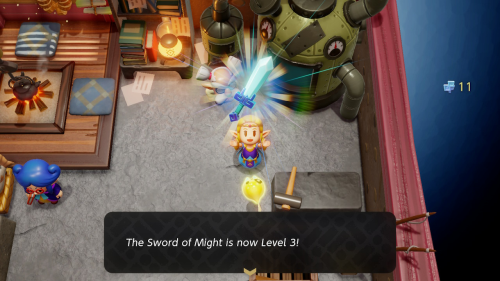
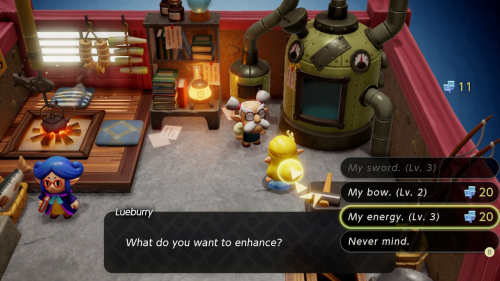
Start by paying your old friend Lueburry a visit and you can enhance your weapons and energy. Each upgrade is a rather steep 20 Might Crystals, so you'll only be able to do two for now. Sword and Energy upgrades are probably the most useful. These are the final upgrades in the game, so whenever you get 20 Might Crystals you can return and do another.
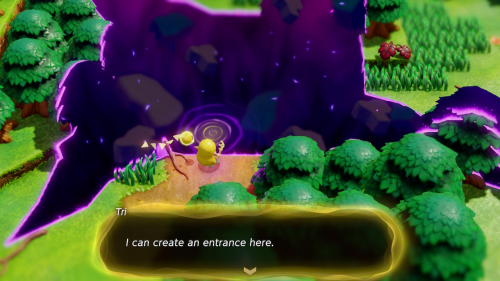
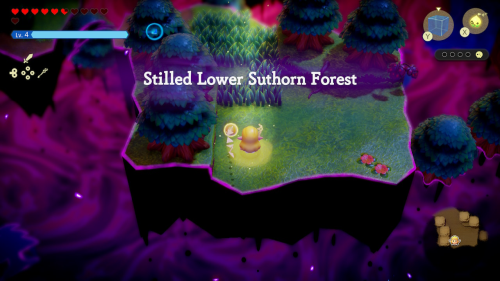
From here you'll want to head southeast to check out the minor rift in the area. You'll need to approach it from the bottom, where you can create an entrance. This is the Stilled Lower Suthorn Forest rift. You'll need to find four groups of Tri's friends here to mend it.
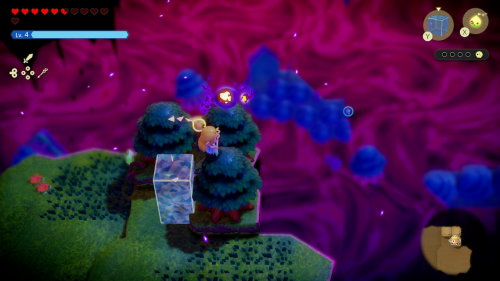
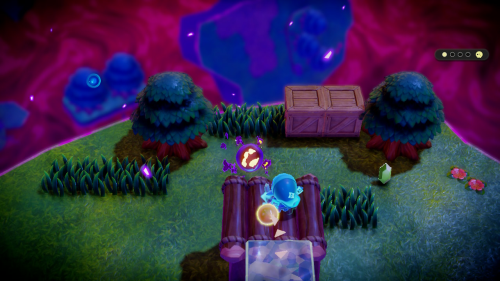
Start by heading to the right. You can defeat the shadow enemies here and then find the first group of Tri's friends on top of a tree. Head back to the left and keep following the left most path. You'll find a Moblin camp here. The one shadow moblin must be defeated to free another group of Tri's friends.
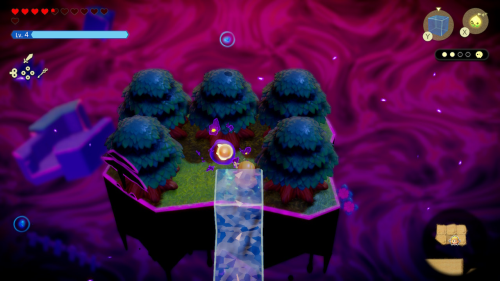
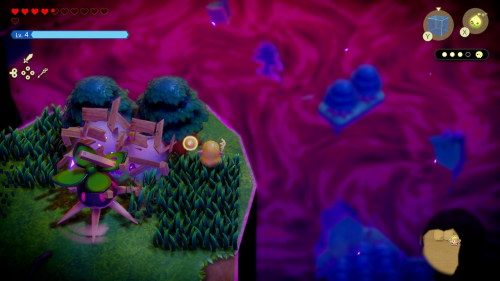
Head back to the right and then go north as soon as you are able to. Use water block towers to climb the vertical wall of trees and then climb to the highest point on top. From here you can use a water block bridge to reach a small platform where you'll find the third group of Tri's friends.
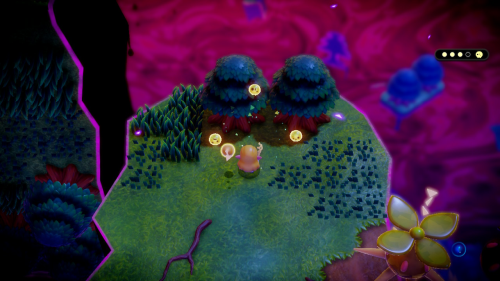
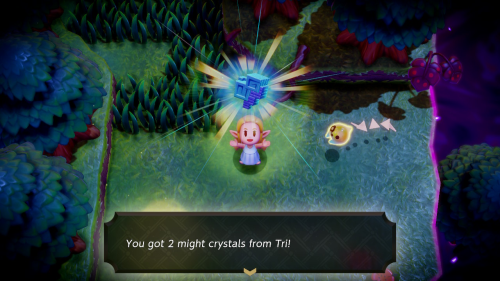
From up here jump down to the right and you can brake the wooden crates next to the shadow Peahat to find the final group of Tri's friends. Doing so will mend the rift and increase Tri's power. You'll also get 2 Might Crystals as a reward.
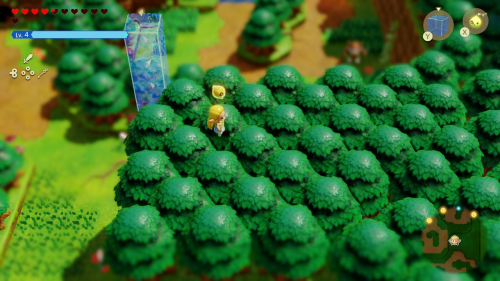
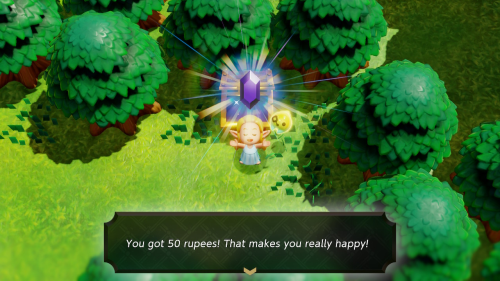
With the rift cleared, you'll want to head to the southern part of Suthorn Forest, which may still be hidden on your map. You can use a water block tower to get on the trees. On the east side of this area you can find a treasure chest that contains 50 rupees. Head all the way to the east wall and use a Crawltula to get on the much higher area to the east.
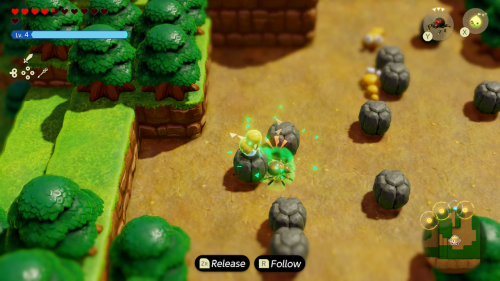
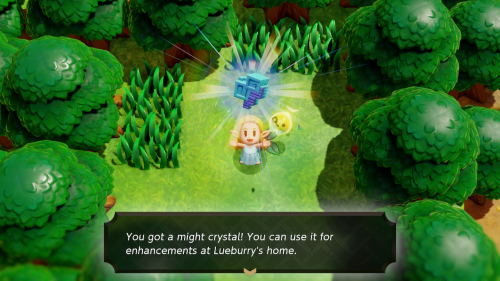
You'll find some new enemies crawling around up here. Make sure to defeat one and learn the Mini-Moldorm echo. In the northwest corner you might notice a higher cliff with a small break in the trees. Build a water block tower to get up here. You'll see a single clump of grass that you can destroy to find 1 Might Crystal.
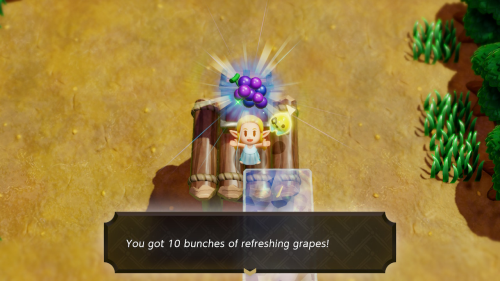
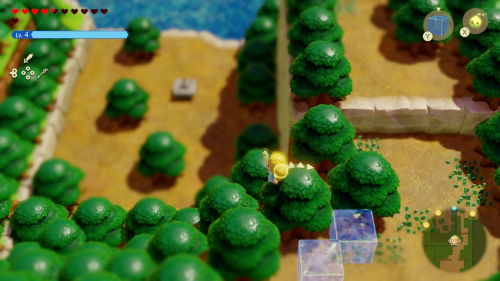
Keep heading north and you'll find a Moblin camp. Clear out all the enemies here and open the chest to get 10 bunches of refreshing grapes. Keep heading north and the path will split into two directions. The Faron Wetlands are to the east, so we'll hold off on those for now. Instead hop down to the left to connect back to Lake Hylia.
Lake Hylia
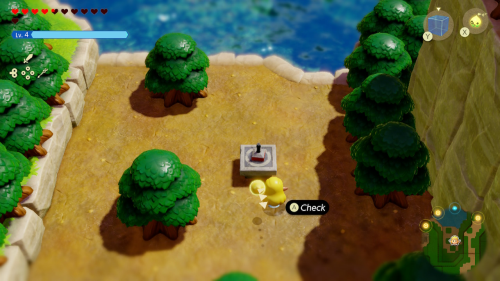
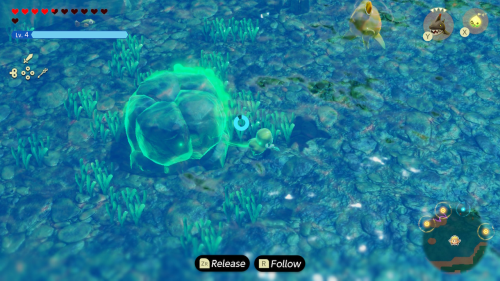
On the little alcove to the south of Lake Hylia you'll find Stamp Stand #11. You'll then want to start swimming west in the lake until you see a large boulder under water. Dive down and bind to this boulder and then swim back up to move it out of the way. Underneath you will find 1 Might Crystal.
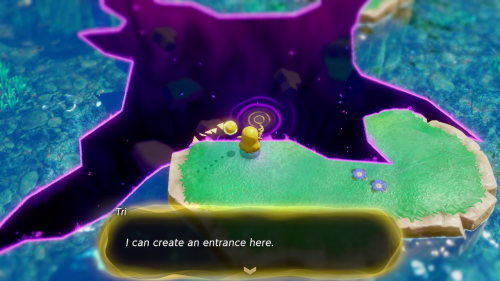
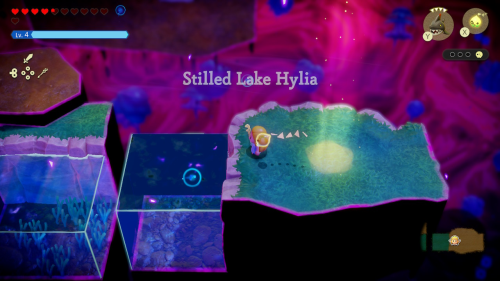
Just to the north of this you'll find another minor rift. Have Tri create an entrance and enter the "Stilled Lake Hylia" rift. You'll need to find three groups of Tri's friends to mend this rift.
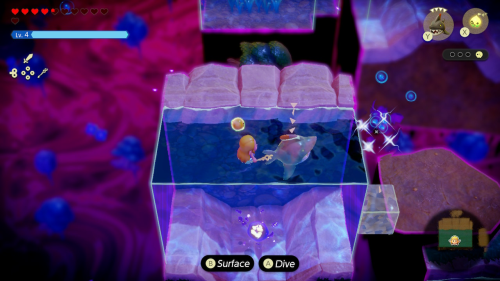
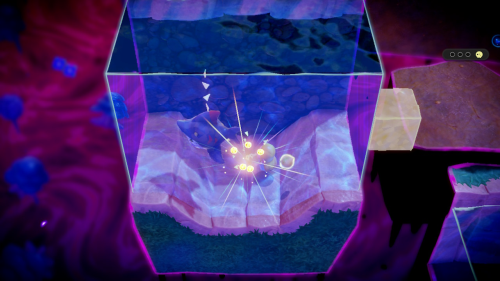
Follow the path straight ahead to find the first group of Tri's friends in a pool of water. The shadow Tanglers might give you trouble since they can destroy any water blocks you place. You can shoot them with your bow to clear a safe path.
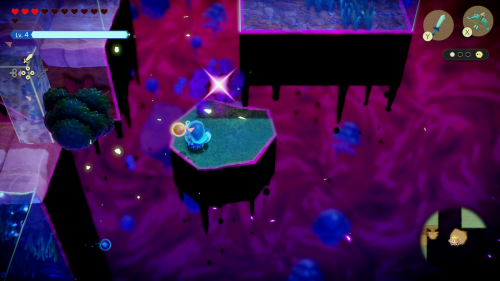
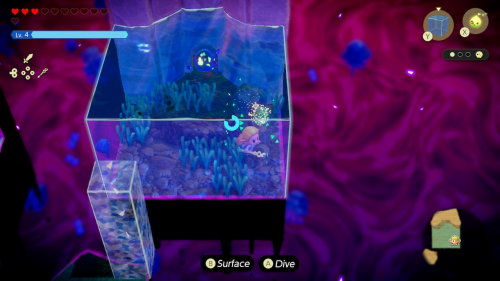
Above this pool of water the path splits in two directions. Head to the right first and follow the platforms up and to the right. There is a shadow spear Moblin that will throw a spear to break any water blocks you place. You'll want to defeat it first before building a tower up. You'll find a rock on the highest platform that you can move with bind to reveal the second group of Tri's friends.
Head back to the center and head left into the large pool of water. It may seem like there's nothing here, but you can keep swimming in a tunnel to the left. Here you'll find a rock that you can move with bind to reveal the final group of Tri's friends. Tri will then mend the rift in the area and reward you with 2 Might Crystals.
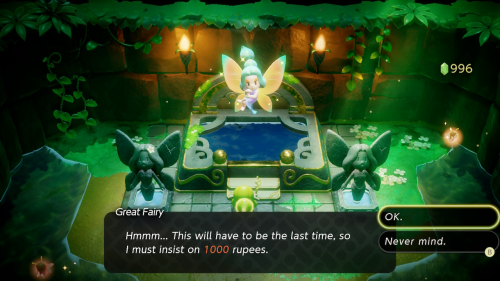
Before leaving the area we can also pay a visit to the Great Fairy Shrine. Here you can speak to the Great Fairy and purchase more accessory slots. The first upgrade is 300 rupees, the second is 500 rupees, and the final is 1000 rupees. Feel free to fully upgrade if you have the rupees to spare. Make sure to actually equip as many accessories as you have slots for! You can also fill up your fairy bottles while you are here.
Hyrule Field
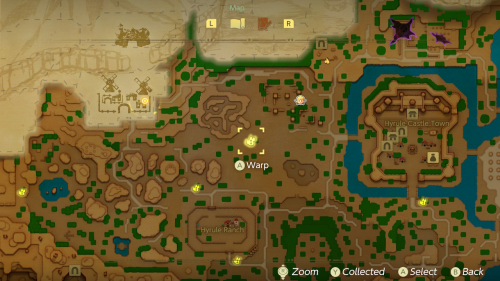
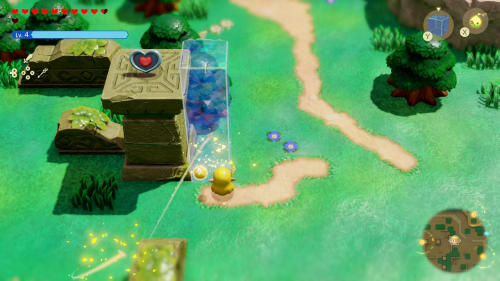
There's one more minor rift to take care of for now. Warp to the waypoint that is northeast of Hyrule Ranch in Hyrule Field. Continue northeast to the ruins area and you'll see a heart piece on a pillar. Use a water block tower to reach it and collect Piece of Heart #19.
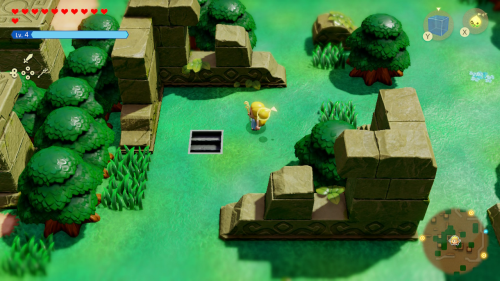
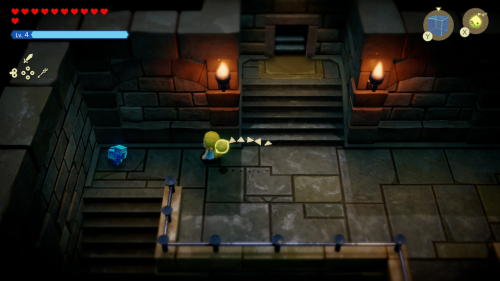
On the southeast side of the ruins you'll notice a staircase you can take down below the ground. To the left here you'll find 1 Might Crystal. Now continue to the northeast in Hyrule Field to reach the final minor rift. There is a Business Scrub shop you can stop by on the way if you'd like.
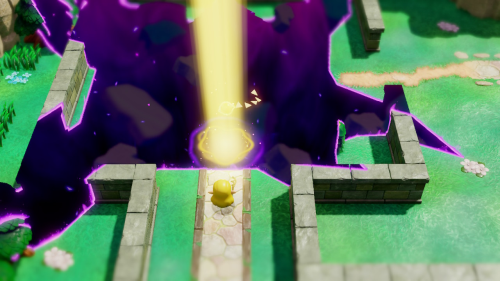
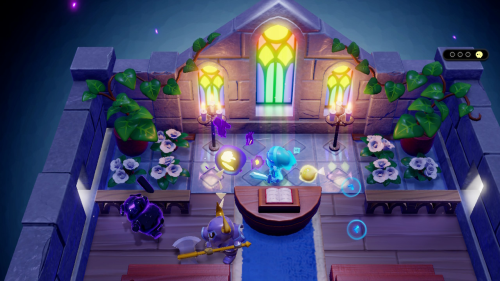
Have Tri create an entrance to the Stilled Northern Sanctuary minor rift. You'll need to find three groups of Tri's friends inside. Start by heading into the sanctuary building and defeating the enemies inside. One of them will drop the first group of Tri's friends. You can then exit the sanctuary.
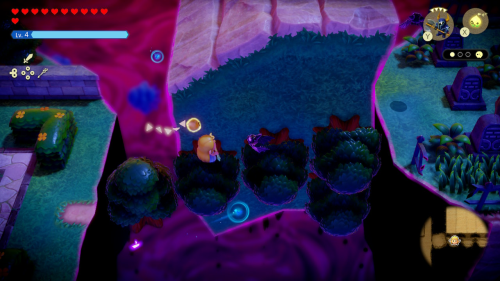
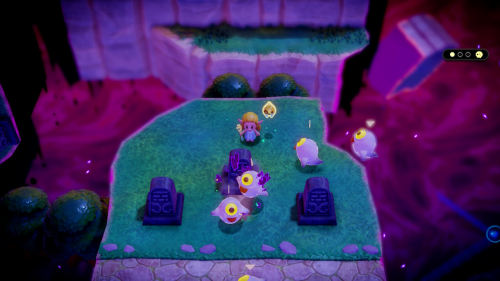
Begin heading right, using the trees as platforms. You'll come across some new ghost enemies that you can defeat in swordfighter form. Make sure to learn the Ghini echo. Head to the south platform and defeat the Ghinis here. You can then bind to the glowing gravestone and pull it backwards to reveal the second group of Tri's friends.
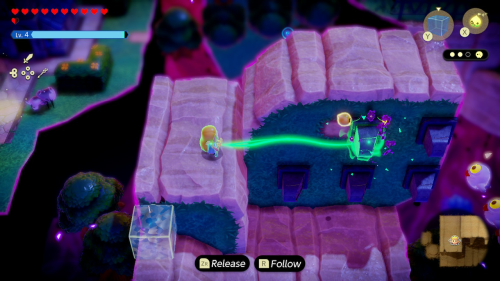
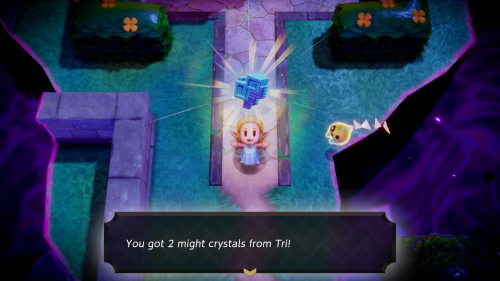
Continue to the left platform and use a water block tower to get on the higher left side. Bind to the glowing gravestone and pull it back to the left this time. You can then reach the final group of Tri's friends with a water block tower. Collecting them will mend the rift and Tri will give you 2 Might Crystals.
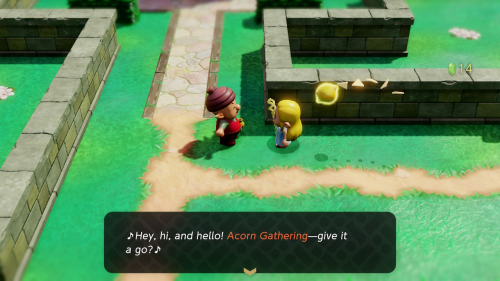
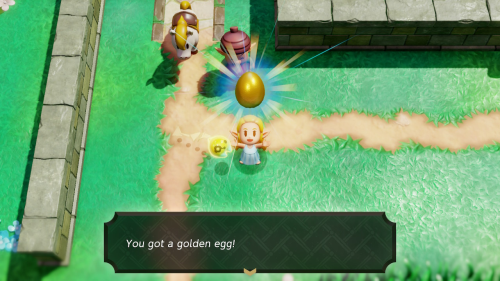
Now that the rift is cleared, you can enter the Sanctuary if you'd like. There is nothing of much importance, but the priest will tell you some information about various rumors he's heard. You'll also notice that the Acorn Guy is here. Speak to him to try another acorn gathering game. If you can collect all the Acorns around the Sanctuary in under 40 seconds, you'll get 20 rupees. If you manage it in under 25 seconds, you'll get a Golden Egg.
With all the minor rifts cleared and a ton of collectibles picked up along the way, we are now ready to continue with the main story and head towards the next major rift. You can choose to clear these rifts in any order, but we'll be starting with Eldin Volcano in the northwest first.
Back to Hyrule Castle Dungeon Continue to Eldin Volcano