
Part 15: Null's Body
Final Collectibles

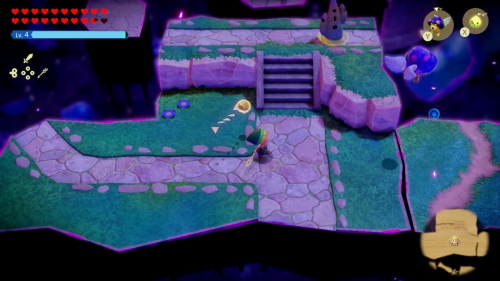
With all of the dungeons complete and rifts cleared, there are only a few collectibles left to gather before finishing the main story. A few things can be found at the Slumber Dojo in Kakariko Village. Fly on over there to finish off any remaining trials that you haven't already.
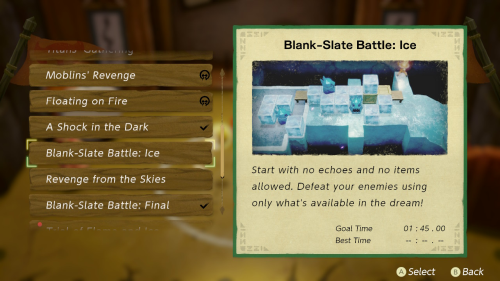
There should be 14 total trials available at the Slumber Dojo, with over half of those already complete if you've been following along. After completing 11 of the trials, you will receive Piece of Heart #39 as a reward.

For completing all 14 trials, you will get the Final Mastery equipment as a reward. This accessory greatly reduces the amount of energy used while in swordfighter form. You will also unlock the 15th and final trial: "The Final Titans' Gathering". This is a boss rush of every dungeon boss in the game. After completing it you will get the Green Tunic outfit, allowing you to look just like Link!
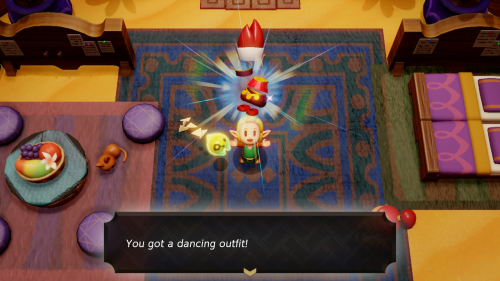
There is one more outfit and heart piece that we skipped earlier if you're interested. Return to the Oasis in Gerudo Desert to play the hardest version of the Mango Rush minigame with the ultimate seeds. The reason we skipped this before is because it's made much easier with the frog suit outfit, allowing you to jump up on the platforms without spawning any echoes.
Clearing the ultimate seeds challenge by collecting at least 60 seeds will get you the Dancing Outfit. This outfit increases the area of your spin attack, so you should wear it for the final challenge. You'll now need to get a perfect 70/70 score on the ultimate seeds challenge.
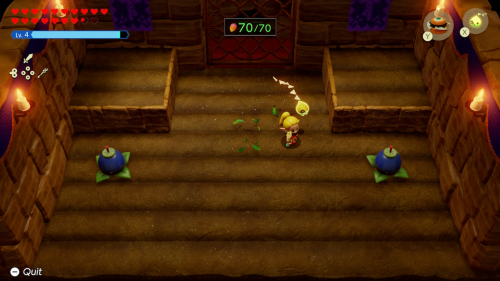
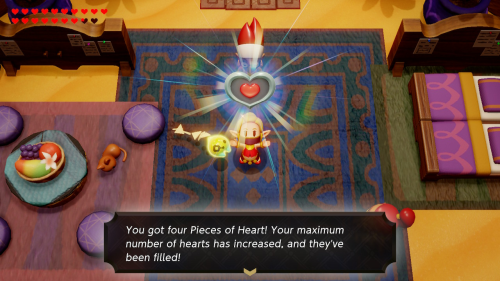
If you are having trouble you can try using some echoes like the Pathblade to clear out some mangos from a distance. But you may find echoes just get in the way and the easiest way to get a perfect score on the course is to learn the pattern and be ready. Once you do you'll be rewarded with Piece of Heart #40. If you've been following along this means you've collected every heart piece in the game and should have 20 heart containers.
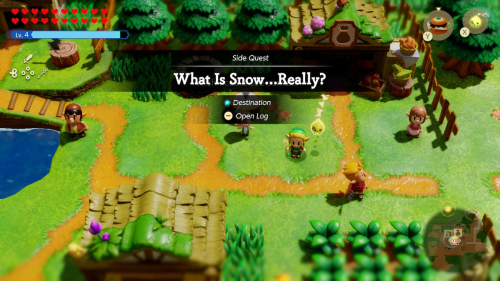
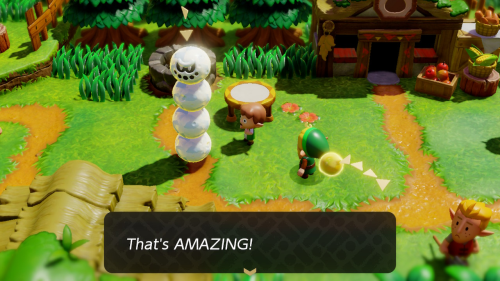
There is also one more side quest to wrap up if you'd like to complete all of those. Head over to Suthorn Village and speak to the kid next to the trampoline. This starts the "What is Snow... Really?" side quest. To complete it, simply show him a snow echo like the Snomaul or Snowball. You'll get 8 jars of floral nectar as a reward.
Eternal Forest
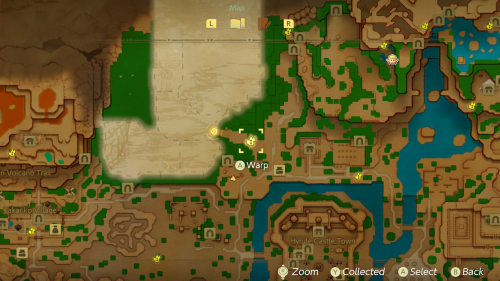
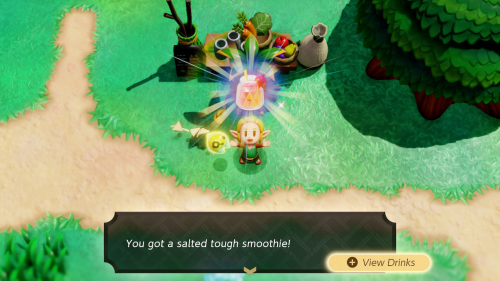
With all the optional collectibles and quests complete, it's now time to finish off the main story. Start by warping to the waypoint to the east of the Eternal Forest. There's a Smoothie Shop just to the southeast of here if you'd like to top off on Smoothies and use up some of the ingredients we've been gathering. Rock salt + tough mango is a great option for energy recovery and extra defense.
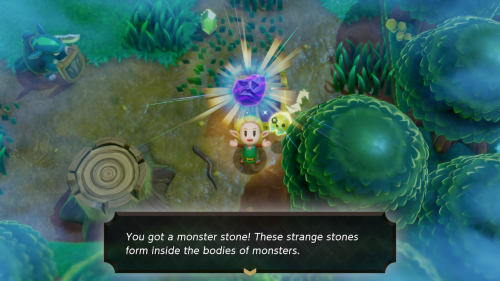
Enter the Eternal Forest and head south to find a chest containing a monster stone. Now follow the path to the north and keep heading northwest until you find a waypoint. You could now head north to find General Wright, but there is something else to find in these woods first.
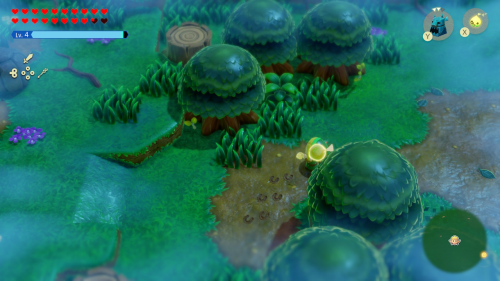
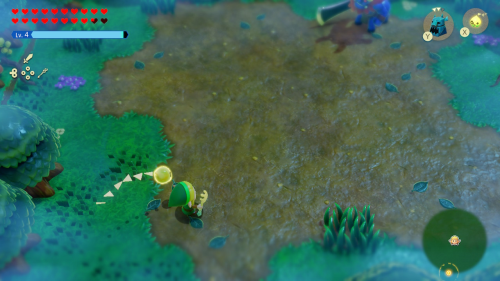
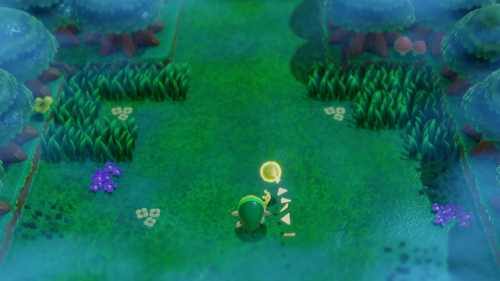
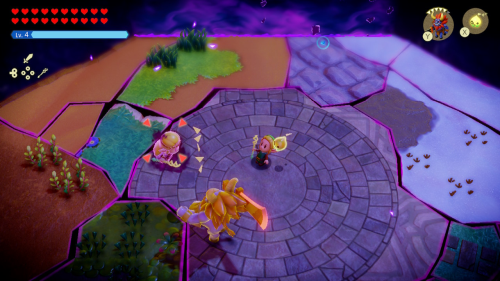
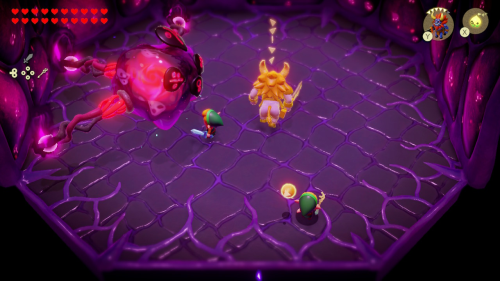
Head to the west and you'll see some hoofprints in the mud. You'll want to follow this set of tracks by heading in the direction the hoofs are facing each time you find a new set. They will lead you in a giant circle back to where you started to the clearing in the east. Here you'll find the strongest enemy in the game, the Lynel. Note that you can't just head straight to the clearing, you must follow the tracks to get the Lynel to appear.
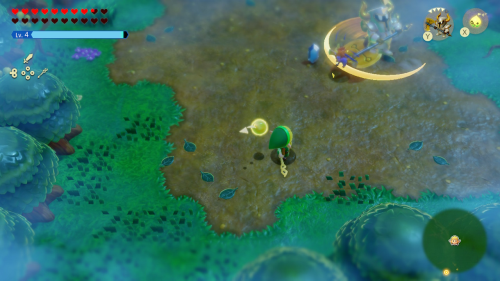
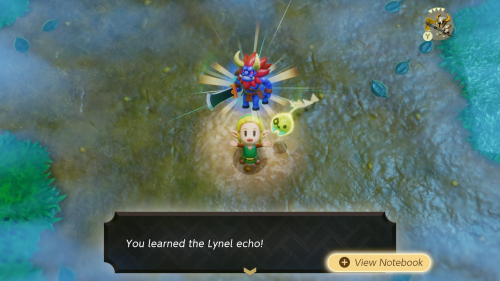
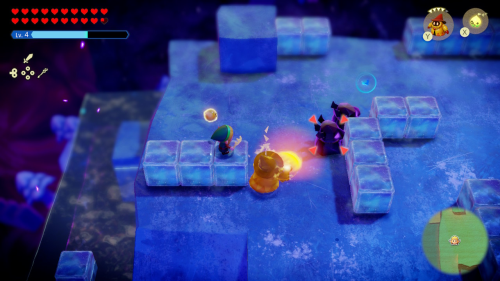
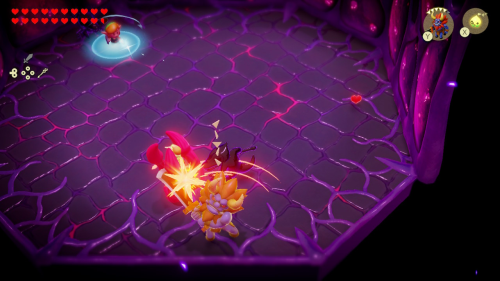
This Lynel is quite tough if you are trying to fight him straight on. His quick sword slash can deal over 4 hearts of damage depending on what you have equipped. The only echo that can put up a fight (take more than one hit) is a Darknut Lv. 3. Keep summoning one to defeat this creature and learn the Lynel echo.

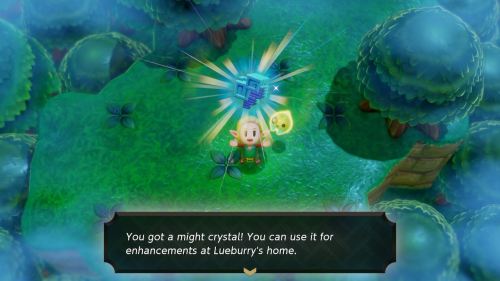
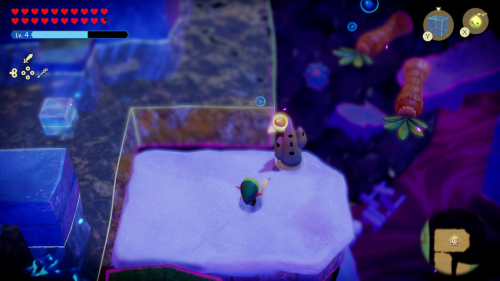
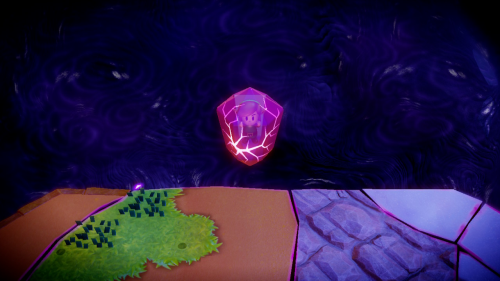
In the northwest corner of this clearing, build a water block tower to get on the trees. Head north a bit and you'll find a cliff with a suspicous circle of grass. Take out the clump in the middle to find 1 Might Crystal. This is the final Might Crystal in the game, so if you've been following along and have your weapons fully upgraded and have 25 Might Crystals, you should pay a visit to Lueberry.
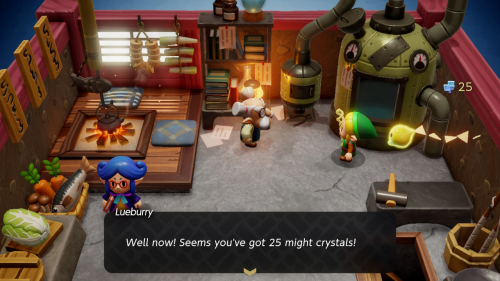
Check out the weapon upgrader at Lueberry's and hand over the rest of your crystals to have him make you something special. Outside of his house he'll create a machine that instantly fills up your energy gauge whenever you visit it. Unfortunately this isn't super useful at this stage in the game, especially since you can craft potions that do this as well. Oh well, congrats on collecting all the Might Crystals!
Six Pedestals
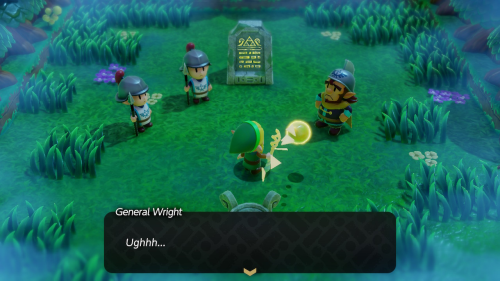
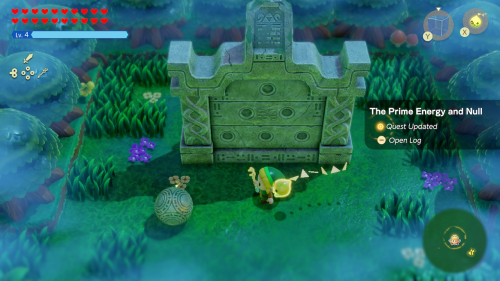
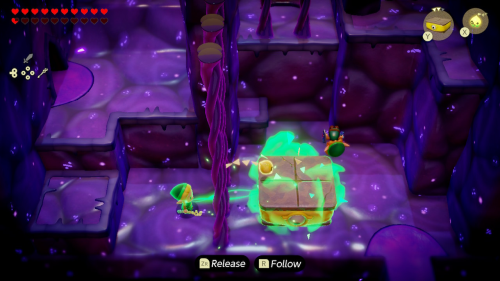
Now warp back to the northern waypoint in the Eternal Forest and check out the soldiers that are incapacitated on the ground. It turns out your echo did a number on them, but they get up and tell you to check out the pedestal. When you do, it will rise from the ground showing a map of six pedestals that you need to bring an orb to.
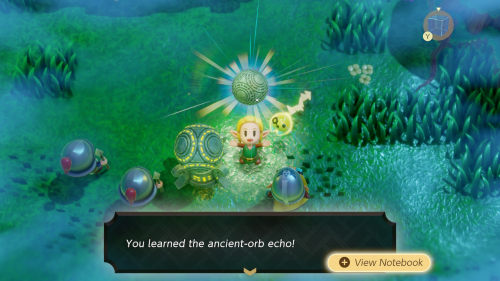
The first of these pedstals is right next to you, so place the orb that just spawned on it and you'll see it light up on the map. Afterward use it to learn the ancient-orb echo so that you can place one on the other pedestals.
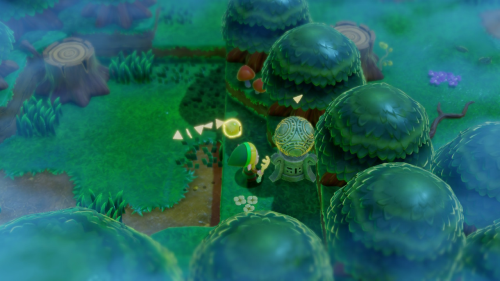

Head directly south from the waypoint here and you'll find the next pedestal in a little alcove next to a Caromadillo enemy. Now return to the entrance of the forest and head south to where we found the chest earlier. You'll find the third pedestal just to the east of this, so place another orb on it.
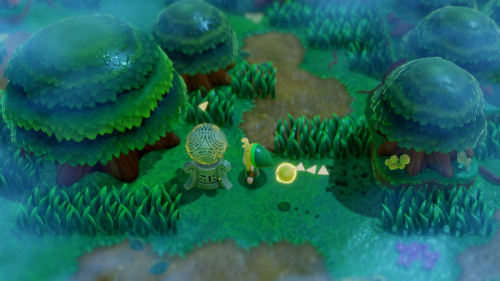

Continue to the west along the southern part of the forest and you'll find another pedestal next to the large tree. Keep heading directly to the west to find another pedestal in the corner near some enemies. Keep in mind that because you are summoning echoes of these orbs to place them, you can't use echoes on the enemies along the way without them disappearing. So make sure to fight any enemies in swordfighter form.
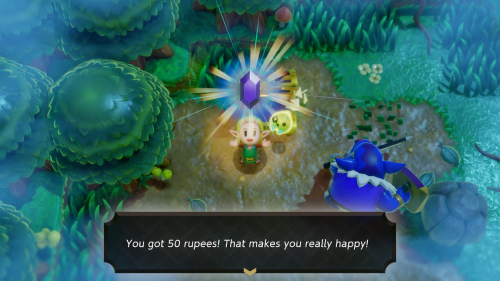
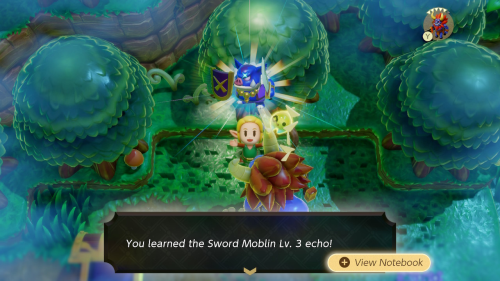
Head straight to the north and you'll find a chest guarded by a strong Sword Moblin. Defeat it to learn the Sword Moblin Lv. 3 echo. You can then open the chest to get 50 rupees.
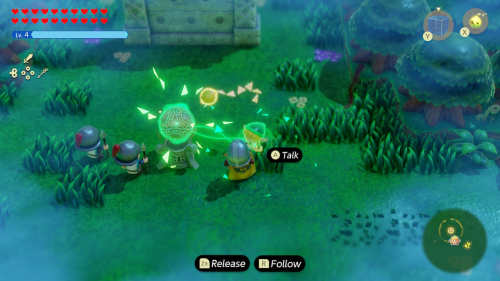
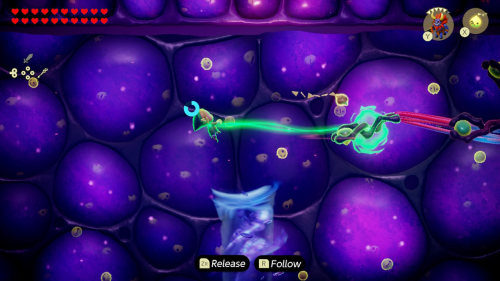
Head east from here and you'll find a little path through the trees with a Deku Baba enemy. Bind to this Deku Baba and pull backwards to defeat it and find that it was actually sitting on the final pedestal. With all six pedestals activated, you can now return to the map and a path will open up to the north.
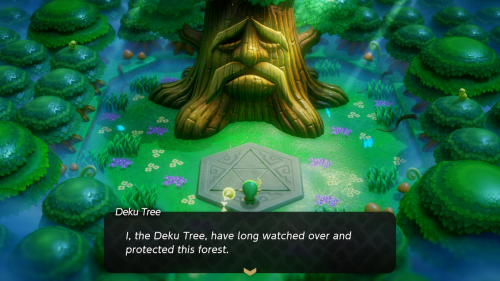
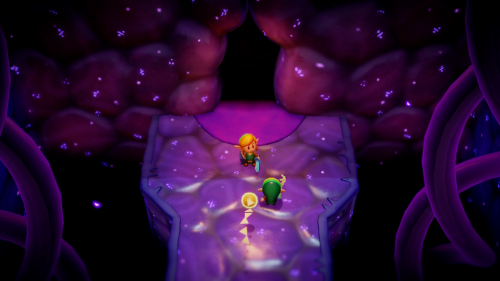
Follow the path north into the fog to find the Deku Tree. Fans of Ocarina of Time will find this particular look very familiar. He unfortunately was tricked by your echo, but he allows you to enter as well. Do so to find yourself in the Ancient Ruins.
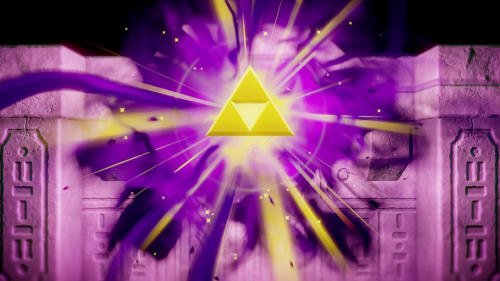
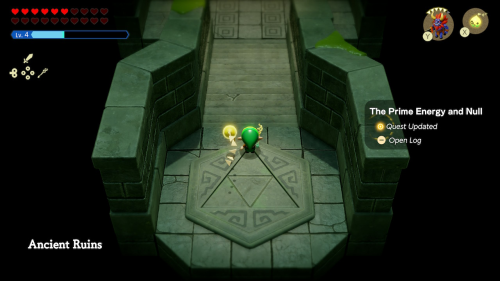
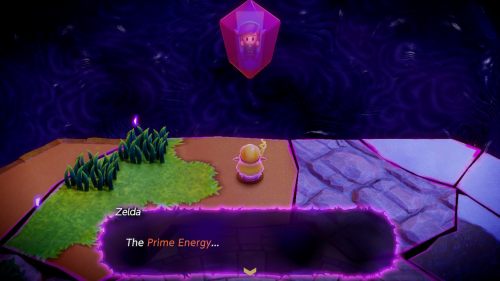
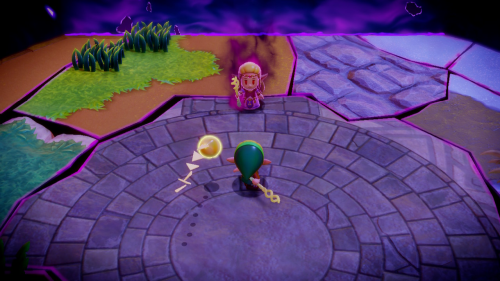
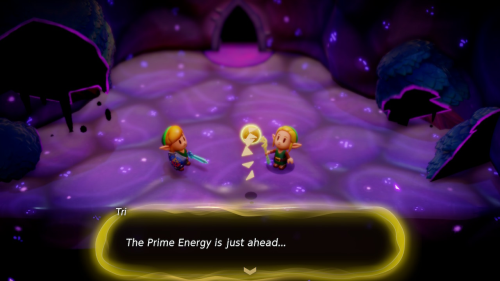
When you enter through the door you'll find your echo straight ahead. She is using the prime energy to harness the power of the Triforce. As she is doing so, the Triforce breaks into three, with each of you getting a piece. The third piece creates a portal that your echo enters through. Go ahead and follow her through the portal.
Stilled Ancient Ruins
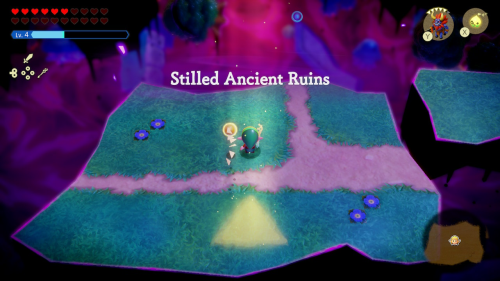
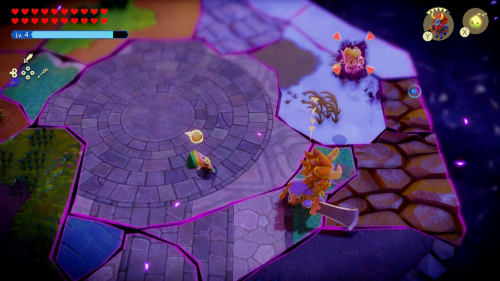
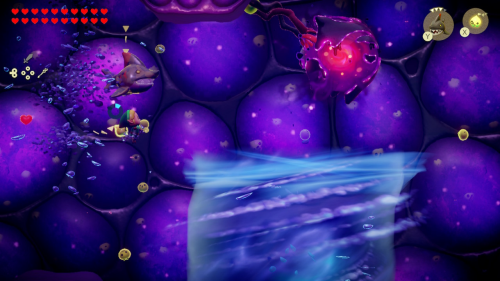
You'll find yourself in one final rift world: the Stilled Ancient Ruins. Your only goal here is to head north and reach the end of the area, and there are several branching paths that will get you there. In this guide we'll be sticking to the right side as much as possible, so start by heading north along that side past a couple of Peahats.
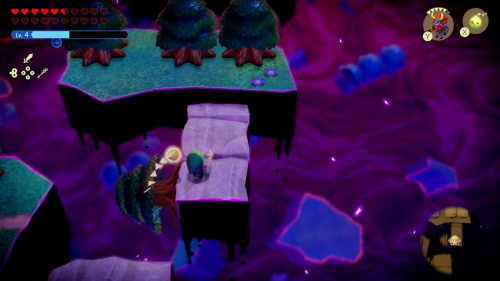
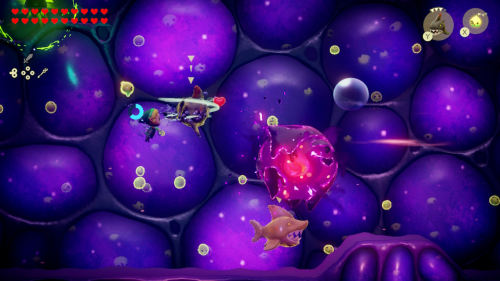
You'll probably want to defeat the Peahats so they get out of your way and then continue north into the pool of water by building a water bridge. Defeat the Tanglers in this pool with a Chompfin echo and continue building a water bridge to the next pool. Jump to the left and use some cloud platforms so that you can avoid the Biri in the water. You'll soon reach a platform with a waypoint.
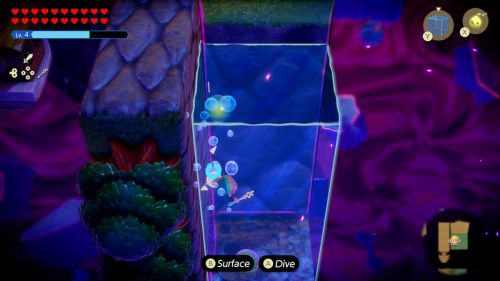
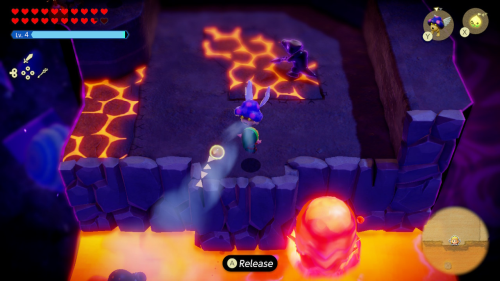
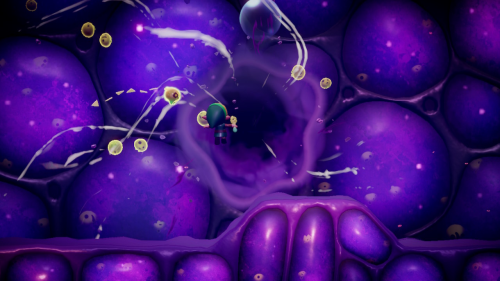
Now continue north to the large ice section and follow the path on the ice. You'll want to take out the Freezards here with a Fire Wizzrobe so they don't give you trouble. You can then build a water bridge to the platform to the right. Defeat the Buzz Blobs from a distance and then head south a bit in this grassy area so that you can build a bridge to the lava area to the right.
You'll want to use a Ghirro echo and the air vents to navigate this lava area and reach the top. Then take out the enemies up here and use another Ghirro to fly to the large platform to the northwest. Here you'll find a waypoint to activate. Make sure to heal up and refill your energy before heading north for a boss fight.
Boss - Zelda Echo
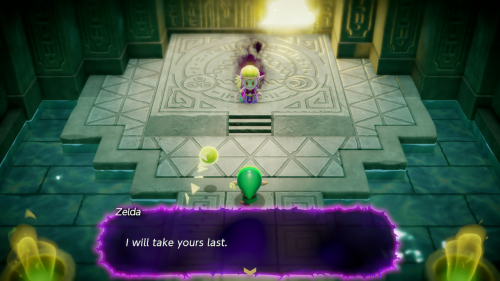
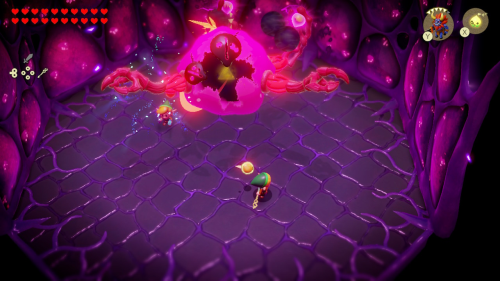
Head to the platform to the north and you'll find the Zelda echo and an imprisoned Link, who apparently got the last piece of the Triforce. Afterward she will create a wall so that you can't get to Link and then turn around to fight you.
In this fight, the Zelda Echo will float around and summon groups of echoes to distract you. These can be made quite trivial with a Lynel echo of your own. Have the Lynel take them out while you focus on shooting arrows at the Zelda Echo and getting in sword slashes when you can. Remember that you can target with "ZL" so you don't have to aim arrows manually. Once you do enough damage to her in the air, Zelda Echo will drop down and you can get a lot of sword slashes in.

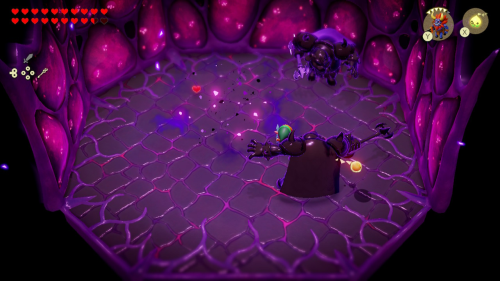
During phase two of this fight Zelda Echo will continue to float around but start to summon groups of stronger enemies with elemental attacks. Repeat the process of having a Lynel take out the groups of enemies and focus on dealing damage to the Zelda Echo with your arrows and sword slashes. She will once again drop to the ground letting you get a lot of damage in before the next phase.
During phase 3 the Zelda Echo will change color and begin summoning very strong enemies, including things like Darknut Lv. 3. Your Lynel won't be able to mow down groups of these as easily, so give it some support by throwing in some bombs. Keep hitting the Zelda Echo with arrows while you can and she will eventually fall to the ground again and you can finish her off with some sword slashes.
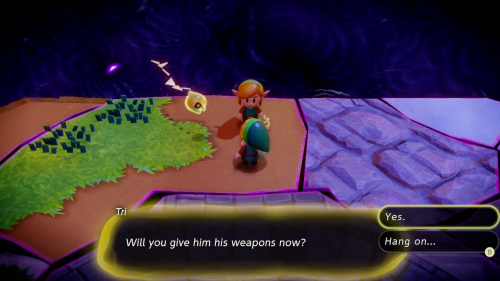
After the fight the Zelda Echo will retreat and you'll be free to save Link. You can do so by shooting an arrow at the crystal he is trapped, just as he did for you at the start of the game. Make sure you've collected anything that you'd like to at this point, because after handing Link back his weapons there will be no returning to Hyrule.
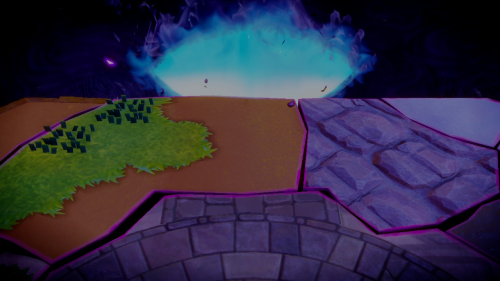
Link will use his weapons to create an opening to the final dungeon of the game: Null's Body. Since you handed back the weapons, you will no longer be able to use swordfighter form. You'll need to rely on the echoes that you've gathered for the rest of the game.
Null's Body
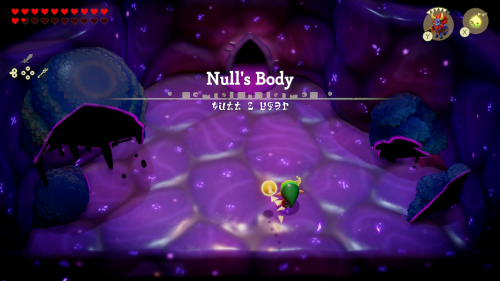
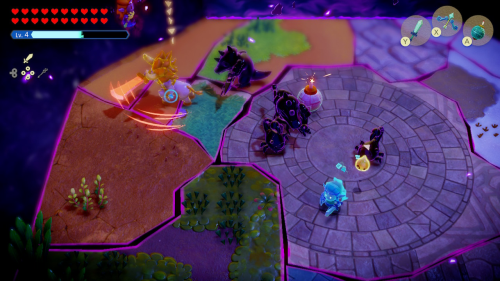
Link will guide you through this dungeon, leading the way and trying to protect you with his weapons. Just follow him and you'll soon reach a room where you're ambushed by monsters. Summon a Lynel to help Link defeat them. The final monster will be a Shadow Lynel, so just distract it with your own Lynel while Link shoots it from afar.
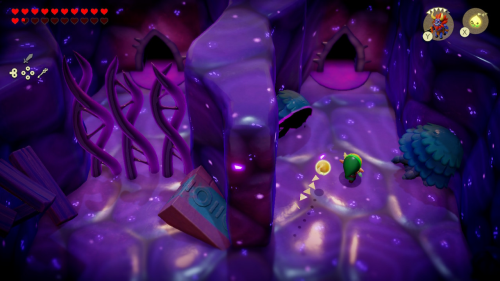
Keep following Link until you are forced to split up after being trapped on different sides of some shadow vines. He'll take the left path while you'll take the right. In the next room you'll need to stand on the edge and summon a Buzz Blob echo from a distance through the grate to break the orb on the pedestal and unlock the door ahead for both of you.


You'll be trapped with some more shadow monsters in the next room, so just use a Lynel to take them out. Continue ahead and take the stairs down to a sublevel. Bind to the first moving platform while on the ladder and follow it to the platform to the left. The next timing is a little tricky. You'll need to bind to the top platform and wait until you ride the bottom platform into the left corner before you start following the top platform to be pulled into the narrow path to the left.
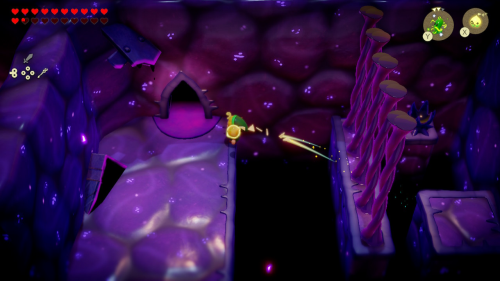
In the next section of the sublevel there are some air emitters that you can carefully time your jumps over. Or you can just summon a Ghirro and glide over these gaps with ease. When you get to the end you can build a water block tower to reach the ladder and exit the sublevel.
In the next room you'll need to help Link reach the higher area on his side by summoning a Platboom through the vines and moving it to the right corner for him. He'll then be able to reach the switch and let you both through to the next room. In this room you can meet back up and go through the large doorway.
Keep following Link down the large hallway and you'll soon reach the end of the road with only a pit to jump down into. Make sure to heal up and put on any accessories that you might want before jumping down into the pit for the final boss fight.
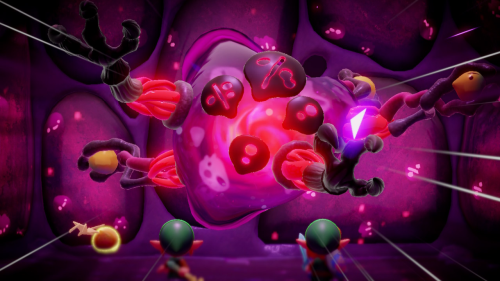
Final Boss: Null
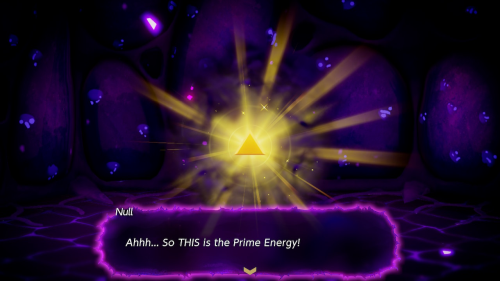
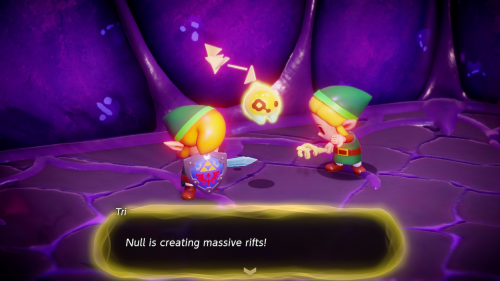
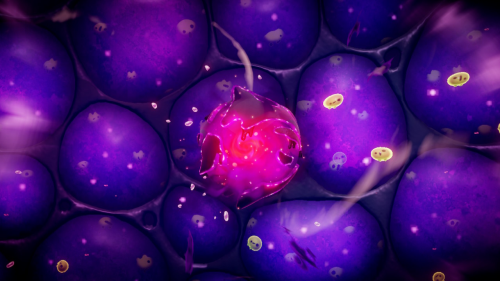
When you reach the bottom of the pit you'll come face to face with the entity who has caused all this chaos: Null. It ditches the Zelda Echo body and harnesses the power of the Prime Energy/Triforce to create a rift over all of the land once again. This power is not enough for Null however, and it wants to extract the rest of the Prime Energy from you and Link.
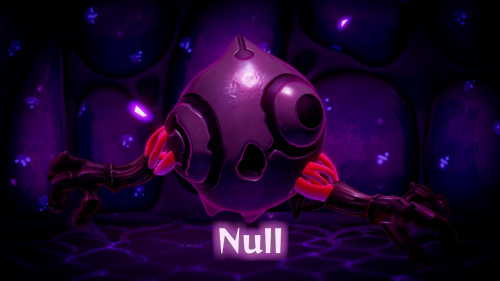
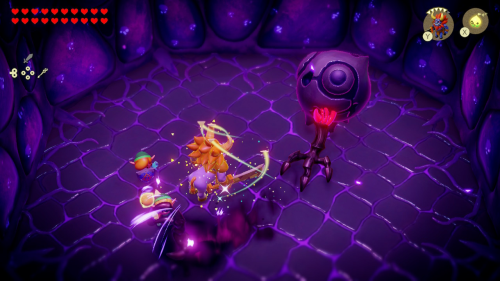
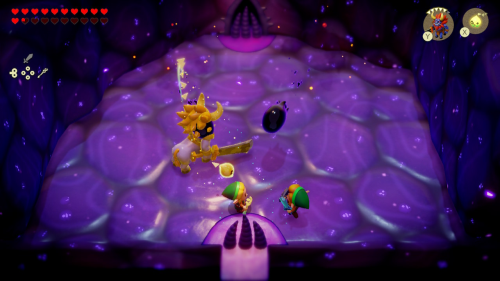
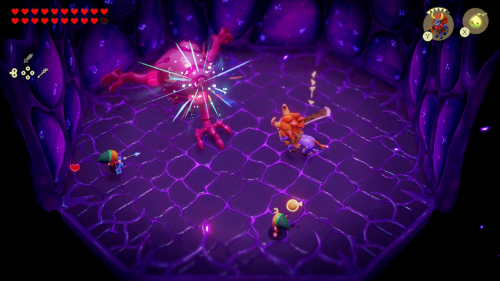
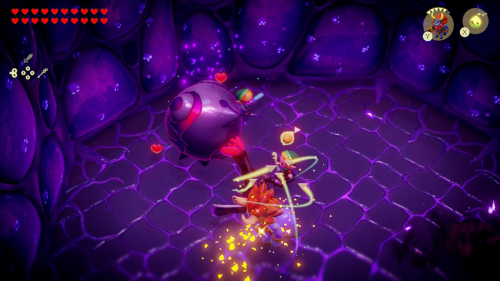
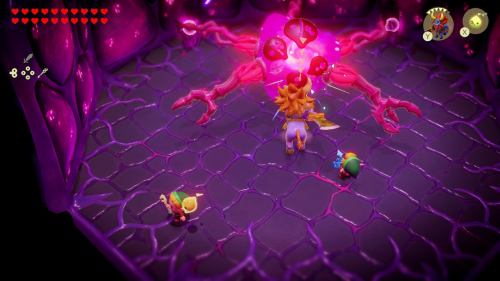
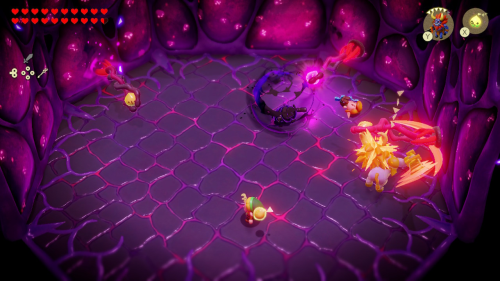
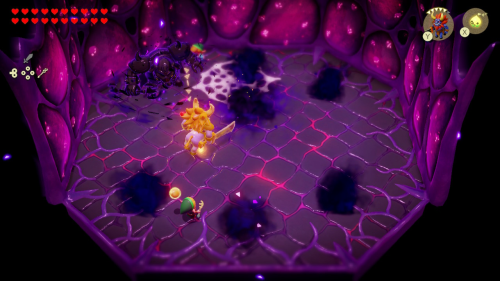
During this first phase Null will take the form of a large purple sphere with three arms. It will crawl around with its arms taking swipes at you and sending shock waves through the ground. You'll have to help Link take out each arm with a strong echo like a Lynel. Once all the arms are taken out, you and Link can attack the body directly.
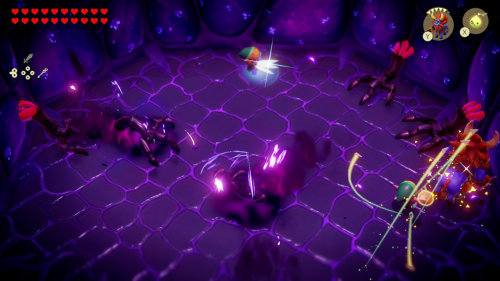
Null will now hide in the walls and poke all of its arms out from different areas in the arena. You'll want to keep sending a Lynel out to attack these arms and collect hearts while Link does most of the work. Once all the arms have been defeated, Null will reattach them and walk through the arena on its own again.
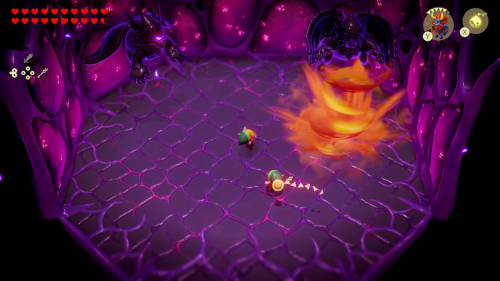
This process will repeat again, but this time Null can crawl around a little faster. Your strategy shouldn't change, since Link can still deal a lot of damage from afar with his arrows. Once taking it out in this form, Null will start using its arms to reach through the walls again. Repeat the process of attacking them again, this time watching out for the pools of acid that spawn near its arms.

Null will then start crawling around one more time, now summoning pools of acid as he crawls around. Keep using a Lynel to deal damage and once this cycle is over Null will then transition to phase two of this fight. Link will stay back to handle Null's arms while you will enter the portal to follow Null.
You will now be following null in an underwater sublevel, so you may want to adjust the accessories you have equipped. You'll need to follow Null to the right through the water. He now has tentacles that are wrapped around some of Tri's friends that you'll want to free.
Summon two Chompfin echoes to damage Null as you dodge its attacks. You can also bind to the the tentacles to slow Null down and expose some weakpoints by stretching the tentacles. Null will summon the boss Vocavor to help out, so you'll also need to dodge the whirlpools as you swim along.
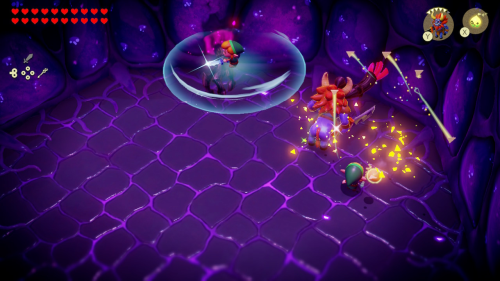
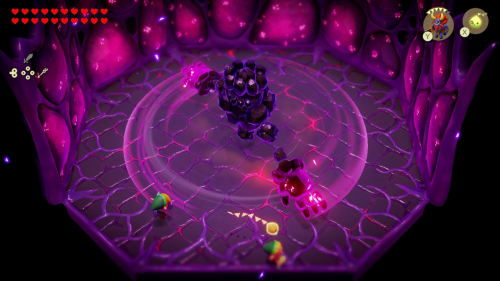
Once your Chompfins have done enough damage to Null in this form, it will retreat once again and pull you into a portal it has created. You'll be back in the arena with Link. It will then transition to the third and final phase of this battle, where it now has five arms and floats around as a much larger blob of shadow energy.
You'll want to keep the strategy of summoning a Lynel echo to help Link deal damage to Null's arms in this phase. However, it will also transform into various forms based on all the bosses you've faced so far. You won't be able to damage Null while it's in a boss form, so simply dodge the attacks.
Once you've done enough damage to Null in its previous form, it will once again reach through the walls with its arms. It will now summon shadow monsters to attack you as well. You should focus on clearing the shadow monsters with a Lynel while Link does the damage to Null's arms. Null can also reach through the ground to try and grab you with an arm. The arm can't be damaged in this form, so just worry about dodging this attack.
After dealing enough damage Null will transition back to its floating form with five arms. This time it will summon stronger shadow monsters and bosses, including up to three Shadow Ganons at a time! Keep dealing damage by summoning Lynels as you are able. Eventually Null will move back to its wall form.
The wall form is very similar to the last, but Null will summon even more echoes now. If you get grabbed by his hand from the ground, you'll need to use Link and your echoes to break yourself free. After dealing enough damage Null will emerge from the wall once again.
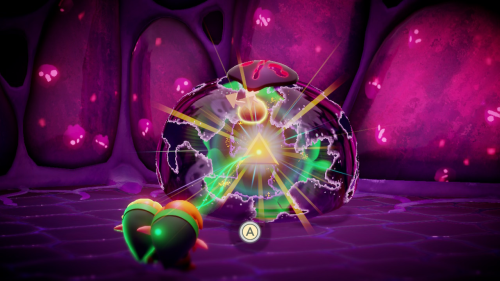
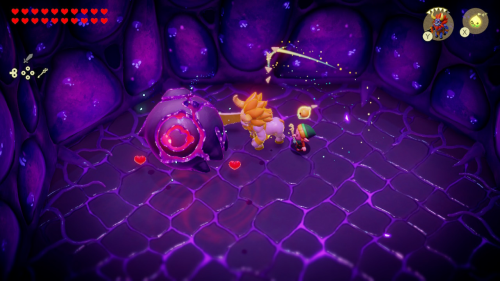
When Null takes on the Gohma form, it will leave spiderwebs on the ground. You may want to clear these with an Ignizol so you and your echoes aren't getting stuck. After dealing enough damage in this form Null will lose its power and the Triforce inside will be exposed. To finish the battle, bind to the Triforce to pull it out and mash "A" when prompted.
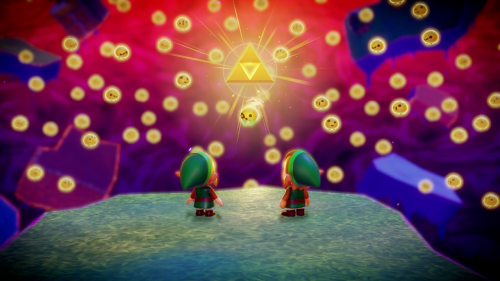
Together Zelda and Link will use the Triforce to defeat Null once and for all. Tri and all of his friends will be freed and they will use their power to restore the rift and bring peace to Hyrule. Congratulations on beating The Legend of Zelda: Echoes of Wisom! Sit back and let the credits roll...
Back to Lanayru Temple
