In The Legend of Zelda: Echoes of Wisdom there are fifty Side Quests that can be found throughout the land of Hyrule. They are optional quests given by various characters that you will find. Once you complete a task for the requester, you will usually be given a reward. These side quests are listed in the approximate chronological order that you will encounter them in, although you can complete them in any order.
Finding the Flying Plant
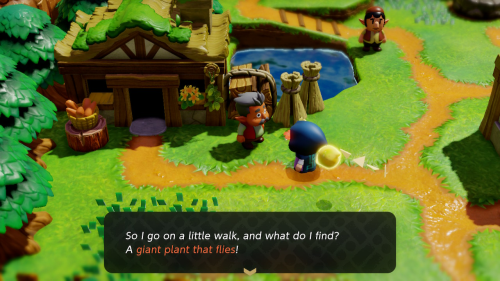
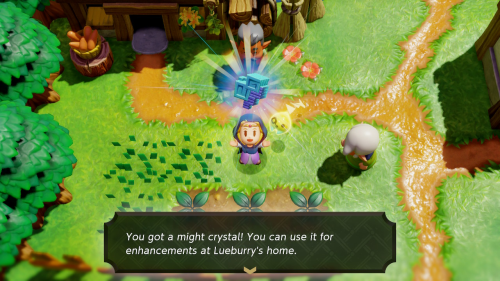
After restoring the rift from the Suthorn Ruins dungeon, head back to Suthorn Village and speak to a man outside of his house to the southwest. He wants you to show him a Peahat, so summon a Peahat echo. As a reward, you'll get 1 Might Crystal.
Up a Wall
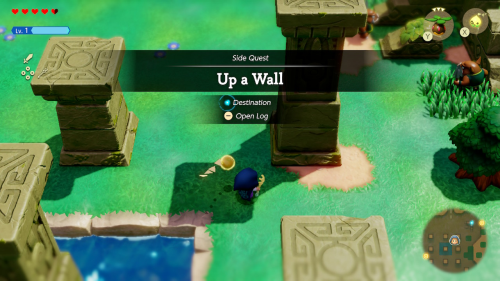
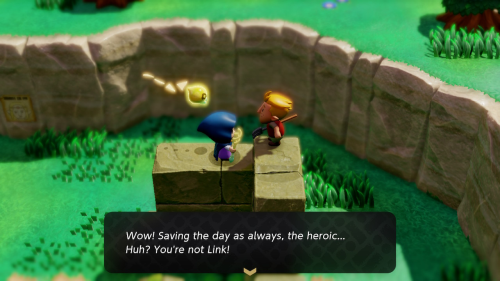
In the north east corner of the tall pillars in Suthorn Prarie you will find a man named Verley stuck on a wall surrounded by enemies. Defeat the two Spear Moblins near him to come to the rescue. Verley will give you 20 rupees as a reward.
The Blocked Road
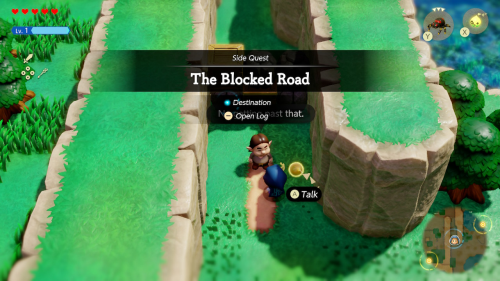
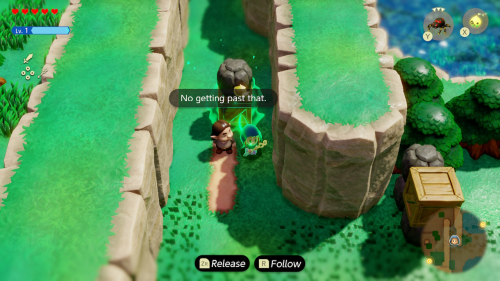
On the west side of Suthorn Prarie you'll see a man standing in front of a blocked path. You can easily clear the path for him by binding to the boulders and boxes and moving them out of the way to the open prarie. Speak to him once it is clear to get a reward of 20 rupees.
Runaway Horse
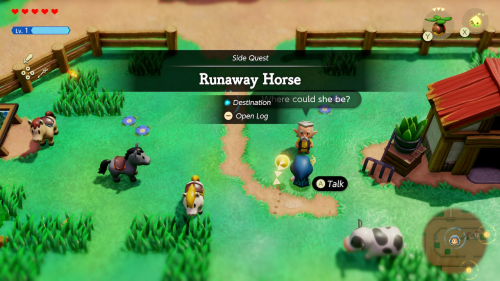
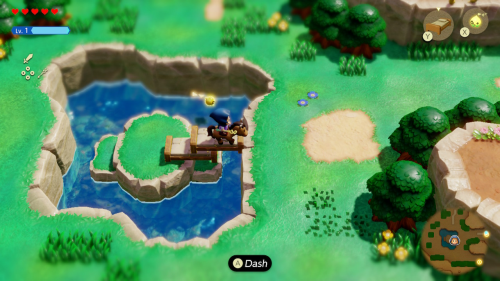
Speak to the man to the left of the building on Hyrule Ranch to get a quest to find his missing horse. Head west of the ranch and you'll find the horse on a small island in a pond. You can use a bed ladder to create an escape route for the horse and then ride it back to the ranch. As a reward you'll be able to borrow any horse from the ranch.
The Flying Tile
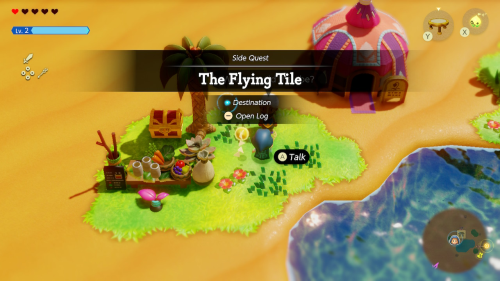
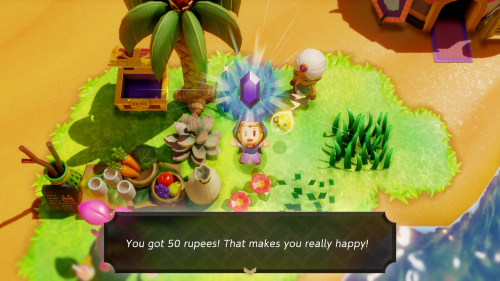
Speak to the Gerudo woman Tormali in the Oasis of the Gerudo Desert. She'll ask to see a flying tile. You can learn the flying tile echo from the Gerudo Scantum dungeon. Return to her once you do and show it to her to get a reward of 50 rupees.
Recipes, Please!
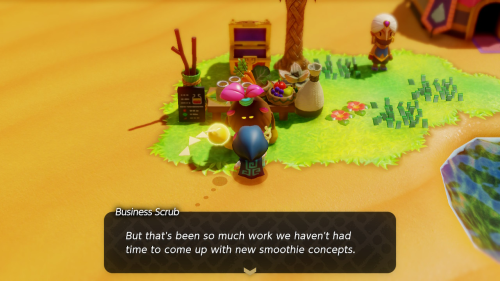
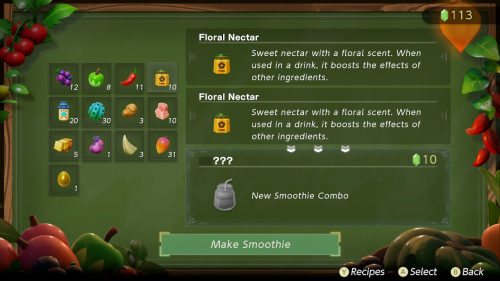
There are a variety of Business Scrubs around Hyrule that will mix your ingredients into smoothies. One such scrub can be found in the oasis in Gerudo Desert. They will task you with creating 10 unique recipes.
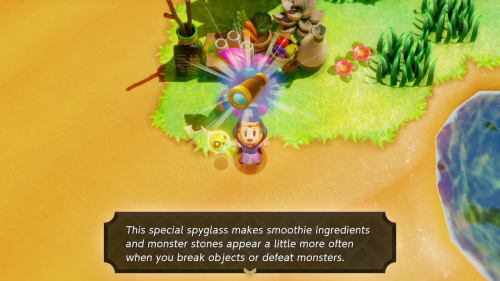
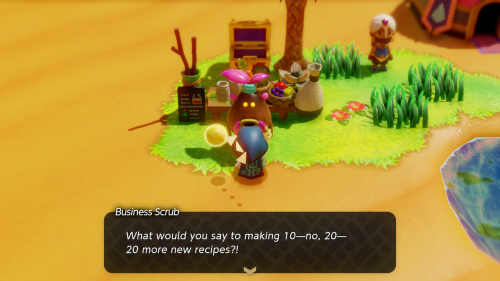
After crafting 10 unique recipes you will be rewarded with the Survery Scope equipment. You'll also be asked to create 20 more unique recipes.
2
Once you've crafted 20 unique recipes, your Survey Scope will be upgraded to the Survey Binoculars. This makes smoothie material appearance even more common. This also completes the quest.
Tornado Ghost?
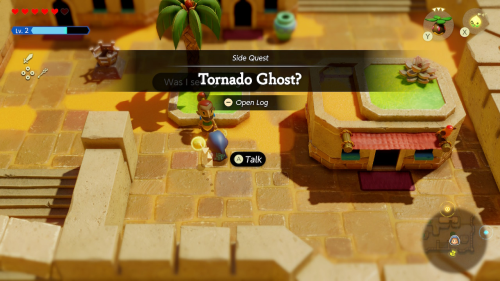
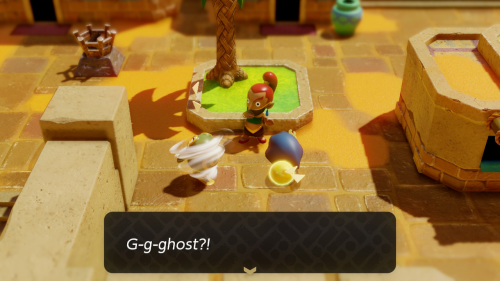
You can speak to a Gerudo in the southeast of Gerudo Town who is curious about a tornado ghost she saw in the desert. Show her a Tornando echo to complete the quest and you'll get 10 containers of fresh milk as a reward.
Elusive Tumbleweeds
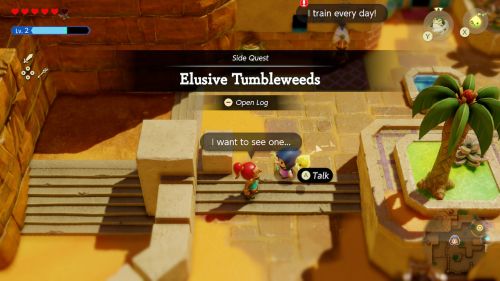
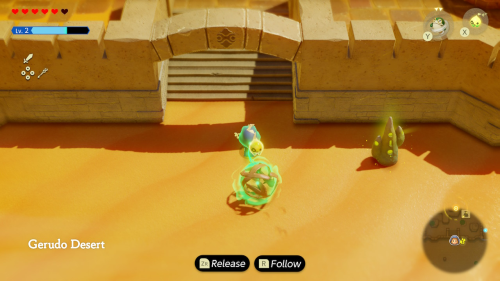
You can speak to a Gerudo in the west part of Gerudo Town who wants to seed a tumbleweed. You can find one in the desert to the south and bind it to bring it to her. You'll have to be careful not to bump it against anything as it is very fragile. As a reward you'll get 2 Might Crystals.
Gerudo Tag Training
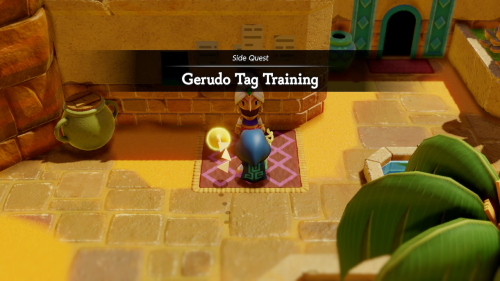
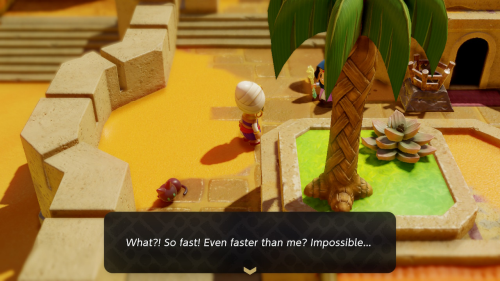
You can then speak to a Gerudo standing on a carpet on the west side of Gerudo Town to play a little game of tag. You'll need to chase her around Gerudo Town and get close enough to tag her. You can place some Sea Urchin obstacles down to limit her path, but just using your spin to move faster and cutting corners should be enough. Once you catch her you'll get a reward of 6 Chilly Cactus.
Deliver the Grilled Fish!
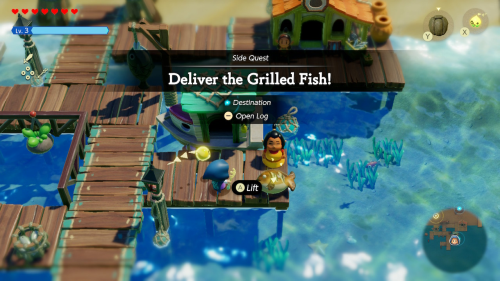
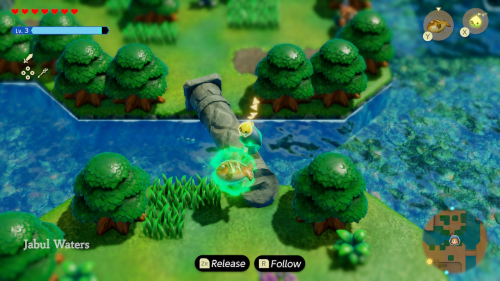
There is a woman standing near a boat on the docks in Seesyde Village who wants you to deliver a grilled fish to her son. He is on a cliff in the woods to the north of the village. You'll have to take the original fish to him, without letting any monsters nibble on it along the way.
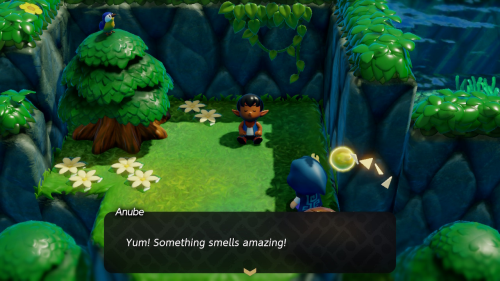
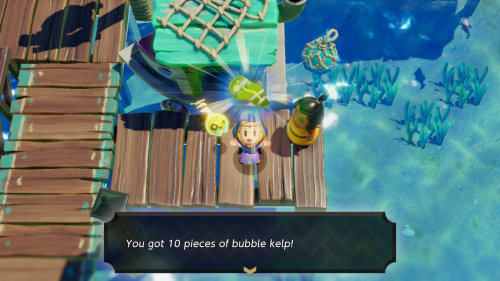
It's easiest to clear the Boarblin Camp to the north first and then bring the fish so you don't have to worry about them snacking on it. Once you deliver the fish to Anube you can return to his mother and get 10 pieces of bubble kelp as a reward.
Out of Bubble Kelp
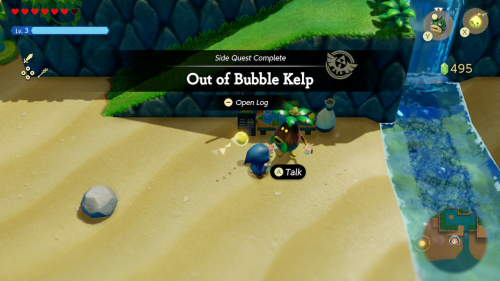
To the north of Zora Cove there is a Business Scrub who has set up shop on the beach. Give him three pieces of bubble kelp to complete this quest and receive 20 rupees.
Precious Treasure
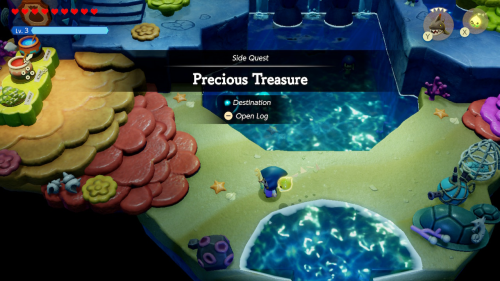
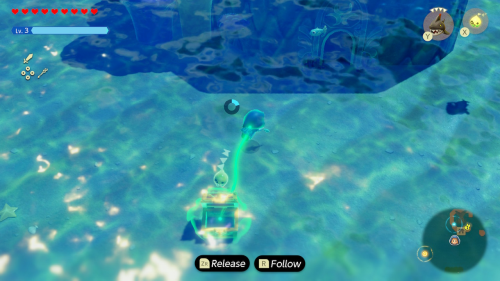
Enter Sea Zora Village in Zora Cove and speak to the Zora on the left. You need to find something for them to store their precious jewels in. There is a treasure chest just southwest of the village in the open sea.
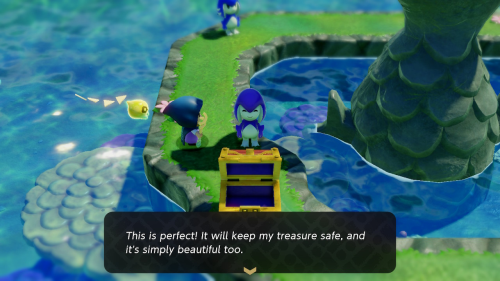
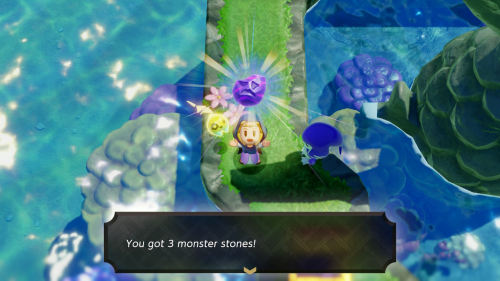
Open it up and then bind to the empty chest and bring it back to the Zora, who is now outside the village on top of the ring island. You'll get a reward of 3 monster stones.
The Zora Child's Fate
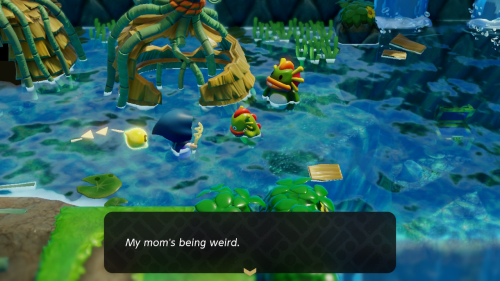
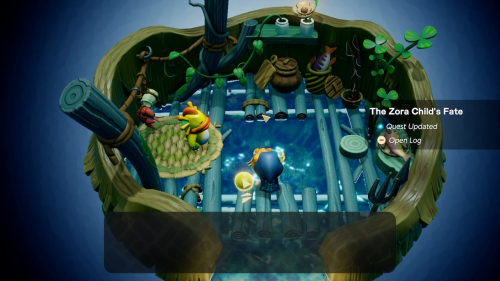
In River Zora Village you can speak to a frightened child in the upper portion of the village. He is convinced that his mother is going to feed him to some monsters. Th Enter the house to the left to find his mother.
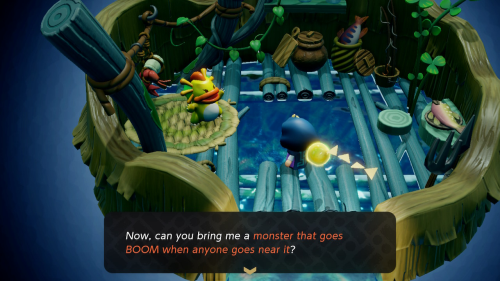
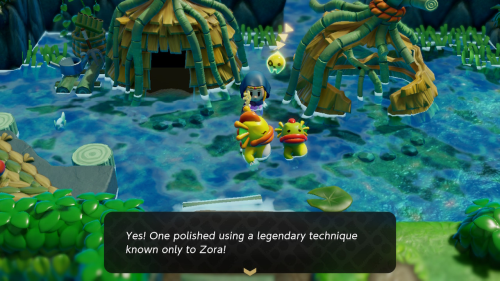
As it turns out, the mom just wants to see some of the aquatic monsters. She firsts wants to see a "sinister-looking fish", which is a Tangler. She then wants to see a monster that "goes boom when you get close", which is of course a Bombfish. Last is a "shocking jellyfish monster" otherwise known as a Biri.
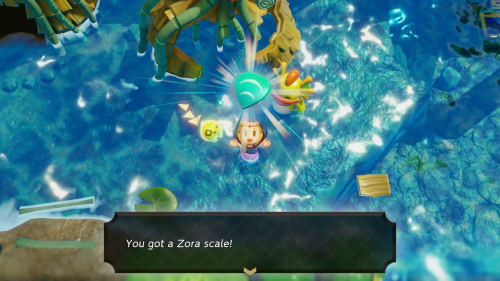
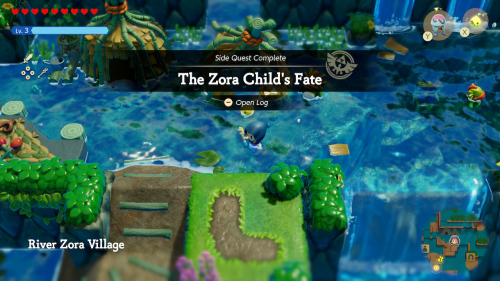
Once you've shown her all three echoes she reunites with her son and gives him a special charm to help him learn how to swim. As it turns out, seeing the monsters helped her learn how to polish scales. She gives you a Zora Scale as a reward.
Impa's Gift
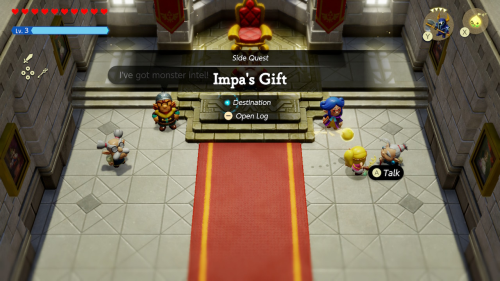
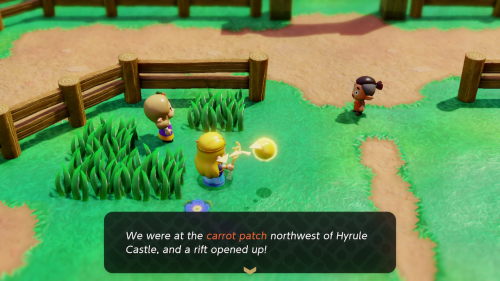
Speak to Impa in the throne room after completing the Hyrule Castle dungeon to learn that she has been raising a noble steed for you. Head over to Hyrule Ranch and speak to the lady with the carrot pin in her hair. You'll find out that her brother took your horse for a training ride but was swallowed by a rift! You'll see a blue pin on the map that you'll need to investigate.
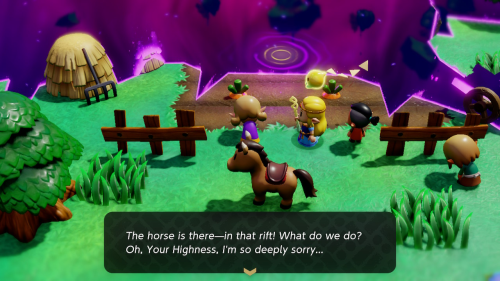
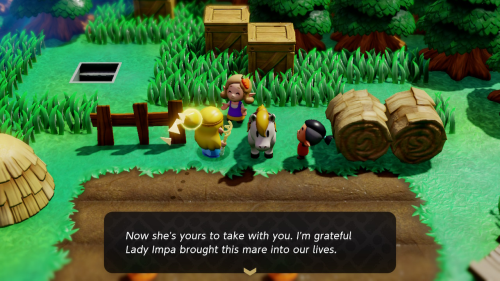
Borrow a horse and start heading northeast towards the pin. You'll soon find the rift that has swallowed up a carrot patch as well as your horse. You'll need to mend the rift by finding all four groups of Tri's friends inside (see the walkthrough for more details). Back outside your horse still seems to be missing. To summon your horse you'll need to bind to one of the carrots and pull it out of the ground. As a reward for completing the side quest, you now have your own horse that can be summoned at any time with a carrot!
A Curious Child
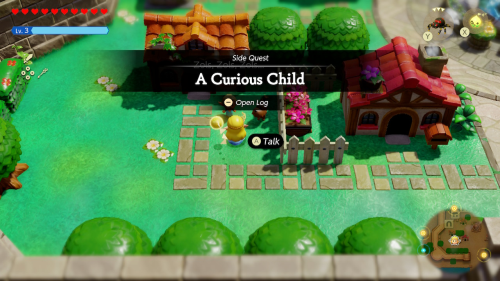
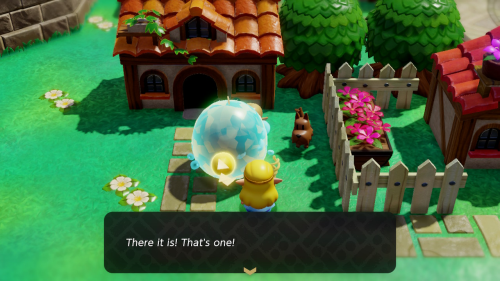
In the southwest of Hyrule Castle Town there is a child interested in Zols. Show him the echoes of a Zol, Ignizol, and Hydrozol. He'll want to see an even bigger Hydrozol, so show spawn another and then a water block to increase its size. You'll get 1 Might Crystal as a reward.
One Soldier Too Many
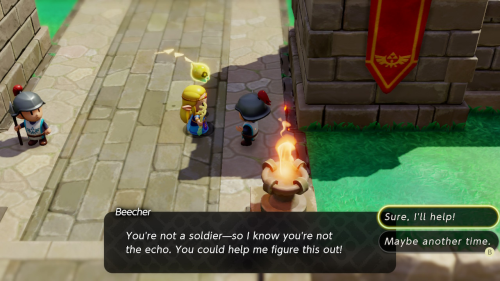
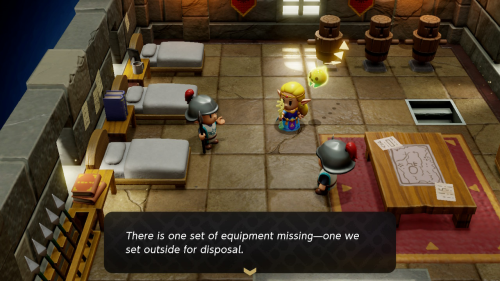
After clearing the rift, speak to the soldier on the right side of the gates of Hyrule Castle Town. This is Beecher, and he's looking for a potential imposter among the guards. You'll need to speak to the soldiers around town for clues. Doing so will eventually lead you to the Barracks on the west side of town. Here you'll learn that some damaged equipment may have been stolen.
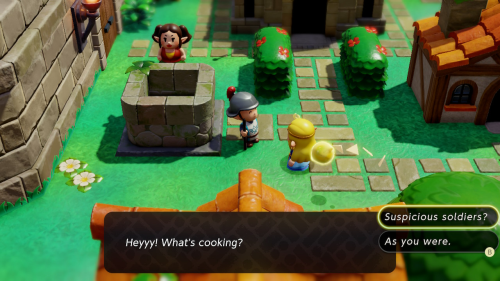
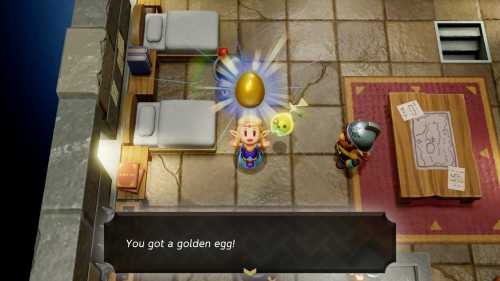
You'll now want to look for a soldier who's equipment isn't quite right. Luckily this is very close by. Just south of the Barracks standing next to the wall is a soldier who is holding a broken lance. Return to Beecher and report that the soldier near the well has a broken lance. This will begin a confrontation with that soldier. As it turns out, he is not an echo, just a citizen who wants to become a soldier. As a reward you'll get a golden egg.
Automation Engineer Dampé
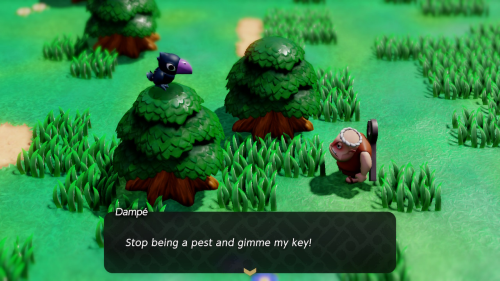
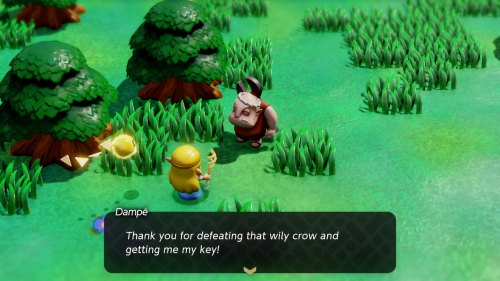
You'll need to save Dampé from being attacked by a crow just north of Hyrule Ranch. Afterward, you can visit him in his studio on the east side of the map. He'll ask to see some echoes of monsters so that he can combine them into automations.
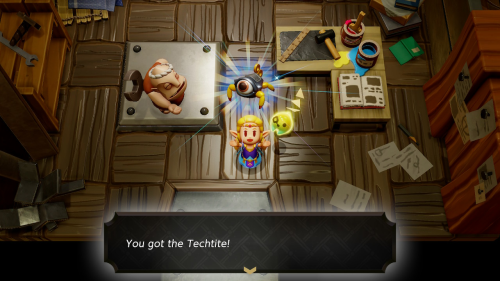
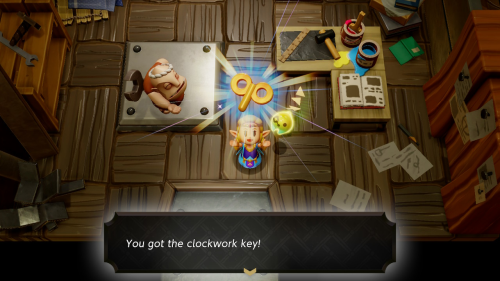
The first is Tektite + Mothula = Techtite. After creating it, you'll be able to use the automation with the Clockwork Key he gives you.
Let's Play a Game
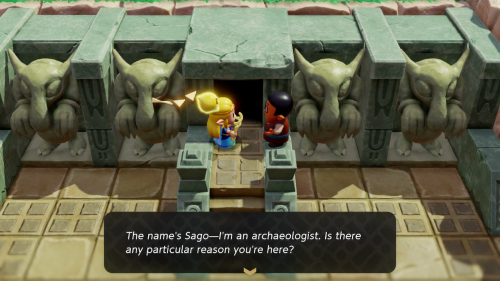
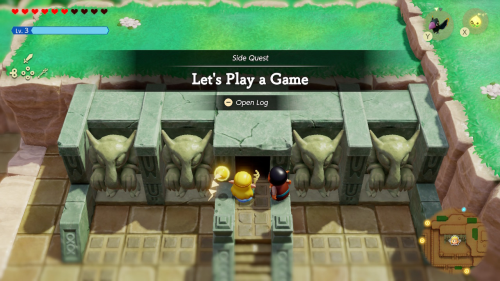
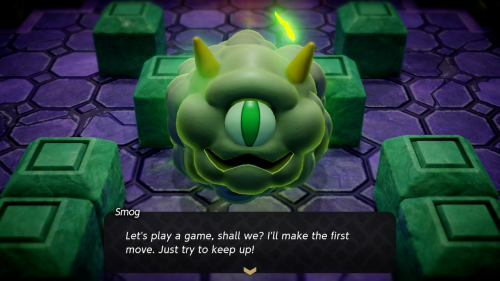
In Eastern Hyrule Field you will find an optional dungeon called the Eastern Temple. Speak to the man outside of the entrance, named Sago, to start this quest. You'll need to navigate through the temple (see our Walkthrough for more details) and defeat the boss Smog so that he can go in and research.
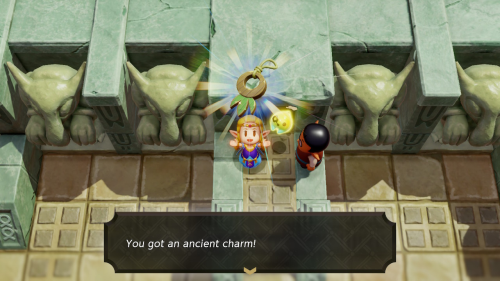
Once the temple is cleared and Smog is defeated, speak to Sago outside of the dungeon. He will thank you and give you the Ancient Charm as a reward.
The Zappy Shipwreck
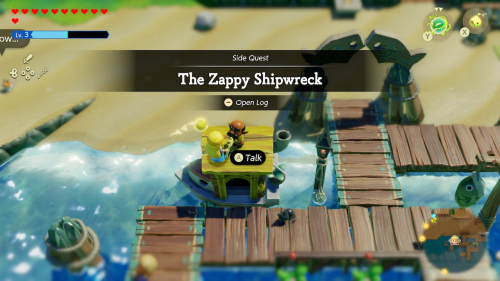
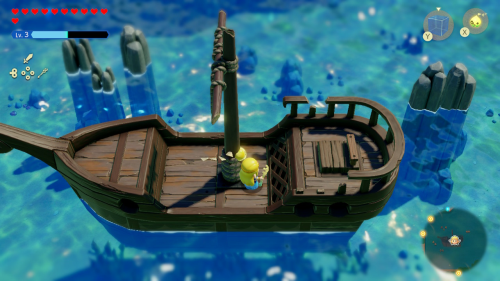
After completing the "Still Missing" main quest, return to Seesyde Village and speak to a man standing on his boat at the docks. He wants you to visit his ship in the southwest of Zora Cove.
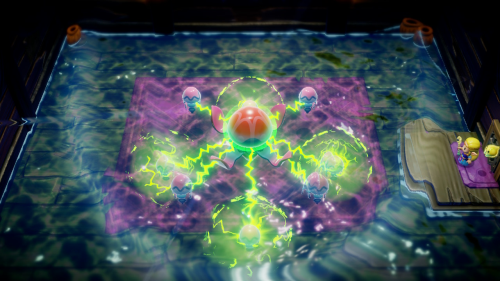
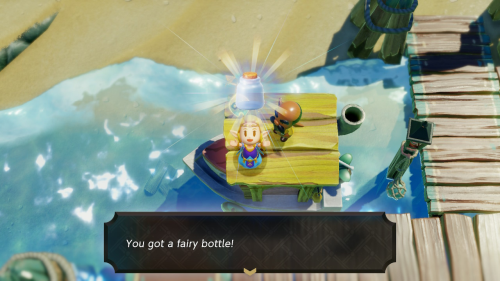
You'll need to pull open the hatch of the ship and navigate the small dungeon inside (see our Walkthrough for more details). Once you defeat the boss you can return to the man who will give you a Fairy Bottle.
Big Shot
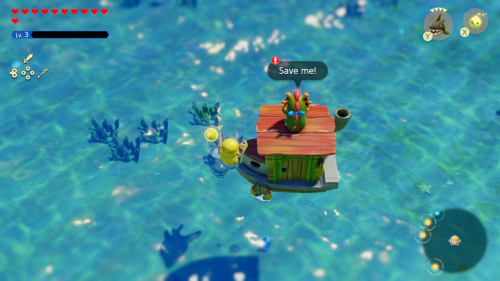
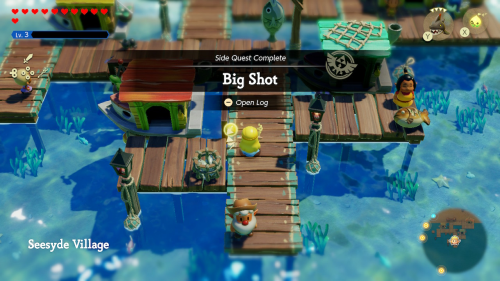
After the "Still Missing" main quest is complete, visit the docks in Seesyde Village. Speak to the man with a beard to learn that someone borrowed his boat but isn't back yet. Swim directly south of here to find the boat, which is surrounded by monsters. Take out the monsters with a Chompfish echo to rescue the River Zora. You'll get 10 riverhorses as a reward.
Secret Chief Talks
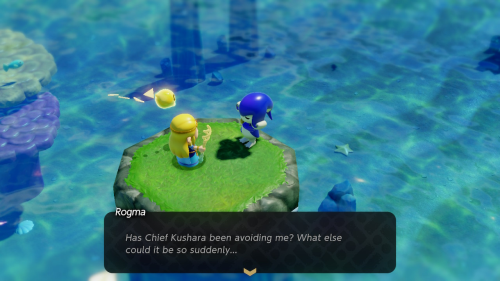
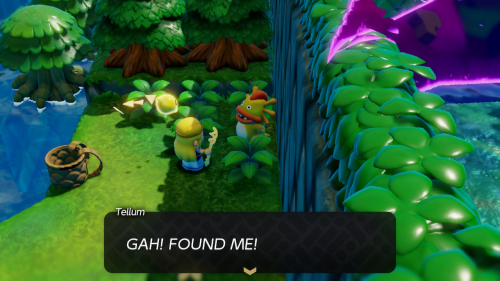
Warp over to Sea Zora Village and speak to Rogma on a small island to the east. She is worried that the two Zora chiefs are meeting about something important and wants you to get some intel. Warp over to River Zora Village to investigate. If you enter Chieff Dradd's place you'll find he's not there. If you ask around the village, they'll point you in the direction of Tellum, who can be found hiding along a wall to the east of the village. He suggests that the two chiefs are meeting at a cave in Zora Cove.
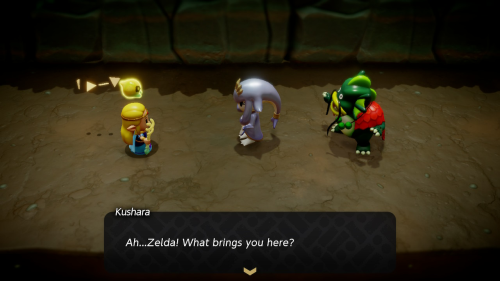
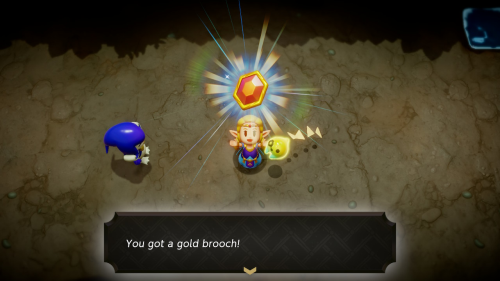
Warp back to the Sea Zora Village waypoint to get close. Swim northeast to the cave in Zora Cove. Head inside to confront the chiefs. As it turns out, they were just meeting to discuss a way to properly thank their two assistants. Seems a little fishy, but it resolves things for now. You'll get the gold brooch equipment as a reward.
Wild Sandstorms
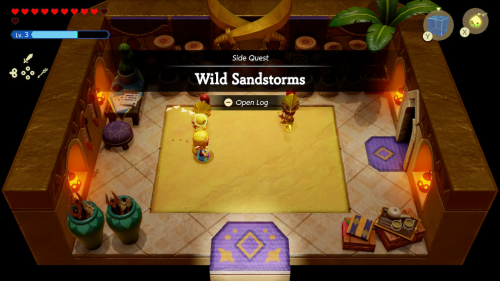
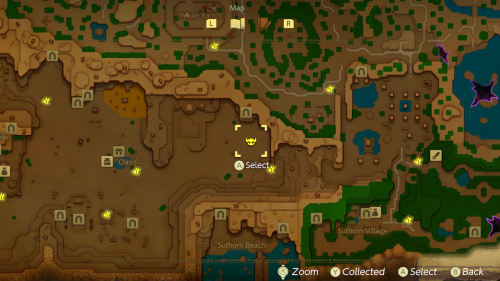
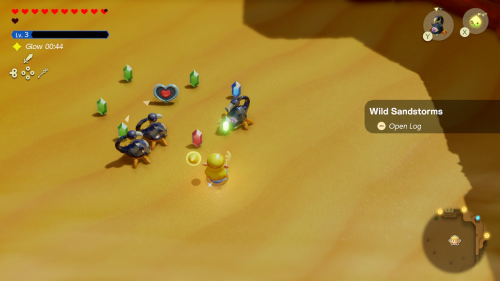
After defeating the Lanmola in the east and west of Gerudo Desert and completing the "Still Missing" main quest, visit the palace barracks in Gerudo Town. Speak to one of the warriors to find out about a third Lanmola. Make sure you have full energy and bring a couple energy restoring potions along, as this version of Lanmola is quite a bit stronger than the others. Warp over to the waypoint between Gerudo Desert and the canyon to the east. Head northwest from here to find this third Lanmola.
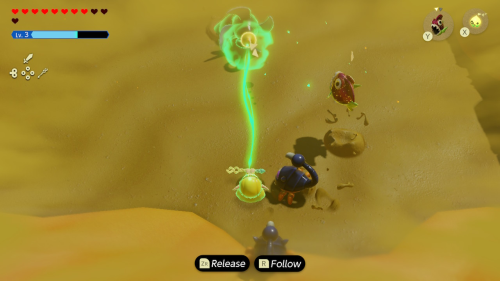
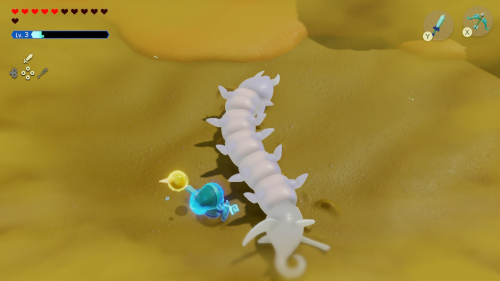
The process for defeating this purple Lanmola is the same, though it has more health and stronger attacks. You'll want to bind to it's tail to pull it out of the ground and then attack when it is exposed. The many Aruroda that will spawn love to interrupt you while you're trying to do this. You can spawn some Aruroda of your own to try to fend them off and get some extra hits in on Lanmola. Once it's defeated it will drop many rupees and a piece of heart.
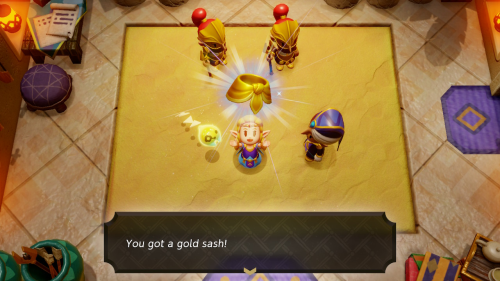
Warp back to Gerudo Town and report your victory to the warriors in the barracks. They are dissapointed you beat them to it, but Lady Facette will thank you and reward you with a gold sash.
Dohna's Challenge
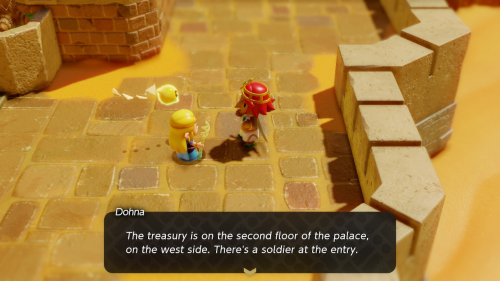
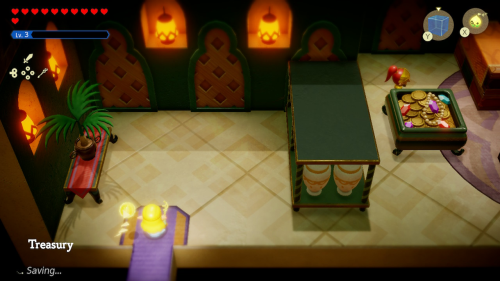
To the east of the palace in Gerudo Town, you can speak to Dohna. She challenges you to steal from the treasury to test her security. Head to the west entry on the second floor of the palace to find the treasury.
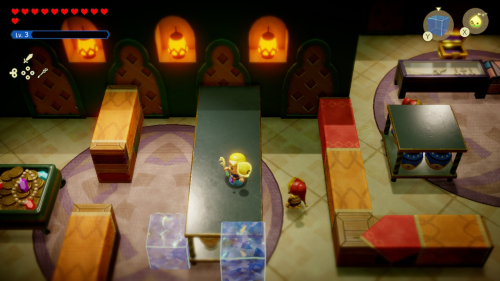
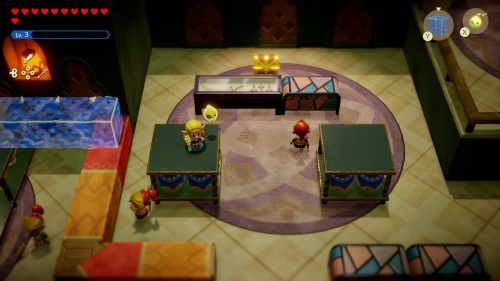
You'll need to sneak past all of the guards roaming about. The easiest way to do this is to go above them. You can build water block towers and bridges to stay above them and avoid detection. You will need to stick to the taller platforms, as the guards are able to jump up on the smaller ones. Once you get to the middle of the room, you can throw a pot to the south and make a run for the chest to the north, which contains 10 pieces of chilly cactus.
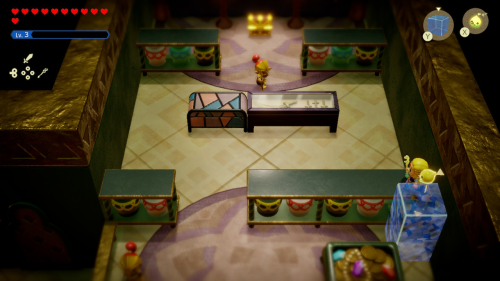
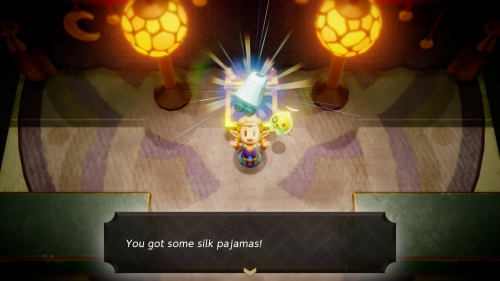
Quickly make your way back up to the tall platforms. You'll now need to reach the higher area to the right, building a water tower is easiest. Distract this first guard by throwing a pot and then get on the tall shelves in the middle. The final guard is looking both ways without moving. Throw a pot in the corner to get them off there post and make a run for the final chest. Inside you'll find a pair of Silk Pajamas.
Beetle Ballyhoo
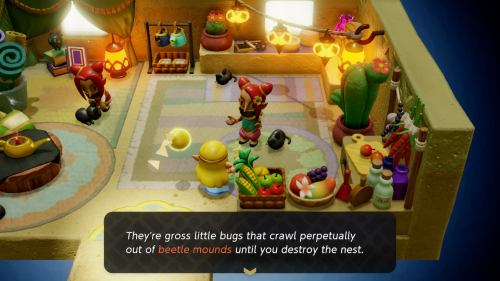
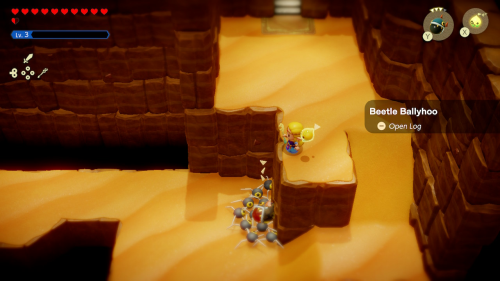
To the left of the shop in town you'll find one more Gerudo who is afraid of Beetles, and wants your help clearing them out of a cave. Warp to the northernmost waypoint in the desert and enter the cave to the east. Defeat all the Beetles and destroy their mounds. The easiest way is to explode them with a Bombfish. You can then return to Gerudo Town and report back. You'll get the Heart Barrette equipment as a reward.
Cuccos on the Loose
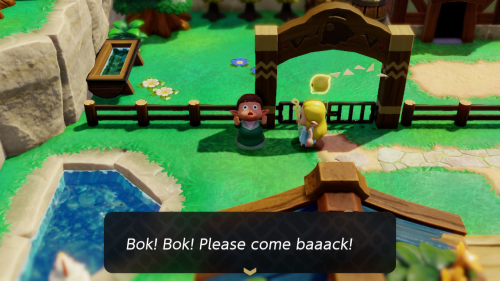
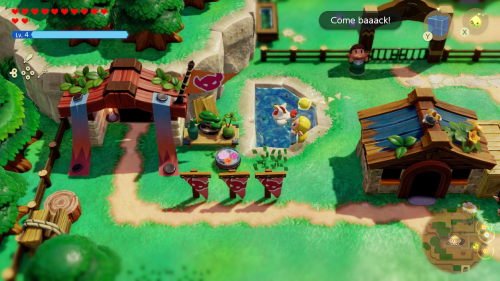
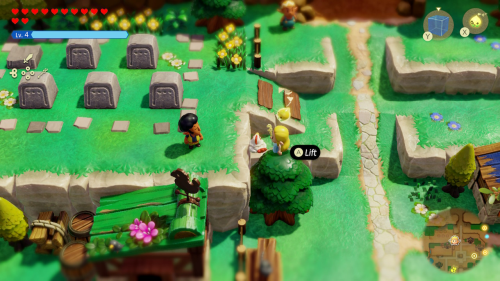
In Kakariko Village, speak to the woman outside of the of the pen. You'll need to gather the 5 missing Cuccos from around town and bring them back to the pen. Here are their locations:
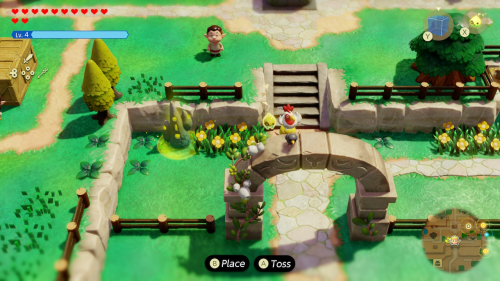
- In the pool of water right next to the Cucco lady.
- On a cliff to the west of the gate leading into town.
- Directly behind the gate leading into town.
- Next to the graveyard in the northwest of town.
- On top of the windmill in the northeast of town.
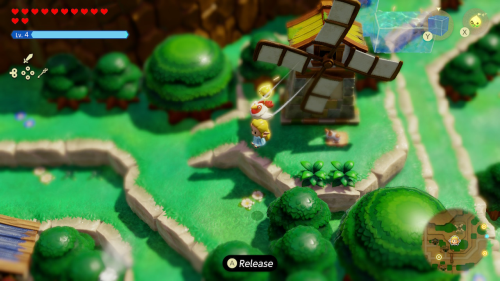
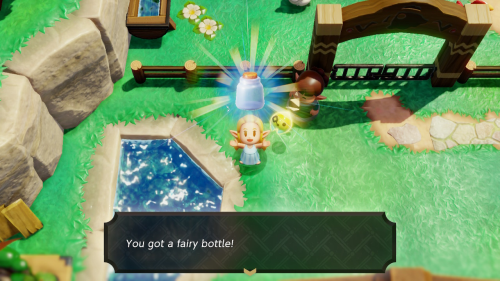
Once you pick up a Cucco you can use it to glide in the air, which is particularly useful for the Cucco on the windmill. Once you return all five of the Cuccos to the pen you'll get a Fairy Bottle as a reward.
Questioning the Local Cats
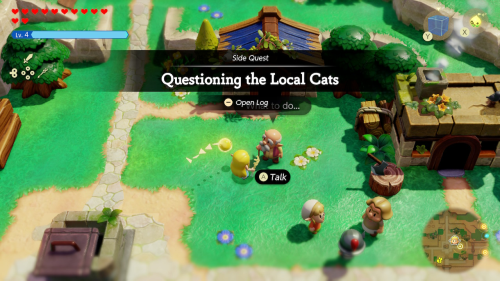
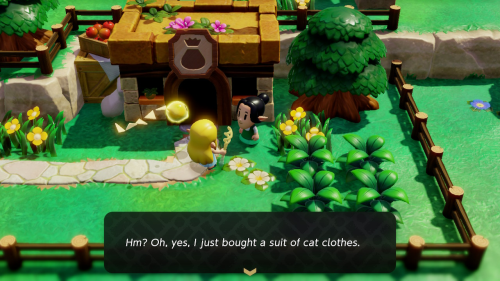
Speak to the old man on the east side of town who is looking for his lost cat. He tells you about a set of Cat Clothes that can be used to speak to the local feline. Speak to the lady outside the store in town and she'll agree to give you the cat clothes if you dig something up from underneath the cat near the windmill.
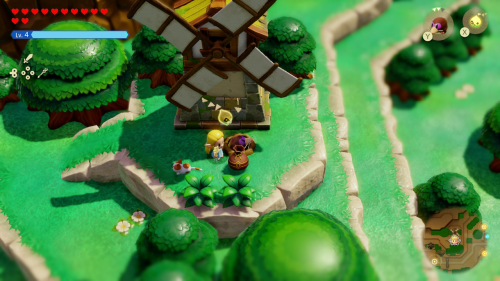
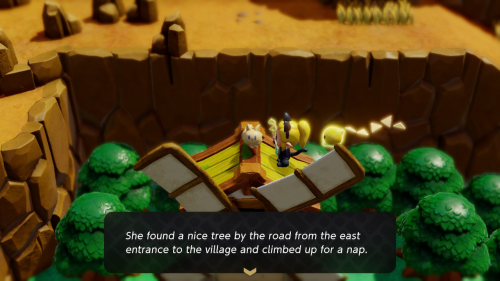
Head to the windmill in the northeast of town. Use a grilled fish echo to lure the cat away from its spot. Use can then use a Holmill to dig where it was sitting to find the secret stash. The lady will come trade you the Cat Clothes for it right away.
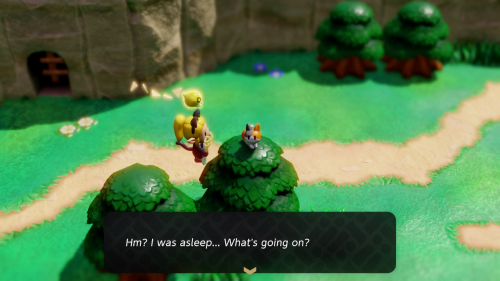
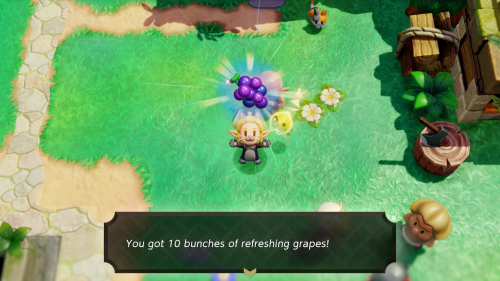
There is another windmill in the northwest of town that another cat is perched on top of. She suggests that the old man's cat is on top of a tree near the east entrance of the village. Follow the road to the east out of Kakariko Village for awhile and you'll see the missing cat sleeping on a tree. Speak to it and it will return home to its owner. Return and speak to the owner to get 10 bunches of refreshing grapes as a reward.
The Fireworks Artist
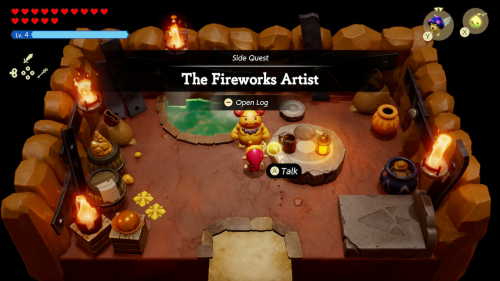
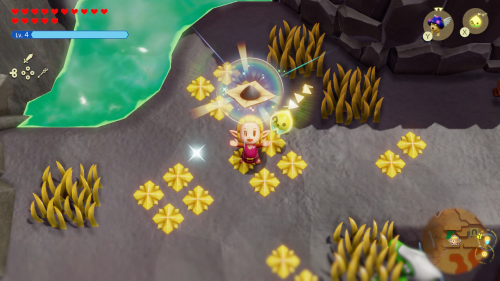
Visit Goron City and enter the room in the top right. Here you'll meet Basa, a fireworks artist. He wants you to collect some blastpowder soil so he can make a new firework. To find some, you'll want to warp over to Rock-Roast Quarry. Up by the quarry you'll notice some of the golden flowers that Basa pointed out. There should be some sparkling ground around here that you can check out to find some blastpowder soil.
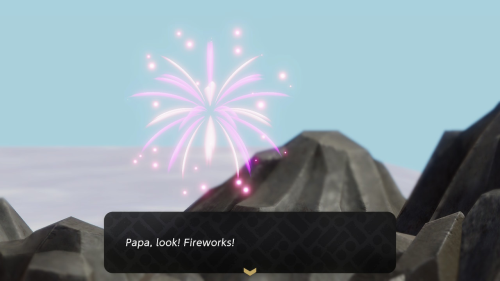
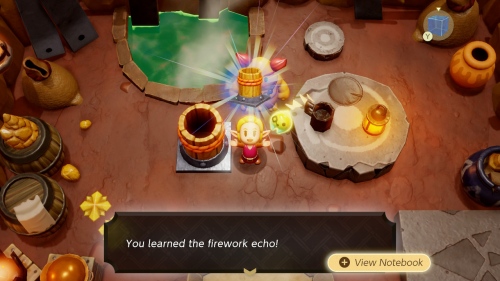
Return to Goron City and visit Basa once again. Hand over the blastpowder soil and he'll use it to make a new firework. You'll get 50 rupees as a reward. More importantly, you can learn the nearby firework echo.
Ready? Set? Goron!
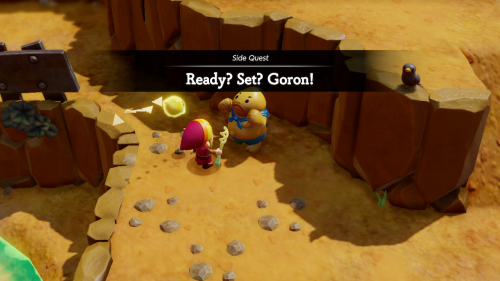
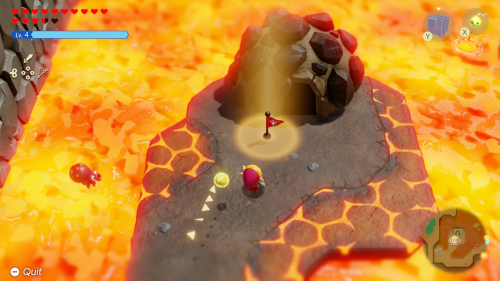
To the right of Goron City you'll find a Goron who wants to challenge you to a Goron Race. The goal is to be the first to reach the flag near the entrance to Lizalfos Burrow. There are arrows on the ground but you don't want to follow them. You'll need to use echoes (like water block towers) to take some shortcuts to win. Once you do, you'll complete the quest and get 50 rupees as a reward.
Glide Path
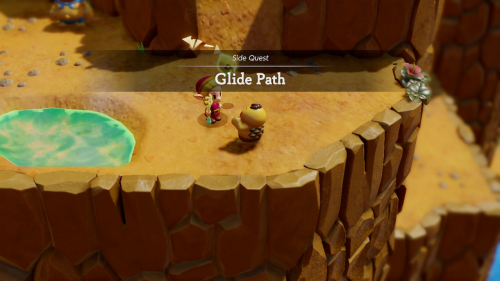
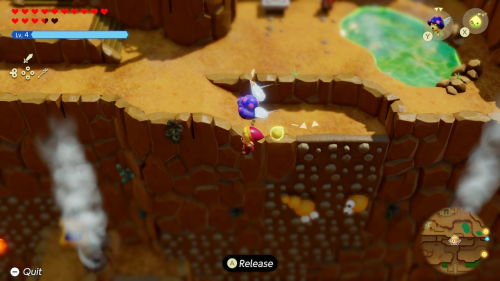
There's a Goron child to the east of Goron City who has a challenge. He sets up a course where you'll need to glide all the way to a flag on the west side of the mountain without touching the ground, using a series of air vents. You can do this by summoning a Ghirro echo and following the air vents to the left. You'll get 10 portions of rock salt as a reward.
Glide Path Trailblazer
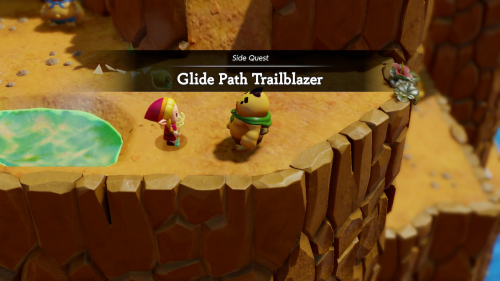
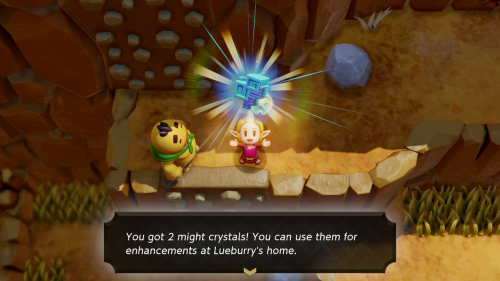
Speak to the same Goron child from the previous gliding quest. This time, he gets his brother who sets up a much more difficult gliding course called the Eldin Death Road of Pain. In this course, you'll get less height from the air vents and there are several object to dodge. The main thing to watch out for is the steam vents near the end, you can simply go out and around them instead of staying too close to the mountain edge. You'll get 2 Might Crystals for completing this course.
The Flames of Fortune
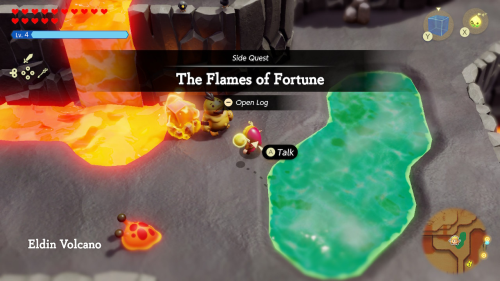
Head to Lizalfos Burrow and get on the cliff to the west. Here you'll find a hot spring and a Goron with another side quest. This is Ondes, and he needs help carrying some hot coal back to Goron City. The best path is to the left of this cliff. Once you get down there you can drop the coal onto the hot magma to reignite it and then make a run to the east for the entrance of Goron City. Drop it off right near the entrance and you'll get 2 Might Crystals.
A Mountainous Mystery
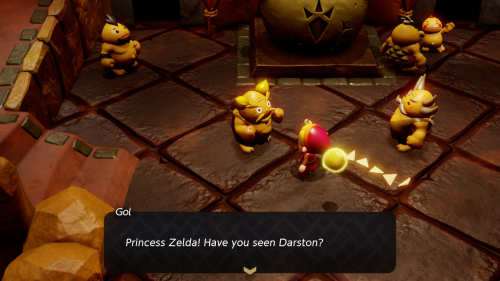
After completing "The Rift on Eldin Volcano" main quest you can return to Goron City and speak to Elder Gol in the center of town. Apparently Darston has gone off to some cave and hasn't come back. This starts the "A Mountainous Mystery" side quest.
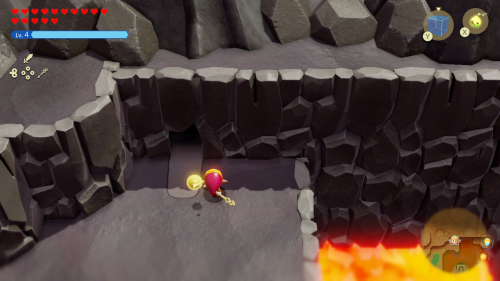
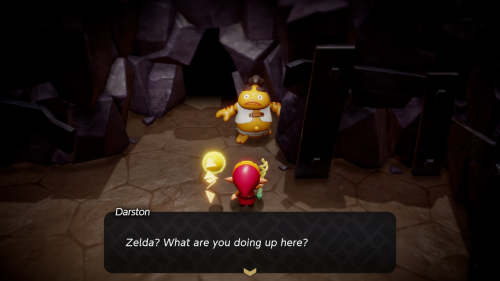
Warp over to Lizalfos Burrow and climb the cliff to the west. Head north on this cliff and you'll find a cave entrance. This is Summit Cave, and you'll see Darston in this first room. He warns of a flame giant that is making a lot of ruckus from inside the volcano.

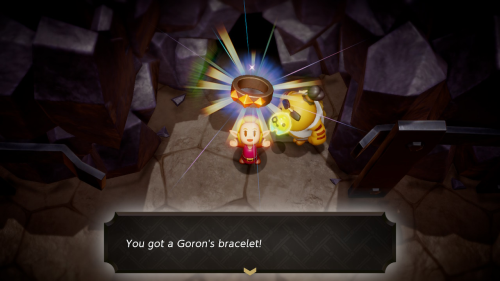
You'll need to traverse this mini-dungeon and defeat the Flame Giant boss at the end. Check out our Walkthrough for more details on how to complete the dungeon. Afteward speak to Darston at the beginning of Summit Cave again to complete the quest and get the Goron's bracelet equipment as a reward.
Explosions Galore!
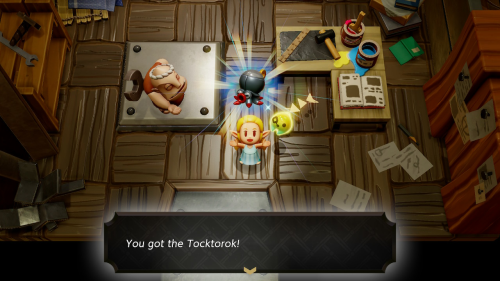
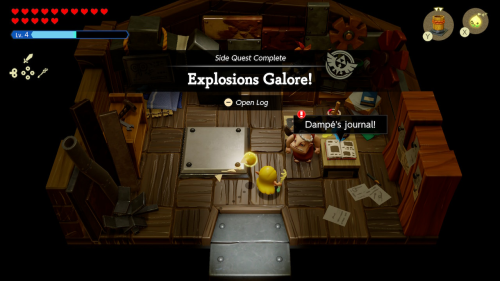
Check out Dampé's journal to get a recipe for a new automaton. You'll need to show him an Octorok echo and a firework echo. You can get the firework echo as part of "The Fireworks Artist" side quest in Goron City. Dampé will then make you a Tocktorok automaton, an Octorok robot that shoots fireworks.
Performance Artist!
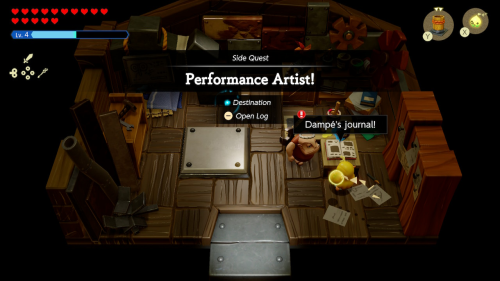
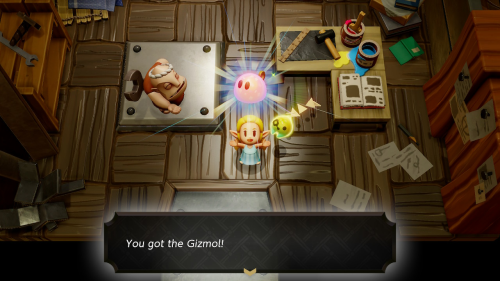
Check out Dampé's journal to get a recipe for a new automaton. You'll need to show him a Zol echo and speak to him to give him a Prismatic Music Box, which can be obtained from a flag race at Hyrule Ranch. Dampé will then make you a Gizmol automaton, a singing and dancing Zol robot that distracts enemies.
"An Out-There Zol"
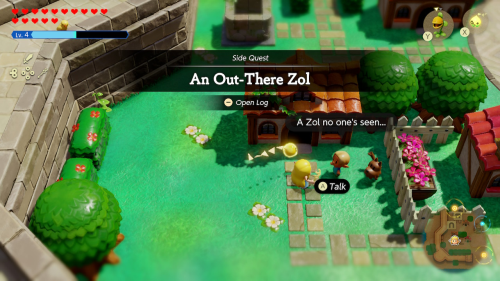
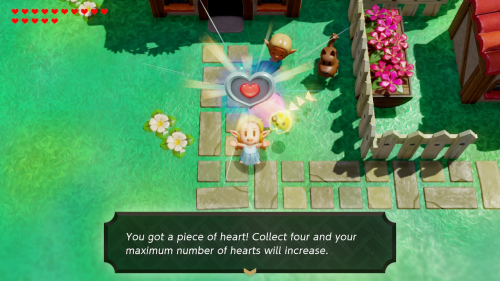
Visit the Zol kid on the west side of Hyrule Castle Town after completing the above "Performance Artist!" side quest. Show him the Gizmol automaton to complete the quest and get a Piece of Heart as a reward.
From the Heart
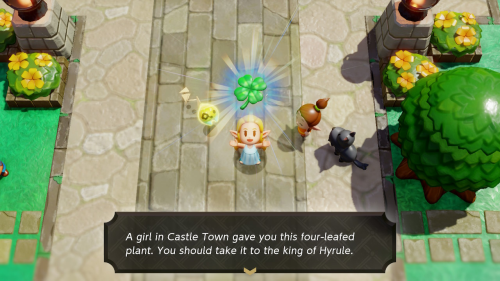
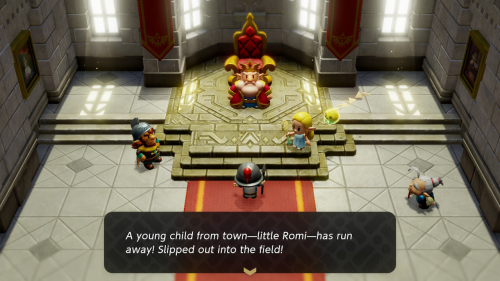
Head towards the castle and speak to the girl next to her black dog. This is Romi and she gives you a happy clover to give to your father, the king. Enter the castle and head to the throne room to deliver the clover to the king. After you hand over the happy clover, a soldier delivers the king some news that Romi has run out of town and may be in danger. We'll of course need to go check on her.
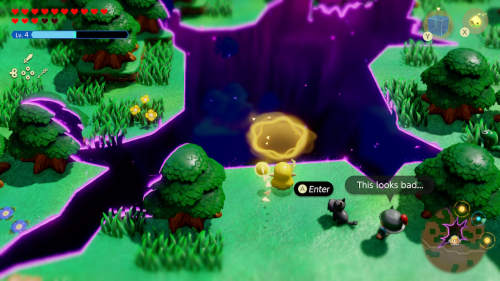
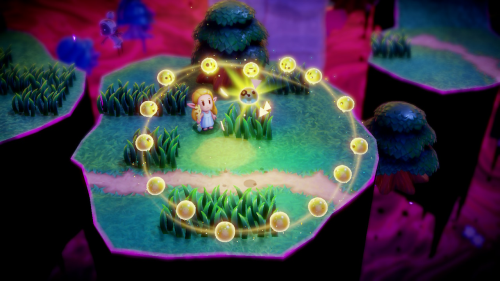
Follow the road out of town and listen to where the soldiers along the road tell you to go. This leads to a new rift that has opened up in Hyrule Field. As might be expected, Romi has been swallowed up in this rift. Have Tri create an entrance and enter the Stilled Southern Hyrule Field rift. You'll need to find and free three groups of Tri's friends inside.
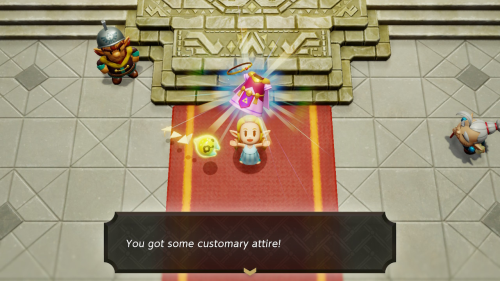
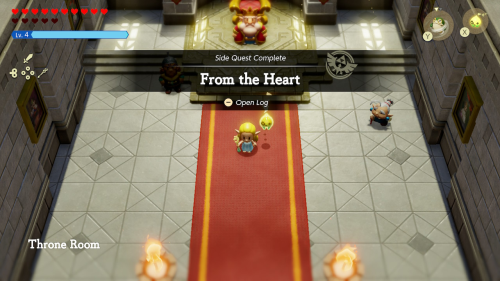
After the rift is cleared and Romi is saved, you'll return to speak with the King of Hyrule. Romi and the King will thank you and you'll be given the customary attire outfit as a reward. This outfit will give you the classic Princess Zelda look.
A Treat for My Person
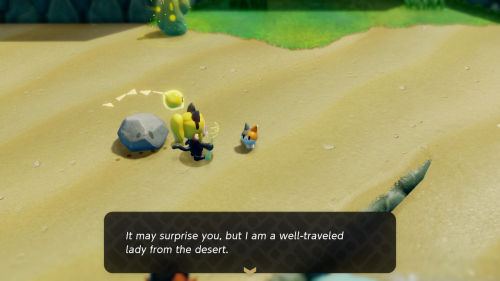
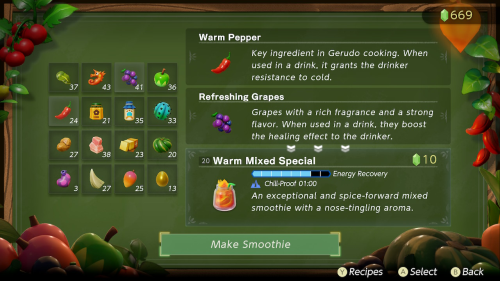
Visit Seesyde Village and speak to the cat near the waypoint while wearing cat clothes. These can be obatined by completing the "Questioning the Local Cats" quest or from an Amiibo. This cat wants to reward her owner by giving her a treat: a smoothie. She doesn't quite remember the name, but thinks it's something like the "Warmix Spatial" smoothie.
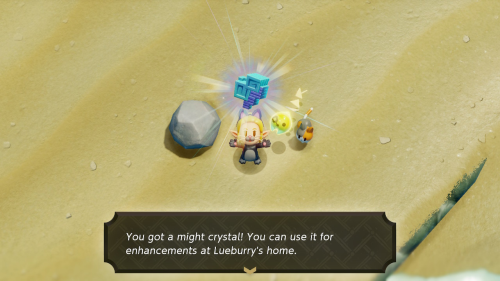
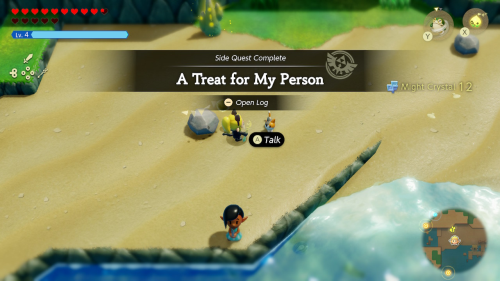
What this cat is actually after is the "warm mixed special" smoothie. If you don't have one, you can head to the Smoothie Shop nearby to the east. You can make one by mixing a Warm Pepper with a Refreshing Grape/Tough Mango/Fresh Milk. Return to the cat with the smoothie and hand and give her owner the smoothie. You'll be given 1 Might Crystal as a reward.
The Great Fairy's Request
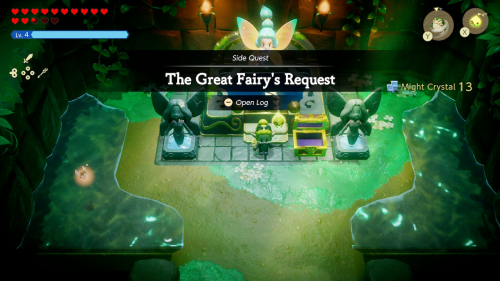
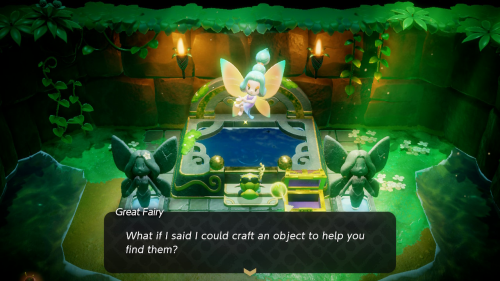
Visit the Great Fairy Shrine after purchasing three accessory slots. A chest will have appeared inside that contains 1 Might Crystal. After opening the chest the Great Fairy will chastize you but let you keep the reward. She also offers to make you something to help find Might Crystals.

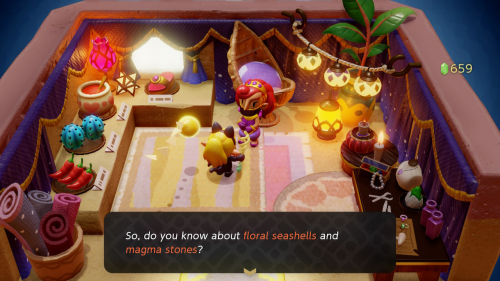
Warp over to Gerudo Town and speak to the shopkeeper. She's happy to help but needs you to gather some materials. She needs a floral seashell and a magma stone. These are one of a kind items, so we'll need to make some special requests for them in their respective areas.
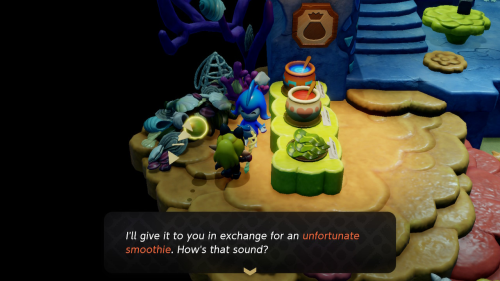
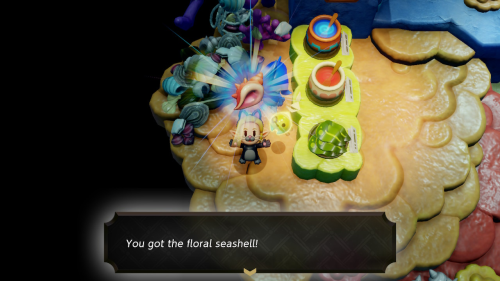
Warp over to Zora Cove and speak to the shopkeeper there. As it turns out, they just found a special shell. All they want in exchange for it is an unfortunate smoothie, which you may already have if you've been experimenting. If not head over to a smoothie shop and mix together two pieces of rock salt (or any of the other many combinations). Return to the Zora Cove shop and exchange the smoothie for the promised floral seashell.
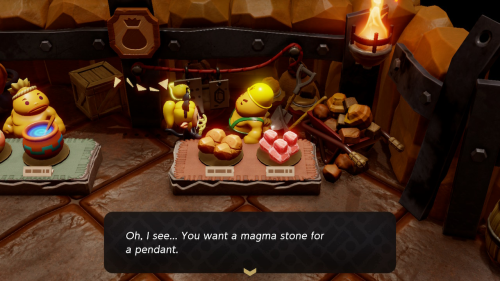
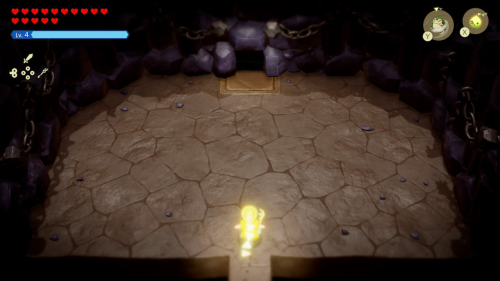
Next warp over to Goron City and enter the shop. Speak to the shopkeeper who is selling the rock items. He says that you can find magma stones in Lizalfos Burrow, but it's currently infested with Lizalfos. Warp over to the area and enter Lizalfos Burrow.
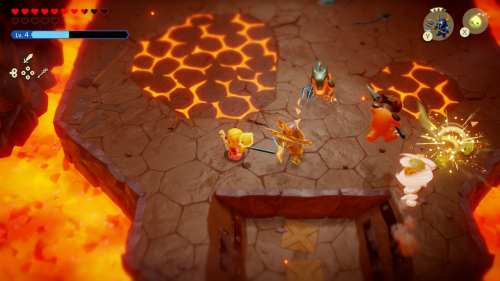
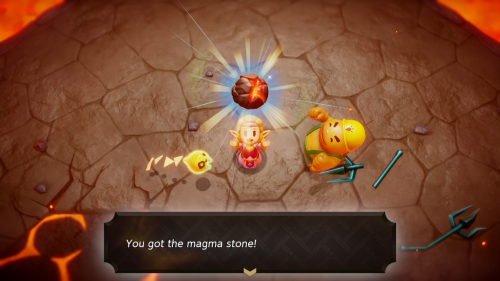
Navigate to the end of the cave, taking out the Lizalfos along the way. In the final room of the cave you'll need to defeat the three Lv. 2 Lizalfos enemies. They can deal a lot of damage when they swarm you, so throw down a strong echo to at least distract some of them while you defeat them with swordfighter form. Afterward the shopkeeper will find a magma stone for you.
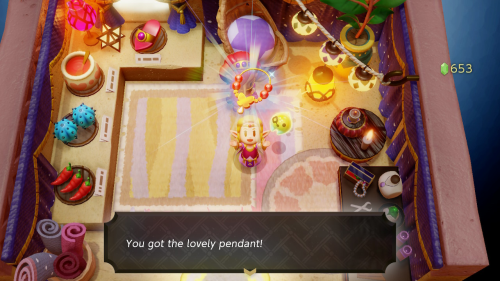
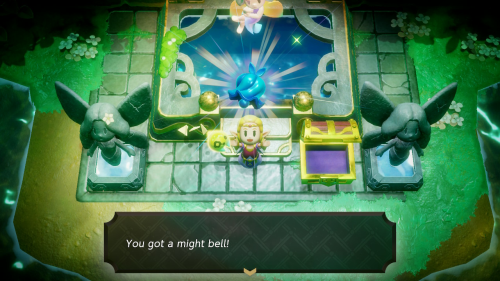
Return to Gerudo Town and speak with the shopkeeper. She'll get to work creating the lovely pendant. You can now warp back to the Great Fairy Shrine and deliver this gift to the Great Fairy. As a reward you'll get the might bell.
The Rain-Making Monster
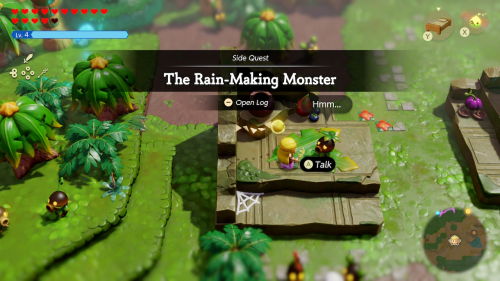
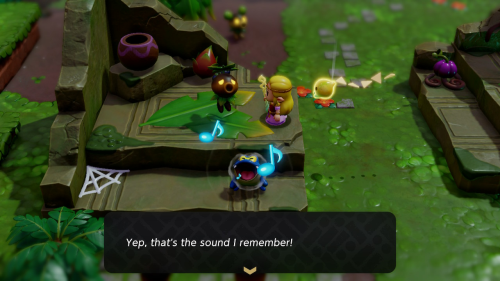
Speak to a sad looking Deku Scrub in Scrubton who wants to know what the source of all the rain is. Show him a Drippitune echo to complete the quest and get 8 electro apples as a reward.
The Mythical Deku Snake
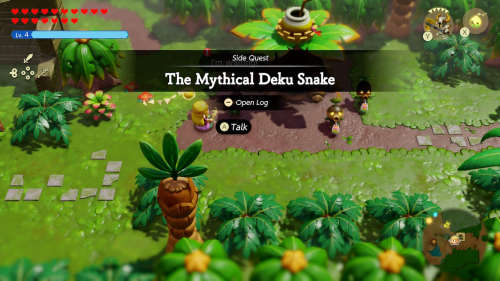
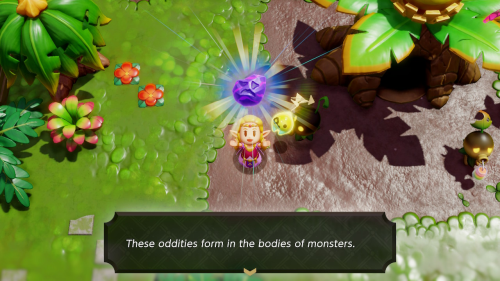
After mending the large rift in the area, speak to the Deku Scrub to the left of the smoothie shop. This starts a side quest where alll you need to do to complete it is give him 3 electro apples. You'll get 2 Monster Stones as a reward.
Looking for Bempu
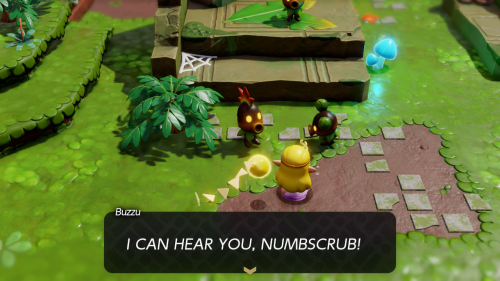
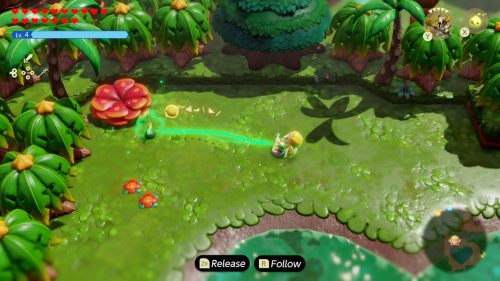
On the west side of town you can speak to the Deku Scrub with a mohawk (Bempu) who will tell you about his annoying friend Buzzu. They want to play a few rounds of hide and seek. The first hiding location is in front of the smoothie shop. You'll need to pull him out of the ground with bind. Bempu will hide again, this time near Heart Lake. You'll find him hiding in the ground in the northwest corner.
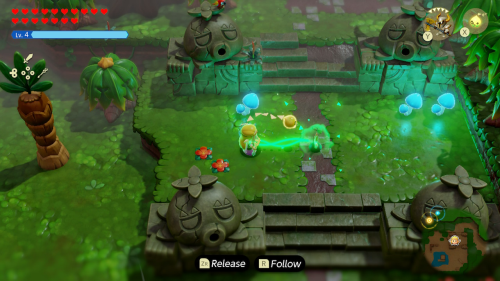
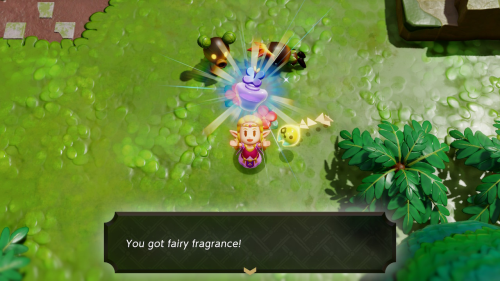
The next hiding location is "between four stone siblings". This is the staircase area to the northwest of Scrubton. The final hiding location is at Blossu's House in the southeast corner of the wetlands. Pull him from the ground for a final time to end the game. You'll get the fairy fragrance as a reward.
Mobbing Mothulas!
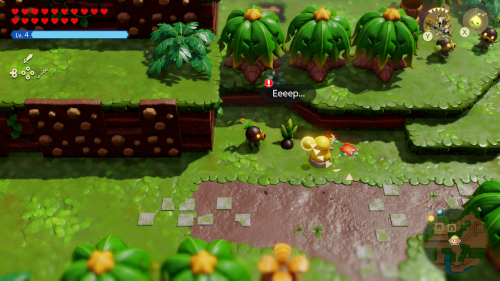
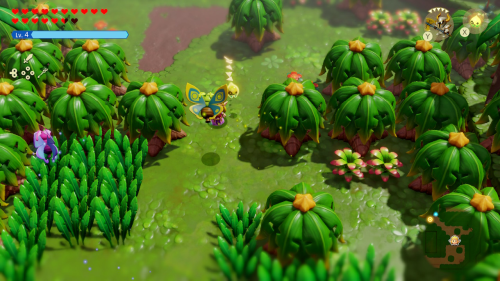
Near the south exit of Scrubton you'll find a Deku Scrub hiding underground next to his friend. Pull him out and speak to him to start a side quest where you'll need to defeat the swarm of Mothulas on the east side of Faron Wetlands. An easy way to defeat them is using an Electric Keese to stun them and then slash away with your sword. Speak to the same Deku Scrub afteward and you'll get 1 Might Crystal as a reward.
Cotton-Candy Hunt
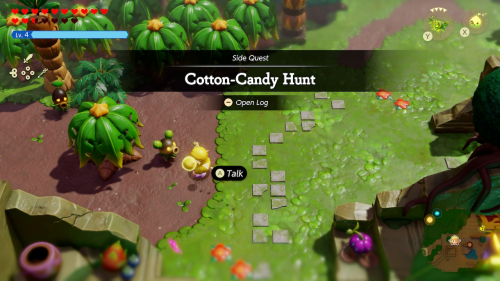
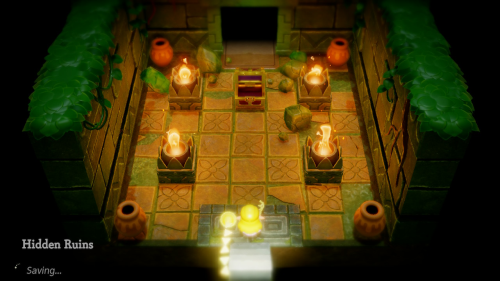
Speak to a Deku Scrub in the northwest corner of Scrubton and tell them you like cotton candy. They are looking for a large piece of Cotton Candy they saw. You'll need to warp over to the Hidden Ruins and complete a small dungeon. See our walkthrough for a full guide of the dungeon. If you haven't unlocked it already, you can find the entrance to the hidden ruins by defeating the Drippitune in the area and lighting the torches on the columns.
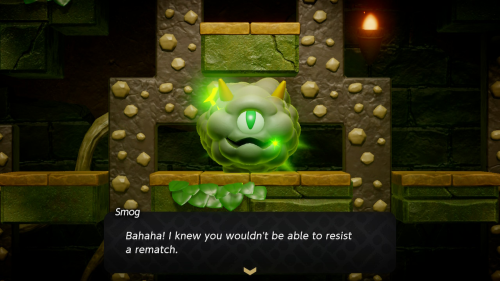
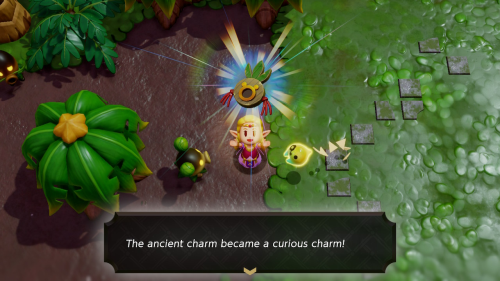
At the end of the dungeon you'll need to defeat the boss, who is once again Smog. Check out our Bosses guide for full details. Once defeated he will leave behind a Heart Piece, a couple monster stones, and many rupees. Return to the Deku Scrub in Scrubton to complete the quest. As a reward, they will transform your ancient charm into a Curious Charm.
Endless Stomach!
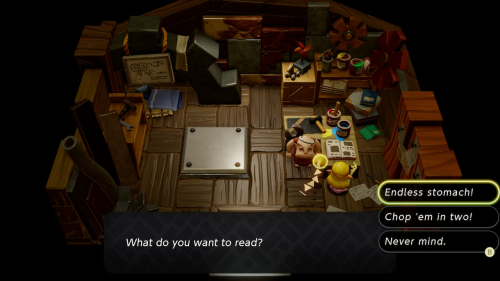
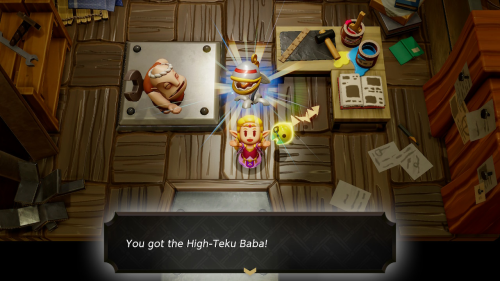
Check out Dampé's journal to get a recipe for a new automaton. You'll need to show him a Deku Baba Lv. 2 echo and speak to him to give him a Steel Trap, which can be obtained from an acorn gathering challenge on the west side of Hyrule Field. Dampé will then make you a High-Teku Baba automaton, a steel Deku Baba that eats anything in its path.
Chop 'em in Two!
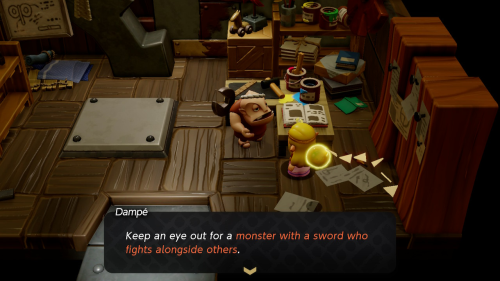
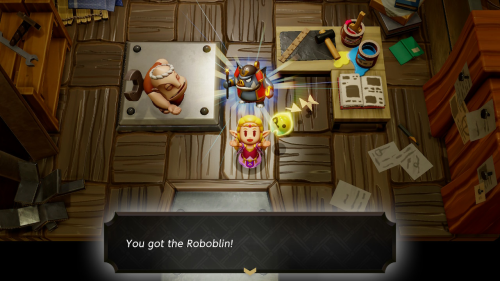
Check out Dampé's journal to get a recipe for a new automaton. You'll need to show him any Sword Moblin echo and speak to him to give him the Heirloom Katana, which can be obtained by completing at least 6 trainings in the Slumber Dojo in Kakariko Village. Dampé will then make you a Roboblin automaton, a powerful swordfighting moblin robot.
Get Rich Quick!
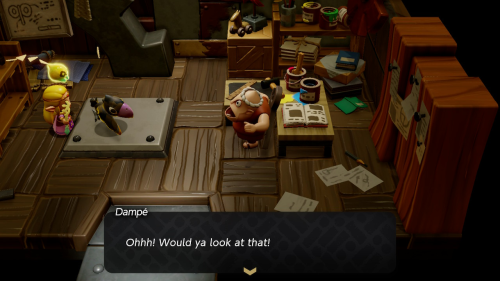
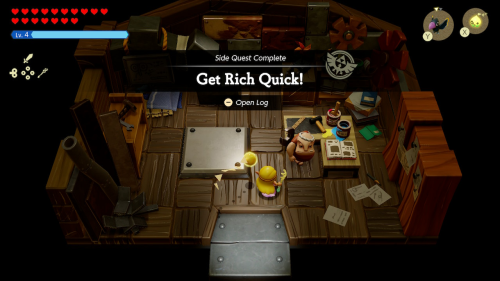
Check out Dampé's journal to get a recipe for a new automaton. You'll need to show him the Crow echo and speak to him to give him the Gold Fan, which can be obtained by completing the Mango Rush minigame at the oasis in Gerudo Desert. Dampé will then make you a Goldfinch automaton, a crow-like robot that steals even more rupees from enemies.
Stamp Stand Swallowed!
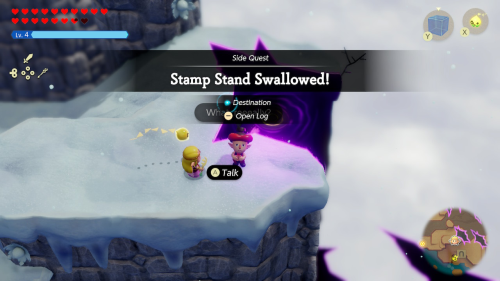
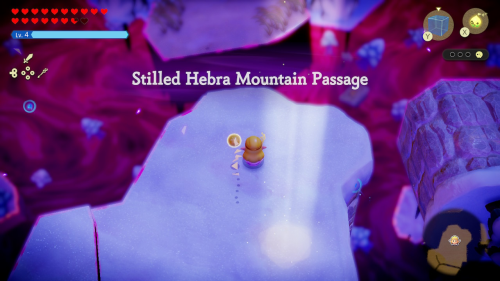
On the far eastern side of the peaks of Hebra Mountain, you can find the Stamp Guy panicking next to a rift entrance. Speak to him to learn a stamp stand here has been swallowed up. Then enter the Stilled Hebra Mountain Passage minor rift where you'll need to free three groups of Tri's friends.
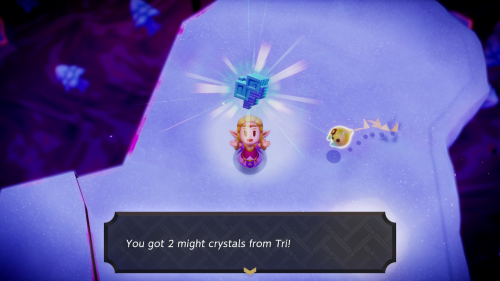
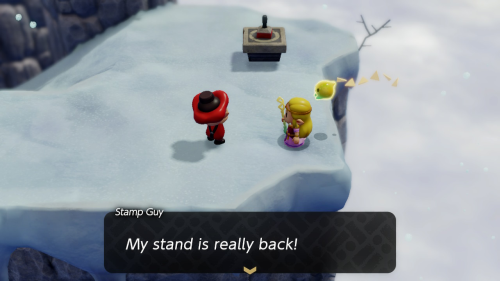
When you return to the surface after mending the rift, the Stamp Guy will thank you and you'll be able to use this stamp stand. There is no reward given for this quest, but you will be able to collect the 2 Might Crystals from the rift and get a stamp.
Snowball Magic
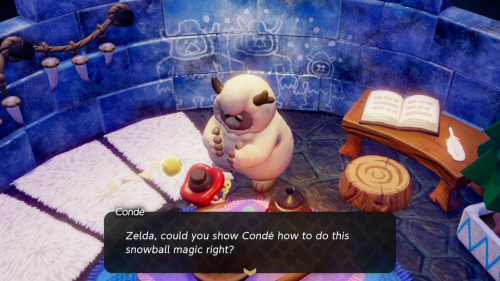
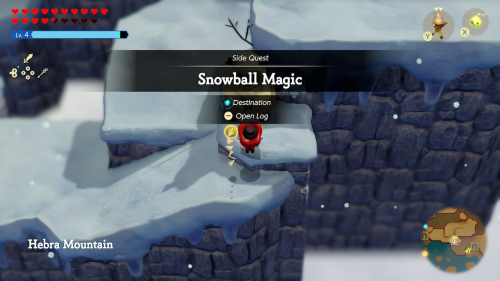
Warp over to Condé's House on Hebra Mountain and enter his home. He tells you there is a magic way to make the mountain sunny again, by carrying a Snowball to a specific area. He'll then take you over to this area to start the quest.
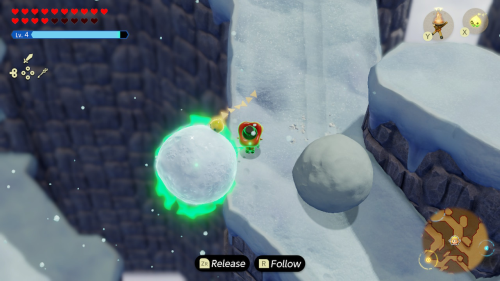
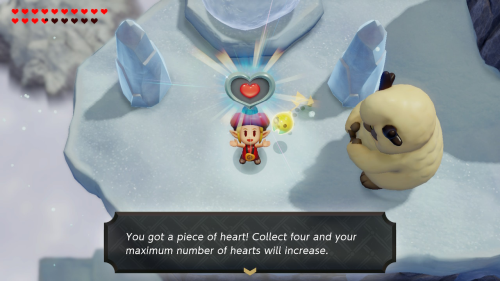
The key to this quest is making sure to bind to the snowball when it is to the left of you. You can then carry it to the west side of the mountain being carefull to dodge all the rolling snowballs. Stick to the far left edge of the path to the pedestal where you can avoid the snowballs and the sparkling snowball is safely off the course. The final snowball you will need to time and make a run for it as soon as the last one passes you. As a reward for completing this quest, Condé will give you a Piece of Heart.
Getting it Twisted
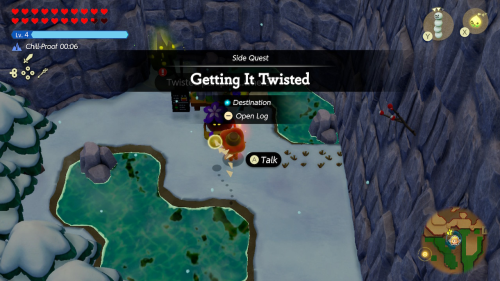
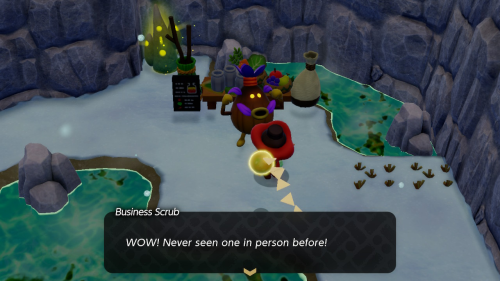
In the first area of Hebra Mountain there is corner in the northeast with a hot springs. This is on the west side of the waterfall and bridge. Speak to the Business Scrub here and deliver him one twisted pumpkin to complete the quest and get a reward of 10 warm peppers.
What is Snow... Really?
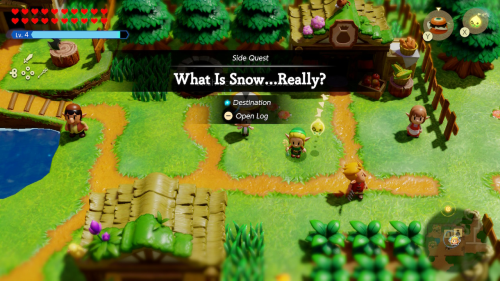
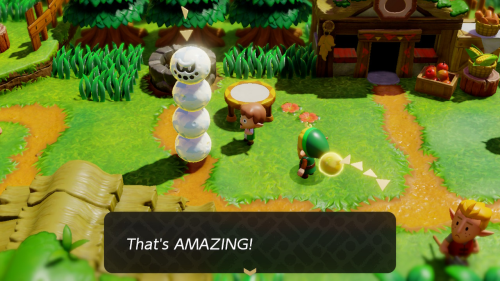
After completing the Hebra Mountain area, return to Suthorn Village and speak to the kid next to the trampoline. He wants to see some snow, so show him a snow echo like the Snomaul or Snowball. You'll get 8 jars of floral nectar as a reward.
Thanks for using our Echoes of Wisdom Side Quests guide!