How to Make it To and Through Faron Woods
Sealed Grounds
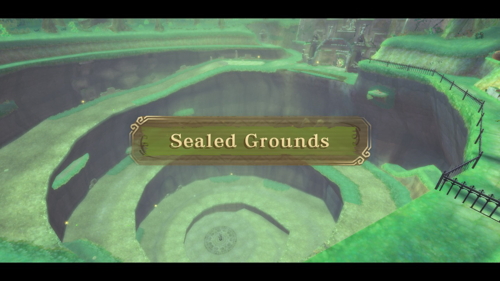
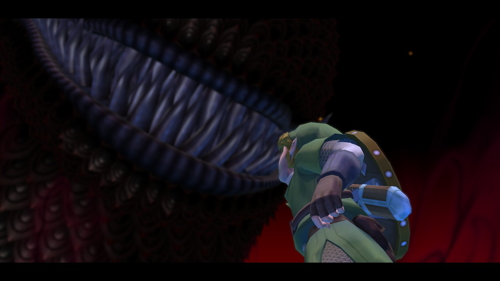
Continue down the path, and you'll run into some Deku Baba. To defeat them, slash your sword in the direction of their mouth opening. Hop down off the ledge, a cutscene will ensue where Link catches a glimpse of Demise for the first time. Make your way down this spiral ramp. You can simply jump off the ledge and use your Sailcloth to get down quickly.
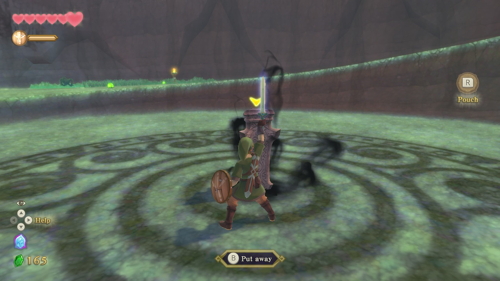
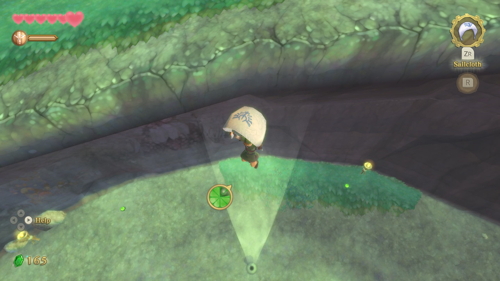
Deliver a Skyward Strike to the object here. Afterward, Fi will introduce the concept of Dowsing. Set your target to Zelda, and you'll see that her Aura is coming from the north, in the direction of the door you may have noticed before. You can use these streams of air to quickly get back to the top of the Sealed Grounds.
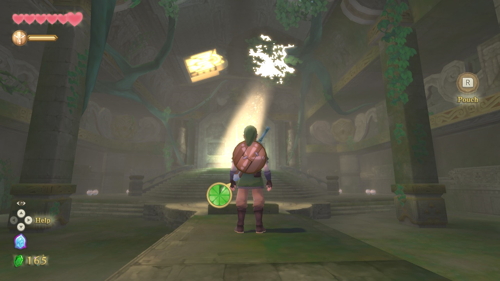
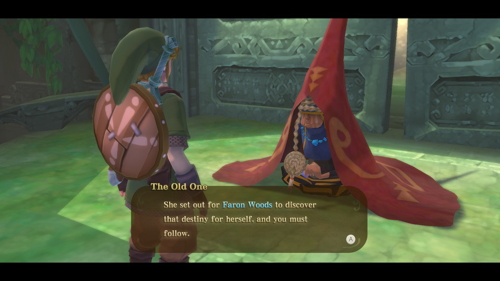
Once back on top, head to the door to the north, which you can now open. Inside the Sealed Temple, you will meet "The Old One." She mentions that she has seen Zelda and points you in the direction of Faron Woods. She also teaches you how to place a beacon on your map.
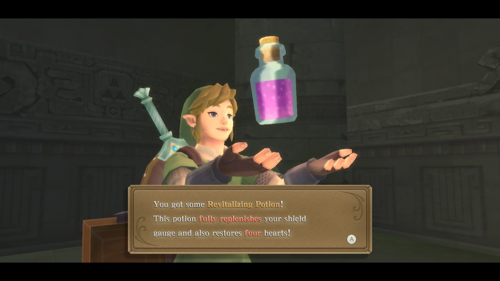
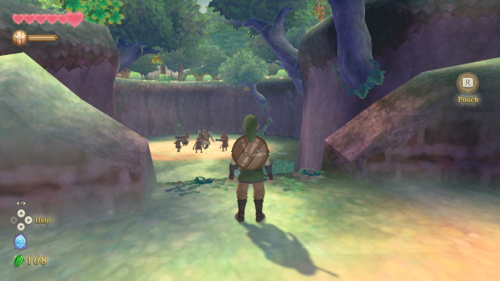
Afterward, open the chest to the right to receive a Revitalizing Potion. This will also get you the second Empty Bottle. Exit the Sealed Temple through the newly unlocked door to the east. Follow the path outside and you'll run into a Goron surrounded by Red Bokoblins. You can defeat these enemies by quickly slashing your sword in the direction adjacent to how they are blocking with their sword.
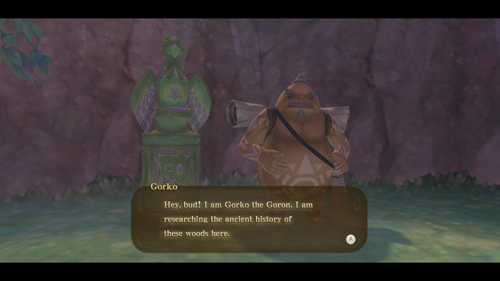
With the enemies defeated, Gorko the Goron will tell you about a new kind of Bird Statue that will allow you to travel between the Surface and the Sky. You should also save at every Bird Statue that you come across, as that activates them for sky-to-surface travel.
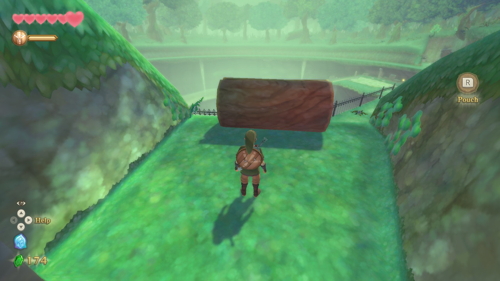
You can roll into the walls nearby to knock down some bugs. You can then collect the Woodland Rhino Beetles, a potion upgrade asset. Climb up the tall vines here and go through the exit. Here you can push down a log to create a shortcut to this area back in the Sealed Grounds. Head back into the area and continue heading east down the path. Roll the log to the high ledge so that you can reach it to climb up. Continue forward into Faron Woods.
Faron Woods
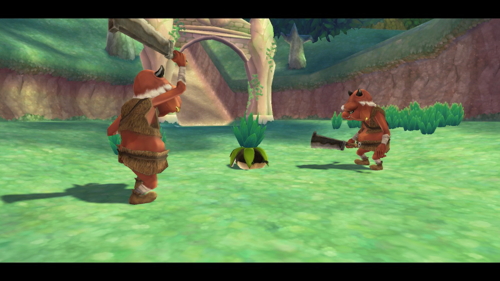
You will now be in the lush forest of Faron Woods. Save with the Bird Statue, and then use the rope here to get across the gap. Continue forward, slashing down the trees in your way. Defeat the two Red Bokoblins ahead to save a new character, Machi. He will quickly scurry off. Chase up the ledge after him.
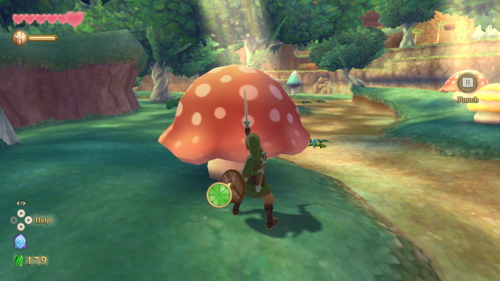
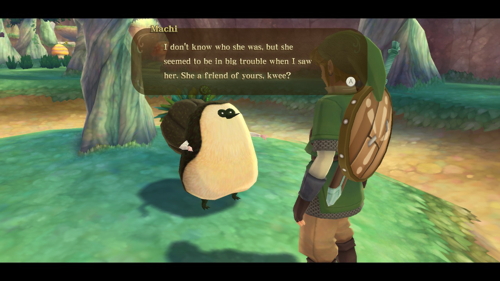
Slash at the big red mushroom ahead, and Machi will scurry off again. Repeat the same process on the next large red mushroom. Now follow him to the central tree. Here he will warm up to you and tell you that Zelda is with the Kikwi Elder. If you use the dowsing ability, it will point you to the east.
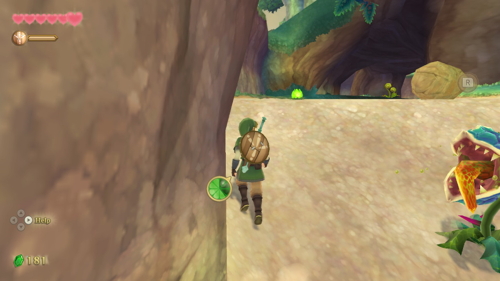
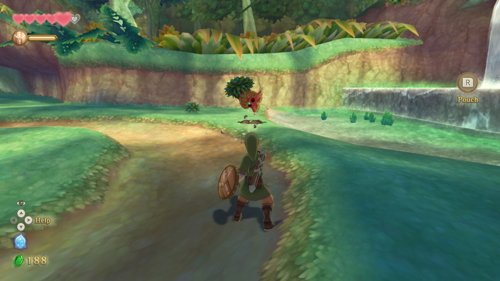
Run up the sandy incline, avoiding the Deku Baba along the way. On top, you can throw a rock down at it to defeat it. In the path ahead, you can pick up your first Amber Relic. In this small area, there are more Red Bokoblins as well as a new enemy that is very familiar to Zelda veterans. These Octorok will shoot rocks at you that can be deflected back with your shield to defeat them.
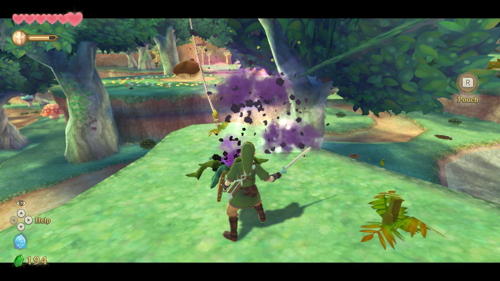
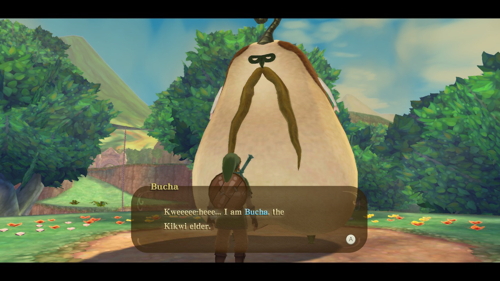
Continue down the path and push the log off the ledge to your right. This will create a small shortcut. Continue forward until you get to a rope connected to the ground. Slash it to free it as a tool to cover the gap here. Swing across to meet the Kikwi Elder, Bucha. He will send you on a quest to find 3 more missing Kikwis, which Fi gives you the option to dowse for.
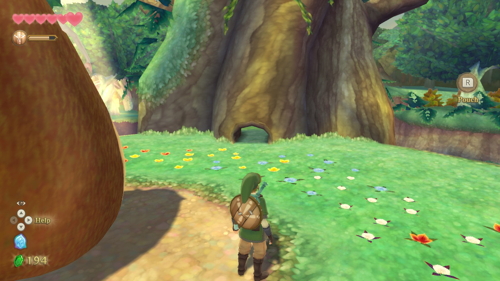
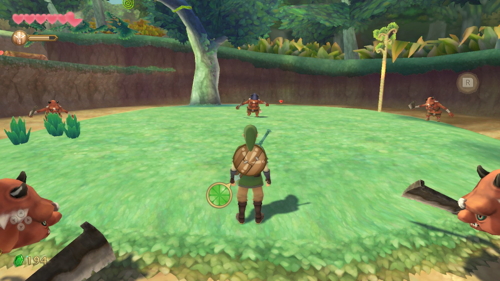
There is a small alcove in the tree nearby. Enter it and climb up the vines. Make your way across the tightrope, where you'll need to balance and tilt to avoid the spiky balls called Myu. Continue forward to find a Red Bokoblin Leader. He will continue to summon other Bokoblins until he is defeated, so target him first. Once all are cleared, you can save the first Kikwi, Lopsa, by rolling into the tree.
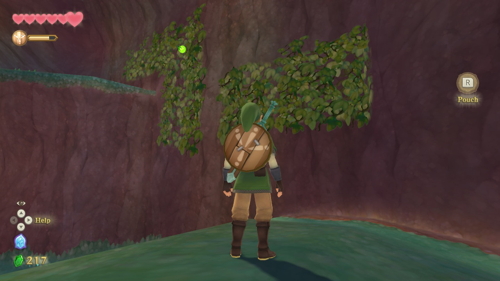
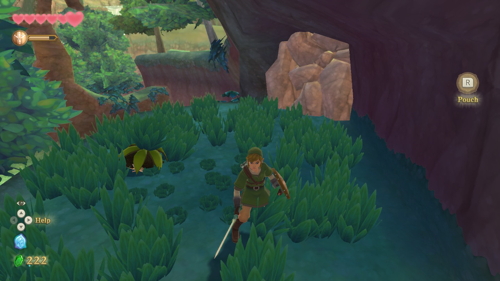
Use the rope here to swing up to the higher ledge. Then push the log down to create a shortcut. On the northern wall of this area, there are some vines you can climb up. Leap across the vines and land on a platform. Cut all the grass here so that the second Kikwi, Erla, will speak with you. Leave this area via a small opening that Link can crawl through to the south.
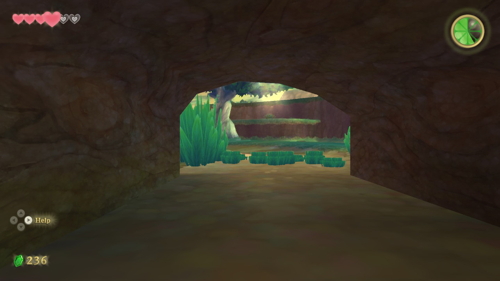
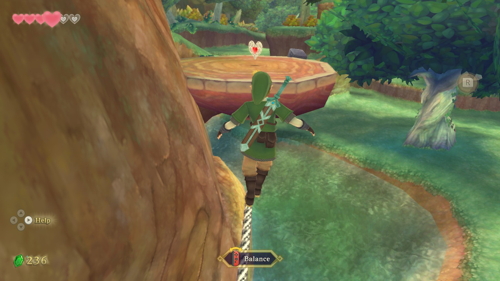
From here, there is a narrow path that takes you to a higher platform. Head left first, and you will see a tightrope that will take you to Heart Piece #1. In true Zelda fashion, you can collect four of these to get a Heart Container that adds another heart to your health bar.
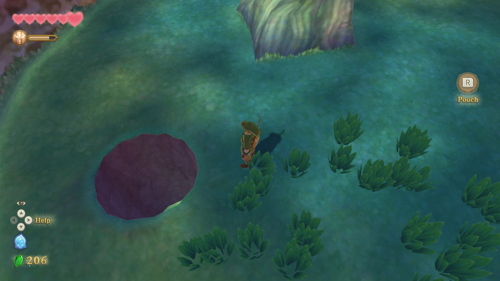
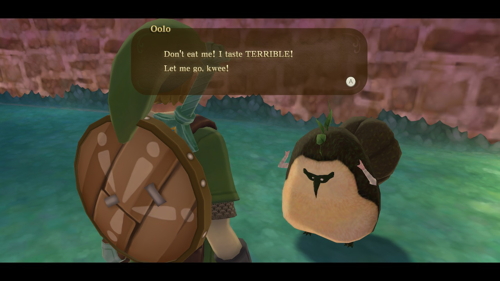
Now head right along the same narrow path. Climb up to the higher platform and drop down the hole in the ground here. Follow this hidden area, and you'll run into the final hidden Kikwi, Oolo. Make your way back to the Kikwi Elder to the south. You can use the same path to get to him before, which will conclude with swinging across a gap with a rope.
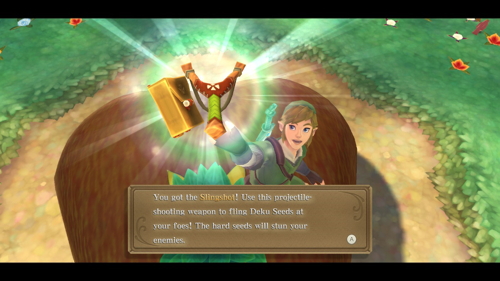
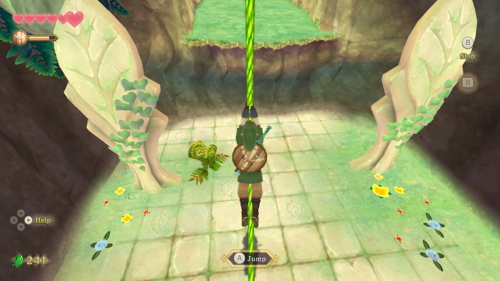
Speak with Bucha, and he will reveal to you that Zelda went to check out a dangerous temple in the area. He will also give you the Slingshot. Use your new weapon to shoot down the vine that Bucha will point you towards.
In this area, you can either use the water or a narrow passage to the right of it to get past the tree. Head towards the temple ruins and climb to the top. Use the nearby Bird Statue to save if you'd like. Use your slingshot to shoot down the vine and use it to swing into the entrance here.
Deep Woods
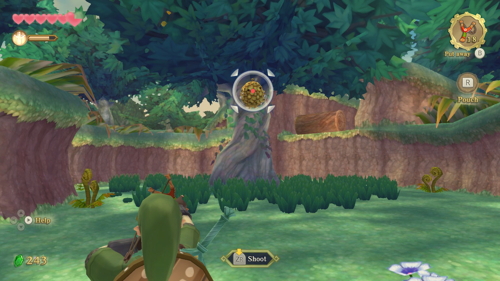
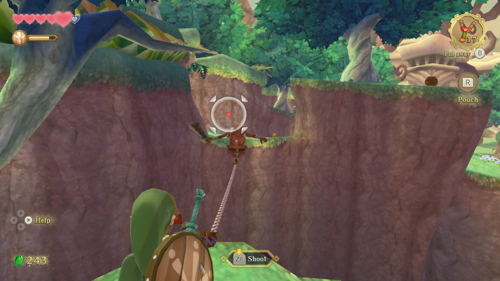
Upon entering the Deep Woods area, you'll need to face off against some Red Bokoblins straight away. Afterward, you can shoot down the hornet nest and get some Hornet Larvae from the nearby tree. Follow the path to a tightrope. Shoot the hornet nest and then cross the tightrope. If the Bokoblin tries to cross the tightrope before you, shoot him down with the slingshot. Take the small path to the left to push a log down to create a shortcut.
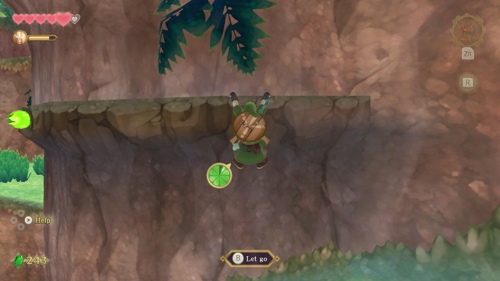
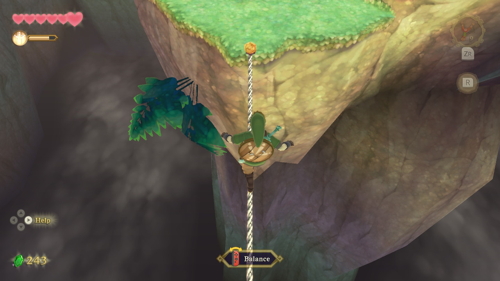
The main bridge is down on the path ahead, but you can use the ledge to the right for an alternative route. When you get to the tightrope, shoot down all the spiky balls. Then shoot the Bokoblin to lure him onto the tightrope. Then give him one more shot to knock him down for good. You can then safely cross the tightrope yourself.
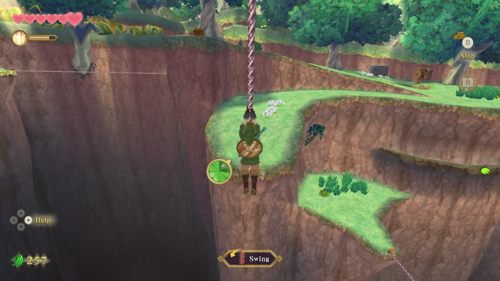
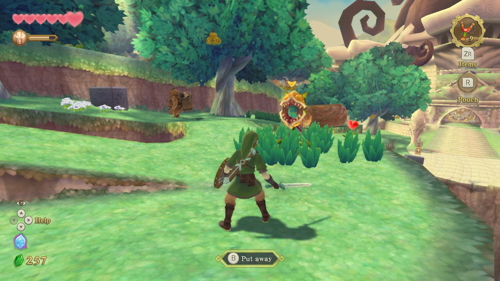
On the other side, you can stop for a rest on the tree stump to heal yourself and then save with the Bird Statue. To cross this gap, make sure to get a running head start and swing high before you release. There is a new enemy here, the Quadro Baba. It's a stronger Deku Baba that can open its mouth horizontally or vertically. Defeat it and then head up the ramp to the left to open a chest for 20 rupees.
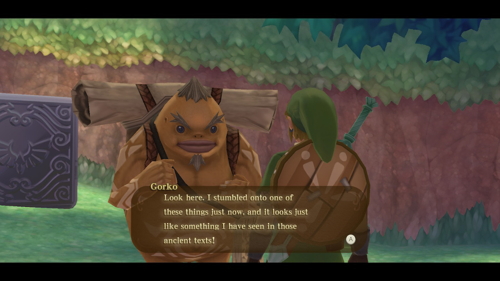
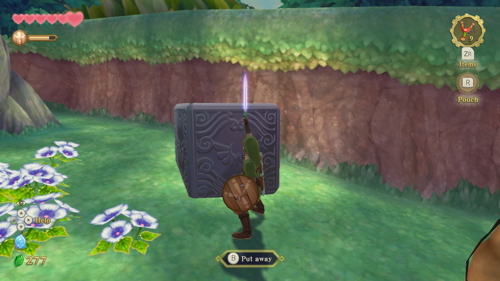
You'll once again meet Gorko here. He will introduce you to Goddess Cubes. Follow Gorko's advice and hit the cube with a Skyward Strike to activate Goddess Cube #1. Each cube is linked to a chest in the sky that can be opened when the cube below is activated. Afterward, push the nearby log down to create a shortcut.
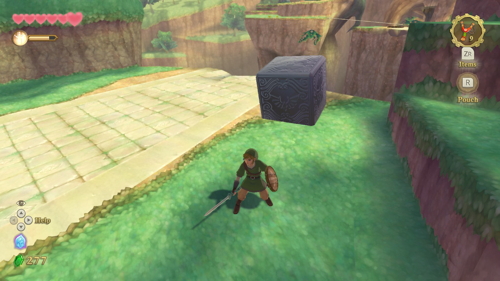
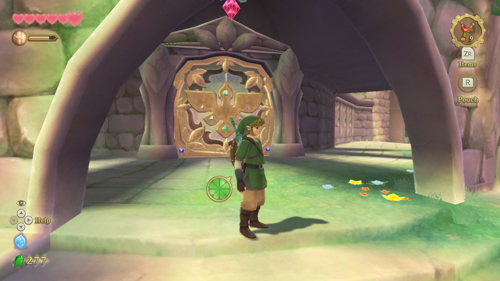
Head down towards the temple, where you will find another Bird Statue and your second Goddess Cube #2. Activate the cube with a Skyward Strike. You can feel free to enter the Forest Temple at this point, but there are some optional goodies to collect up above in the sky, so the next section of the walkthrough will cover those before diving into the first dungeon.
Skyloft Collectathon
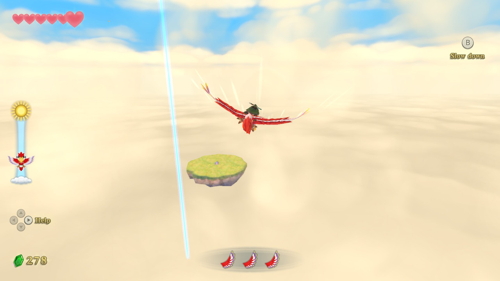
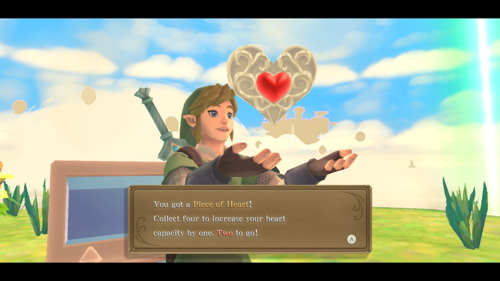
Use the nearby Bird Statue to head back to the sky. Fi will mark the locations of activated chests (from your Goddess Cubes) on the map. First, head to the one that is directly south of Skyloft. Remember, you can place a beacon to make sky navigation easier. This chest is on a little island all by itself. Open it to get Heart Piece #2.
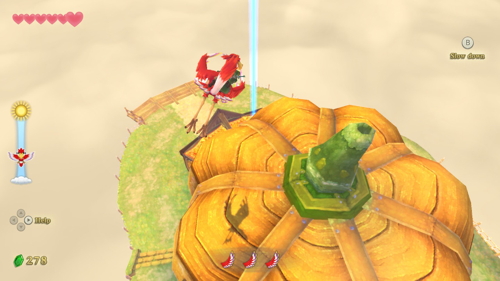
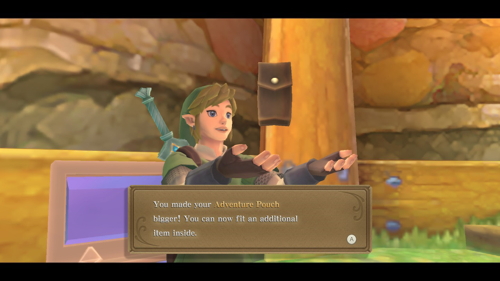
From here, fly to the second Goddess Chest, which is northeast of this tiny island. This island is a little bigger and is known as Pumpkin Landing. Use the Bird Statue here, then head for the Goddess Chest just to the right of the entrance. Open it to get an Adventure Pouch Slot. Next, enter the building here. It's a little pub called the Lumpy Pumpkin.
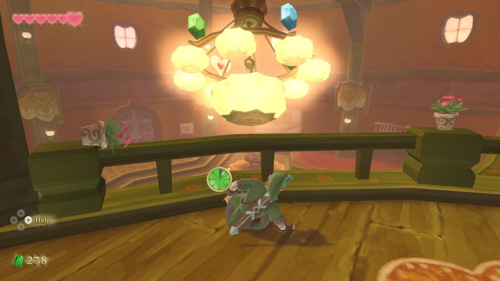
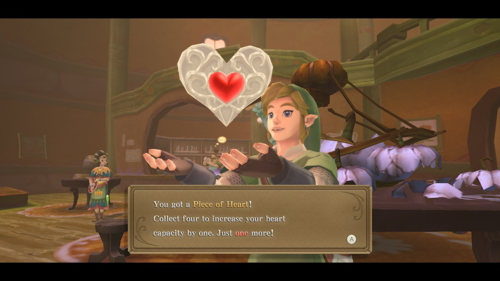
Head to the second floor and roll into the side of the balcony two times. Much to the disappointment of the shop owner Pumm, this will knock the chandelier to the ground. Go down and collect Heart Piece #3 that falls with it. You'll need to speak with Pumm afterward, who wants to send you on a quest for repayment, but it can't be completed yet so ignore him for now.
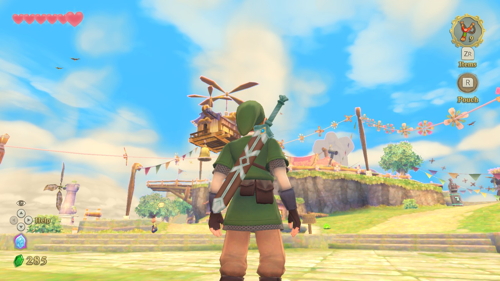
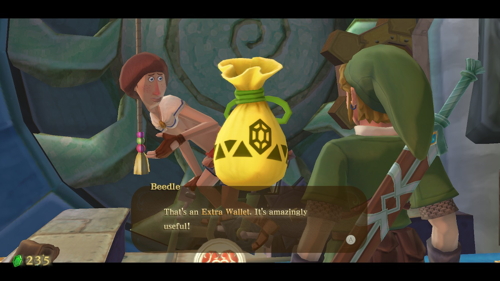
Take to the skies again and head back to Skyloft. Flying around Skyloft is Beedle's Airshop. You can see it on your map, to enter it you'll need to shoot the bell below with your slingshot. This will lower a rope you can climb up. Here you should buy a Bug Net for 50 rupees. For another 100 rupees, buy the Extra Wallet. This will increase your carrying capacity from 300 to 600. You won't be able to afford his other offerings yet, so head out of the shop.
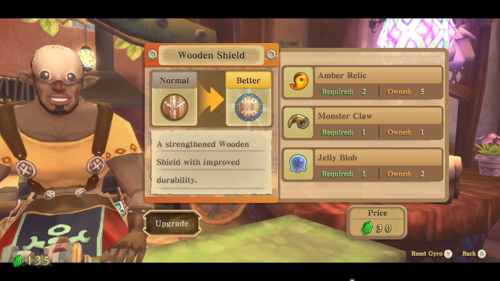
Our final stop is back in the Bazaar at Gondo's Scrap Shop. Assuming you have the ingredients, we are looking to upgrade our Wooden Shield to the Banded Shield. This requires 2 Amber Relic, 1 Monster Claw, 1 Jelly Blob, and 30 rupees.
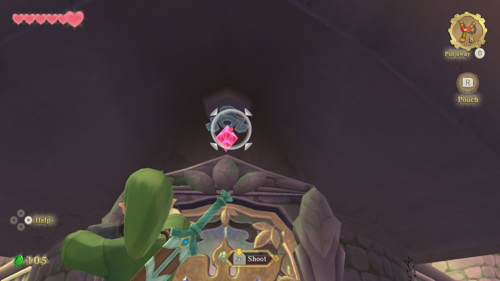
There is nothing else to do up here before the first dungeon, so go ahead and dive into the sky and hop on your Loftwing when you are ready. Fly back to the Faron Woods opening, marked by the green beacon in the sky. Choose to descend at the Forest Temple statue. To enter the temple, you'll need to shoot the crystal switch that is on the ceiling above the door. Enter Skyview Temple when you are ready.
Back to Wing Ceremony Continue to Skyview Temple