How to Complete the Fire Sanctuary
Dungeon Item: Mogma Mitts
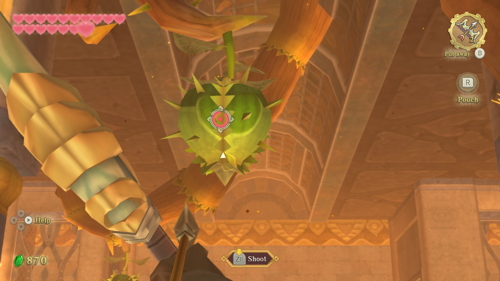
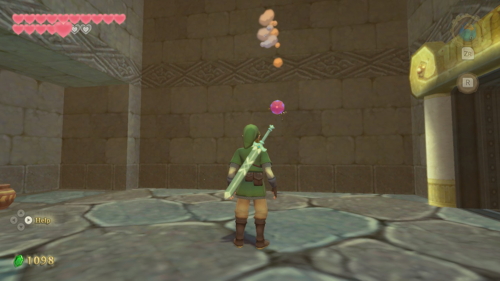
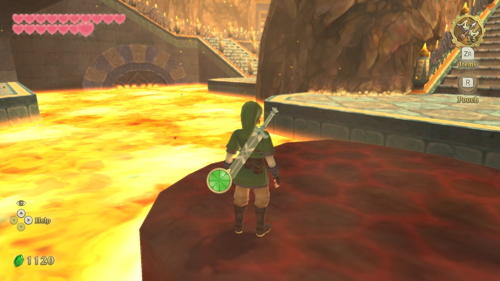
Welcome to the sixth dungeon of the game, the Fire Sanctuary. Start off by shooting the green bulb straight ahead with an arrow. This will drop a large water blob into the lava, creating a temporary solid platform. Use it to cross to the other side. There is another water bulb above, so use this one to create another temporary platform.
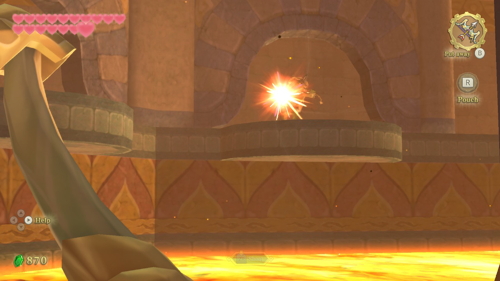
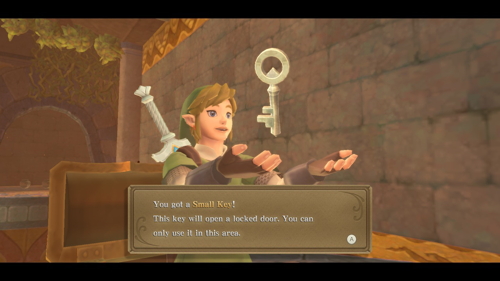
The lava is flowing here, so you can ride this platform to another area of the room. As you do, shoot the Bokoblin Archers before they shoot you. Hop off on the other side and wrap around the stairs. Defeat the Blue Bokoblin here and the gate will open up. You can open up the chest here to get a Small Key.
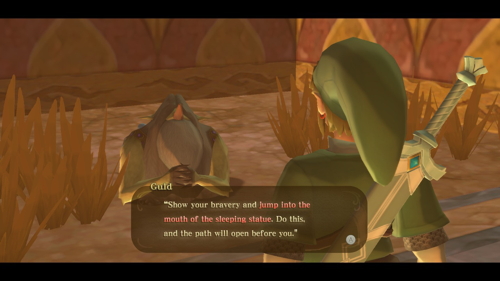
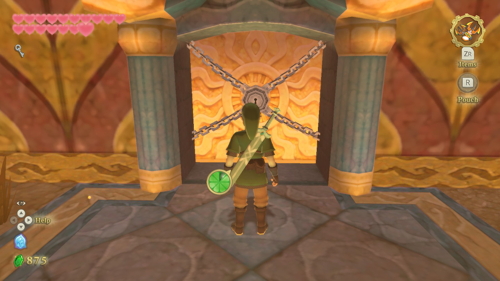
You can clawshot over to the vines on the other side to fill up on arrows in the pots over here if you'd like. When you jump down, you'll be greeted by a Mogma named Guld. He will give you a hint about a hidden treasure ahead. After speaking with him, just head through the locked door in this room.
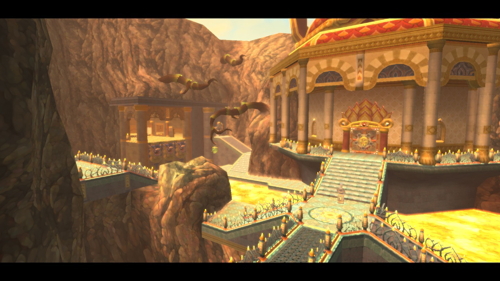
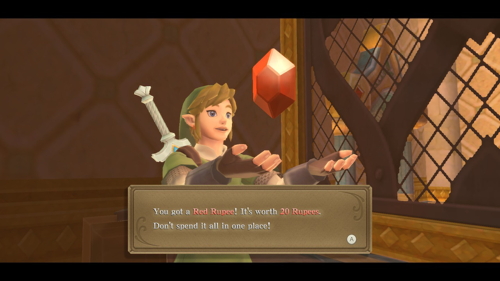
This section of the temple is actually in a vast open area outside. Head right down the staircase, defeating the enemies here if you'd like. Head through this door. Take the left path and open the chest to get 20 rupees and some arrows from the pots.
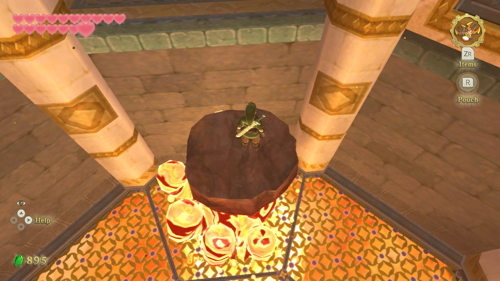
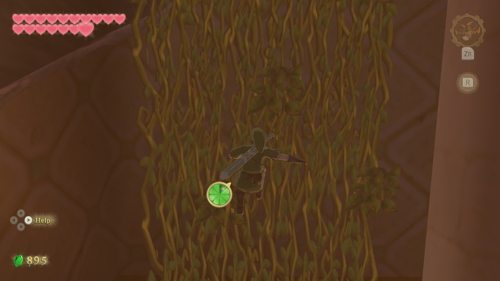
Take the right path now down the stairs. Stand on the stone in the center of this room. A large magma hand called a Magmanos will lift the stone up, allowing you to hop off on another platform. Climb up the vines and defeat all the Bokoblin Archers here, including the ones across the room.
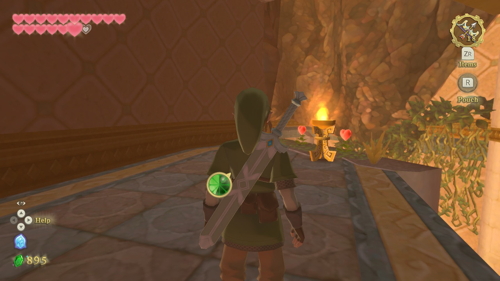
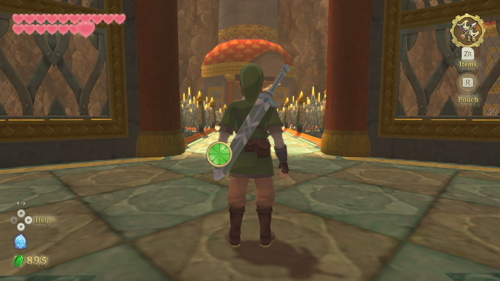
Hop onto the vines and climb to the right. Jump off this ledge and save at the bird statue if you'd like. Continue through the next door. On this narrow platform, you'll face a Dark Lizalfos. It can be defeated in the same way as any other Lizalfos, but will shoot a curse at you instead of fire. Continue through the newly opened door.
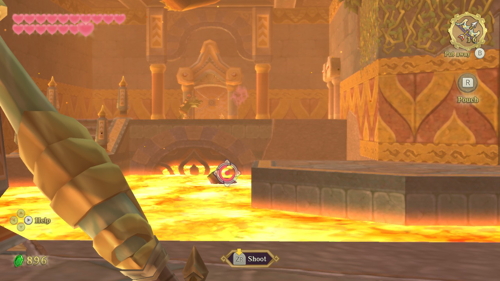
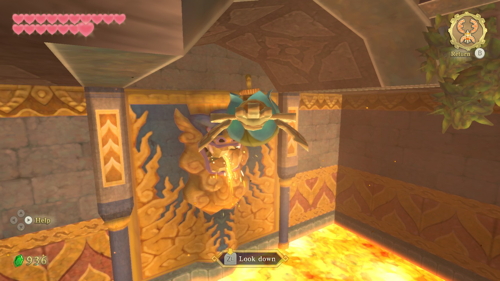
In this room, quickly take out all the enemies you see with your bow to make your life easier. There are also several rupees you can pick up with the beetle on some ledges if you'd like. If you look along the north wall, you'll see a boulder blocking the flow of lava in a statue's mouth. You'll need to send your beetle straight ahead and curve right into the little passage at the top of the room. Grab a bomb here and blow up the mouth to allow the lava to flow.
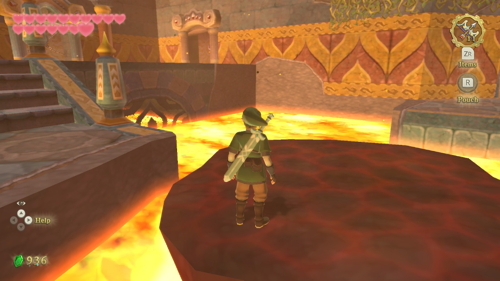
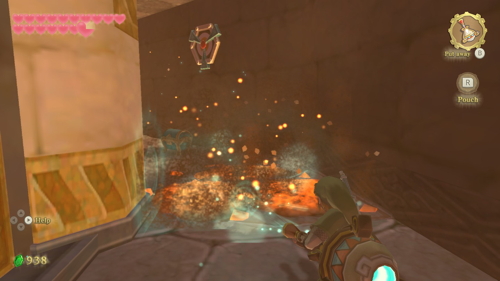
Now you can shoot down the water bulb and use the platform to get to the other side of the room. Enter the door to the right. Here you'll find the Mogma Silva in a rather interesting predicament. Ignore him for now and continue along the right side of the room. There are piles of hot ash on the floor that can be cleared with your gust bellows. You'll find a chest here containing a Small Key.
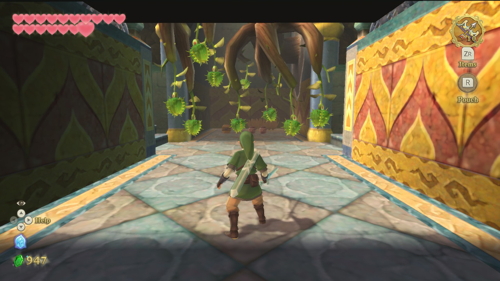
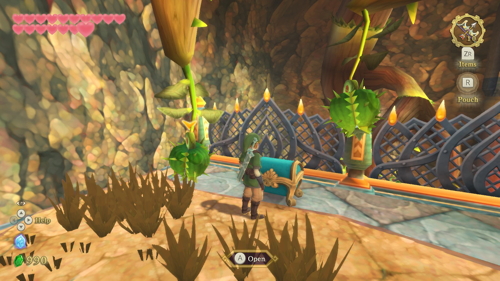
Exit this room and use your key on the locked door to the right. Continue forward here, being careful not to hit the spiky water bulbs. On the lower floor of this room, you'll find a chest containing 20 rupees. If you head up the stairs you'll find another chest containing a random treasure.
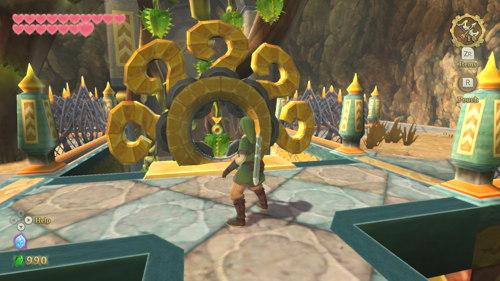
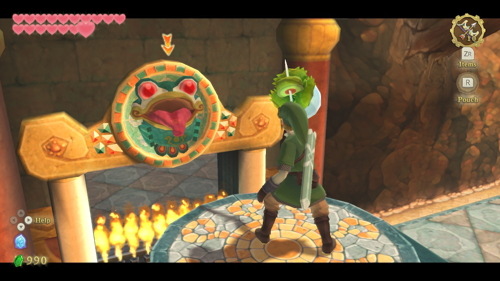
Thrust your sword into one of the spiky water bulbs here to create a skewer on your sword with a water orb. You can then face the frog mouth and swing your sword to launch the bulb into it, getting rid of the fire wall. Head through the path we just cleared and use the bird statue if you want. Otherwise, go through the door ahead.
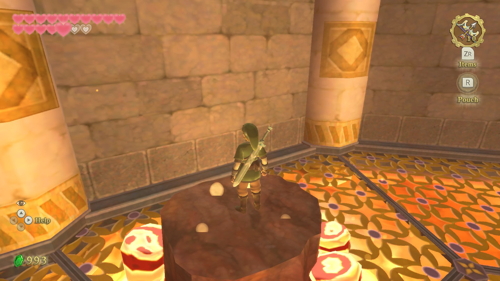
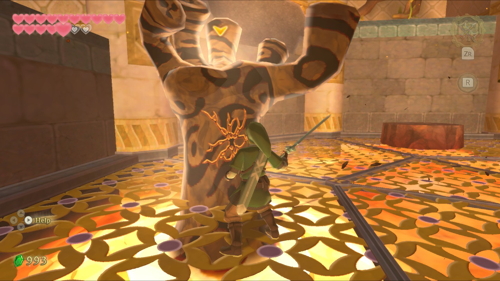
The door will lock behind you here. There is a circular metal grate floor that Magmanos will rise from. This pair of Magmanos is the dungeon's mini-boss. Hop onto the left stone and wait for a Magmanos to lift you up. From here, you can thrust your sword into a water bulb. Bring this back down to the floor and when a Magmanos emerges, fling the water at it. It will harden and can be crumbled by your sword. Repeat this process for both hands.
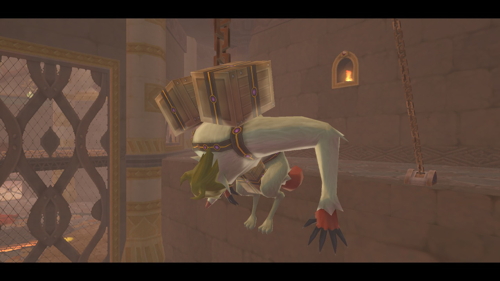
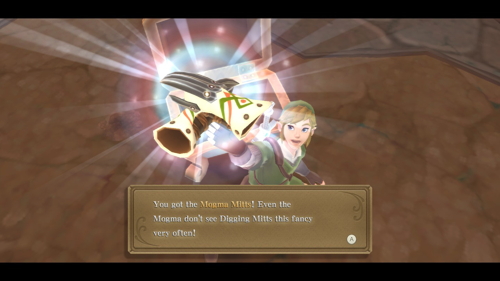
The lava in this room will fall, so go through the door on the ground level. Here you can head down the stairs and pull down the lever with your whip. This will free Silva, who is grateful enough to give you some Mogma Mitts. This dungeon item will allow you to burrow underground like the Mogma.
Dungeon Map
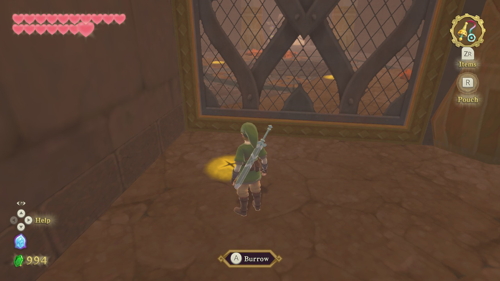
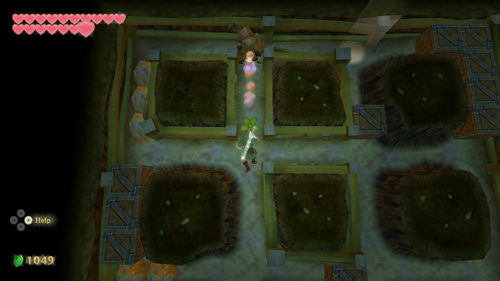
We will make quick use of this new item at the soft spot in this room closest to the grate. Dig here and you will find yourself in an underground tunnel system. You can break your way through the small rock piles here and collect many rupees. Launch the bomb upward into the larger rocks to blow them up. You can resurface where the light is shining down.
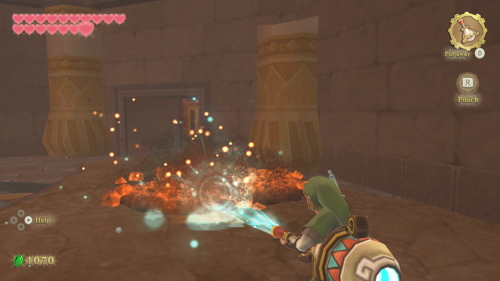
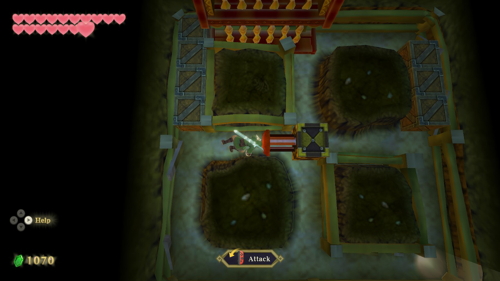
Use your gust bellows to clear away the hot ash in this room. Underneath one pile you will find a soft spot that you can burrow into. There is a switch you can press in the tunnel here to move a gate over in the room above. Resurface and head up the stairs and through the next door.
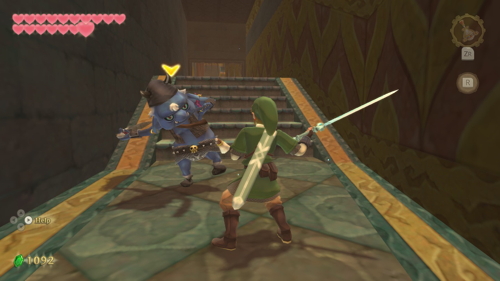
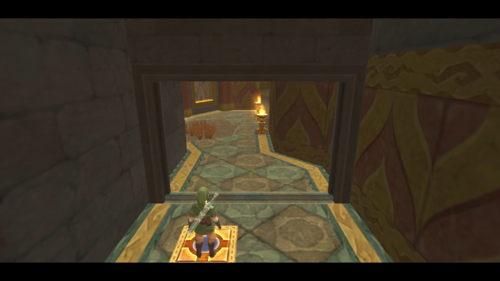
Head to the right and defeat the Bokoblin, then step on the floor switch. This will create a small shortcut. We actually want to take this shortcut left and backtrack a little so that we can pick up another empty bottle. Head back across the bridge and go through the door.
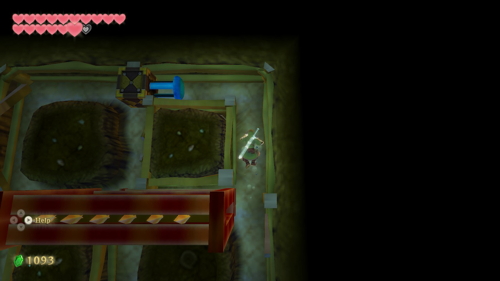
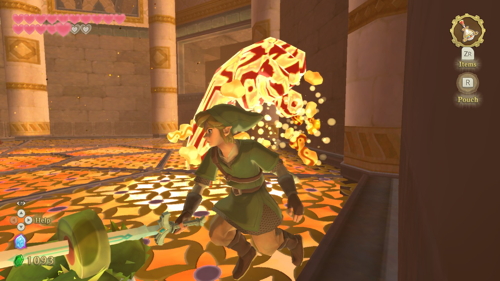
Dig in the soft spot to the left to burrow underneath. Press the switch here to move over the gate. Once resurfaced, continue down the path and step on the floor switch here to open another gate. Pierce a water bulb here and bring it with you to the circular grate area. Use it to defeat the Magmanos here and the lava will drain from this room.
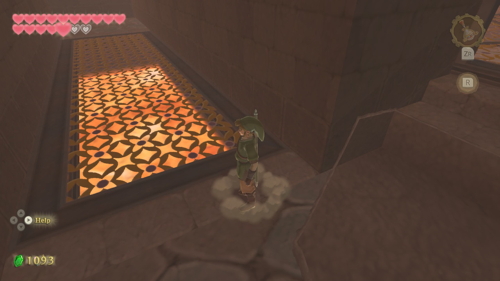
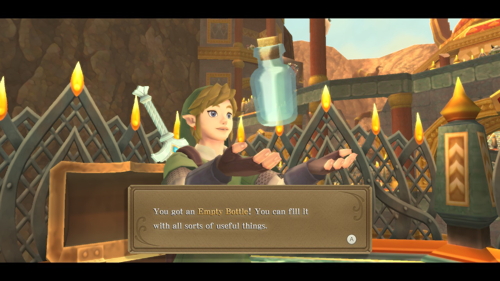
With the lava gone, you can head down the path on the west side of the room. Go through the door and you'll find a chest on a balcony outside. Open it up to get Empty Bottle #4. Now we want to go back the way we came, crossing the narrow bridge outside. Take a right to get back to where we started this detour.
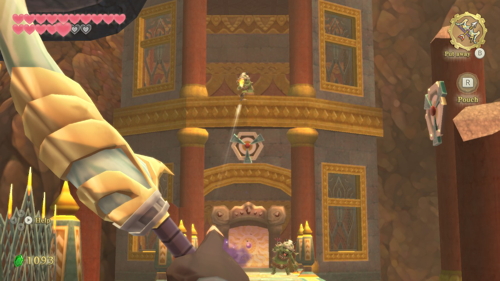
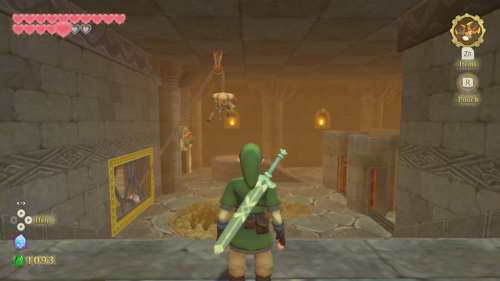
Defeat the Bokoblin Archers on the other side of this bridge. You can then use your clawshots to cross the gap in the bridge via the nearby targets. Enter through this door. You'll once again find a Mogma dangling from the ceiling in this room. This one is named Bronzi. There is a soft soil spot in this room, so go ahead and burrow into it.
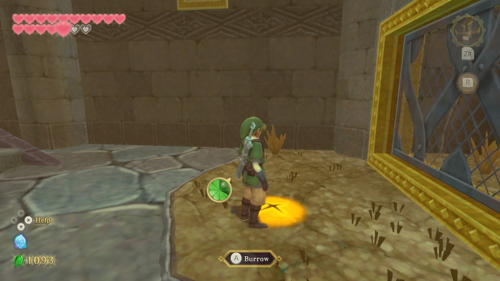
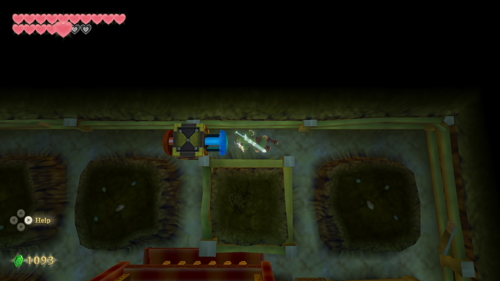
This tunnel can be slightly confusing since it will be oriented differently depending on how you entered the tunnel. If the small dead-end is on top of your screen, then you'll want to hit the left switch in here first, followed by the right switch.
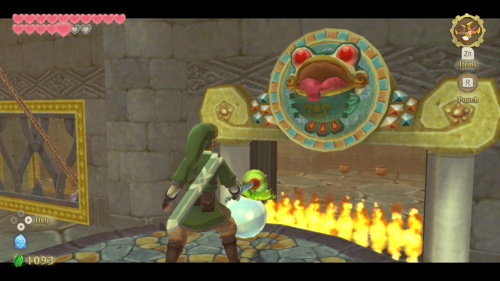
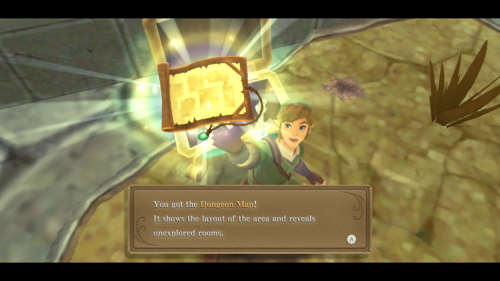
Resurface and go through the gates that were just opened. You can pierce the water bulb here and use it on the nearby frog mouth. This will extinguish the fire wall. You can then pull the lever in the adjacent room to free Bronzi from the trap. As a reward, he will give you the Dungeon Map.
Boss Key
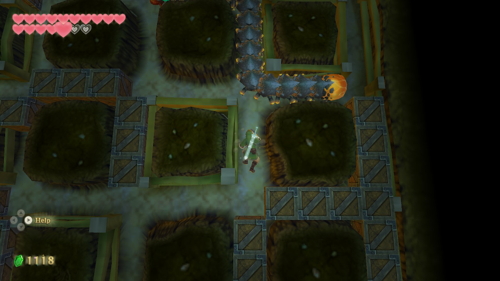
Bronzi hinted that there was a secret room nearby. To find it, place a bomb along the west wall of this room. It will reveal a small room where you can burrow underground in a soft spot. You'll find a new enemy down here, a Moldorm. It has a weak spot at the end of its tail that you'll have to hit three times to defeat it.
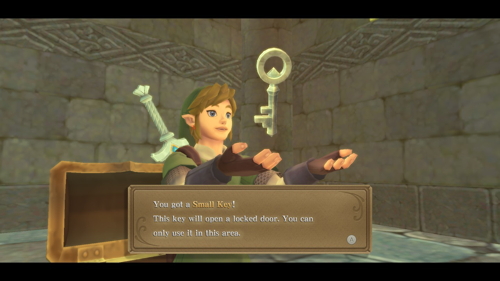
Resurface at the other exit in this tunnel to a small room. Inside you'll find a chest containing a Small Key. Climb up into the opening in this room and follow the path back to the previous room. Exit through the door here and clawshot your way back across the bridge. Enter this door and you'll be back in the room with the locked door and bird statue.
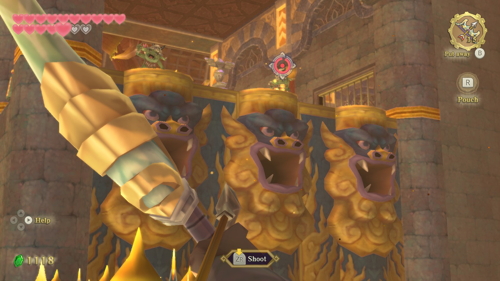
Now that we have the key, head through this locked door. Continue to the right on the path with the staircases. When you get to the lava pool, look to your left and right and take out these enemies with your bow. Shoot down the water bulb and use the temporary platform to get across. Head up the stairs and enter the door.
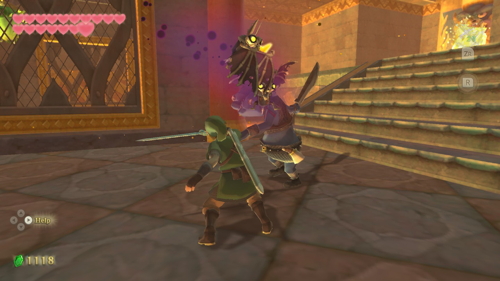
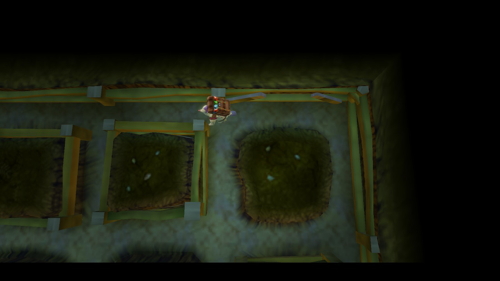
Defeat the enemies in this room and head up the stairs to the right. Take out the enemies in the lava from a distance. You will find a soft spot nearby that you can burrow into. Inside this tunnel system, you'll see a Mogma named Plats. He thinks you are a scary monster, so when you hit the nearby switch, he will come over and hit it back the other way.
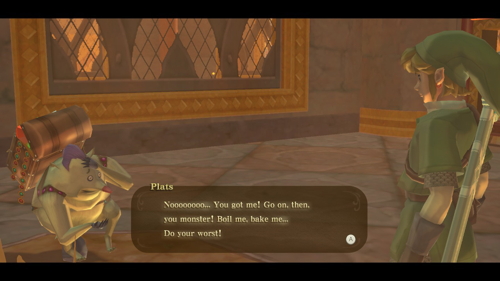
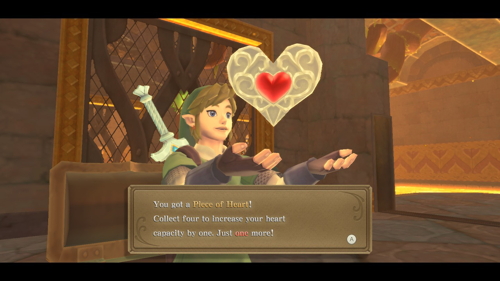
You'll have to catch him by cutting him off in his path. Once you do, you'll both resurface and he'll apologize and open the gate for you. He'll also leave behind a chest containing Heart Piece #19. Shoot down the water bulb and ride the temporary platform over to the other side.
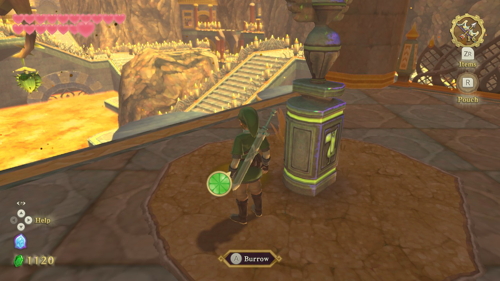
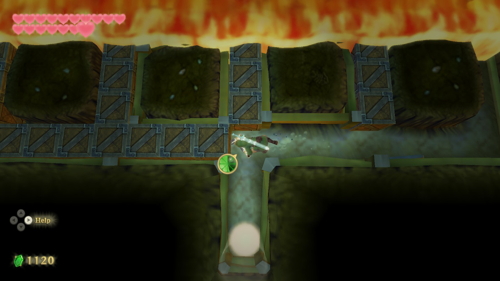
There is a bird statue over here that you can use. Step on the floor switch to create a shortcut, then burrow down into the soft spot next to the bird statue. In these tunnels, crawl around until you find the bomb that you can use to blow up the nearby boulder. This will start the flow of lava, so you'll need to crawl as fast as you can back out of here to escape before it gets to you.
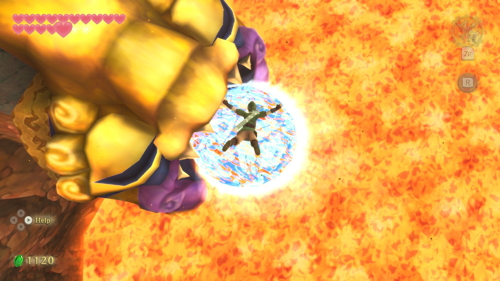
Head through the opened gate and right through the door. Now that the lava is flowing here, you can shoot down the water bulb and ride a temporary platform to the other side. Climb up the stairs onto the bridge here. Take a right on the bridge and you'll find a platform that you can jump off either side of. Choose the left side and glide down to the statue's mouth, where a platform will appear.
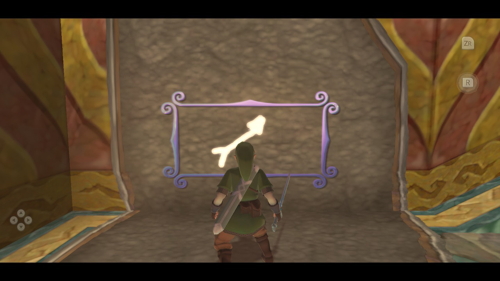
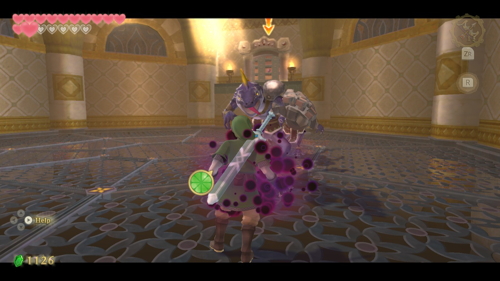
In this corridor, there is a place you can play your harp to draw on the emblem and get some goodies. Climb up the stairs and go through the door. The door will lock behind you, and you'll be approached by two Dark Lizalfos. Take them both out, being careful not to get cursed. Climb the ledge and head through the newly unlocked door.
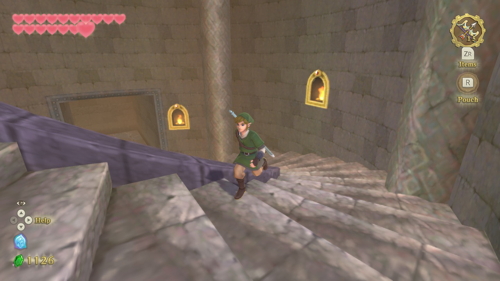
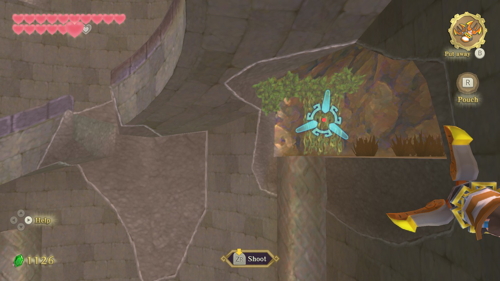
You'll enter a circular room with a spiral staircase. Start heading up the stairs until you get to the large gap. There are a number of Keese here that may give you trouble, so take them out with your scattershot if you have it. Clawshot over to the vines, and then look to the opposite side of the room. There will be more vines you can clawshot to, where there is a chest containing a random treasure. Clawshot back over and climb the rest of the spiral staircase, then go through the door.
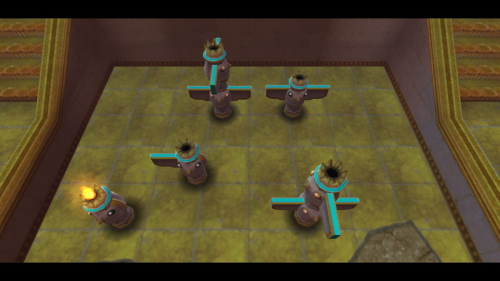
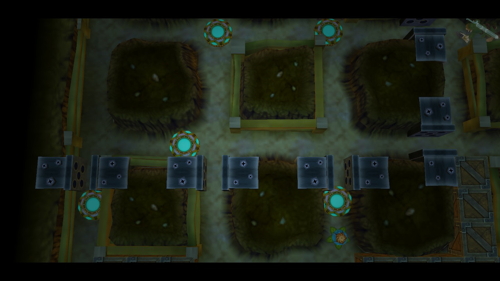
The stone tablet in this room gives us the solution to this puzzle. We need to light each of the statues in order, based on the number of wings it has. To do this, we'll need to burrow underground in the soft spot. There are a number of orange switches down here that you can activate by crawling across. Each corresponds to the statue directly above it. Remember that you can hold "ZL" to get a glimpse of what is above you.
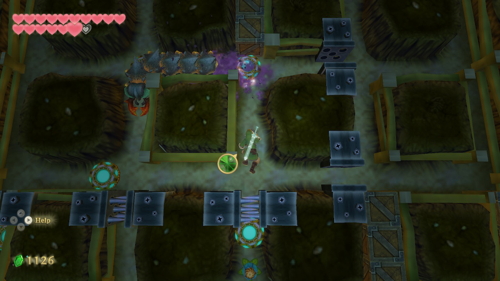
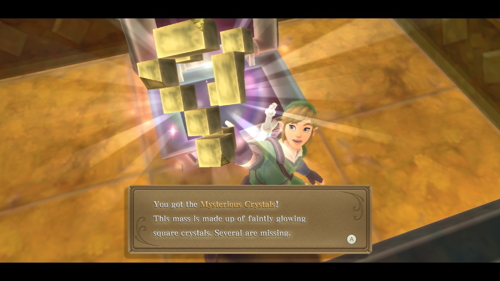
After hitting each switch in the correct order, some spikes will close you in and you'll need to defeat a Moldorm. Hit the weak spot on its tail three times, just like before. Once it's defeated, you can resurface. The gate blocking the chest will now be open, so open it up to get the Mysterious Crystals, the boss key of this dungeon.
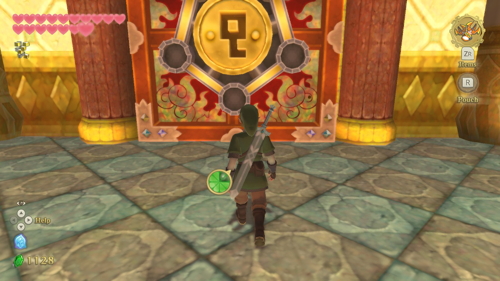
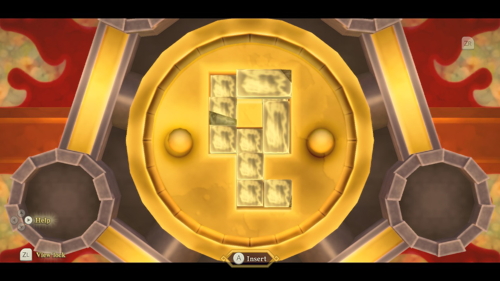
Exit this room via the door up the stairs on the west side. In this little area, there are several pots with goodies, one of which contains a fairy. Step on the floor switch and continue forward to the bird statue, where you should save. The boss door is just to the right, so insert the key when you are ready.
Dungeon Boss: Ghirahim
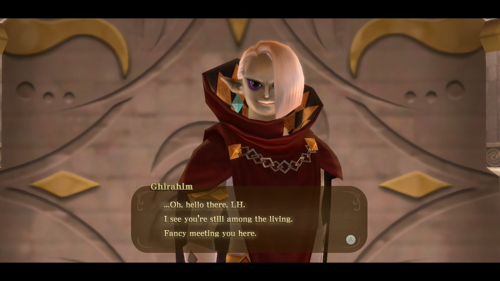
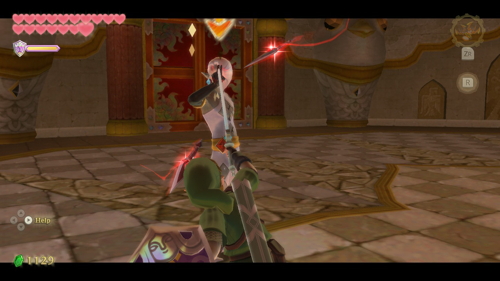
When you enter the room, another cutscene with Ghirahim will occur. Eventually, the battle will begin and he will fight you himself. During this first phase of the battle, Ghirahim will summon little floating diamond blades. If you are close to him, these will block your sword slashes in particular directions. In order to hit him with your slashes, you'll need to strike between the blades, however, they are oriented.
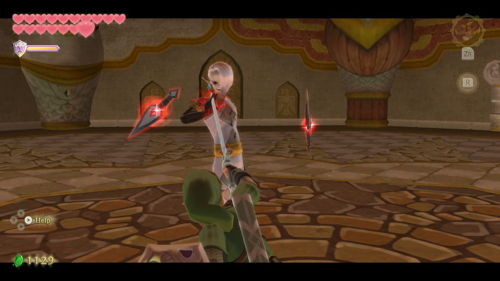
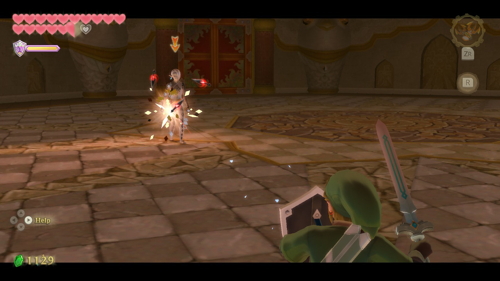
However, he can also catch your sword with his hand. So you'll need to bait his hand to one direction, and then quickly swipe in the opposite direction. This can be very difficult to do, especially with imprecise motion controls.
When you are far away from him, Ghirahim will shoot one of his diamond blades at you. This provides a much easier (albeit slower) alternative to damaging him. You can simply deflect these blades with your shield and they will damage him instead.
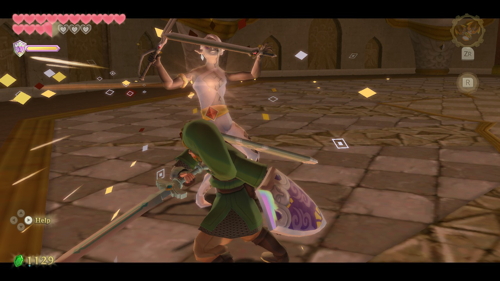
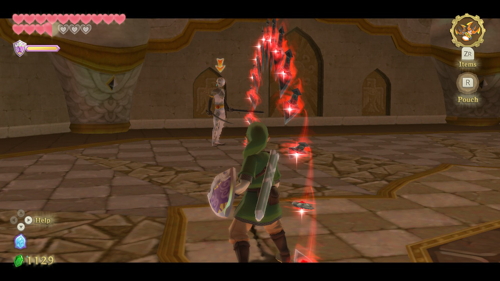
During phase two of the battle, Ghirahim will use two swords instead. He will use these two blades to defend himself from various angles, and you can attack the exposed angles much like most of the enemies in this game.
He will also summon his diamond blades around you, either in a circular pattern above you or all around you. You can quickly get rid of these with either a vertical or horizontal spin attack. Just rinse and repeat hitting him with your sword when he is vulnerable and he will eventually be defeated.
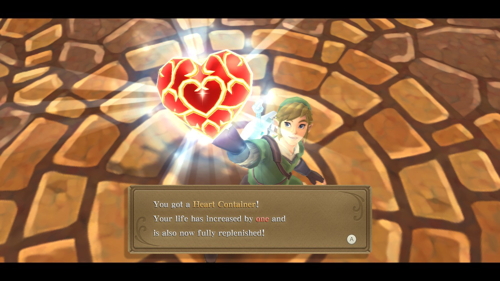
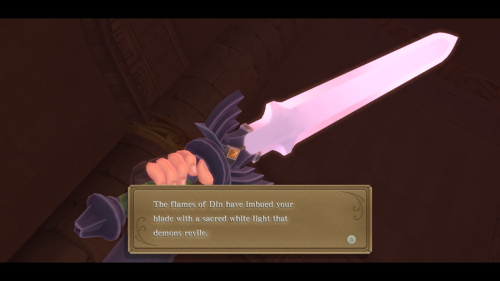
When the battle is over, make sure to pick up the Heart Container. Head through the glowing door ahead. Deliver a Skyward Strike to the emblem in this room. During this next cutscene, your sword will be powered up again, becoming the Master Sword. This will allow us to open the Gate of Time in the Sealed Temple. That'll be our goal in the next part of this guide.
Back to Volcano Summit Continue to Gate of Time