How to Get All Parts of the Song of the Hero
Sealed Grounds
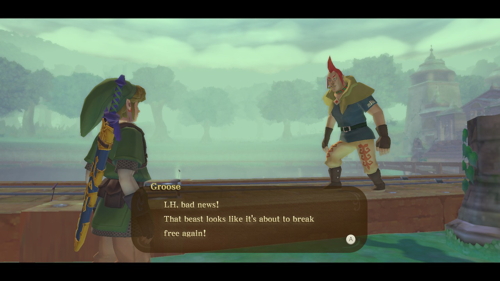
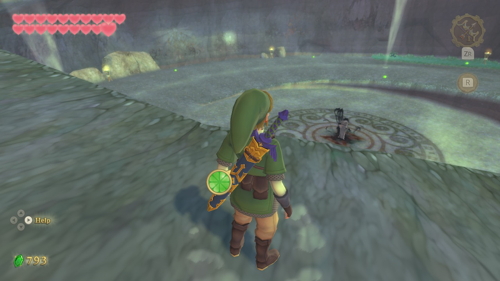
The main quest now takes us to the Faron region. Fly on over and land at the Sealed Grounds. A cutscene will immediately start and The Imprisoned appears to be breaking its seal once again. Make your way to the bottom of this pit to take him on for the third time.
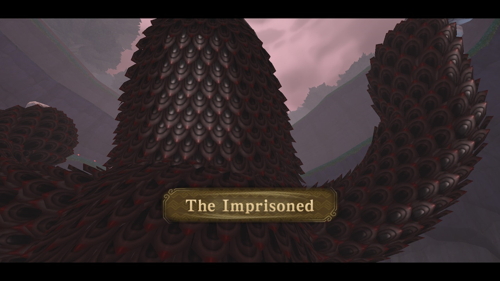
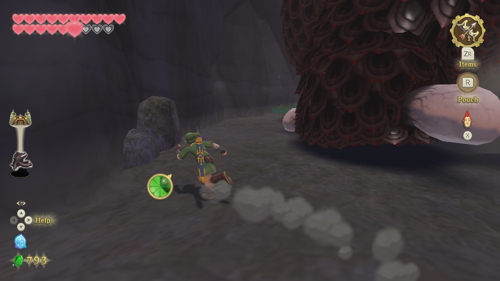
The first phase of this battle should be very familiar. The Imprisoned will slowly make its way up the ramp and his toes are the weak spots. He now has a large tail that will damage you and the shock waves his feet send out are larger. A good strategy is to use the Groosenator to stun the beast for a moment, giving you time to slash many toes at once.
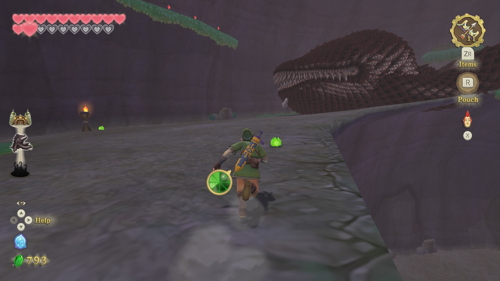
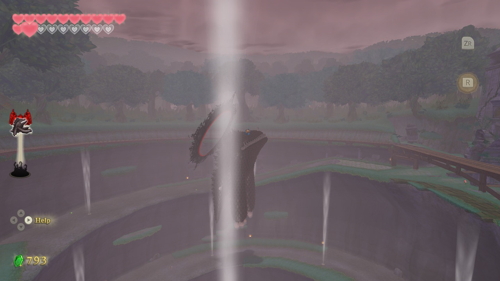
Once all the toes have been taken out, The Imprisoned will fall over. Make your way to its head and slash upwards at the spike three times. Once you do, The Imprisoned will actually start flying upwards. Use the Groosenator once again to knock him out of the air. You can then strike the spike again.
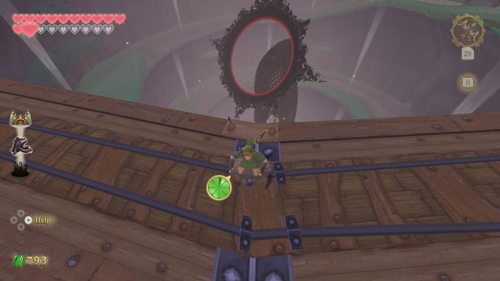
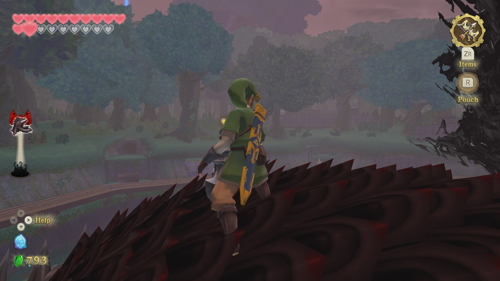
The Imprisoned will begin flying again, but Groose will run out of bombs. Quickly make your way to the top where Groose is by using the air streams. You then need to launch yourself in the catapult, aiming for the top of The Imprisoned's head. Once you land, strike the spike three more times. Back on the ground, deliver a Skyward Strike to the spike to seal the beast once again.
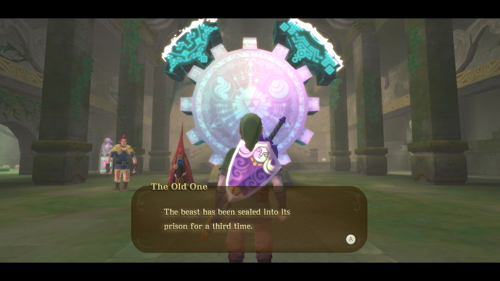
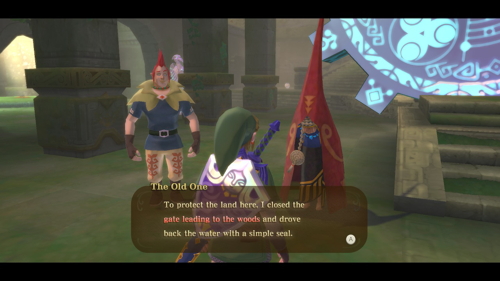
Afterward, use the air streams to make your way back to the Sealed Temple. Speak with the Old One and Groose here to learn that Faron Woods, our next destination, has been flooded. The only way to enter is to have Groose fling you over the gate in his catapult. Exit the front doors of the temple and hop into the catapult to enter the Flooded Woods.
Flooded Woods
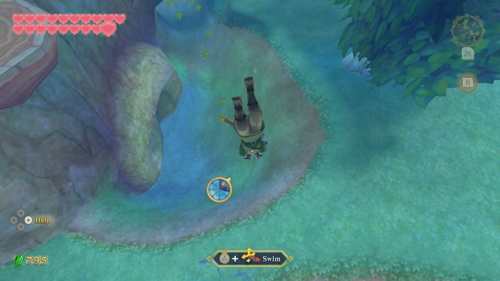
Once in the Flooded Faron Woods, you can speak to Bucha (giant Kikwi) nearby to learn that the water came from the base of the tree. Swim down to the base of the tree on the south side and enter the tree here. Swim all the way up to the top of the tree, which is now mostly flooded.
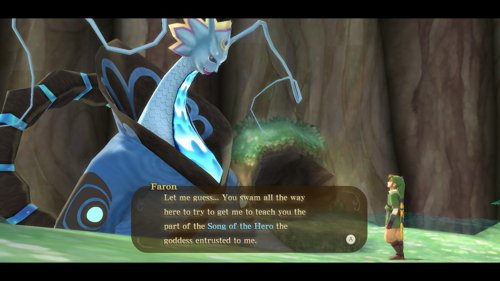
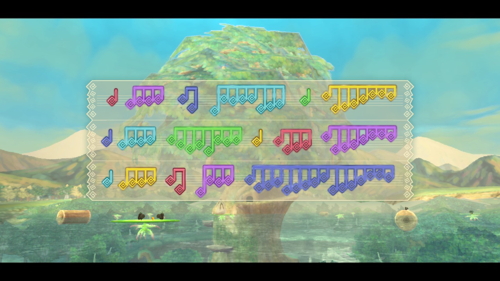
Here the water dragon Faron will appear. Apparently, she flooded the woods to get rid of the monsters. She offers to teach you her part of the Song of the Hero if you complete a trial for her. In this trial, you must collect physical notes of the song, called Tadtones that are spread across the woods.
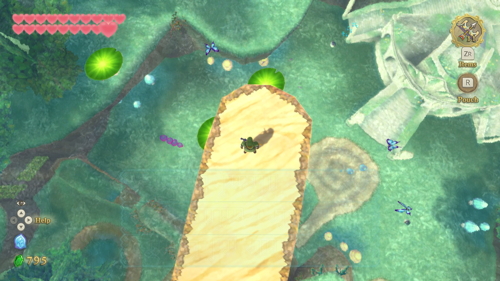
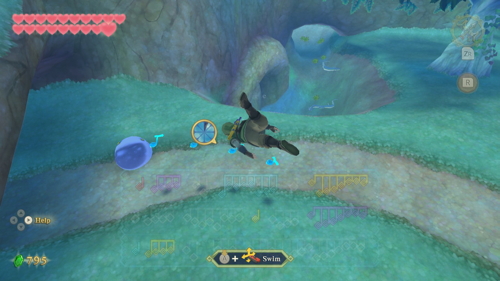
Here are some general tips:
- Tadtones are separated into groups. If you don't collect all notes in the group quickly enough, you'll need to start that group over again.
- If you perform an underwater spin attack, you will collect all nearby tadtones.
- After collecting 12 sets of tadtones, you will be able to dowse for the remaining. You must be above water to dowse.

You can collect these notes in any order, as long as you collect them in their groups. Below is a fairly efficient order and description of each of their locations. Use that and a combination of the provided map and your dowsing ability to collect them all.
- 1 yellow tadtone: climb the great tree until you see a ledge with butterflies. Hop off this ledge onto the lilypad to flip it over.
- 8 blue tadtones: in a ring in the water at the very north of the woods, west of the viewing platform.
- 4 purple tadtones: under the viewing platform these notes are spaced between spiky balls.
- 1 red tadtone: swimming around underwater a little south of the viewing platform.
- 8 purple tadtones: in a large circle following the dirt path in the eastern part of the woods.
- 1 blue tadtone: swimming under the tree roots just southeast of the great tree.
- 8 yellow tadtones: a ring in the water right next to Bucha.
- 4 blue tadtones: swimming in a line near the bottom of the water just south of the great tree.
- 4 red tadtones: swimming in a line near the bottom of the water just northwest of the great tree.
- 1 green tadtone: behind a cracked boulder on a platform in the northwest. Use the froak here to blow it up.
- 4 purple tadtones: swimming in a line near the bottom of the water at the very south of the woods.
- 2 red tadtones tadtones: hiding in a patch of grass at the bottom of the water in the southwest portion of the woods.
- 4 yellow tadtones: weaved between spiky balls in the tree roots underwater in the southeast portion of the woods.
- 1 dark blue tadtone: hiding in some grass inside the hollowed-out tree to the southeast of the great tree.
- 16 dark blue tadtones: lining the narrow corridor in the southwest section of the woods. Near the toxic bubbles.
- 8 green tadtones: lining a small cavern (near the broken brick wall) southwest of the great tree.
- 2 dark blue tadtones: hiding in a patch of grass at the bottom of the water to the west of the great tree.
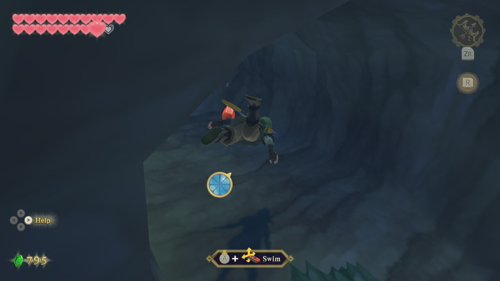
After collecting all 17 Groups of Tadtones, we want to return back to Faron. Swim to the entrance at the bottom of the tree. While swimming back up, you might notice some cracked boulders. You can use a nearby Froak to blow one up and collect 40 rupees if you'd like. Swim to the top of the tree and get on solid ground.
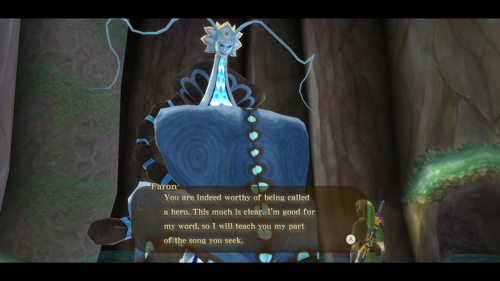
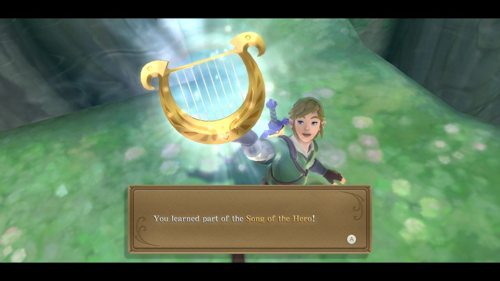
Speak to Faron again up here and she will teach you a part of the Song of the Hero. She will also drain the woods of the water. This opens up a small quest that we will cover. If you'd rather keep going with the main quest, skip to the next section.
Strange Plant Quest
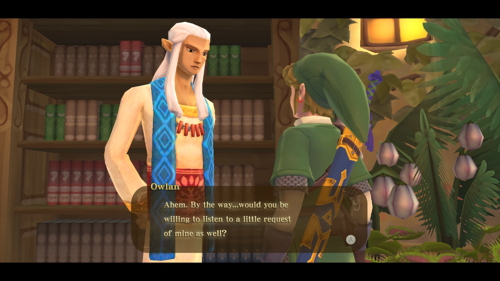
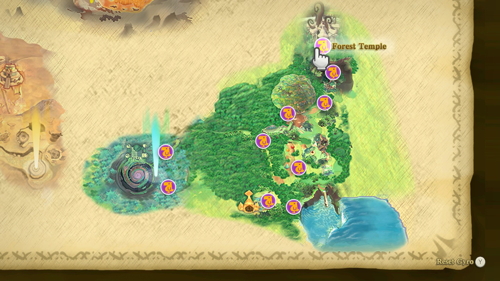
Use the nearby bird statue and head over to Skyloft. Enter the Knight Academy and speak with Instructor Owlan in his room on the second floor. He asks you to find a strange plant for him. Fi will register this to your dowsing ability. Exit the academy and take to the skies.
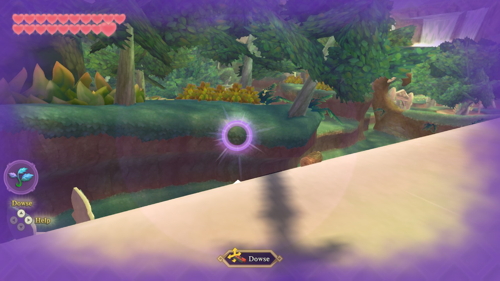
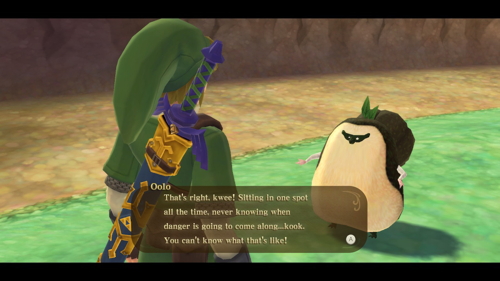
Fly back to Faron Woods and land at the Viewing Platform statue. If you dowse from here it will point you towards the east. Head over to the area to the east and you'll find that it's actually pointing you to Oolo, the Kikwi.
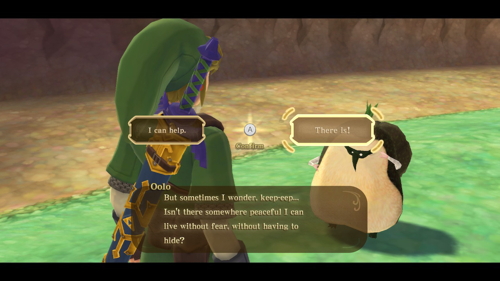
Speak to Oolo, who is so scared of monsters that he's willing to come along. Fi will call Scrapper who will take him back to Skyloft. Take to the skies and make your way back there yourself.
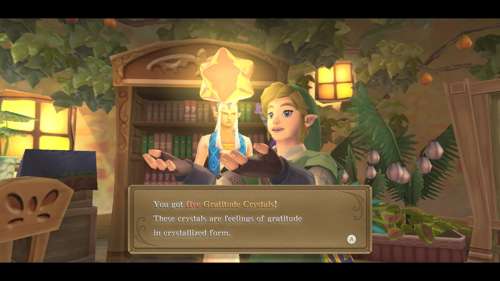
Enter the Knight Academy and head to Owlan's room on the second floor again. Scrapper will deliver Oolo. Instructor Owlan will thank you for this by giving you 5 Gratitude Crystals.
Bokoblin Camp
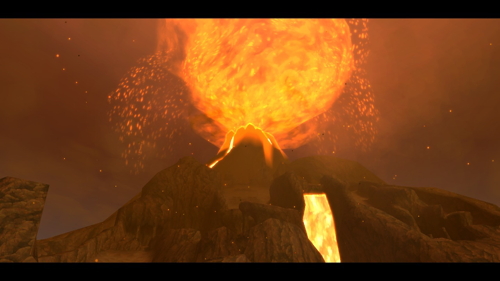
Our next destination is in Eldin, so fly on over there. As you are landing, the volcano will begin to erupt and you won't be able to choose where you land. Instead, you'll find yourself in a jail cell without any of your items and low on health. We are trapped in a Bokoblin Camp.
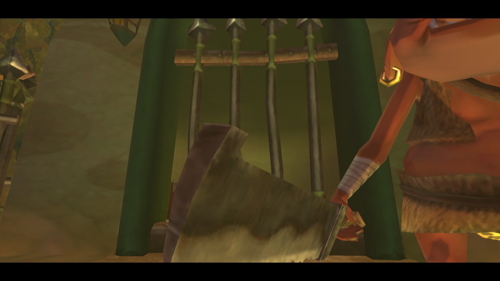
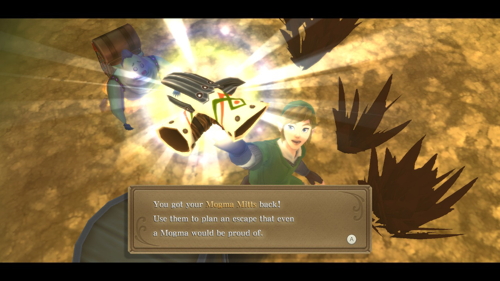
Break the nearby pots to restore some health. When you try to lift the barrel, Plats the Mogma will emerge from the ground. He will give you back your Mogma Mitts. Use them in the soft spot in here. Crawl through the tunnel to the other side.
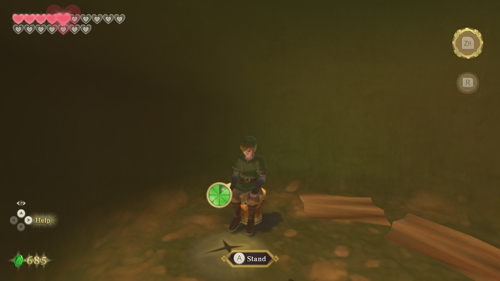
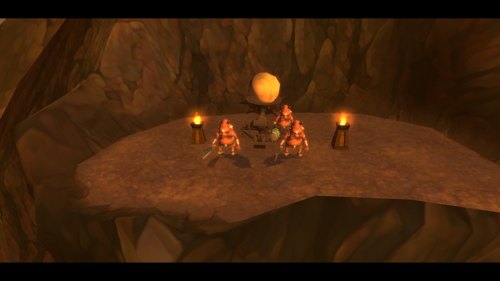
Once outside, there is a stool in the tent ahead that you can use to fully recover. Head down the path to the east here and use the bird statue if you'd like. Eldin Volcano is now being run by Bokoblins who are actively patrolling the area.
Hop down onto the lower platform and Plats will greet you again. He warns you not to get caught by the Bokoblins. He also marks where all your lost items are on the map.
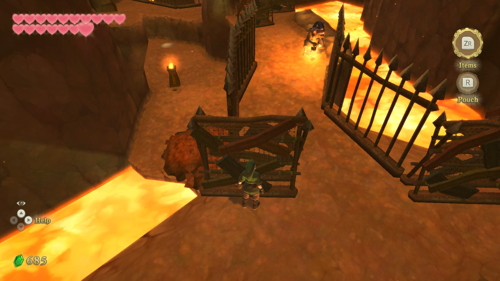
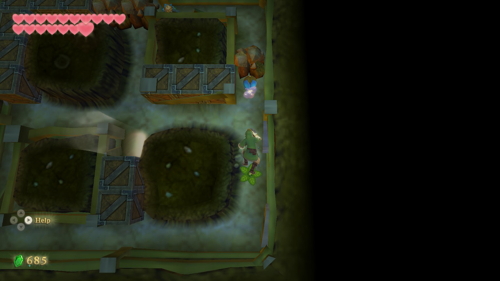
Crawl up onto the ledge here. To the right, you'll see a patrolling Bokoblin. Follow behind him when he moves away and hop down to the lower platform to the left. Dig in the soft spot here. Underground, use the two bombs to break the rocks so you can emerge from the other side.
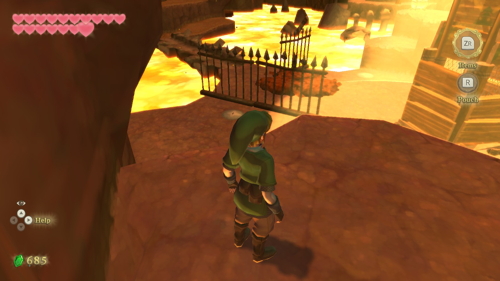
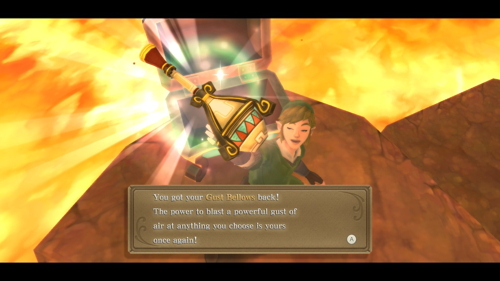
Continue forward and you'll come across a Bokoblin tower with a light shining around it. You'll of course want to avoid this light or you'll be caught. Dig in the nearby soft spot and crawl straight forward, ignoring the Moldorm down here. Emerge from the other side and climb up the ledge. Open the chest here to get back your Gust Bellows.
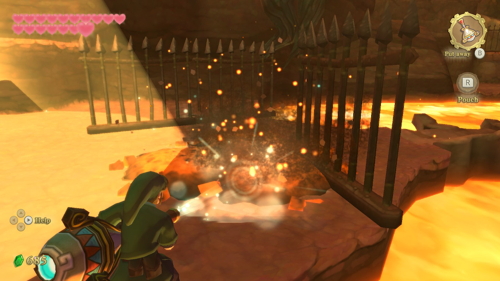
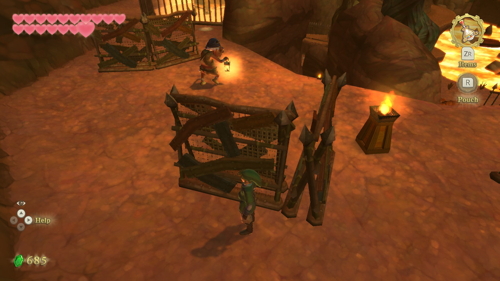
You can now use your gust bellows to clear out the hot ash here. Climb up the ledges here and on top, you'll find some more patrolling Bokoblin. Carefully run past both of them, hiding behind the walls when needed. Dig into the soft spot to burrow underground.
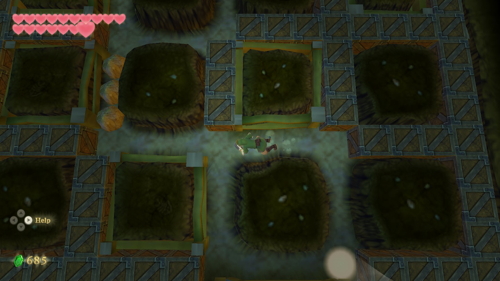
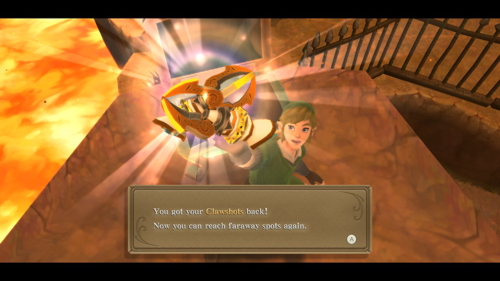
Crawl through the tunnel here to emerge at the opposite corner. There is another Moldorm down here that you can ignore if you'd like. Back outside, there is a chest nearby that contains your Clawshots.
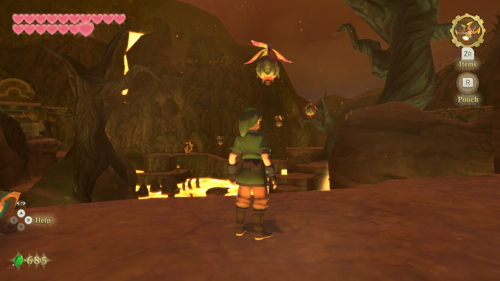
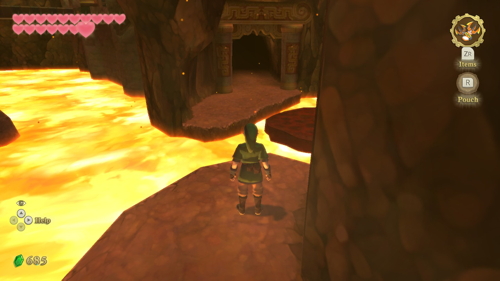
With clawshots in hand, look up and you can latch onto the series of Peahats flying nearby. Clawshot over to the vines at the end of this line to get back to solid ground. Drop to the lower ledge here and you'll see a moving platform floating by in the lava. Hop aboard and ride it until you see a platform on the right.
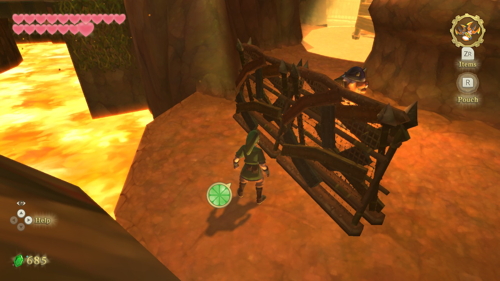
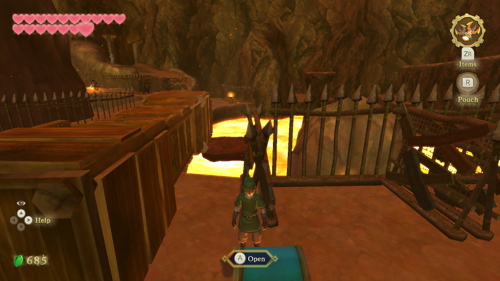
Climb up and you'll quickly come across another patrolling Bokoblin. Hide behind the wall and then turn around. You'll see some vines you can Clawshot over to, so do that. Use the bombs here to knock down the wooden tower. This will allow you access to the chest, which contains your Whip.
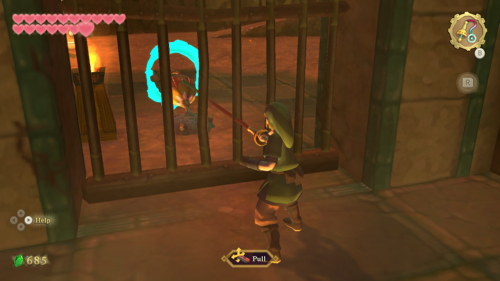
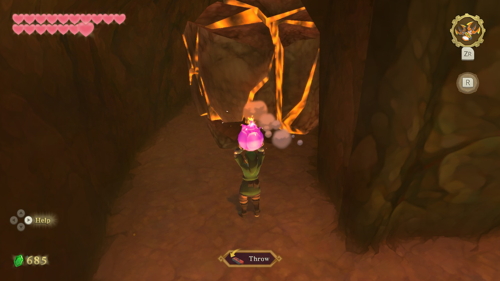
Continue forward and cross the bridge. Use your whip on the Peahat Bulb on the other side of the gate, so that a Peahat rises into the air. You can then clawshot onto it to get to the other side of the gate. There is a bird statue here you can use if you want. Grab one of the nearby bombs and run into the cave, blowing up the large boulder. Repeat this process for the second boulder here. Then ride the airstream to the top of the mountain.
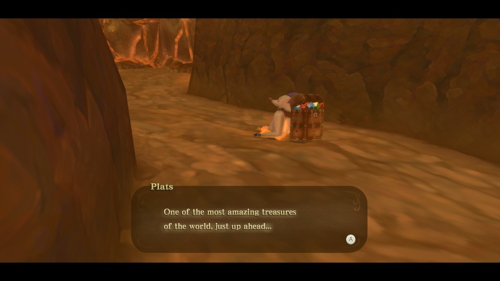
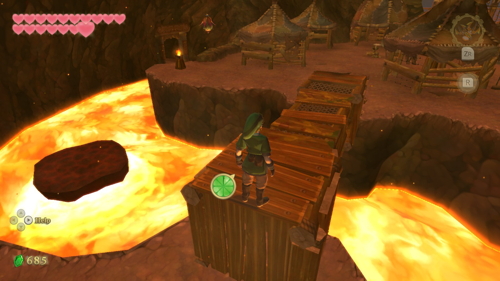
Up at the top, you'll see Plats once again. He hints at a big treasure up ahead, but the path is blocked by boulders. Head the opposite way instead, across the bridge. Continue down the path and cross the makeshift wooden bridge.
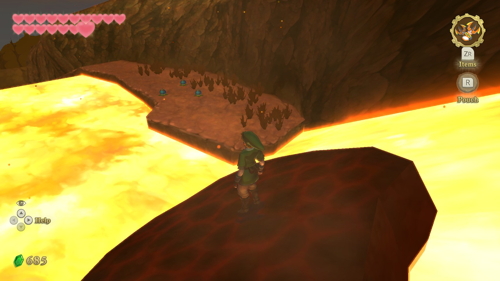
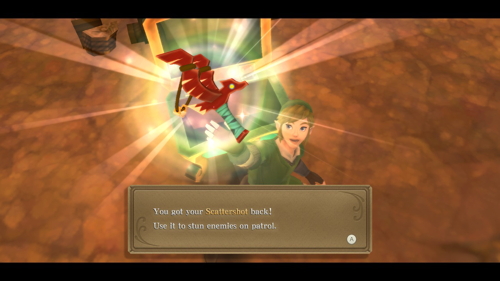
To the left, there will be some moving platforms you can ride in the lava. Ride one down the lava falls and hop off to the right when you get a chance. Wait for another moving platform to get close and then grab a bomb and hop on. Quickly toss it at the base of the wooden tower to topple it. You can then hop over and open the chest to get your Slingshot back.
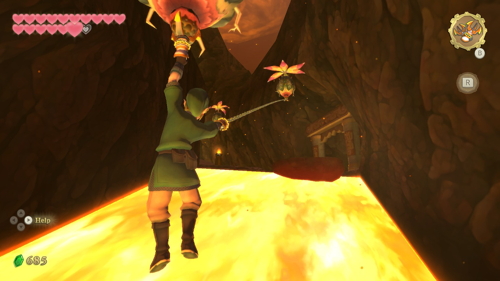
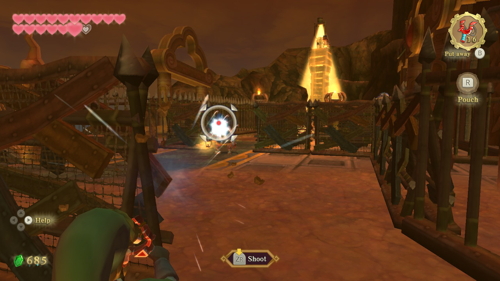
Use your clawshots on the nearby Peahats to get back to the top of the lava falls. Once up here, continue to the left a bit into the area with a lot of Bokoblin camp stuff. There is a Bokoblin blocking a narrow entrance to the path ahead. You'll want to hide behind the wall, charging up a slingshot shot. As soon as he looks away, shoot him and quickly run past him.
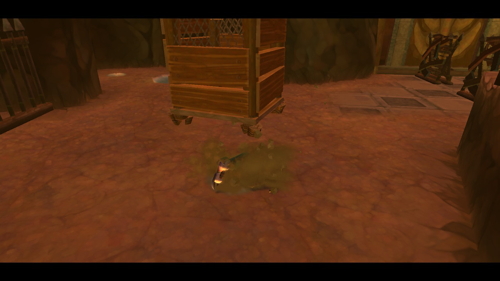
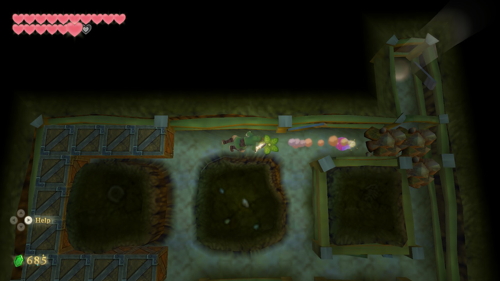
There is another Bokoblin ahead who you can stun with your slingshot to get past as well. There is also a watchtower ahead that completely blocks your path. You can shoot the Bokoblin on top of it to dim the light for a few seconds and sneak past. There is a soft spot near the tower you'll want to dig at.
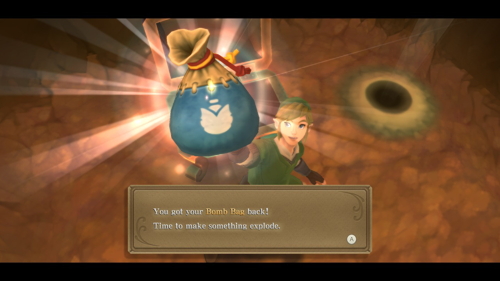
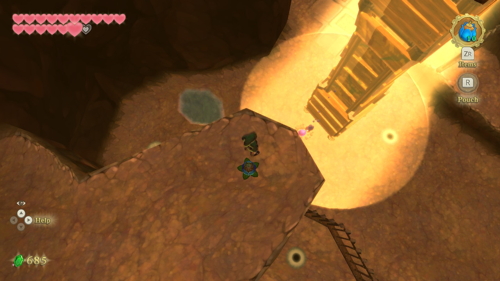
Once underground, use the nearby bomb to blow up the rocks blocking your way. Then emerge via the light. You'll be inside a small gated area with a chest. Open it to get your Bomb Bag back. Dig at the soft spot to create a small air stream which you can ride up to a higher platform. Fill up on bombs at the flower here.
Knock over the wooden tower here to make our lives easier. We now want to head back to where Plats said there was a lot of treasure. Head back the way we came, stunning the two Bokoblins here to get past them. Head left across the wooden bridge and continue past the normal bridge as well. You'll see Plats again, so continue past him.
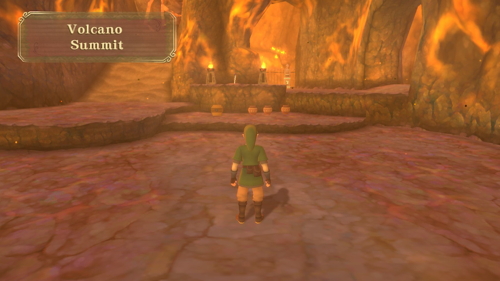
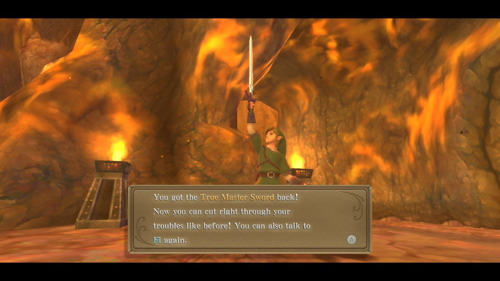
Blow up all the large boulders in this room. Climb up the ramp to the left and take the entrance to the Volcano Summit. There is a small chest ahead with 5 rupees. But more importantly, there is the Master Sword, which you can pull out of the ground. Fi will rejoin you once you do.
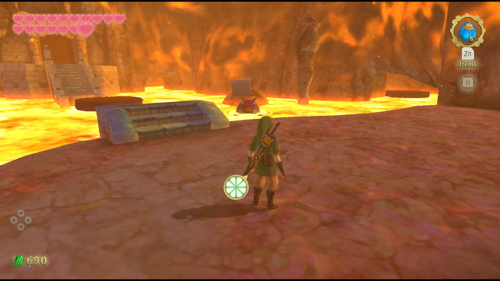
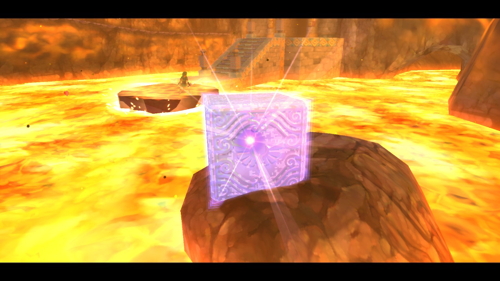
Head to the right into the room with the lava pool. Hop onto the moving platform and quickly charge a Skyward Strike. Launch it at the nearby Goddess Cube #26 to activate it. Once on the other side, don't go through the entrance but hop across the gap to the path to the left.
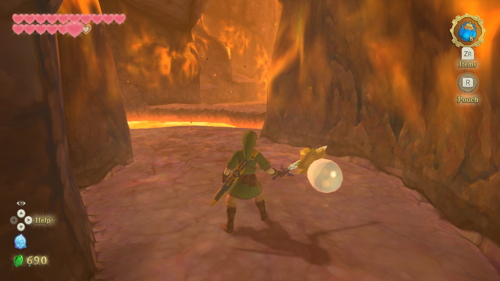
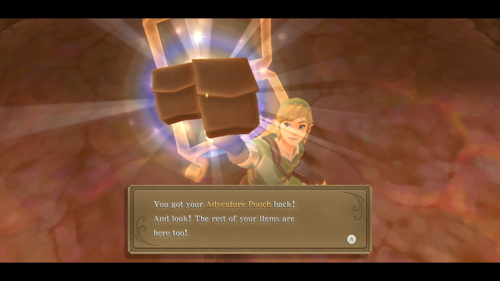
Hop down the ledge here, and then pierce the water bulb with your sword to carry it with you. Use it to create a temporary platform in the lava ahead, and then jump across the lava. There are several enemies down here, but they can be easily defeated now that we have our sword back. Open the chest here to get your Adventure Pouch and all the rest of your items back.
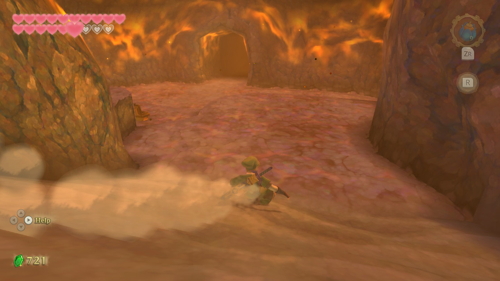
Climb up the two ledges to the west and blow up the boulder that blocks your path. Slide down the sand slope and head left back into the room with the large lava pool. Use the moving platforms to get to the other side once again (activating the Goddess Cube if you missed it before). Climb up the stairs and enter the next room.
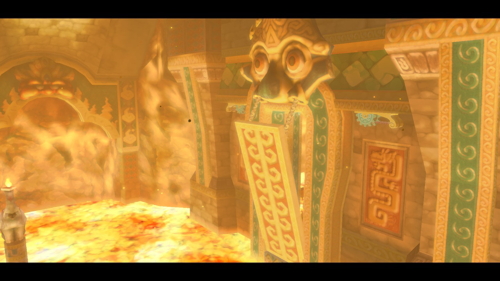
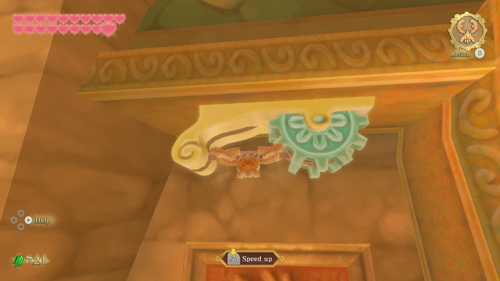
There is a closed drawbridge ahead, with three ropes holding it up. The first is on the ground and can be slashed with your sword. The other two are on either side of the drawbridge and can be cut with your beetle. Up ahead you'll find the lair of the fire dragon, Eldin.
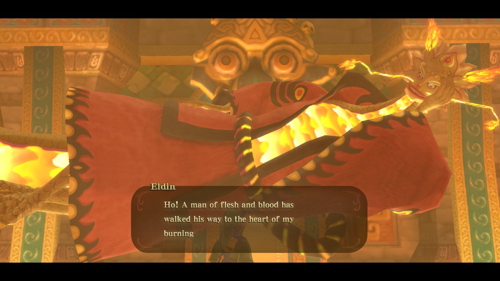
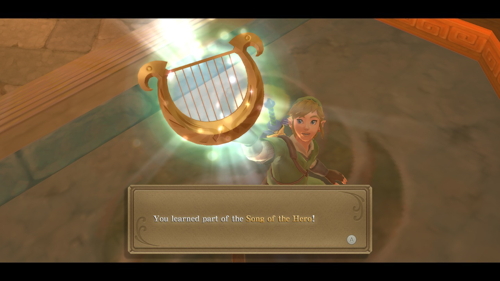
Eldin will get straight to business and teach you his part of the Song of the Hero. The eruption was caused by Eldin, which he apologizes for. The volcano will now be clear and back to normal. This opens up another optional quest for us, which you can skip and continue with the main quest in the next section if you wish. Either way, use a bird statue to take to the skies.
Kina's Pumpkin Plowing
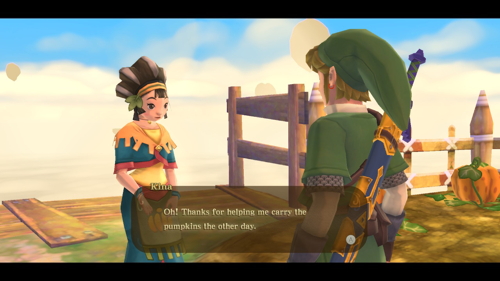
Fly on over to Pumpkin Landing. Head to the north of the island and speak to Kina in her pumpkin patch. She is looking for help getting her patch plowed. Agree to help her find someone and Fi will register this to your dowsing ability. It points you towards Eldin, so let's make our way back there.
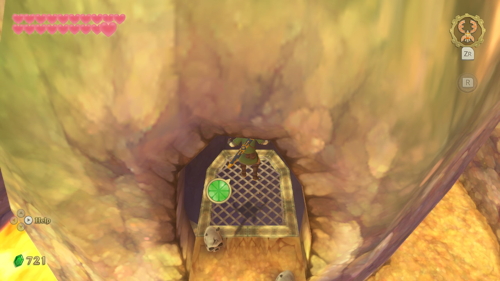
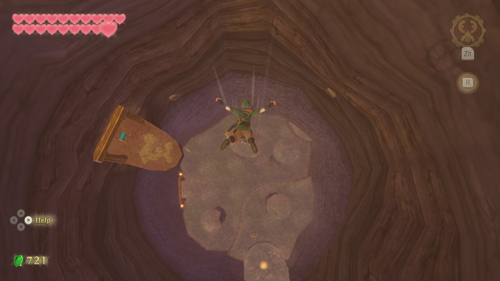
Drop down at the Volcano East statue. Head forward and use one of two nearby air streams to enter the skull-looking cave. Jump off the ledge here and glide down to the large platform to the north of you.
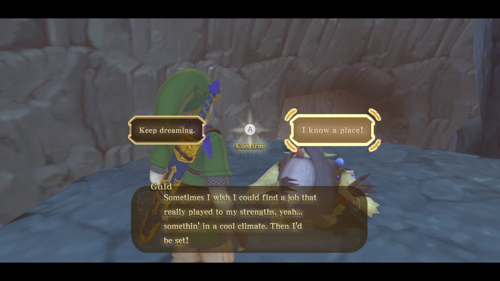
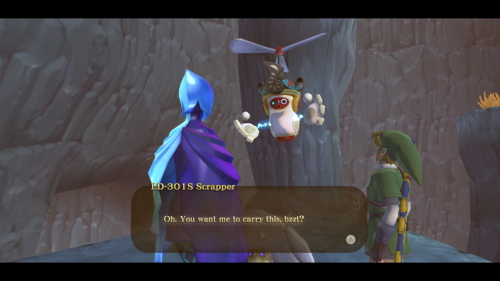
Here you'll find the Mogma Guld, who is looking for a place to work that isn't so hot. Fi will call Scrapper down who will bring Guld back up to the sky. Climb up the ledge to the south to find a large air stream that will take you back up to the volcano. Use a nearby bird statue to return to the sky.
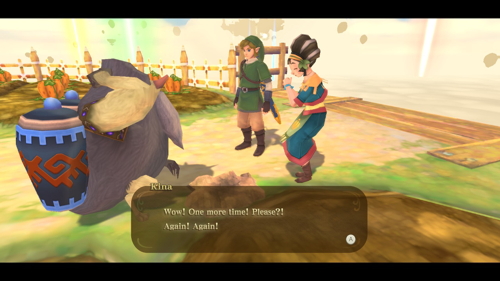
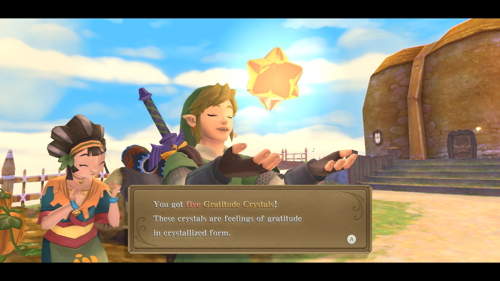
Fly back over to Pumpkin Landing. Head back to the pumpkin patch and Scrapper will drop off Guld. They will agree to work together, and Kina will of course reward you with the customary 5 Gratitude Crystals. From here, fly back to Skyloft.
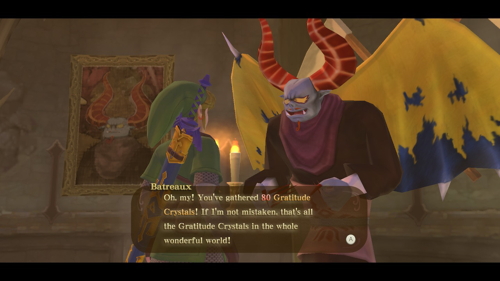
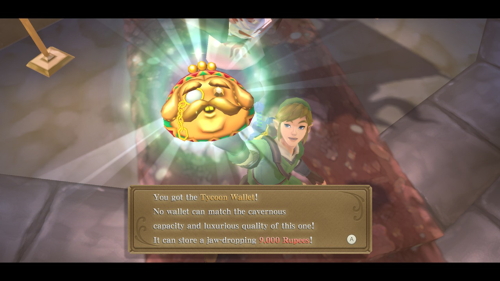
If you've been following along, you should have 80 Gratitude Crystals. That's all of them! This means we can pay a final visit to Batreaux by way of the Graveyard. Enter his house and speak to Batreaux. The final reward is the Tycoon Wallet, which can hold 9,000 rupees. This is way more than we need at this point in the game and completely unnecessary. But, we have it nonetheless.
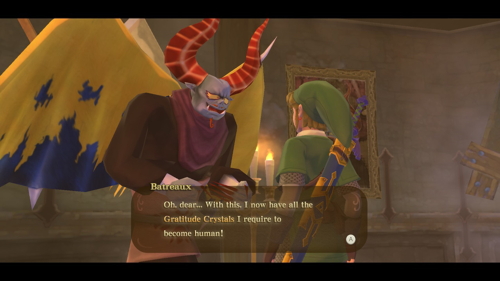
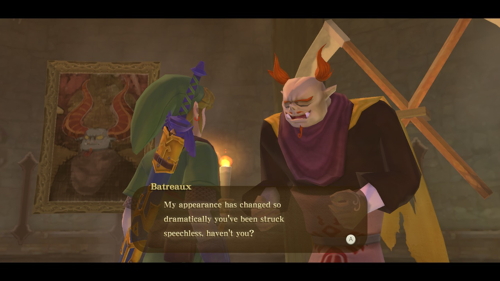
In addition to your reward, collecting all the Gratitude Crystals also allows Batreaux to transform into a human, albeit one that looks a lot like his monster self. Either way, he will be eternally grateful and this will actually prevent enemies from spawning in Skyloft at night.
Lanayru Gorge
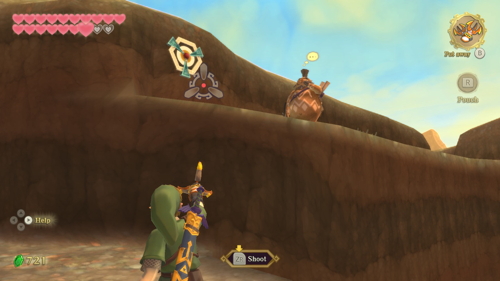
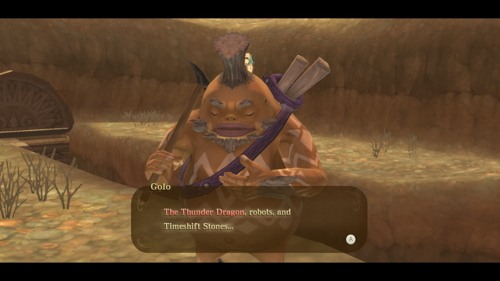
Take to the skies and fly over to Lanayru. Choose the Lanayru Mine Entry bird statue. You'll see a target around here that you can Clawshot to. Here Golo the Goron will meet with you again. He tells you that the path to the thunder dragon is through a narrow passageway. If you clawshot to the other side you can follow the path around to find a chest containing an Evil Crystal.
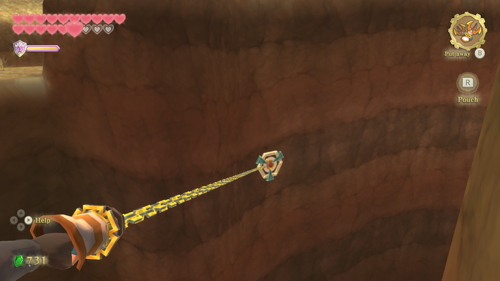
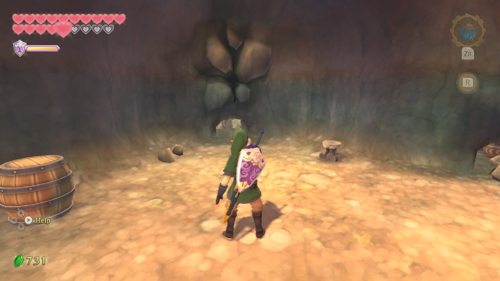
Head back to near where Golo was and you'll find a canyon nearby that you can use the targets to clawshot your way across. Enter the cave you find here. You'll find yourself back in Lanayru Caves, which branches off in four directions. Look to the south and you can roll a bomb into the small opening. This clears the way through, so head through the opening. You can summon a Gossip Stone in this little cave if you want. Either way, go through the entrance ahead.
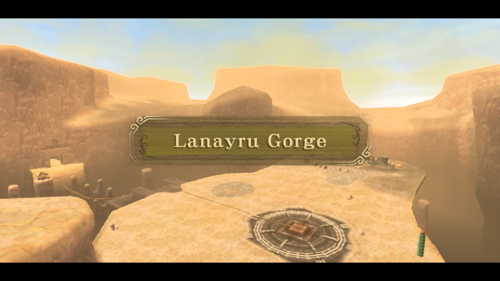
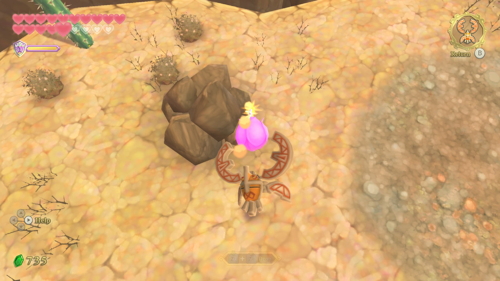
You'll find yourself in a new part of the desert, Lanayru Gorge. Use the bird statue just ahead. Look to your right to see a boulder on a pillar. Use your hook beetle here and grab the nearby bomb to blow it up. You can then use the pillar to jump across the gap.
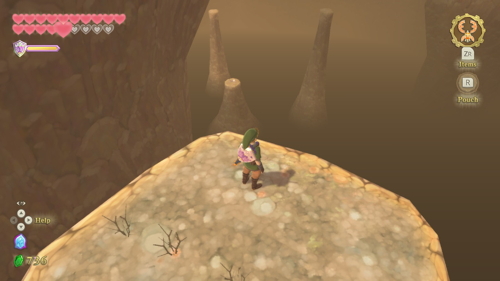
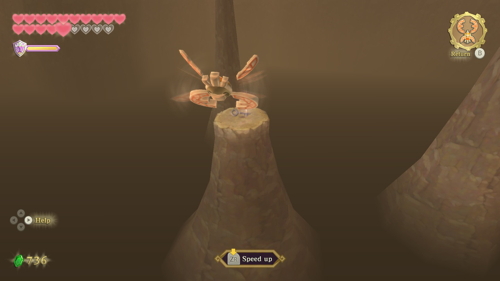
Walk down the ramp towards the rock you can pick up. If you look to the southeast you'll see a shining object on the pillar in the distance. Send your hook beetle out to grab it to get a Small Key. Use it to open the nearby locked door.
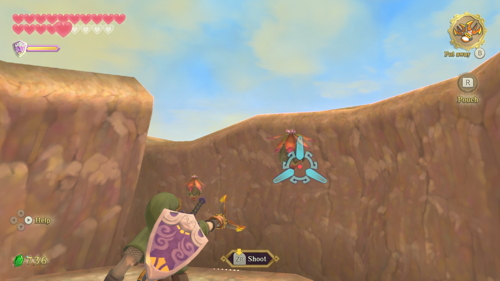
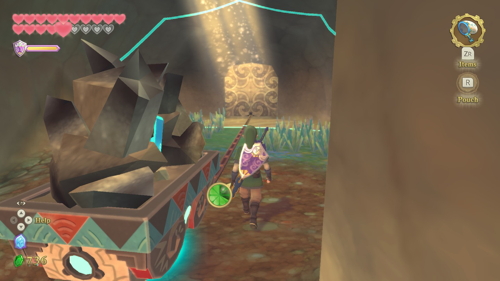
Use the Peahats to clawshot your way across the abyss here. Through this cave, you'll find a minecart with a Timeshift Stone. Strike it to shift the time in this area. Speak to the ancient robot in here and the minecart will start moving.
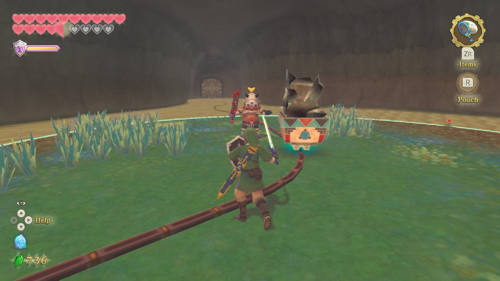
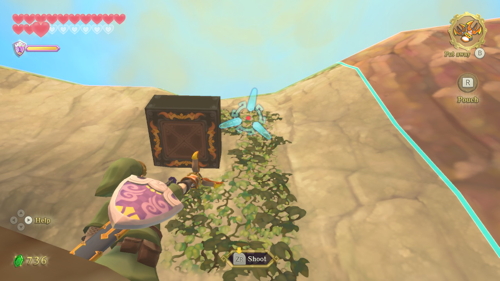
Follow the cart and step on the floor switch in the next room to open the door ahead. Defeat the enemies as the cart moves through the next room, again stepping on the floor switch to open the next door. Outside, simply follow the cart as it creates a bridge to the other side. Once near the door, clawshot up to the vines and climb them to find another floor switch that opens this door.
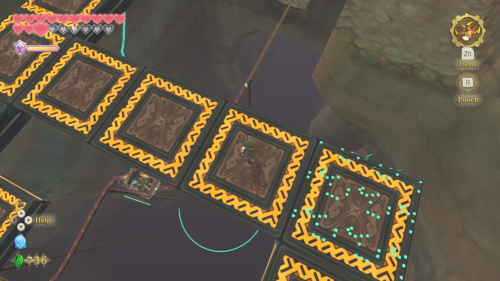
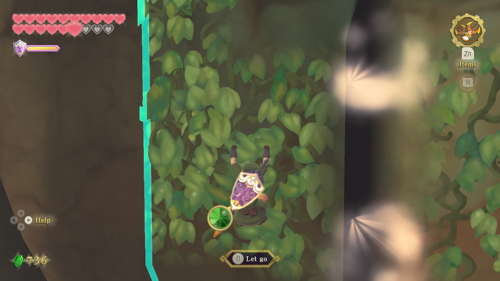
Back in the cave, continue to follow the mine cart along the platforms it creates. You'll need to climb and clawshot up to the vines to keep up. When the cart gets to the door, clawshot across to the vines ahead and step on the floor switch. Then quickly clawshot to the next set of vines, where you'll need to climb to the left and leap over gaps in the vines while dodging the air currents.
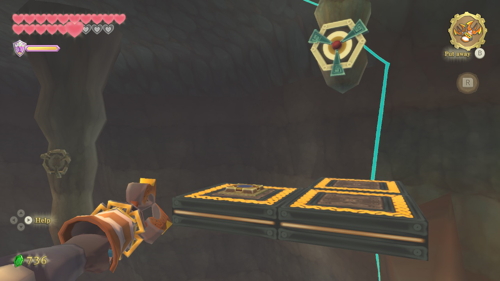
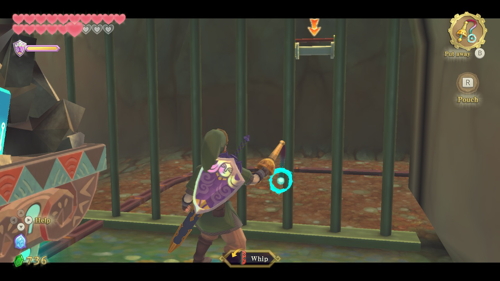
Once the cart is stopped by a door again, clawshot across to a target that will lead you to a floor switch. From here, you'll need to clawshot across a series of targets as they get activated and to a patch of vines at the end of the cave. Defeat the enemies in the next room and then use your whip to open the gate blocking the cart.
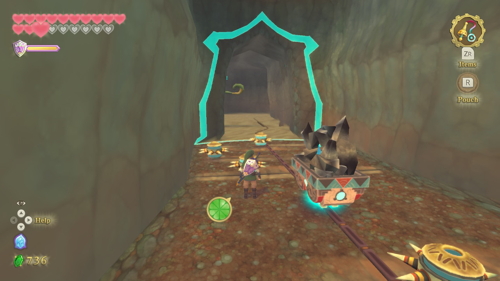
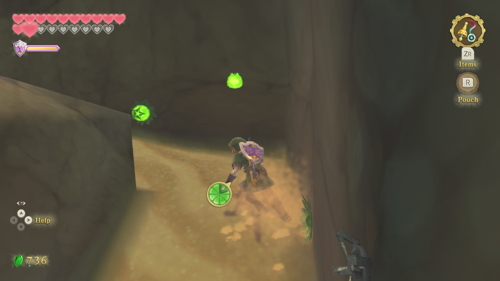
Continue through the next hallways, killing the enemies and avoiding the Blade Traps on the floor. Use your whip to swing across the gaps via the poles above when they come up. At the end of this corridor is a ramp of quicksand, which you'll need to run up while collecting the stamina fruit to make it. Pull the lever here to open the next door.
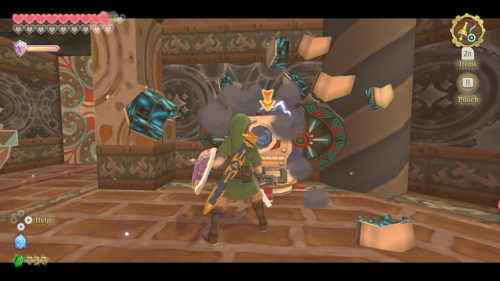
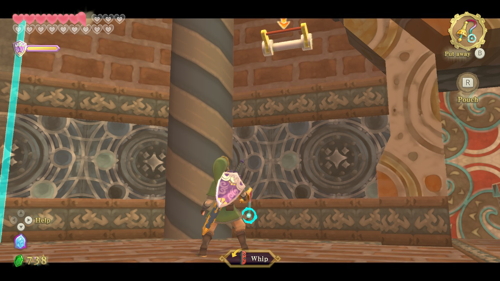
The are many enemies in this next room that you can defeat or avoid. One Beamos will block the path of the cart, so you'll need to defeat it. To the left of the door behind a Beamos is a lever. You can use your whip to pull it and open the door.
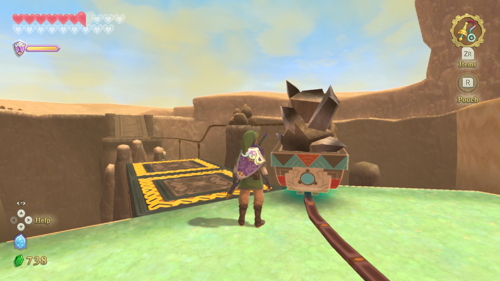
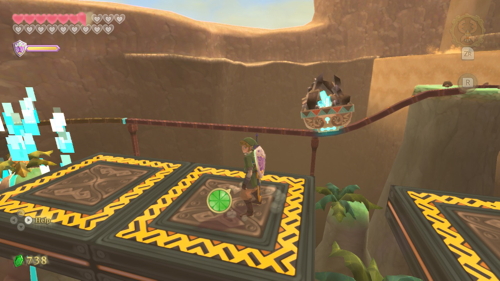
Back outside, continue following the mine cart across the platforms. You'll need to defeat the Deku Babas that block the path. When it stops at the boulder, take out your hook beetle and pick up the nearby bomb. Blow up the boulder and continue following minecart along the platforms to the end.
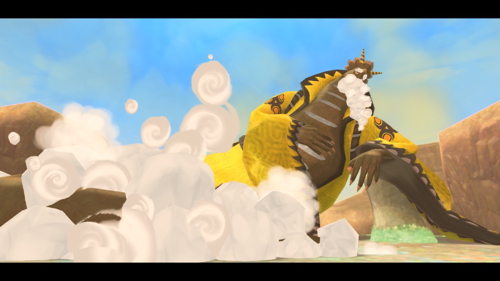
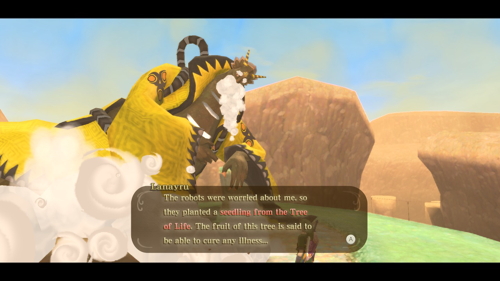
You'll be back at the starting area of Lanayaru Gorge, and the minecart will revitalize it. Here you can speak to the thunder dragon Lanayru. Unfortunately, he is quite sick and can't teach you the song in this condition. However, he suggests that he can be healed by some fruit from the Tree of Life.
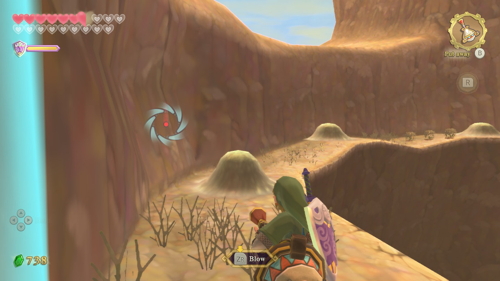
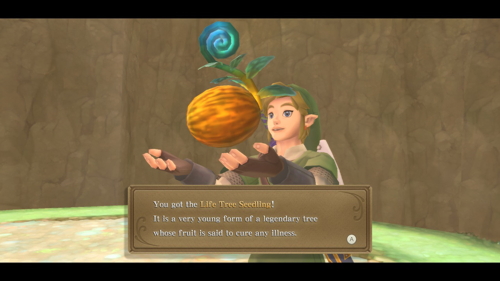
There is now a bridge we can cross to the northeast. Follow this sandy path all the way around to the tree on a platform in the quicksand. Use your gust bellows to clear the sand here to find a Timeshift Stone. Activate it to return this area to the past, turning the tree here back into the Life Tree Seedling, which you can dig out of the ground.
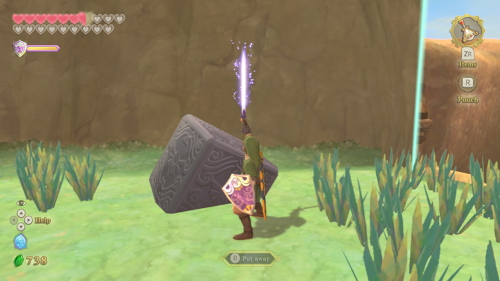
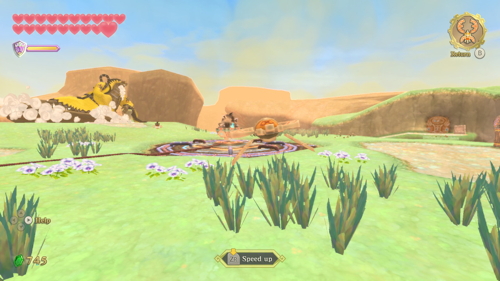
Directly to the right, you'll find Goddess Cube #27 to activate with a Skyward Strike. This is the final Goddess Cube! Return to the central area along the same sandy path. There is only a bridge to cross back in the past, so use your beetle to hit the Timeshift Stone on the mine cart. Then return to the bird statue on the center platform and take to the sky.
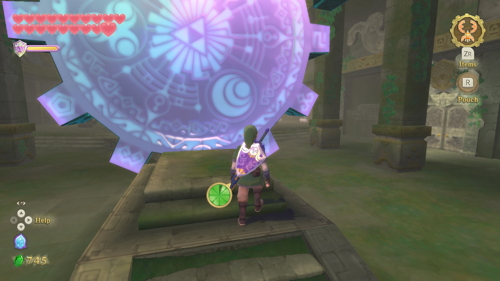
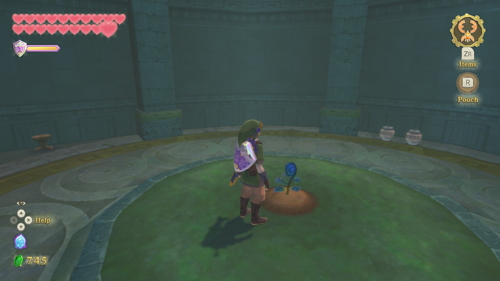
Fly over to Faron and land at the Sealed Grounds. Enter the Sealed Temple and enter the Gate of Time. Once here, head over to the patch of soil to the west and plant the seedling. Then return to the present through the Gate of Time.
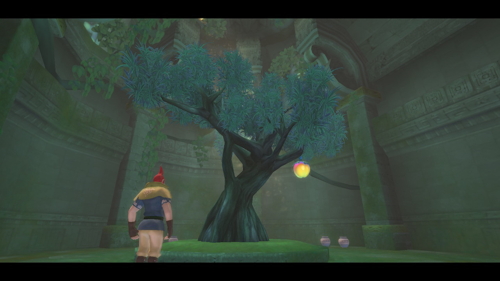
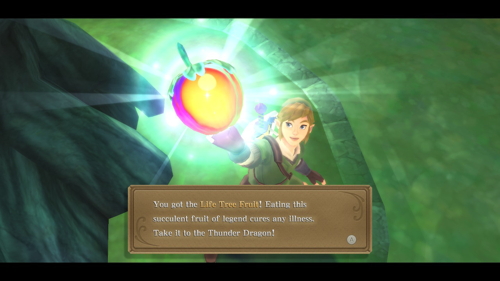
As expected, when we return to the present the seedling has grown into a full tree. Roll into the tree and it will drop a Life Tree Fruit, which you can pick up. Now that we have what we need, let's head back to the Lanayru region and land at the Lanayru Gorge statue.
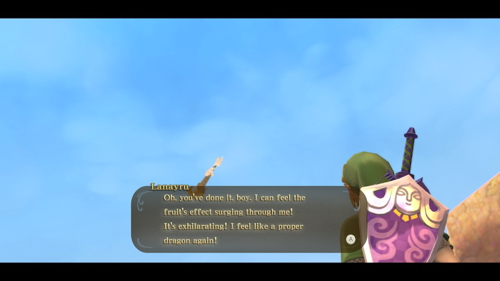
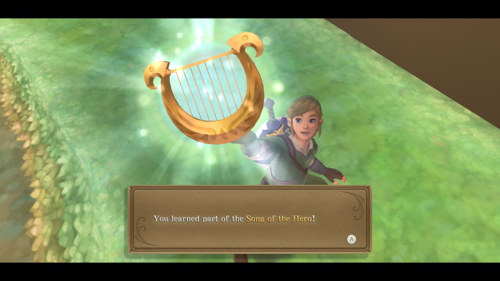
Run over and speak to the dragon Lanayru, giving him the Life Tree Fruit we just gathered. He will erupt with good health and teach you his part of the Song of the Hero. With this in hand, we can now head back to Levias with all three song parts. However, if you want to collect the last piece of heart now you can leave and then immediately re-enter Lanayru Gorge.
Boss Gauntlet
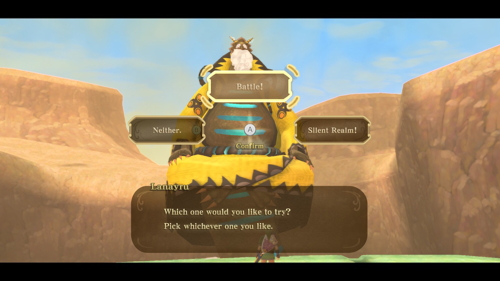
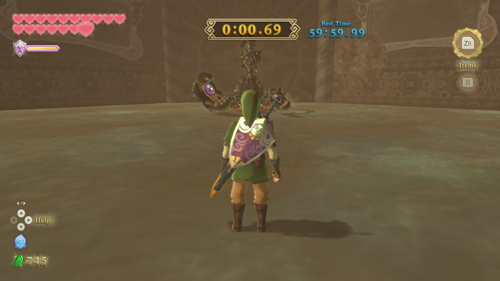
When you speak with the thunder dragon Lanayru again, he'll have some challenges set up for you. You can either replay the Silent Realm trials we've done so far, or do a boss gauntlet against the past bosses we've faced.
While you can get some rare treasure from the Silent Realm challenge, we are mostly interested in the Boss Gauntlet (Battle!). By defeating 4 bosses in a row, you can earn the final piece of heart. Furthermore, if you defeat 8 bosses in a row, you can earn the Hylian Shield, the best shield in the game.
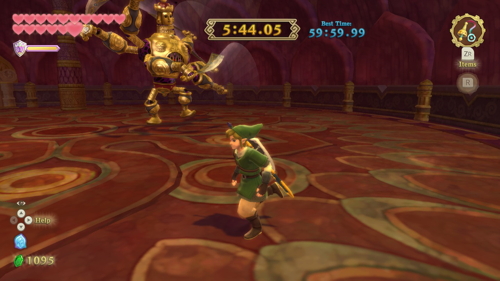
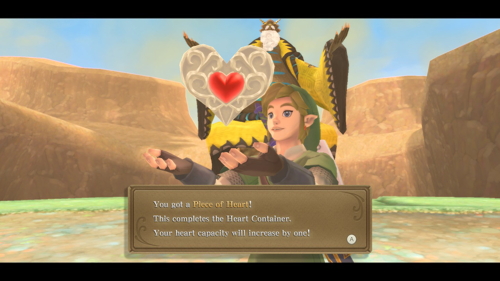
You should play until you beat 4 bosses in a row and get the final piece of heart, Heart Piece #24, which will give you another full heart container. If you are looking to 100% the game you'll also need to play until you get the Hylian Shield after 8 in a row. If you aren't too worried about collecting every item, you should note that while it is the best and most durable shield in the game, it is certainly not worth the time and effort, especially if you are struggling with the boss gauntlet, for the small amount of the game we have left to play.
Here are some general tips:
- You only get to choose your very first battle, so you might as well make it an easy one. Moldarach and Scaldera are good options.
- You don't recover your health after each battle. As such, make sure to collect any hearts you can find while still in a battle, and don't deal the final blow until you've healed as much as you can with the resources available.
- You do have the Master Sword now, so some of the earlier bosses will be defeated with way fewer sword strikes.
- Check out our Bosses guide for a reminder on the best strategy for every boss.
- You only get the prize for the round that you decide to quit on. And you only get the prize if you quit voluntarily, not if you lose a battle. So if you want the heart piece, quit as soon as you defeat 4 bosses. This means you'll need to run the gauntlet at least twice to get the piece of heart and Hylian Shield.
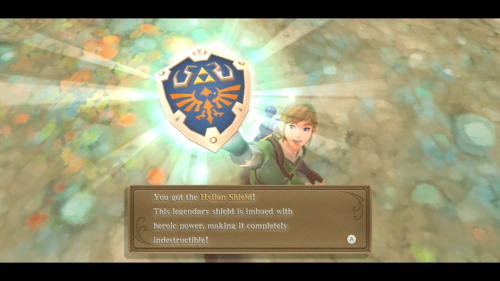
All the other rewards are treasure and rupees in various quantities, which are generally not worthwhile at this point in the game. Use a statue to return to the sky when you've had your fun.
Song of the Hero
With all three parts of the song in hand, it's time to return to the Thunderhead. While we are in here, we can pick up the remaining two Goddess Chests. They are both on the same small island near the center of the Thunderhead. Land on the south side of the island and dig at the soft spot here.
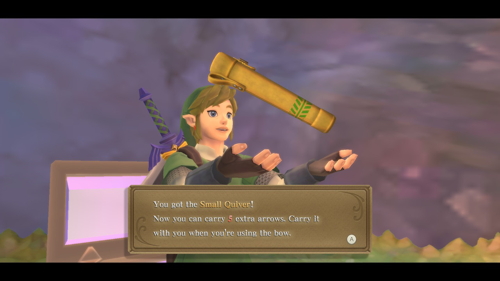
Crawl through the underground tunnel, ignoring the Moldorm. You'll find an exit at the top right that brings you to a caged-in area. Inside the Goddess Chest here is a Small Quiver.
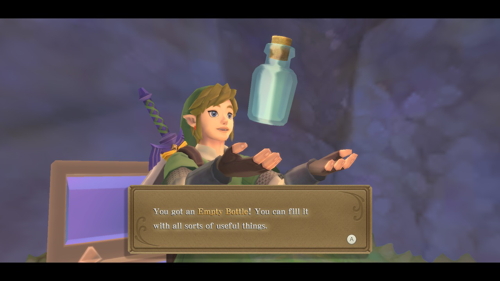
Head back underground and crawl over to the other corner, still on the opposite side from the entrance. Climb up the vines after exiting and open the Goddess Chest to get the final Empty Bottle.
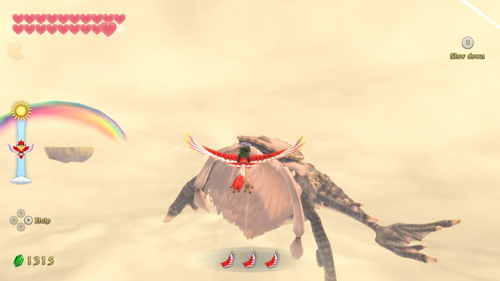
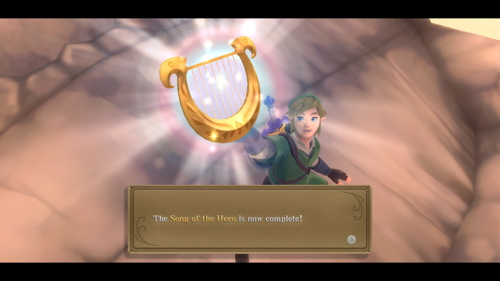
Exit through the underground tunnel and leave this island. Head towards Levias, who is flying around the Thunderhead and can be seen on your map. He will teach you the final part of the Song of the Hero. He mentions that this unlocks the gate to the final trial. Let's head back to Skyloft to see what that's all about.
Silent Realm
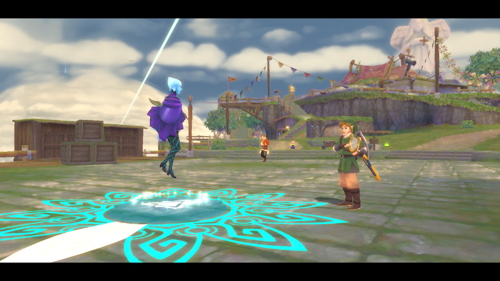
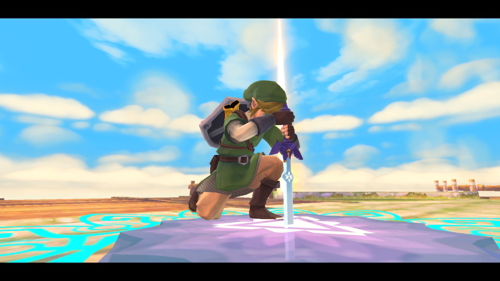
Land near the Light Tower in Skyloft. Right in front of you you'll see a group of butterflies. Take out your harp and begin strumming here. After playing with Fi, thrust your sword into the symbol to enter the Goddess's Silent Realm.
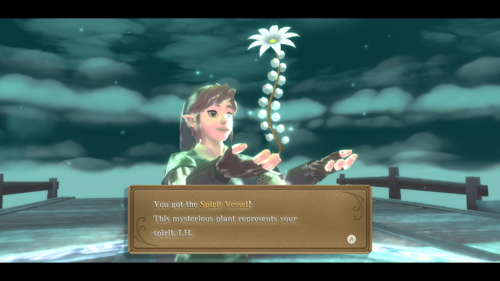
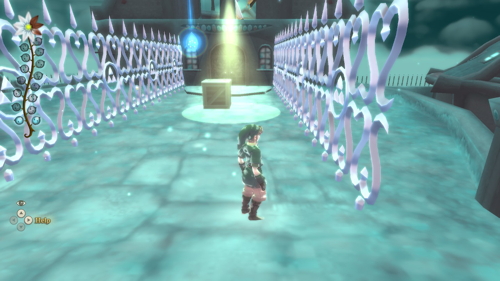
You'll start off by once again getting a Spirit Vessel that you must fill with the 15 Sacred Tears spread across Skyloft. You know the drill at this point, avoid the Guardians, Watchers, and Waking Water. Collect the Light Fruit to illuminate where the tears are.
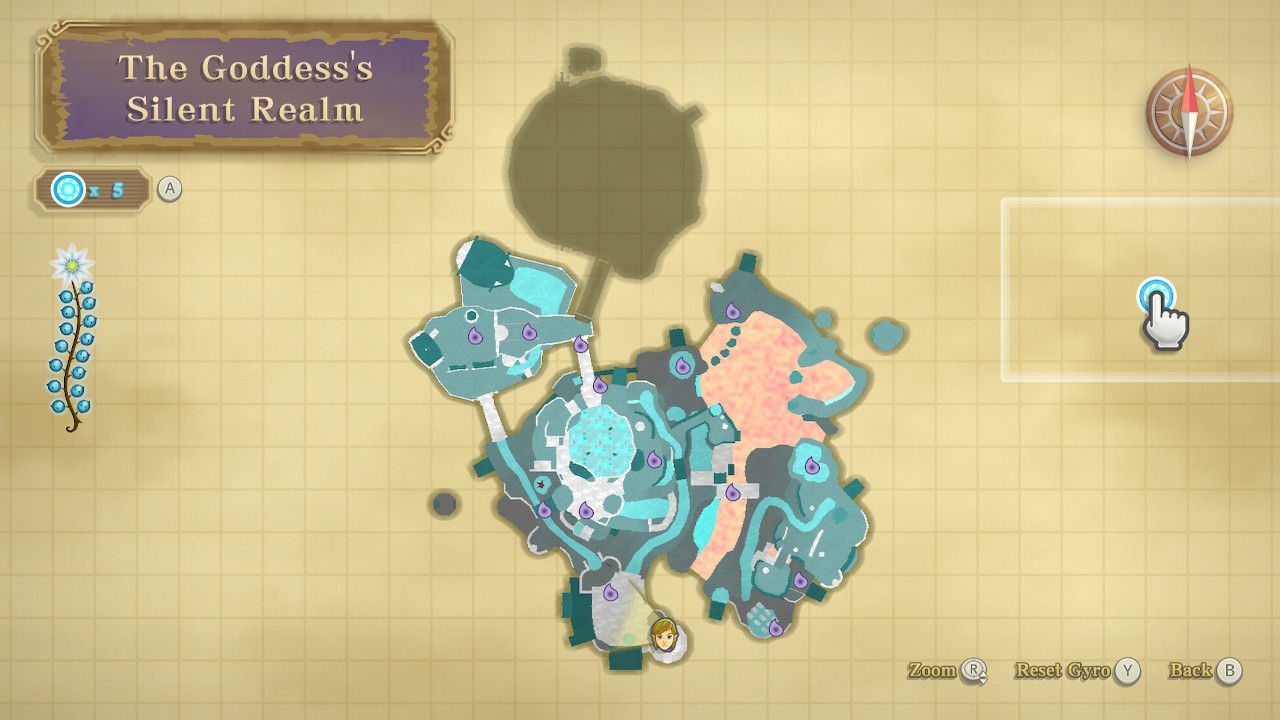
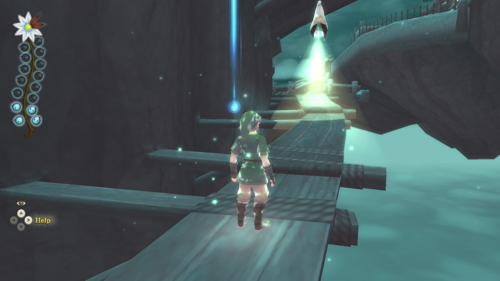
Most of the tears are pretty accessible. There are a couple more tricky ones where you'll need to move crates to reach them or weave between Watchers. The most difficult part of this trial is that there are more Watchers, but they are easy to avoid if you are patient and watch their patterns.
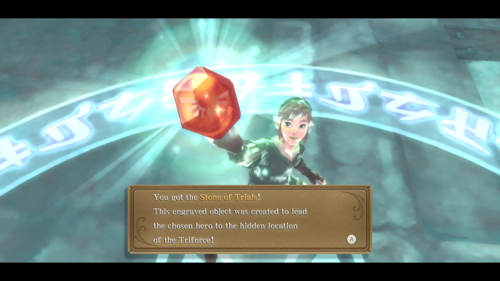
If you're having trouble, you can view our video guide to this trial below.
It's a good strategy to make a circle around the outside of Skyloft first so that you keep some tears on the inside that you can quickly run to if you alert the Guardians. Just use the Light Fruit and the provided map to find all the tears. Once you find all 15 Sacred Tears, head back to the beginning of the trial to get the Stone of Trials.
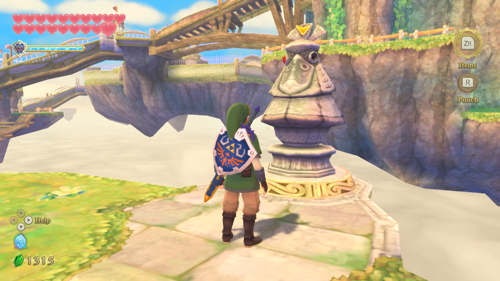
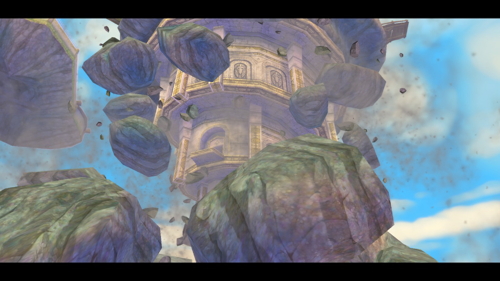
Now that we have the Stone of Trials, head over to the northeast end of Skyloft near the waterfall. Here you'll find a larger bird head statue with one red eye. You can place the Stone of Trials here, which will open the path to the final dungeon in a rather eventful cutscene. This is where we will find the Triforce.
When you are ready to take it on, clawshot across the series of targets that appear and enter the Sky Keep.
Back to Gate of Time Continue to Sky Keep