How to Travel To and Through The Volcano Summit
Skyloft Collection
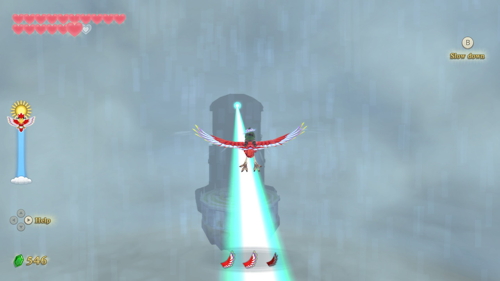
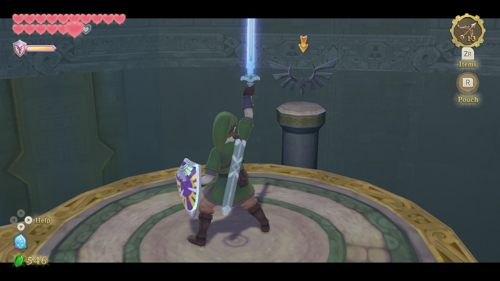
With the Sandship dungeon complete, it's time to head back to the Isle of Songs. Take to the sky and fly to the northwest part of the sky, into the Thunderhead. Follow the blue beam of light to the Isle of Songs. Once here, crawl through the small opening and deliver a Skyward Strike to the emblem.
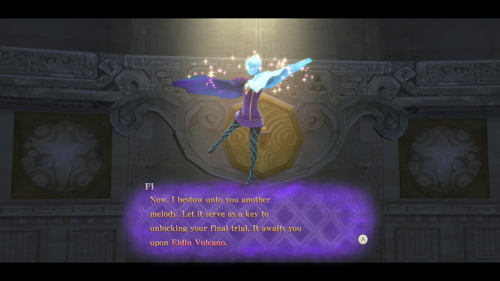
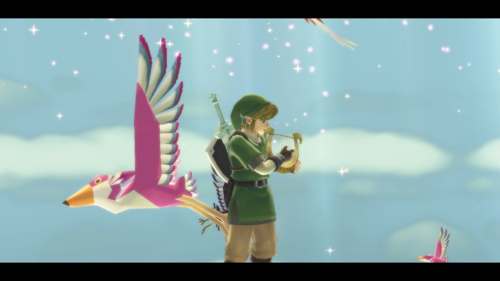
A cutscene with Fi will occur, where you will learn that the final sacred flame trial will be at Eldin Volcano. You will also learn another song on your harp, Din's Power. Now that we have the bow, it's time once again to collect some optional goodies up here in the sky. We are all caught up on Goddess Chests (check the last part if you're not), so just head back to Skyloft.
Fledge's Workout
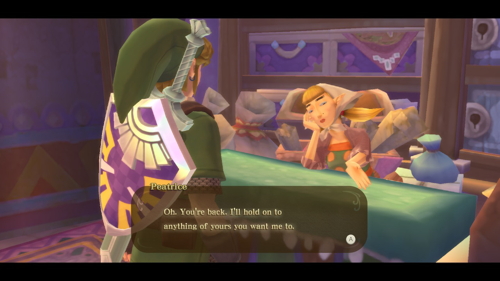
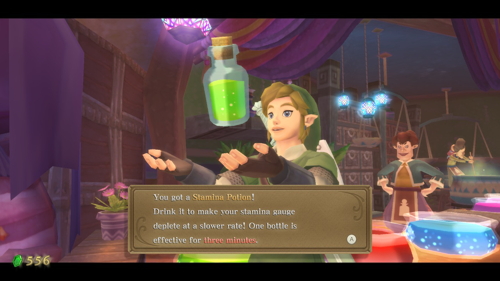
Head to the Bazaar and buy two Stamina potions from Luv. While you are here, speak to Peatrice, the Item Check girl. We need her to be very "friendly" towards us for the next quest. If she calls you Darling, you are good to go. Otherwise, come back here and speak to her again in-between every time you sleep for this quest.
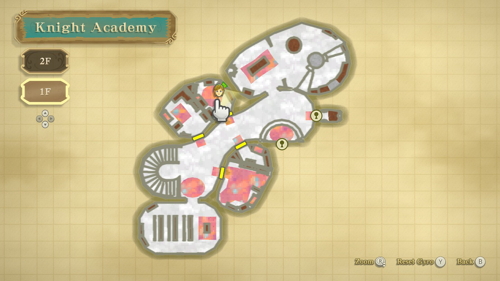
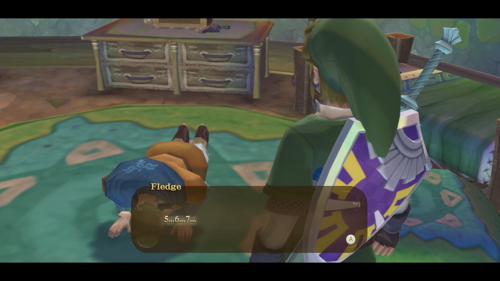
Now head to the Knight Academy. Find a bed to sleep in until night. At night, go to Fledge's room on the first floor. You'll find Fledge here doing some pushups, but he is struggling. Offer him one of your Stamina Potions, and he will start feeling better in no time.
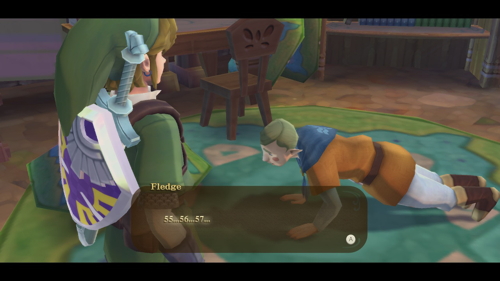
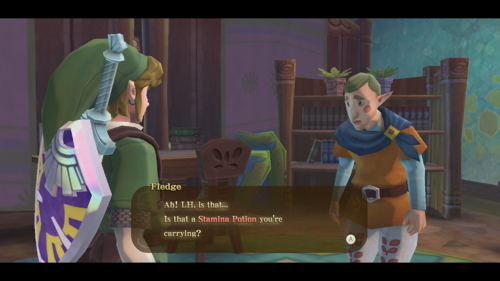
Since we have beaten the Sandship, all we have to do for this quest is repeat this process two more times. Simply go back to sleep until the next night (speaking with the Item Check girl during the day if she doesn't like you enough yet). You can even use Fledge's bed if you want. Give him another stamina potion on the second night.
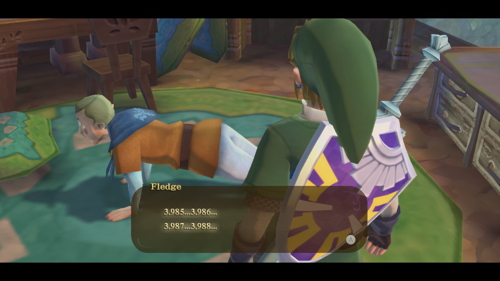
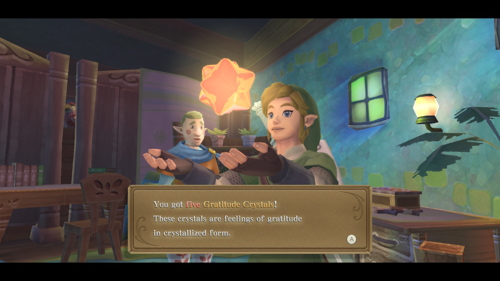
Repeat this process one more time, sleeping until night again. This time when you speak to Fledge, he will be doing almost 4000 pushups. Quite the improvement for three days! You won't need a stamina potion this time, he will just thank you for the encouragement and reward you with 5 Gratitude Crystals.
Peatrice's Love Quest
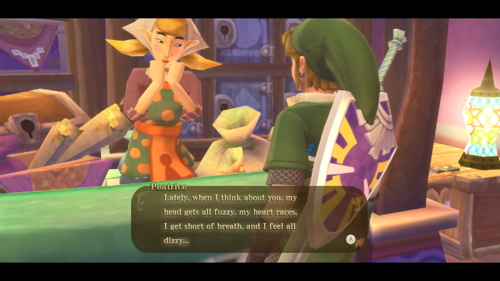
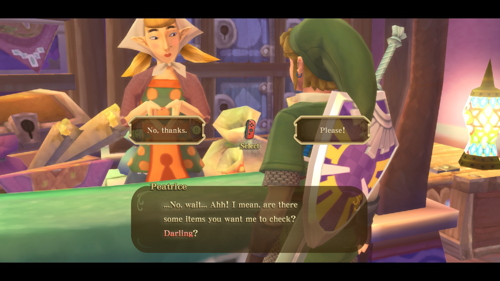
To initiate this quest, you have to speak to Peatrice, the Item Check girl, many times throughout your adventure. You know that this quest is ready to start when she starts flirting with you and refers to you as "darling". If this hasn't happened yet, you can talk to her during the day and then sleep until the next day until she starts flirting. Or you could hold off on this until it happens naturally if you prefer.
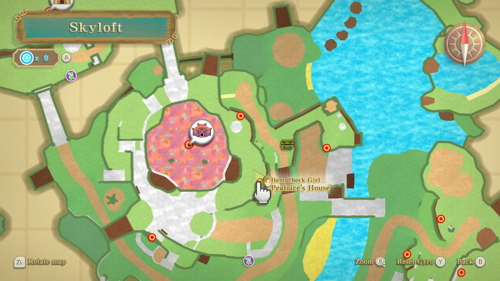
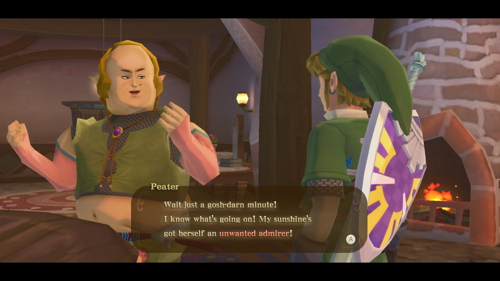
Once she is friendly enough with you (calls you darling), head to her house at night. It's located under the Bazaar to the east. Speak with her father, Peater. He will tell you that his daughter has an unwanted admire that he wants you to keep an eye out for (awkward). Afterward, use the bed here to sleep until morning.
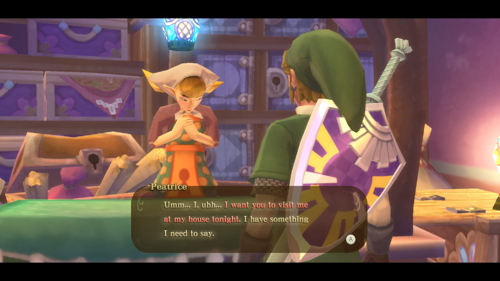
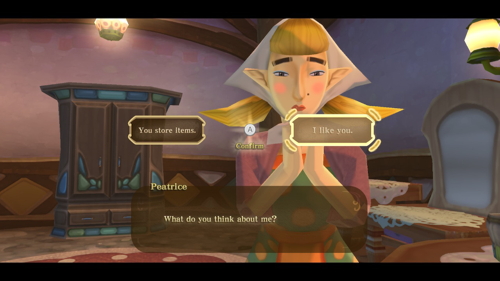
During the day, head back to the Bazaar and speak to Peatrice at her counter. She will say that she wants you to meet her at her house tonight. Head back to her house, and sleep until night. Speak to Peatrice here, and she will ask what you think about her.
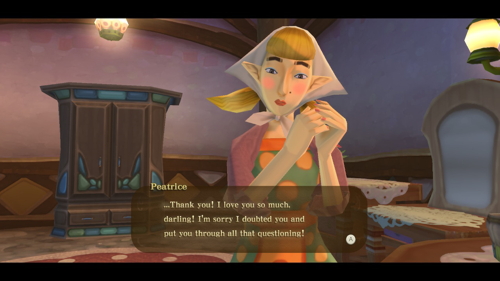
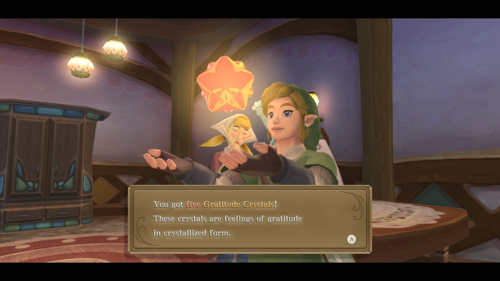
You have two options here, both of which result in the same reward. The first option is to tell her you like her too. If you do so, sealing your love forever, she will be very happy and reward you with 5 Gratitude Crystals right then and there.
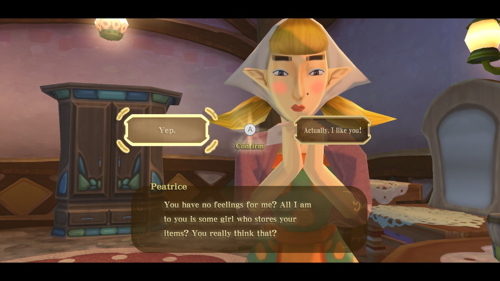
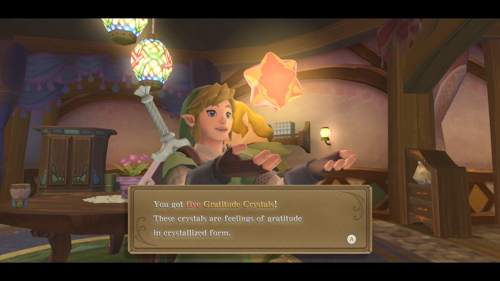
Alternatively, you can tell her that you aren't interested and that she is just an item check girl to you. Her heart will be broken and she will no longer flirt with you at the item check counter. If you do this, sleep until the next night and then speak with her father. He will be grateful that you got rid of her admirer and reward you with 5 Gratitude Crystals all the same.
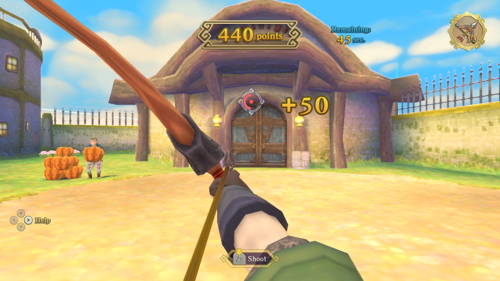
Sleep until the morning. Even though we have 60 Gratitude Crystals now, there is no reward for this number. Instead, head on over to the Sparring Hall. Now that his quest is complete, you will see Fledge standing outside. He wants you to play a game where you shoot pumpkins with your bow, which will cost 20 rupees.
The game is pretty simple. He will toss pumpkins in the air one by one and you'll need to hit them with an arrow before they hit the ground. You get 10 points per pumpkin times your current streak up to 50 points. For example, if you hit 4 pumpkins in a row, you will get 40 points for that pumpkin. If you miss the next pumpkin, the next hit will be back at 10 points.
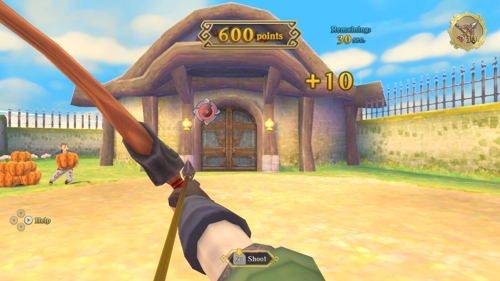
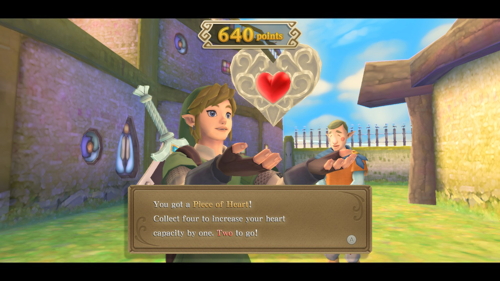
Our goal here is to get a total of 600 points. Doing so will net you Heart Piece #18. Don't worry if it takes a few tries, you earn rupees for getting decent scores as well. If you continue to play after getting the piece of heart, you can earn various rare treasures for scoring highly.
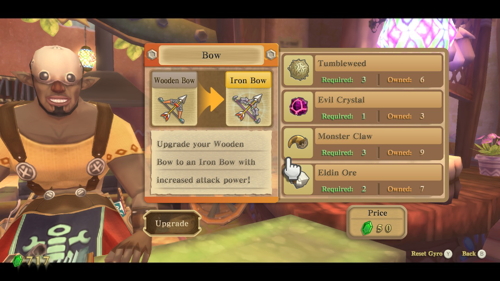
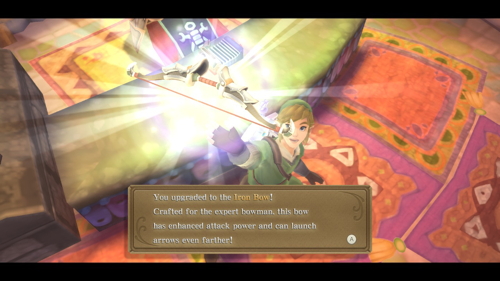
We are almost ready to continue the main story. The last thing to do is head to the Bazaar and pay a visit to Gondo at the Scrap Shop. Upgrade any gear that you can while you are here. You will likely have enough to upgrade the bow once to the Iron Bow, if not twice. When you do an upgrade, Fi will tell you that you can now dowse for treasure. If you want to use this to get whatever treasure you need to complete all your upgrades, you can.
Pay a visit to Peatrice (who may be your girlfriend now) on your way out to customize your loadout. Bring whatever you'd like, but make sure to bring at least two empty bottles for this next section. When you are ready, take to the skies and fly over to the Eldin region.
Silent Realm
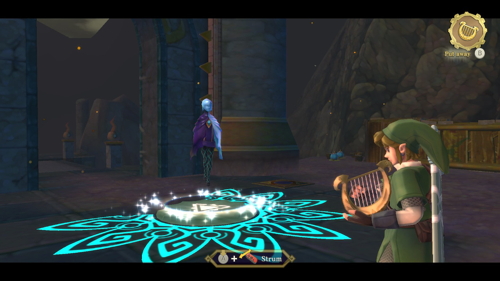
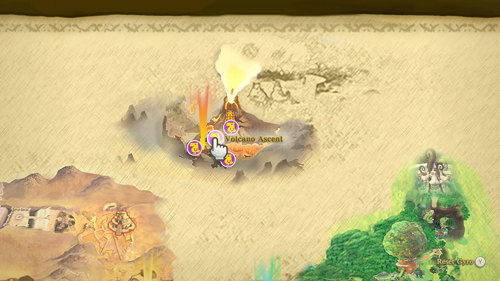
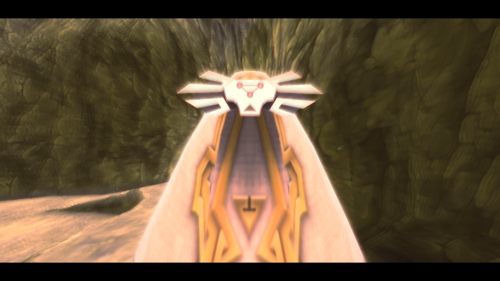
When you arrive in Eldin, choose the Volcano Ascent bird statue. Right behind you, you'll see some butterflies, so play your harp there. Fi will lead you in playing the song Din's Power here. After, thrust your sword into the ground to enter the Eldin Volcano Silent Realm.
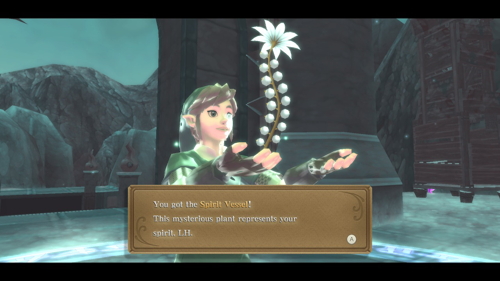
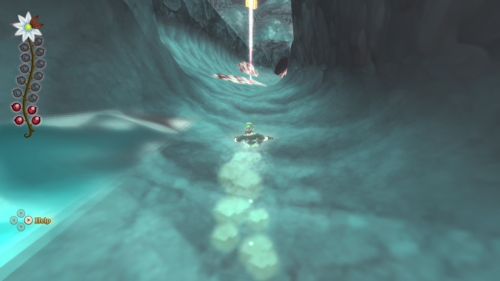
This Silent Realm works just like the others. You will start by getting a Spirit Vessel, which you must fill by collecting 15 Tears of Din. You must avoid the Guardians and Watchers and the pools of waking water that alter them. This is a more challenging silent realm, as the volcano is a larger and less open area.
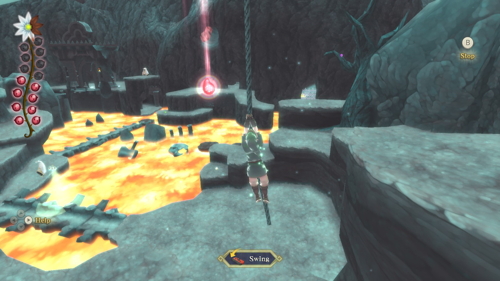
It's best to start with the three tears that are west of the starting point, where the large sand slide is. It can be quite difficult to avoid the watchers here, so it's best to get this section out of the way early in case you have to start over.
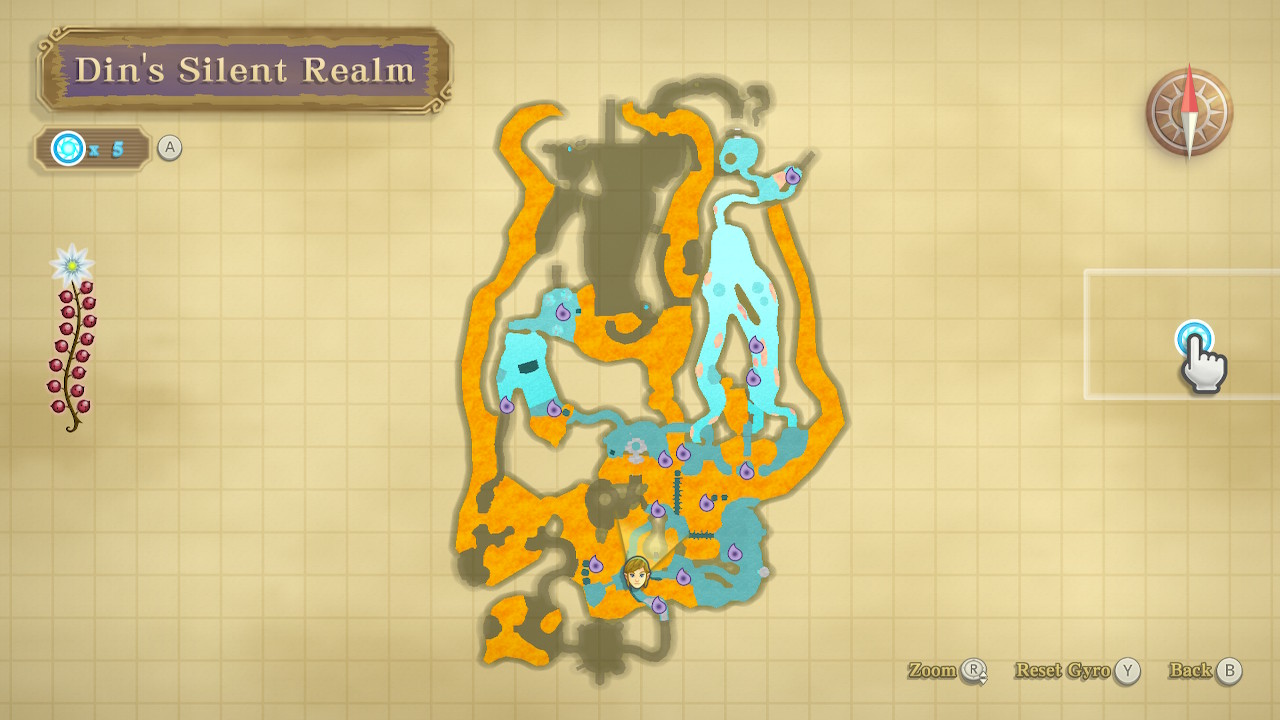
You should then head over to the east side of the volcano and take the large geyser up to the top. This will lead you to the long sand slide, which you'll need to go down at least twice to pick up both tears here. After this, the rest of the tears are on the lower volcano and the path is pretty linear. Just use the plentiful Light Fruit and the provided map to locate them.
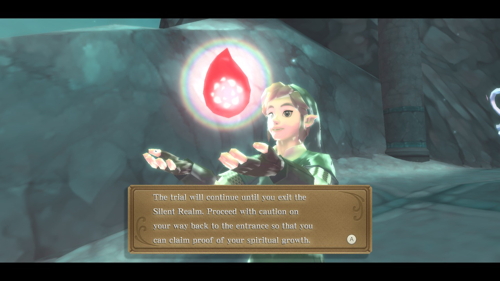
If you're having trouble, you can view our video guide to this Silent Realm below.
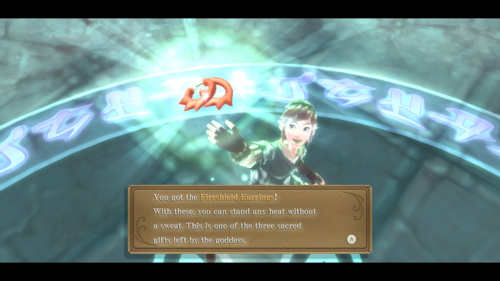
Once you collect all 15 Tears of Din, you'll need to return back to the start of the trial. Once you are completely finished, you will be rewarded with the Fireshield Earrings. These allow Link to withstand any amount of heat, allowing us to reach new areas of Eldin.
Volcano Summit
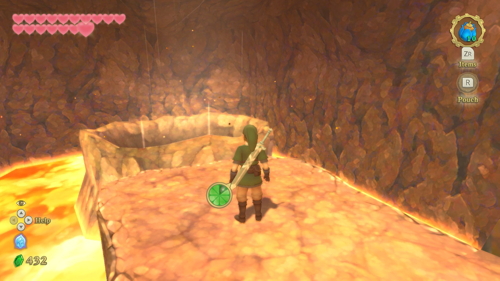
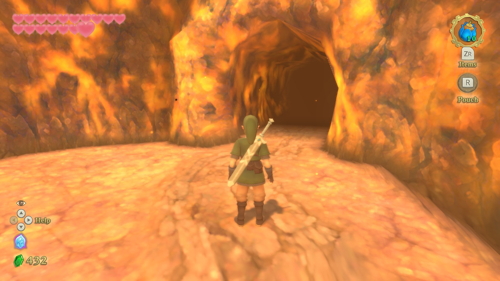
Back in the non-silent realm, head east through the cave and take the large airstream up the mountain. Take the path to the east here and enter the cave. We couldn't loiter here for very long before, as the temperatures are extreme. However, now that we have the fireshield earrings the heat will no longer affect you. So head through the cave entrance up the ramp to the east.
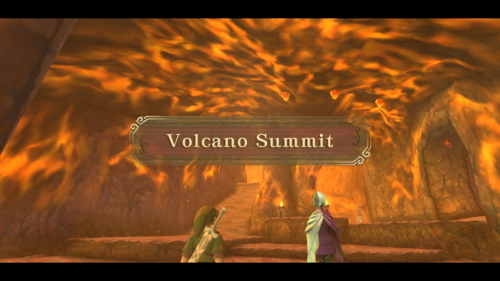
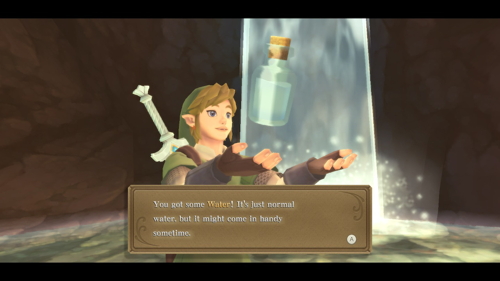
This new area is called the Volcano Summit. Take the path to the right and use the bird statue here. Hop down into this area with four torches. In the lava, you'll find a new enemy variation, the Cursed Spume. They will spit out purple curse balls at you that will render you unable to use your sword for a short time. You can defeat them with your bow.
Hop across the platforms in the lava and exit this cave. Outside you'll see a waterfall. Fill up as many empty bottles as you have with water here. These will be needed shortly.
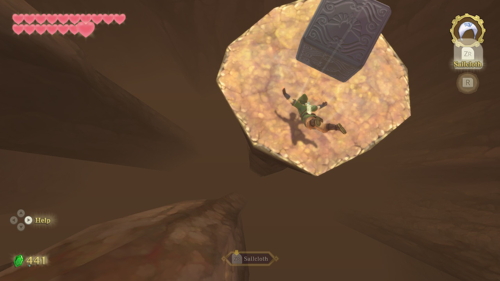
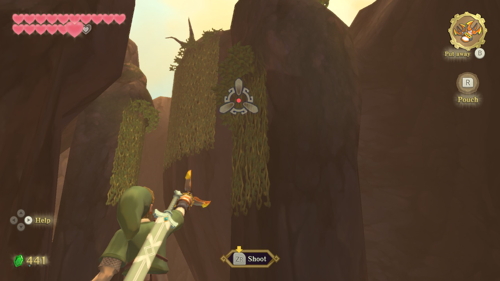
Take a leap of faith off the nearby platform. Aim slightly to the left and land behind the large pillar closest to you. There is a platform here where you'll find Goddess Cube #22. After activating it, use your clawshots on the series of vines on the pillars here to make your back to the waterfall. On the upper platform here, there is a gossip stone you can summon.
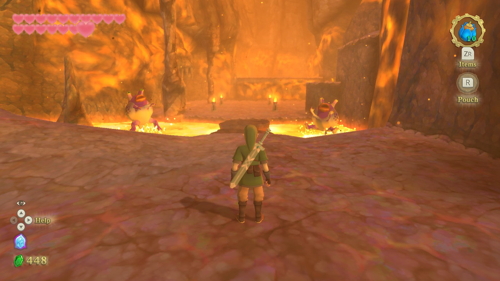
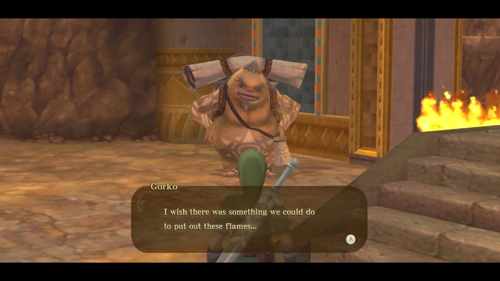
Enter the cave again, and take the ramp to the left through the next door. In this room, you'll find Gorko the Goron whose path is blocked by the walls of fire. Fi will also register Goddess Cubes to your dowsing ability.
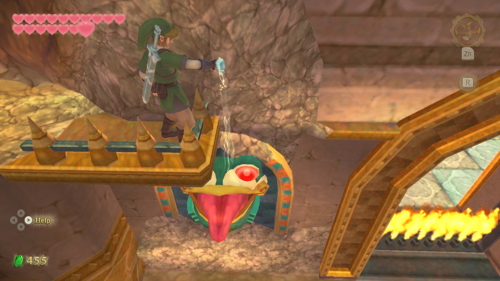
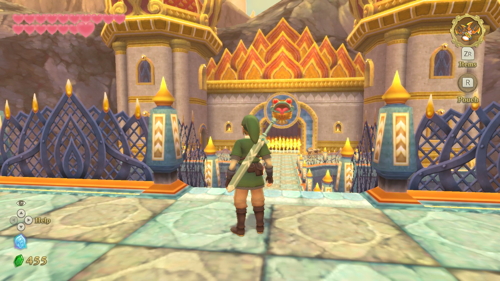
You'll want to pour a bottle of water on each of the frogs' mouths near the walls of fire. You'll need to clawshot to the vines on the left to reach the second frog's mouth. Once these two flames are out, you'll find yourself in an open area with the next dungeon straight ahead. However, we'll need a bigger container than our empty bottles to put out the fire blocking the entrance.
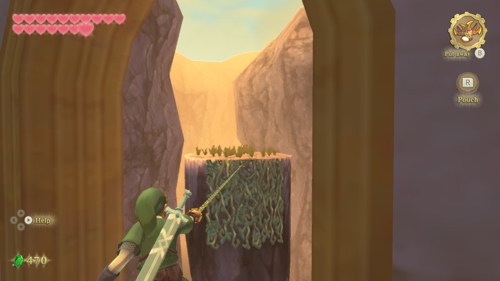
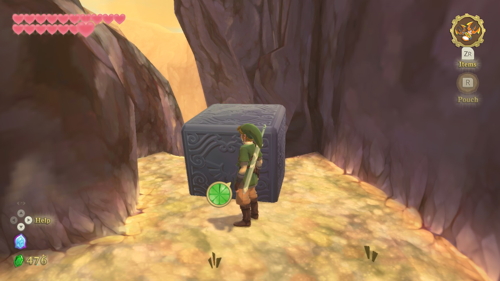
Use the bird statue here if you wish. Then head left and climb up the window here. Clawshot over to the vines, and climb up the pillar. Do the same thing to the next pillar, and defeat the Lizalfos one more time. There is one final platform to clawshot to, and here you'll find Goddess Cube #23. Go ahead and activate it, then return to the bird statue.
Faron Woods
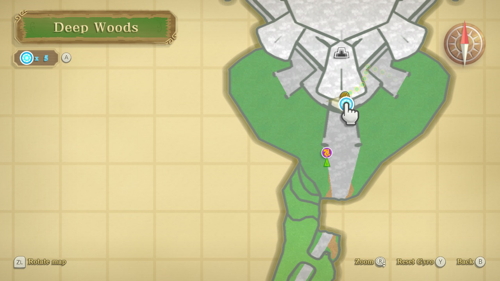
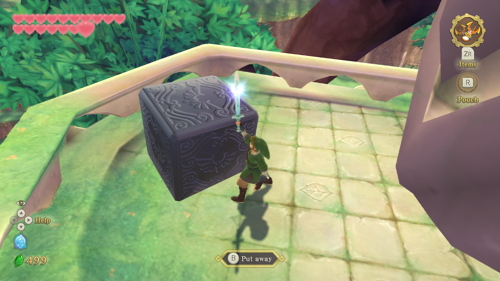
In order to find a container large enough to put out this fire, we need to head back to Faron Woods. There are a couple of Goddess Cubes to get here before we get back to the main quest. The first can be found near the Forest Temple bird statue. Head to the right side of the temple and clawshot onto the vines you can see up here. There will be another set of vines to your left, and on top, you'll find Goddess Cube #24 you can activate.
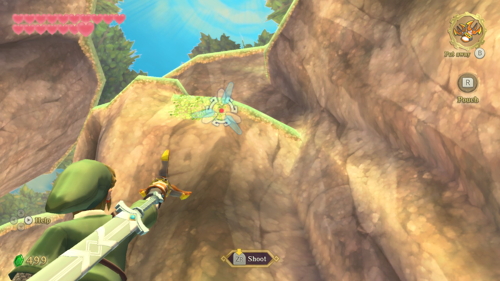
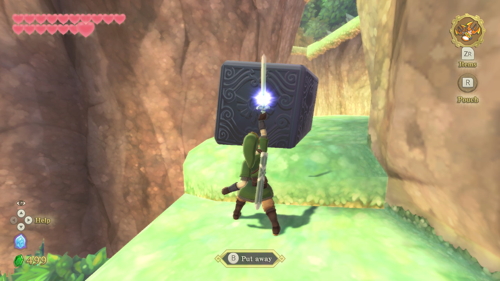
We now need to head to the Floria Waterfall. You can navigate through the woods if you want, but it's much faster to go back to the sky and then drop back down to the bird statue. When you get to the statue, turn around and you'll notice vines way up high to the left. Clawshot up to them and on this platform you'll find Goddess Cube #25 you can activate.
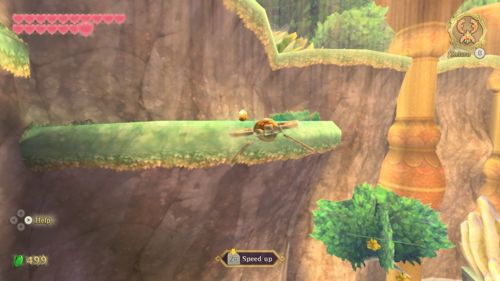
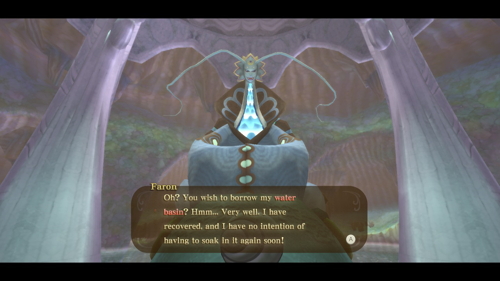
From up on this high platform, if you look in the other direction you'll spot a golden rupee. Send your beetle over there to grab it and collect 300 rupees. Drop down and enter this cave so that we can speak with Faron. We will be using her giant Water Basin. Fi will call Scrapper to carry it back to Eldin for us. Head back to the bird statue and return to the sky.
Putting out the Fire
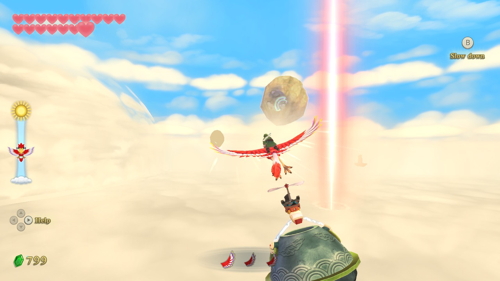
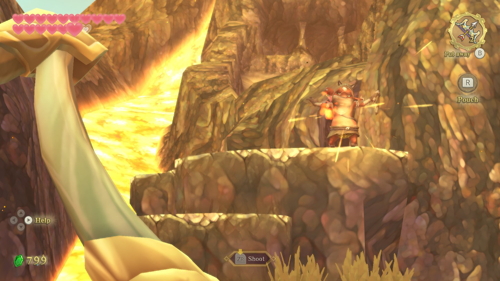
Lead Scrapper back to the Eldin region. Unfortunately, the communication wasn't exactly clear and you'll be at the bottom of the volcano. You'll need to escort Scrapper all the way back to the summit. Take the path to the left, and shoot down the Bokoblin Archer ahead. If you are low on arrows, you can dig some up in the soft spot under where he was.
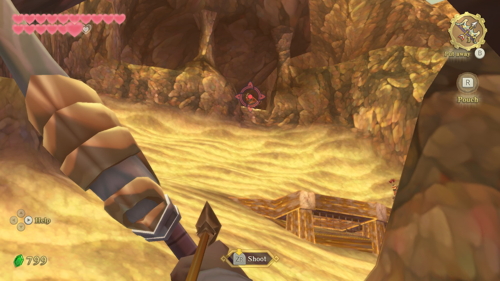
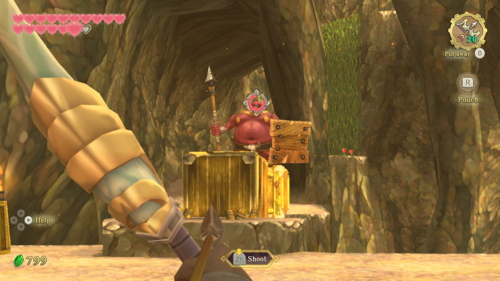
Continue forward on this path, defeating enemies along the way. When you to the large sand slope, use your bow to take out all the Bokoblin Archers before you start up the slope. Climb up the slope once it's safe. Head to the right and you'll see a Moblin in your path. Use your bow to defeat it from a distance.
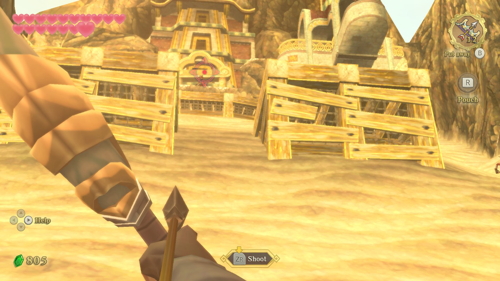
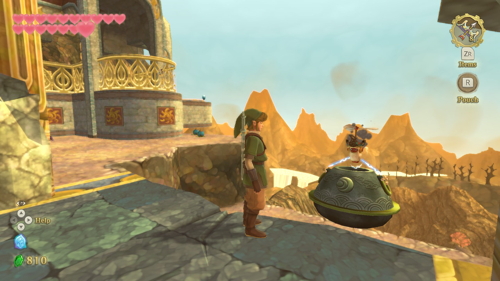
Cross the makeshift bridge ahead and climb up the vines. Continue following this path to the second large sand slope. With careful aim, you can take out all the Bokoblin Archers at the top from the bottom of the slope. Run up the slope, stopping at each platform. There are a couple more Bokoblins to watch out for on these platforms.
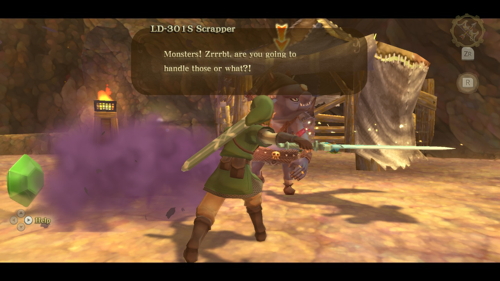
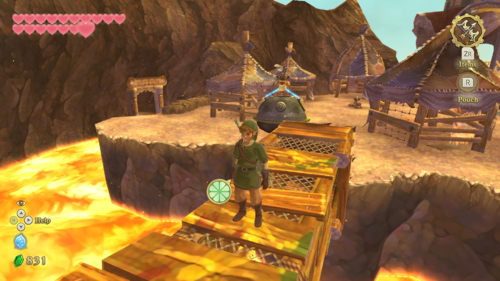
At the top of the slope, head to the right and defeat three more Bokoblins. There is another Moblin guarding the makeshift bridge here. Take it out with your bow again and cross the bridge. Go through cavern up ahead, and then defeat the two Bokoblin Archers guarding this area. You will probably be low on arrows at this point, you might have to take out the Moblin with your sword. You can run up and jump over his shield to get behind him.
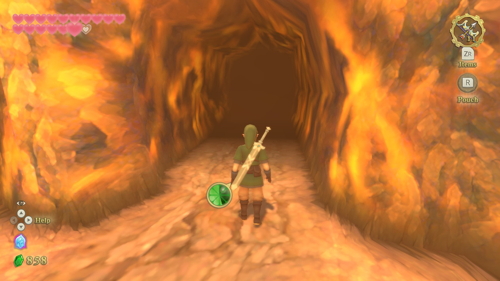
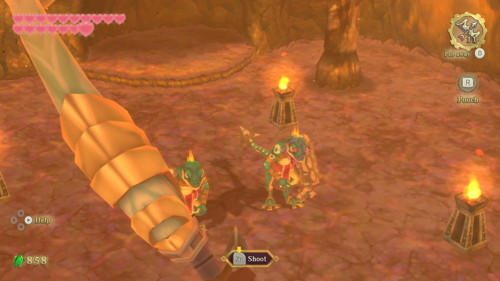
Cross the bridge and enter the very hot cave. Head up the ramp through the entrance back into the Volcano Summit. Take out the Keese here and take the path to the left up the sandbank. Use your bow to defeat the Spume and then tackle the two Lizalfos in this room. Then you can head up the ramp and exit this cave area.
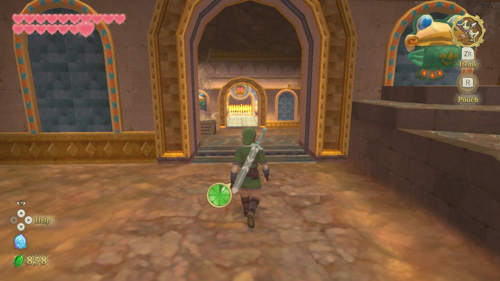
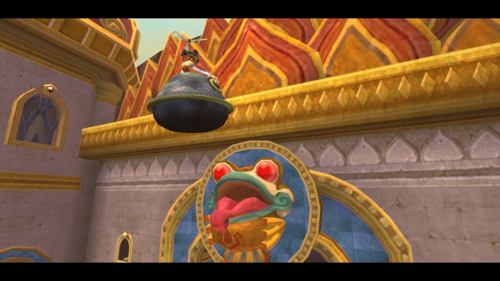
Head straight ahead through this area. Once you get to the large fire wall, Scrapper will pour the water from the basin on the frog mouth. This will extinguish the flames and open the path forward into the next dungeon, the Fire Sanctuary. Enter when you are ready.
Back to Sandship Continue to Fire Sanctuary